

Page 1
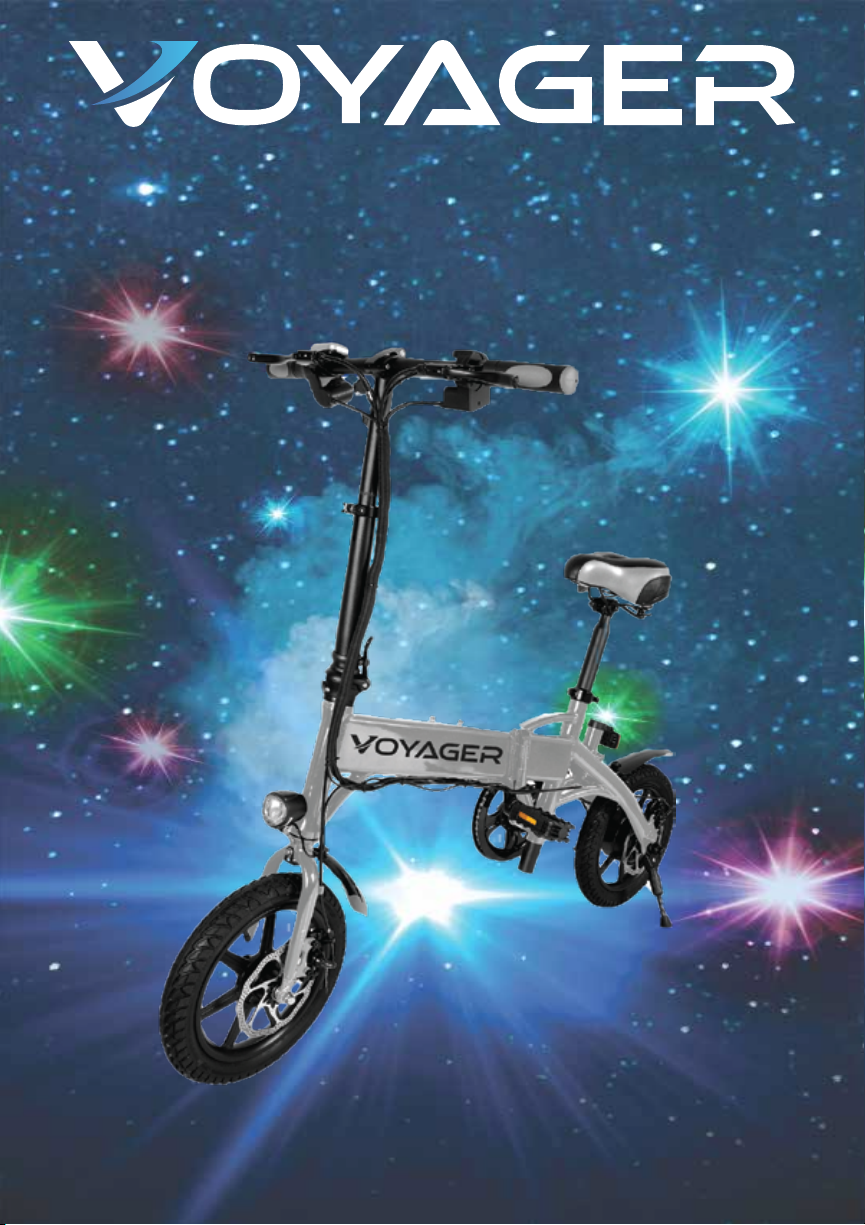
Flybrid Compact E-Bike
ITEM NUMBER I BIKE-2010C
USER’s MANUAL
Page 2

SAFETY PRECAUTIONS
When using your Voyager Flybrid Compact E-Bike, basic safety precautions should
always be followed, including the following:
BEFORE RIDING
1. READ ALL INSTRUCTIONS BEFORE USING YOUR BIKE.
2. Rider weight should not exceed 260lbs.
3. Do not ride bike in temperatures below 30ºF.
4. Do not let children use your bike.
5. Never immerse the bike in water.
6. Do not leave the bike in high temperatures.
7. Always wear a safety helmet, elbow and knee pads to avoid injury.
8. Wear proper footwear when riding. Never go barefoot on the bike.
9. Never use the bike with more than one rider.
10. When charging the battery, only use the supplied charging cable included
with your bike.
11. Do not disassemble bike parts.
12. Do not ride your bike if you notice any defects or irregularities. Contact the
manufacturer or a certified technician immediately for support.
WHILE RIDING
1. When riding your bike, follow local traffic laws.
2. Do not ride your bike while under the influence of any medication which can
cause impairment.
3. Do not attempt to do any tricks while riding your bike. Furthermore, do not
ride your bike over rough terrain, icy roads, or uneven surfaces.
4. Ride carefully. Avoid applying the breaks abruptly.
5. Practice riding in spacious areas at low speeds until you become more
experienced and comfortable with higher speeds.
6. Do not use your bike at night or in areas of low visibility.
7. Always power off your bike when it is not in use.
8. Never allow more than one person on the bike at a time.
9. Do not ride bike near stairs or bodies of water.
NOTE: The color and design of your bike may vary from the ones displayed in this
user’s manual.
1
Page 3

INTRODUCTION
Thank you for purchasing your new Voyager Flybrid E-Bike and welcome to the Voyager
family. We hope that you’ll do plenty of exploring on your new bike. Please enjoy your new
bike responsibly and be sure to read the entire instruction manual before your first use.
Have a blast, be safe and Get Moving!
SPECIFICATIONS
• Battery Type: Rechargeable Lithium Ion Battery
• Motor Power: 36V/250W
• Motor Type: Brushless Gearless Motor
• Material: 6061 aviation aluminum
• Max Mileage: 20 miles
• Max Climbing Ability: 25°
• Max Range: 21.75 miles
• Charge Time: ~3.5 Hours
• Waterproof IPX4
• Net Weight: 40.5 LBS
• Max Rider Capacity: 265 Pounds
• Recommended For Ages: 14+
2
Page 4

YOUR Bike
Adjustable Seat
14in Damping
Tire With Motor
LCD Screen
Adjustable
Seat Riser
Foldable
Foot Pedal
Brake Handle
Inner
Battery
Folding System
Front Light
Seat Folding
System
Horn Button
Function Switch Button
Front Light Button
3
USB Charging Port
Page 5

Speed/Hr
LCD display
Voltage
4
Battery
Page 6

FOLDING
Step 1: Unlock the quick release
handle at the base of the handlebars
and keep the body straight.
Step 2: Unlock the quick release handle on the standpipe
and lower the pipe into a folded position then lock.
Step 3: Unlock the seat’s quick release handle, push down
the seat, and lock.
Step 4: Turn the safety buckle 1-inch clockwise on the pipe
and fold the front. Open the buckle on the frame of the bike, pull out
the handle and fold the frame.
5
Page 7

Unfolding
Step 1: Unfold the frame and lock the handle back in place.
Unfold the front and lock.
Step 2: Unlock the seat’s quick release handle, pull the seat up,
and lock.
Step 3: Unlock the quick release handle on the standpipe and lift
the standpipe up and lock.
Step 4: Unlock the quick release handle at the base of the handlebars and
lift the handlebars up. Secure and lock.
Charging
-When charging, the charger’s light will illuminate red.
-Always charge your bike indoors and away from liquids or children.
-Do not use the product when charging.
-Do not cover the charger while it’s charging.
-Only use the charger supplied with this product.
-Charging time is approximately 3 1/2 hours.
6
Page 8

using the bike
Function Switch Button
Throttle: On the right handlebar is the throttle
apparatus. Twist it to speed up the bike.
Throttle
Brakes: On both sides of the handlebar are the brakes.
Avoid applying brakes abruptly.
Function Switch Button: Pedal Assist Mode
Full Electric Mode
Manual Mode
7
Page 9

troubleshooting
1. The motor does not start:
a. The batteries are not connected.
Check the batteries and make sure they match the battery case.
b. The batteries are drained.
Plug in to charger and wait until batteries are fully charged. Then try the
bike motor again.
2. Driving speed is slow:
a. The accelerator is stuck.
Check that the accelerator is fully adjustable.
b. The batteries are drained.
Plug in to charger and wait until batteries are fully charged.
3. The vehicle does not turn on:
a. Batteries not fully charged.
Connect charger to the bike and wait until batteries are fully charged.
Then try the bike again.
b. Check that the battery output is normal.
Ensure that outlet uses the same voltage as battery.
8
Page 10

FCC COMPLIANCE
Changes or modifications not expressly approved by the party responsible for compliance
could void the user’s authority to operate the equipment.
This device complies with Part 15 of the FCC Rules. Operation is subject to the following two
conditions: (1) this device may not cause harmful interference, and (2) this device must
accept any interference received, including interference that may cause undesired
operation.
This equipment has been tested and found to comply with the limits for a Class B digital
device, pursuant to Part 15 of the FCC Rules. These limits are designed to provide
reasonable protection against harmful interference in a residential installation. This equipment generates, uses and can radiate radio frequency energy and, if not installed and used
in accordance with the instructions may cause harmful interference to radio communications. However, there is no guarantee that interference will not occur in a particular installation.
If this equipment does cause harmful interference to radio or television reception, which can
be determined by turning the equipment off and on, the user is encouraged to try to correct
the interference by one or more of the following measures:
-- Reorient or relocate the receiving antenna.
-- Increase the separation between the equipment and receiver.
-- Connect the equipment into an outlet on a circuit different from that to which the
receiver is connected.
9
Page 11

WARRANTY
This warranty covers the original consumer purchaser only and is not transferable.
This warranty covers products that fail to function properly UNDER NORMAL USAGE, due to
defects in material or workmanship. Your product will be repaired or replaced at no charge
for parts or labor for a period of one year.
What Is Not Covered by Warranty
Damages or malfunctions not resulting from defects in material or workmanship and damages or malfunctions from other than normal use, including but limited to, repair by unauthorized parties, tampering, modification or accident.
To Obtain Warranty Service and Troubleshooting Information:
Call (855)-292-4087 in the U.S. or visit our website at www.ridevoyager.com.
To receive Warranty service along with the name and address of an authorized product
service center, the original consumer purchaser must contact us for problem determination
and service procedures. Proof of purchase in the form of a bill of sale or receipted invoice,
evidencing that the product is within the applicable Warranty period(s), MUST be presented
in order to obtain the requested service. It is your responsibility to properly package and
send any defective products along with a dated copy of proof of purchase, a written
explanation of the problem, and a valid return address to the authorized service center at
your expense. Do not include any other items or accessories with the defective product. Any
products received by the authorized service center that are not covered by warranty will be
returned unrepaired.
10
Page 12

 Loading...