

Voyager 1450g2DHR Quick Start Manual

Voyager™ 1450g2DHR
Corded Area-Imaging Scanner
Quick Start Guide
Rev A 10/15
Перейти на русскоязычный сайт www.honeywellaidc.com.

Note: Refer to your User’s Guide for information about cleaning your
device.
Getting Started
Turn off computer’s power before connecting the scanner, then
power up the computer once the scanner is fully connected.
Power Supply Assembly (if included)
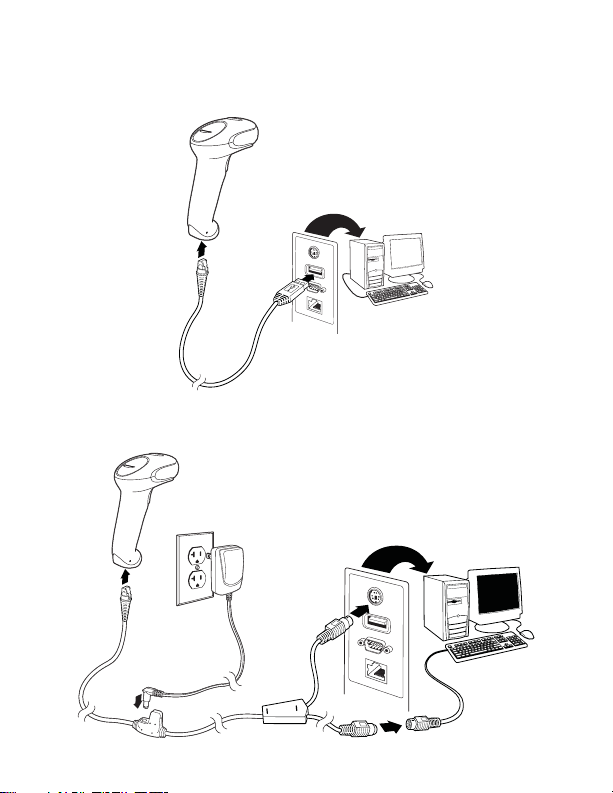
Connecting the Scanner
USB:
Keyboard Wedge:

RS232 Serial Port:
RS485:
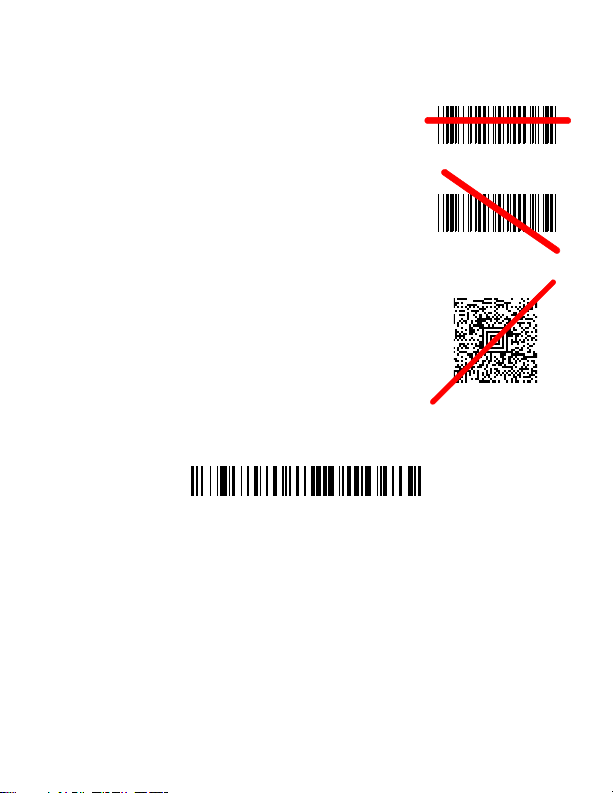
Reading Techniques
Standard Product Defaults
The view finder projects an aiming beam that
should be centered over the bar code, but it
can be positioned in any direction for a good
read.
Hold the scanner over the bar code, press the
button, and center the aiming beam on the bar
code.
The aiming beam is smaller when the scanner
is closer to the code and larger when it is farther from the code. Hold the scanner close to
smaller bar codes, and farther away from large
bar codes to get a proper read.
If the bar code is highly reflective (e.g., laminated), you may need to tilt the scanner at an
angle so the bar code can be scanned.
Standard Product Defaults
The following bar code resets all standard product default settings.
USB Serial
Scan the following code to program the scanner to emulate a regular
RS232-based COM Port. If you are using a Microsoft® Windows®
PC, you will need to download a driver from the Honeywell website
(www.honeywellaidc.com). The driver will use the next available
 Loading...