

Vortice VORT FOHN Series, VORT FOHN 1600 Plus, VORT FOHN 1200, VORT FOHN 1200 Plus, VORT FOHN 1600 Instruction Booklet
Page 1
Libretto istruzioni
Instruction booklet
Notice d’emploi et d’entretien
Betriebsanleitung
Manual de instrucciones
Manual de Instruções
Instructieboekje
Bruksanvisning
Instrukcja obsługi
Használati utasítás
VORTICE LIMITED
Beeches House - Eastern Avenue
Burton on Trent
DE13 0BB
Tel. (+44) 1283-492949
Fax (+44) 1283-544121
UNITED KINGDOM
VORTICE FRANCE
72 Rue Baratte-Cholet
94106 Saint Maur Cedex
Tél. (+33) 1- 55.12.50.00
Fax (+33) 1- 55.12.50.01
FRANCE
VORTICE ELETTROSOCIALI S.p.A.
Strada Cerca, 2 - frazione di Zoate
20067 TRIBIANO (MI)
Tel. (+39) 02-90.69.91
Fax (+39) 02-90.64.625
ITALIA
COD. 5.371.084.716
10/02/2010
VORT FOHN
Uživatelská příručka
Návod na používanie
Manual de instrucţiuni
Upute za uporabu
Talimat kitapçığı
Εγχειρίδιο οδηγιών
Инструкция по эксплуатации
VORT FOHN 1200/1200 PLUS
VORT FOHN 1600/1600 PLUS
Page 2
9
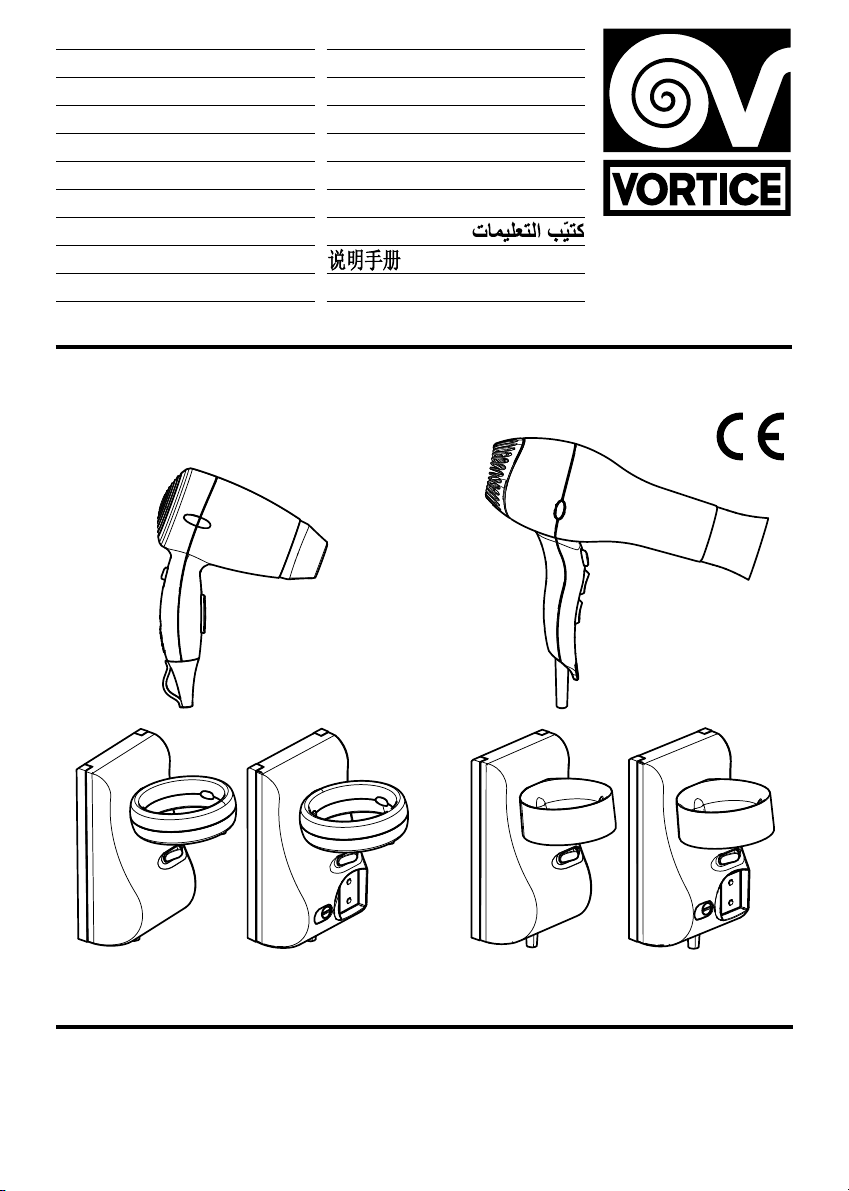
Description and operation
You have purchased a wall-mounting hairdryer with
power cord for domestic use (models 1200 and 1200
P
lus) or professional use (models 1600 and 1600
P
lus). The Vort Fohn series is composed of 4 models:
V
ort Fohn 1200
Vort Fohn 1200 Plus
Vort Fohn 1600
Vort Fohn 1600 Plus
The Plus models have an additional wall socket for
compatible razors, with a knob for selecting the
p
ower supply: 240 V / 50 Hz, 120 V / 60 Hz.
Safety
• Do not use this appliance for functions other than
those described in this booklet.
• After removing the appliance from its packaging,
ensure that it is complete and undamaged. If in
doubt contact a professionally qualified electrician
or Vortice; 2) After removing the appliance from its
packaging, ensure that it is complete and
undamaged. If in doubt contact a professionally
qualified electrician or Vortice. Do not leave
packaging within the reach of children or disabled
persons.
• Certain fundamental rules must be observed when
using any electrical appliance:
- never touch appliances with wet or damp hands;
- never touch appliances while barefoot;
- do not allow the unit to be operated by
unsupervised children or disabled persons.
• This appliance is not suitable for use by children or
by individuals with reduced physical, sensorial or
mental capacities or by inexperienced or untrained
individuals, unless they are supervised or instructed
in its use by a person responsible for their safety.
Children must always be supervised to ensure that
they do not play with the appliance.
• Store the appliance out of the reach of children and
disabled persons if you decide to disconnect it from
the power supply and use it no more.
• Do not us the appliance where inflammable
substances and vapours (alcohol, insecticides,
petrol, etc.).
• Hold the hair dryer at a safe distance from your hair
while drying it.
• Do not make modifications of any kind to this
appliance.
• Do not expose the appliance to the weather (rain,
sun, etc.).
•
Do not leave objects standing on the appliance.
•
Do not obstruct the air nozzle.
•
Do not fit any accessory other than those supplied
to the air nozzle.
• Always hook the appliance onto its wall mount after
use.
• Never put anything into the air intakes and outlets.
•
Regularly inspect the appliance for visible defects. If
a
ny are found, do not operate the appliance;
contact your Vortice Service Centre immediately.
• If the appliance does not function correctly or
d
evelops a fault, contact
y
our Vortice Service Centre immediately and
demand that only original Vortice spares are used
for repairs.
• Should the appliance be dropped or suffer a heavy
blow, have it checked immediately by your Vortice
Service Centre.
• The appliance must be installed by a professionally
qualified technician.
• The mains power supply to which the units are
connected must comply with current laws.
• The electrical power supply/socket to which the
appliance is to be connected must be able to
provide the maximum electrical power required by
the appliance. If it cannot do so, arrange for a
qualified electrician to make the necessary
modifications.
• Switch off the appliance at the installation’s main
switch: a) if the appliance does not function
correctly; b) before cleaning the outside of the
appliance; c) if you intend not to use for a long
period of time.
• If the appliance gets too hot, a special cutout trips
to protect the heating element. This device resets
automatically. If this safety device trips, you must
wait for the appliance to cool down again before
you can restart it (about 10 minutes). This temporary
interruption of hot air delivery is not the result of a
fault, and represents improved safety for the user.
• If power loads in excess of 20 W are connected to
the power sockets, an automatic safety device
disconnects power. You must wait for power to be
restored before you can start using the power
sockets again
• To increase the appliance’s service life, let it blow
cold air for a few seconds before switching it off.
ENGLISH
Warning:
this symbol indicates that care must
be taken to avoid injury to the user
!
Caution:
this symbol indicates that care must
be taken toavoiddamaging theappliance
!
Page 3
Installation
(Fig. 1,2).
N
.B. The appliance must be installed by a
p
rofessionally qualified technician.
T
his dryer must be installed out of reach of persons
using the bath, the shower, or the washbasin, and in
accordance with all laws and standards governing
installation in the country where the appliance is
being installed.
The appliance should not be installed lower than 150
c
m off the ground.
Installing the wall mount
- The wall mount can be installed in two different
ways: directly over a junction box (type A mounting),
or in the vicinity of one (type B mounting)
Type A mounting
- Break the cable grommet tab on the back of the wall
mount.
- Pull the wires coming out of the wall through this
hole.
- Secure the mount to the wall with commercially
available rawl plugs.
- Connect the cord to the terminal block (fig. 1).
Extract and refit the terminal block.
- Fit the front of the wall mount and screw it down
(screw included).
Type B mounting
- Break the cable grommet tab on the bottom of the
wall mount to fit the second cable grommet.
- Secure the mount to the wall with commercially
available rawl plugs.
- Pull the cable grommet over the mobile cord.
- Connect the cord to the terminal block (fig. 2).
Extract and refit the terminal block.
- Fit the cable grommet and secure the cord with the
retainer.
- Fit the front of the wall mount and screw it down
(screw included).
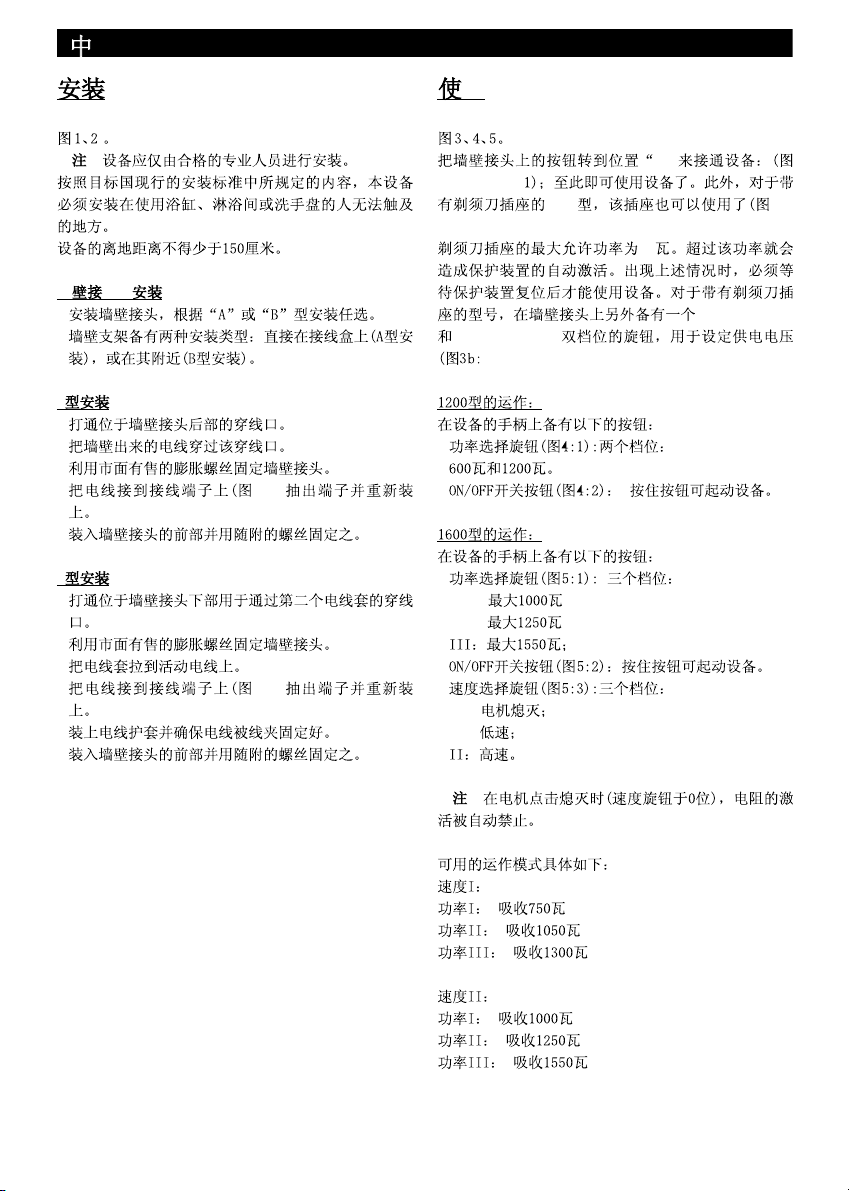
Operation
(Fig. 3,4,5).
S
witch the appliance on by setting the wall mount
s
witch to “I”: (fig. 3a: 1, 3b: 1); you can now use the
a
ppliance and, if using the Plus version with razor
socket, the socket is now available for use (fig.3b: 2).
The razor socket delivers a maximum power of 20 W.
Using appliances which draw more current than this
trips the circuit breaker. You will than have to wait for
the breaker to reset before you can use the appliance.
O
n models with razor socket, the wall mount has a
two-position switch, 120V /60 Hz and 240V /50 Hz, to
set the mains voltage (fig. 3b: 3).
Operation of model 1200:
The appliance’s handle has the following controls:
- power switch (fig. 4: 1): two positions:
600 W and 1200 W.
- ON/OFF button (fig. 4: 2): hold this button down to
switch the appliance on.
Operation of model 1600:
The appliance’s handle has the following controls:
- power switch (fig. 5: 1): three positions:
I: max 1000 W
II: max 1250 W
III: max 1550 W;
- ON/OFF button (fig. 5: 2): hold down the button to
operate the appliance.
- speed switch (fig. 5: 3): three positions:
0: motor off;
I: low speed;
II: high speed.
N.B. when the motor is off (speed switch set to 0), the
heating element will not turn on.
The appliance has the following modes:
Speed I:
Power I: absorption 750 W
Power II: absorption 1050 W
Power III: absorption 1300 W
Speed II:
Power I: absorption 1000 W
Power II: absorption 1250 W
Power III: absorption 1550 W
10
ENGLISH
Page 4
Wiring Diagrams
(Fig. 6)
Maintenance/Cleaning
This hair dryer does not normally require any special
maintenance. As and when necessary, simply wipe off
dust with a soft, dry cloth. If necessary, use a cloth
dampened with luke-warm water and a neutral, nona
brasive detergent to remove more stubborn dirt.
Check that the air intake is not blocked by hair or fluff.
Important information on ecocompatible disposal
I
N CERTAIN EUROPEAN UNION COUNTRIES THIS
PRODUCT DOES NOT FALL WITHIN THE
REQUIREMENTS OF THE NATIONAL LAWS
IMPLEMENTING DIRECTIVE RAEE, AND IN
THESE COUNTRIES THE PRODUCT IS NOT
SUBJECT TO SEPARATE SCRAPPING AT THE
E
ND OF ITS SERVICE LIFE
This product complies to European Directive
2002/96/EC.
At the end of its useful life, the
product marked with the crossed
out wheeled bin must be
disposed of separately from
urban waste. It must be taken to a
differentiated disposal centre for
electrical and electronic
appliances or be returned to the
retailer when a new equivalent appliance is bought.
Subject to current legislation on waste disposal, the
user is legally responsible for taking the appliance at
the end of its useful life to a suitable disposal centre.
Appropriate differentiated waste collection for
subsequent recycling, treatment and environmentfriendly disposal of thediscarded equipment helps to
prevent possible negative environmental and health
effects and encourages recycling of the component
materials of the equipment.
For further information about available waste
disposal systems, contact your local waste disposal
service or the shop where you bought the product.
The manufacturers and importers comply with their
responsibility for recycling, treating, and
environmentally compatible disposal of waste both
directly and collectively.
11
ENGLISH
Page 5
60
Page 6
61
˖˖
༈༈ⱘⱘ
$$
DŽ
%%
DŽ
⫼⫼
,ā
DǃE
3OXVE
DŽ
9+]
9+]
DŽ
,˖
,,˖
,˖
˖˖
᭛᭛
Page 7
62
Page 8

63
FIGURE
FIGURE
FIGURES
FIGURES
ABBILDUNGEN
FIGURAS
FIGURAS
FIGUREN
FIGURER
RYSUNKI
ÁBRA
OBRÁZKY
FIGURE
FIGURI
SLIKE
ŞEKİL
ΕΙΚΟΝΕΣ
Иллюстрации
1 1
3a 3a12 2
3b 3b
1
2
3
Page 9

64
4 4
1
2
5 5
1
2
3
6 6
VORT FOHN / VORT FOHN PLUS
NL
NL
La Vortice S.p.A. si riserva il diritto di apportare tutte le varianti migliorative ai prodotti in corso di vendita.
Vortice S.p.A. reserves the right to make improvements to products at any time and without prior notice.
La société Vortice S.p.A. se réserve le droit d'apporter toutes les variations afin d'améliorer ses produits en cours de commercialisation.
Die Firma Vortice S.p.A. behält sich vor, alle eventuellen Verbesserungsänderungen an den Produkten des Verkaufsangebots vorzunehmen.
Vortice se reserva el derecho de incorporar todas las mejoras necesarias a los productos en fase de venta.
A Vortice S.p.A. reserva-se o direito de efectuar melhorias nos produtos comercializados.
Vortice S.p.A. behoudt zich het recht voor elke gewenste verbeteringen aan te brengen in het reeds op de markt gebrachte product.
Vortice S.p.A. förbehåller sig rätten att under försäljning tillföra alla ändringar som förbättrar produkterna.
Firma Vortice zastrzega sobie prawo wprowadzania wszelkiego rodzaju ulepszeń do urządzeń znajdujących się w sprzedaży.
A Vortice S.p.A. fenntartja a jogot, hogy az értékesítés alatt álló termékeknél bármi lyen javító változtatást bevezessen.
Podnik Vortice S.p.A. si vyhrazuje právo na zlepšování svých výrobků v průběhu prodeje.
Spol. Vortice S.p.A. si vyhradzuje právo zaviesť počas doby predaja všetky úpravy na výrobku, ktoré zvyšujú jeho kvalitu.
Firma Vortice S.p.A. îşi rezervă dreptul de a aduce îmbunătăţiri produselor în vânzare.
Tvrtka “Vortice S.p.A.” zadržava pravo unošenja promjena u svrhu pogoljšanja proizvoda u prodaji.
Vortice S.p.A. satılmakta olan ürünlerin üzerinde iyileştirici değişiklikler yapma hakkını saklı tutar.
Η Vortice S.p.A. διατηρεί το δικαίωµα να πραγµατοποιεί βελτιωτικές τροποποιήσεις στα προϊόντα της που βρίσκονται στην αγορά.
ФирмаVortice S.p.A. оставляетза собой право вносить все возможные улучшения в конструкцию находящихся в данный моментв продаже изделий.
 Loading...