

Page 1
Universal Mustang
Battery Relocation
& Cable Routing
P/N: 8N150-010
®
ENGINEERING, LLC
1650 PACIFIC AVENUE • CHANNEL ISLANDS, CA 93033-9901 • (805) 247-0226
FAX (805) 247-0669 • www.vortechsuperchargers.com • M-F 8:00 AM - 4:30 PM PST
P/N: 007079 v1.0 — Mustang Battery Relocation 01/28/04
Page 2

FORWARD
Proper installation of this battery relocation kit requires general automotive
mechanical knowledge and experience. Please browse through each step of this
installation manual prior to beginning the installation to determine if you should
refer the job to a professional installer/technician. Please call Vortech Engineering for installers in your area.
All rights reserved. No parts of this publication may be reproduced, transmitted, transcribed,
or translated into another language in any form, by any means without written permission
P/N: 007079
©2004 Vortech Engineering, LLC
All Rights Reserved, Intl. Copr. Secured
28JAN04 v1.0 BattRelocRoutng(7079v1.0)
©
2004 VORTECH ENGINEERING, LLC
of Vortech Engineering, LLC.
ii
Page 3

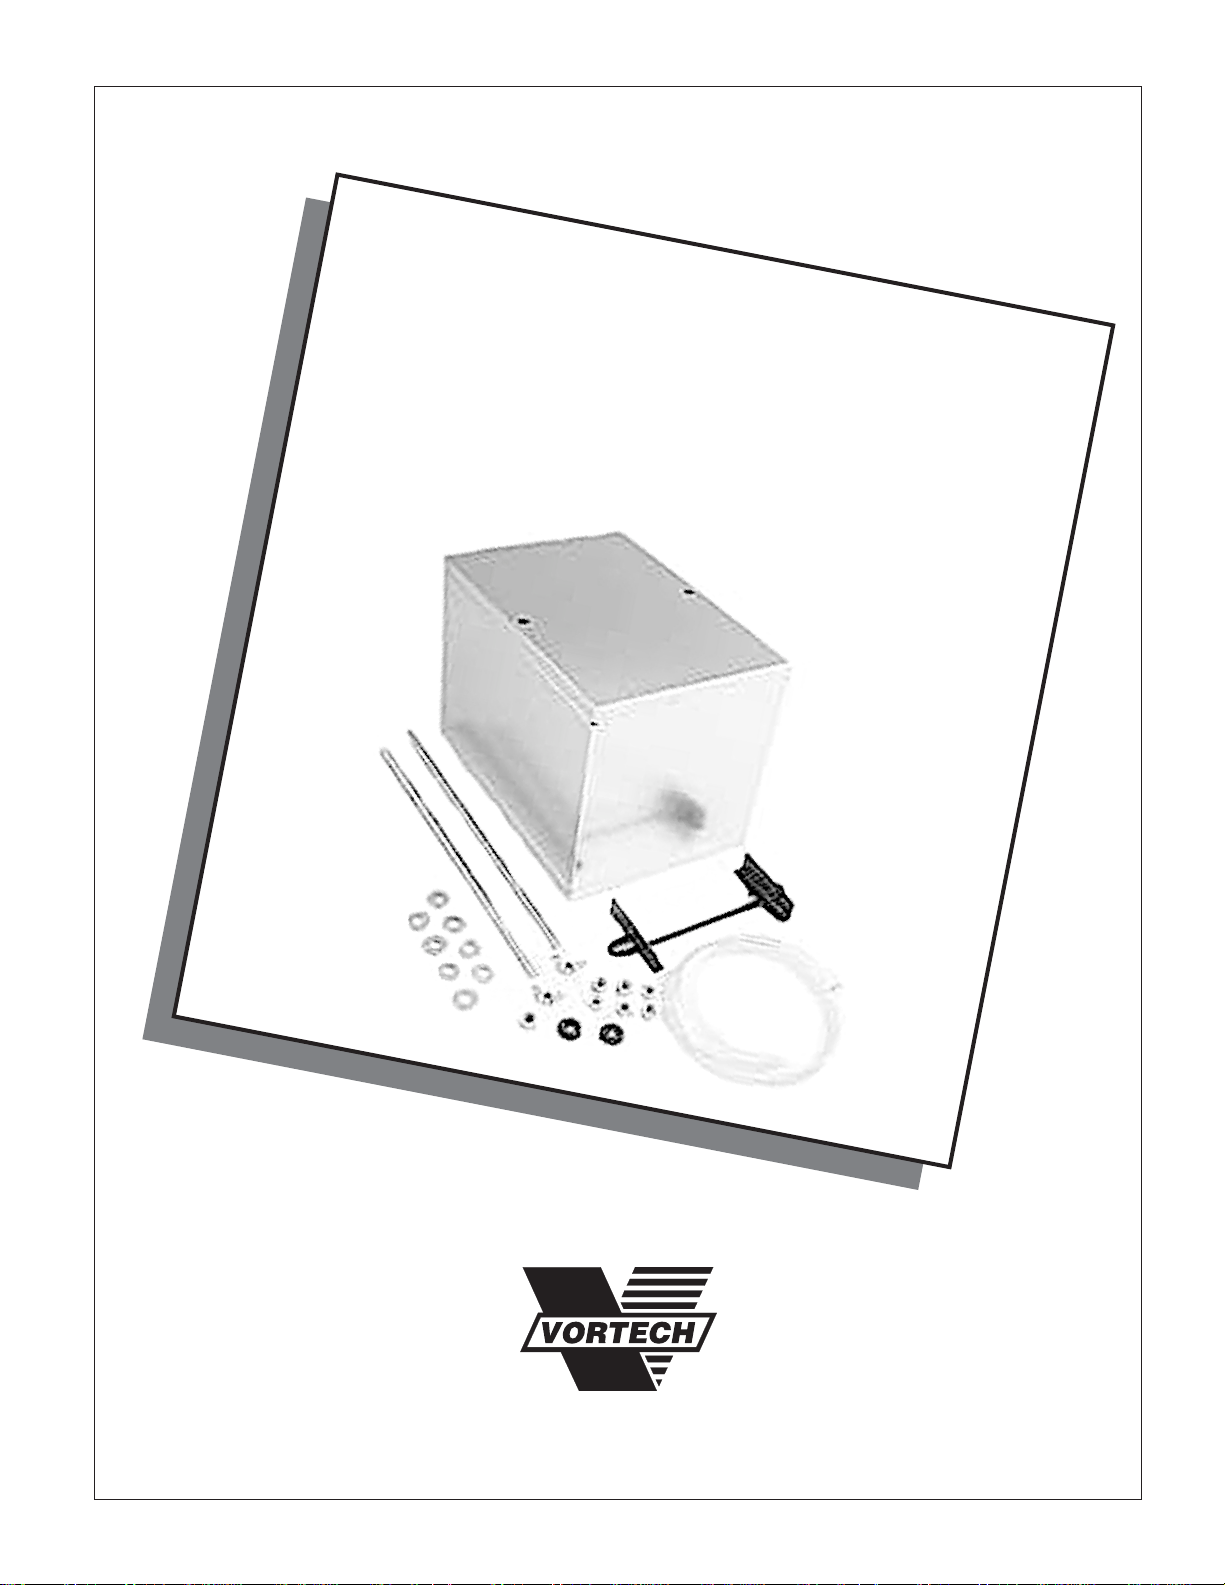
Battery Relocation Assembly
®
Part No. 8N150-010
ENGINEERING, LLC
PARTS LIST
IMPORTANT: Before beginning installation, verify that all parts are included in the kit. Report any shortages or damaged
parts immediately.
Part Number Description Quantity
8N150-010 BATTERY RELOCATION ASSEMBLY 1
5W001-008 3/4" x 6" HEAT SHRINK TUBING 1
5W001-028 BATTERY POST TERMINAL 2
5W001-029 LUG END TERMINAL 2
5W001-030 1-1/2" x 6" HEAT SHRINK TUBING 1
5W013-008 BLACK CABLE 8' 1
5W013-020 RED CABLE, 20' 1
7A250-074 1/4-20 x 3/4" SCREW 1
7A375-075 3/8-16 x 3/4" SCREW 1
7E010-046 #8 x 3/4" SHEET METAL SCREW 4
7F250-021 1/4-20 NYLOCK NUT 1
7F375-017 3/8-16 NYLOCK NUT 1
7J008-001 #8 FLAT WASHER 4
7K312-001 3/8" AN WASHER 2
7K375-040 3/8" FLAT WASHER 2
7R003-013 ADEL CLAMP 3/4" ID 4
7R100-066 TIE WRAP, 11" 6
8N110-080 ALUIMINUM BATTERY BOX ASSEMBLY 1
©2004 Vortech Engineering, LLC
All Rights Reserved, Intl. Copr. Secured
iii
28JAN04 v1.0 BattRelocRoutng(7079v1.0)
P/N: 007079
Page 4

BATTERY RELOCATION AND CABLE ROUTING
A. Disconnect and remove the battery from the
vehicle. Raise the rear of the car and support it
with jack-stands.
B. Remove the rear seat bottom and jute pad.
Remove the driver’s side scuff plate and kick
panel. Remove the trunk liner, passenger’s
side interior wheel well cover, plastic cover
around the trunk latch and the rear trunk
interior cover.
C. Using a small razor knife make an opening in
the factory wire harness grommet at the
firewall.
the factory wiring.
D. Feed the supplied power cable through the
hole in the grommet. The cable should be fed
through long enough to meet the factory
positive battery terminal. Route the power
cable inside the car down along the doorsill
underneath the vehicle’s carpeting. Route the
cable along the back seat bottom cavity and
behind the passenger’s side seat back. The
cable should be routed along the interior wheel
well sheet metal. Use the supplied adel clamps
and wire ties to secure the cable as needed.
(See Fig. 1.)
Use extra caution to not damage
Fig. 1
NOTE: It is imperative that the cable is carefully
routed and secured. Sharp edges or moving parts can damage the cable insulation
and lead to premature failure.
E. In the engine compartment, cut the metal
battery terminal loops off of the positive and
negative power terminals. Remove one ground
strap screw from the upper radiator core
support. Using the factory battery ground
terminal screw, attach the factory ground cable
to the ground location on the upper radiator
core support. (See Fig. 2.)
F. Remove the factory screw from the positive
terminal and drill out the hole in the positive
terminal with a 15/64" drill bit. Install a supplied
lug end terminal onto the supplied power cable
end that was previously routed into the engine
compartment. Secure the two cable ends
together with 1/4-20 bolt, nut and washers.
Use heat shrink tubing to insulate any bare
metal areas.
G. Attach a supplied lug end terminal to the
supplied negative cable. A good ground
location can be achieved in the trunk by
sanding the primer off from around a factory
hole on the passenger’s side interior steel
wheel well. Using the supplied 3/8 -16 bolt, nut
and washers, secure the negative cable to this
location. (See Fig. 3.)
Fig. 2
Fig. 2
P/N: 007079
©2004 Vortech Engineering, LLC
All Rights Reserved, Intl. Copr. Secured
28JAN04 v1.0 BattRelocRoutng(7079v1.0)
1
Page 5

BATTERY RELOCATION AND CABLE ROUTING, cont’d.
H. Open the gas tank door and remove the three
screws holding the filler neck using a 10mm
socket.
I. From beneath the vehicle, support the weight
of the gas tank with a jack and remove the bolt
securing the passenger’s side strap. Loosen
the bolts securing the driver’s side strap to
lower the tank enough to gain access to the
underside trunk floor panel.
NOTE: The ideal amount of fuel in the tank is 1/4
tank or less. This allows for easier maneuverability of lowering the gas tank.
J. From within the trunk, trace out the supplied
battery box bottom cover and mark its mounting hole locations.
K. Temporarily reinstall the trunk interior wheel
well cover and verify the location of the supplied battery box for proper fit. Mark any areas
of the interior wheel well cover that will have to
be trimmed to fit and two locations for the
battery cable to travel through. Remove the
cover from the vehicle and cut out the marked
locations. (See Fig. 4.)
L. Center punch the marked locations on the
floorboard and drill mounting holes using a 25/
64" drill bit. Use caution when drilling through
the floorboard.
contact the fuel tank at any time
for the battery cable location in the interior
fabric panel covering the wheel well using a
39/64" drill bit. Using a razor knife, cut a small
hole in the factory rubber boot in the
passenger’s side of the trunk. Route the
supplied clear hose through this opening.
M. Attach the supplied 90° plastic breather fitting
onto the side of the aluminum battery box.
Reinstall the interior wheel well fabric cover,
routing the battery cables through the holes
previously drilled. Place the supplied battery
box bottom and side enclosure onto the floorboard and mount using the supplied all-thread
and supplied 3/8-16 nuts and washers. There
should be about one inch of thread exposed
beneath the nut and washer when lowering
through the floorboard. From beneath the
vehicle, secure the all-thread with the supplied
3/8-16 nuts and washers.
N. Raise the gas tank up into factory location and
secure using the factory bolts and straps.
Reinstall the three screws securing the filler
neck.
O. Lower the battery into the supplied battery box.
Install the supplied battery hold-down bracket.
(See Fig. 5.) (It may be necessary to cut the
Ensure the drill bit does not
. Drill holes
Fig. 3
Fig. 4
Fig. 5
©2004 Vortech Engineering, LLC
All Rights Reserved, Intl. Copr. Secured
2
28JAN04 v1.0 BattRelocRoutng(7079v1.0)
P/N: 007079
Page 6

BATTERY RELOCATION AND CABLE ROUTING, cont’d.
vertical tabs off of the hold-down bracket
depending on your battery.) Secure the supplied battery hold-down bracket using 3/8-16
nuts and washers. Attach the clear hose end
to the plastic 90° fitting mounted on the side of
the battery box. (Refer back to Fig. 5.)
P. Trim the power and ground cables to desired
length, cut back the insulation and install the
supplied battery end terminals. Use the supplied 1-1/2" heat shrink tubing to cover any
bare metal surfaces on the cable/terminal
connections. (See Fig. 6.)
Q. Connect the supplied battery terminals to the
battery. Install the supplied battery box lid and
secure with the supplied washers and wing
nuts. Using a hacksaw, cut the all-thread to
where there is 3/4" of thread exposed above
the wing nuts. (See Fig. 7.)
R. Reinstall the trunk carpeting and interior trim
pieces. From beneath the vehicle, secure the
end of the clear hose away from the exhaust
and any moving or sharp components. (See
Fig. 8.)
Fig. 6
Fig. 7
Fig. 8
®
ENGINEERING, LLC
1650 PACIFIC AVENUE • CHANNEL ISLANDS, CA 93033-9901 • (805) 247-0226
FAX (805) 247-0669 • www.vortechsuperchargers.com • M-F 8:00 AM - 4:30 PM PST
©2004 Vortech Engineering, LLC
3
All Rights Reserved, Intl. Copr. Secured
28JAN04 v1.0 BattRelocRoutng(7079v1.0)
P/N: 007079
 Loading...