

Vonino XAVY T7 Quick Start Manual

DESIGNED BY TZIGARET-DESIGN.COM
Copyright © 2016 Vonino. All right reserved. Vonino® logo is registered trademark of Vonino Inc.
QUICK
START
GUIDE
www.vonino.us
VONINO Inc.
72608 El Paseo I Palm Desert I CA 92260 USA I Tel: +17609331533 I info@vonino.us
XAVY T7

EN
DE
IT
CZ
HR
BG
RO
2 - 11
12 - 21
22 - 29
30 - 37
38 - 45
46 - 53
54 - 63
QUICK
START
GUIDE
03EN
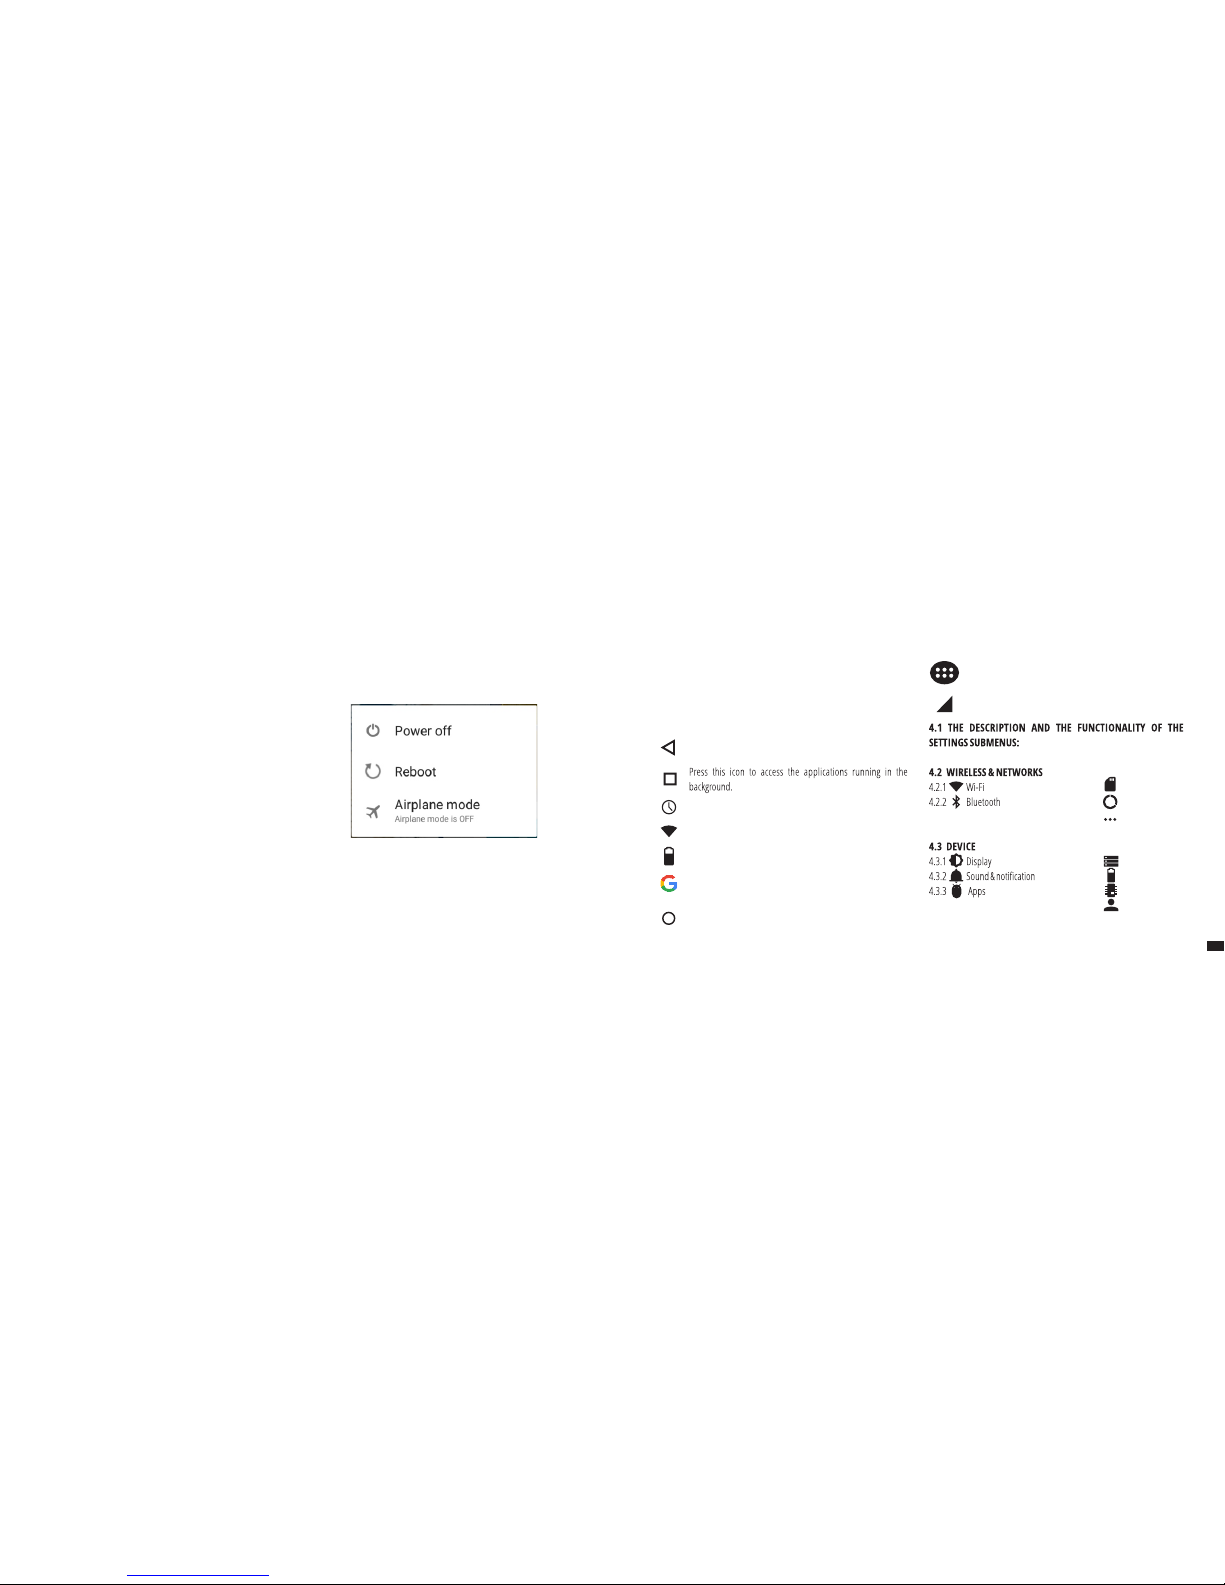
HOW TO INSTALL THE SIM AND MEMORY CARD:
1. Take the protective cover out
2. Insert the SIM in the indicated position
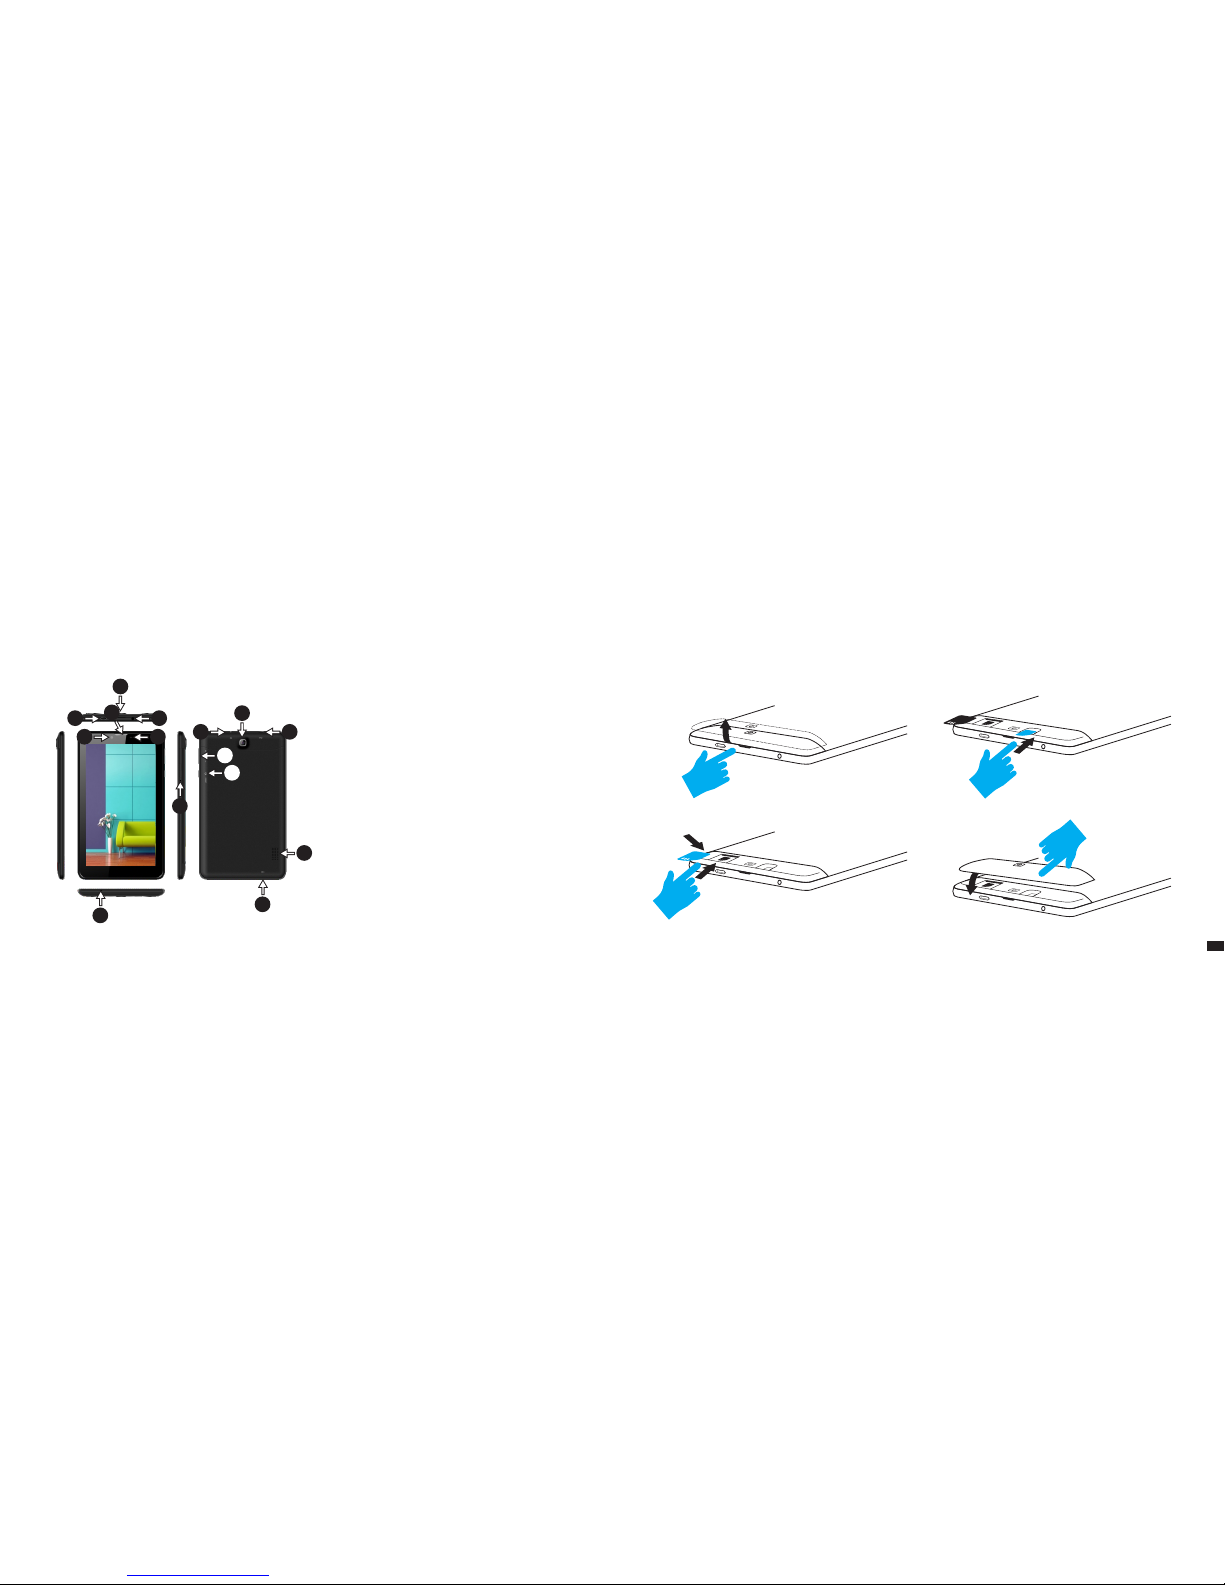
01 | The product
1.1 APPEARANCE AND DESCRIPTION OF THE DEVICE
1. microUSB charging connector
2. Back facing camera
3. 3.5mm audio jack
4. Front facing camera
5. Headset
UNPACKING:
Your Vonino device should come securely packaged in its shipping
container along with the items listed below. Contact your dealer
immediately if you find that anything is missing or damaged. Note,
however, that contents may be changed without notice.
1 x Vonino tablet-PC 1 x USB2.0 Cable
1 x DC Power adapter DC 1 x Quick start guide
6. B-Sensor & P-Sensor
7. Volume +/-
8. Power / Lock / Unlock
9. Reset
10. Speaker
11. Microphone
3. Insert the memory card in the indicated position
4. Put back the protective cover
1
2
1
4 6
5
3
2
7
8
9
3
11
10
11
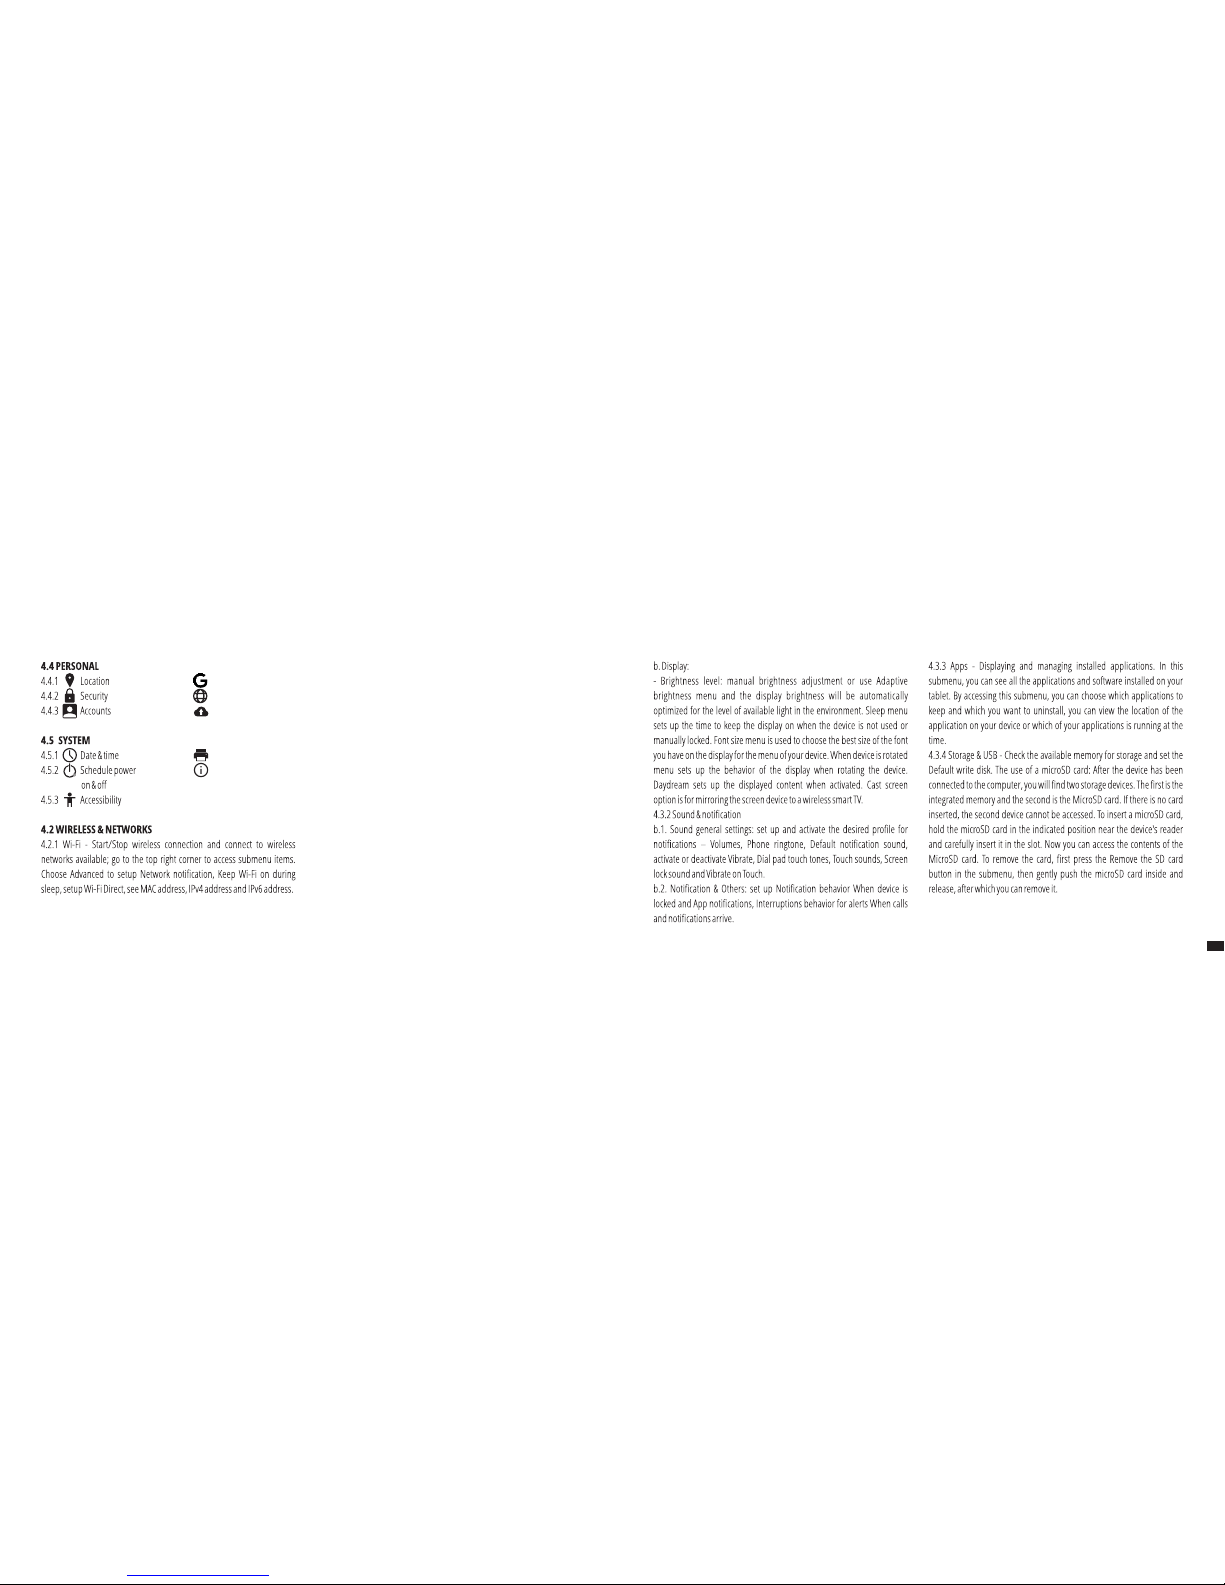
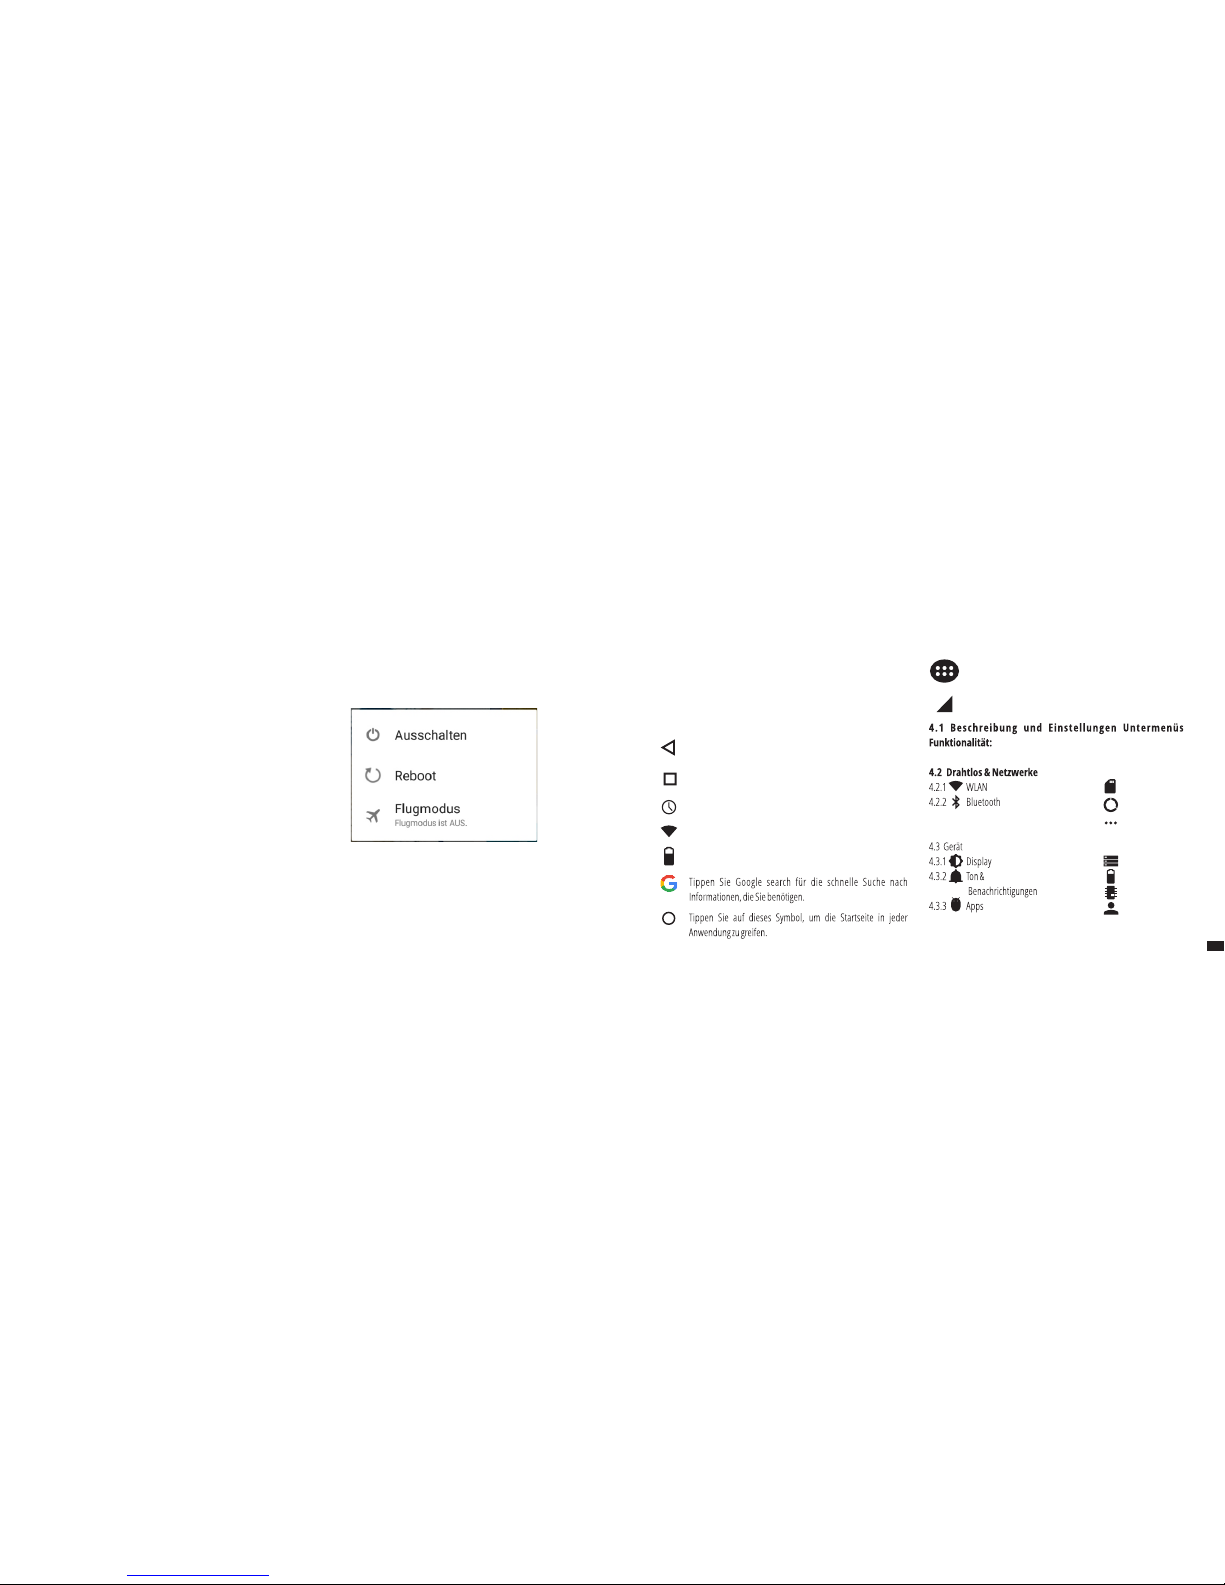
3.1 PERMANENT KEYSTo start your device, press and hold the Power Key for 5 seconds .
To power off your device, press and hold the power button for 5 seconds
and tap “OK” to power it off, when the automatic dialogue box appears.
In the operating mode, shortly press the Power Key to lock the screen or
enter sleep mode.
In the operating mode, shortly press the Power Key and glide the locked
icon on to the unlocked icon , in order to unlock.
While in function, the device can automatically enter stand-by, if this option
is enabled, after a preset period of time.
If your device gets blocked during use, you can perform a forced restart, by
using the Reboot button.
02 | Starting up
your device
03 | The main
interface
Press this icon to return to the previous page.
The TIME icon.
The strength of the wireless signal.
TM
Press Google search for a quick search of the information you
need.
Press this icon to go to your home screen.
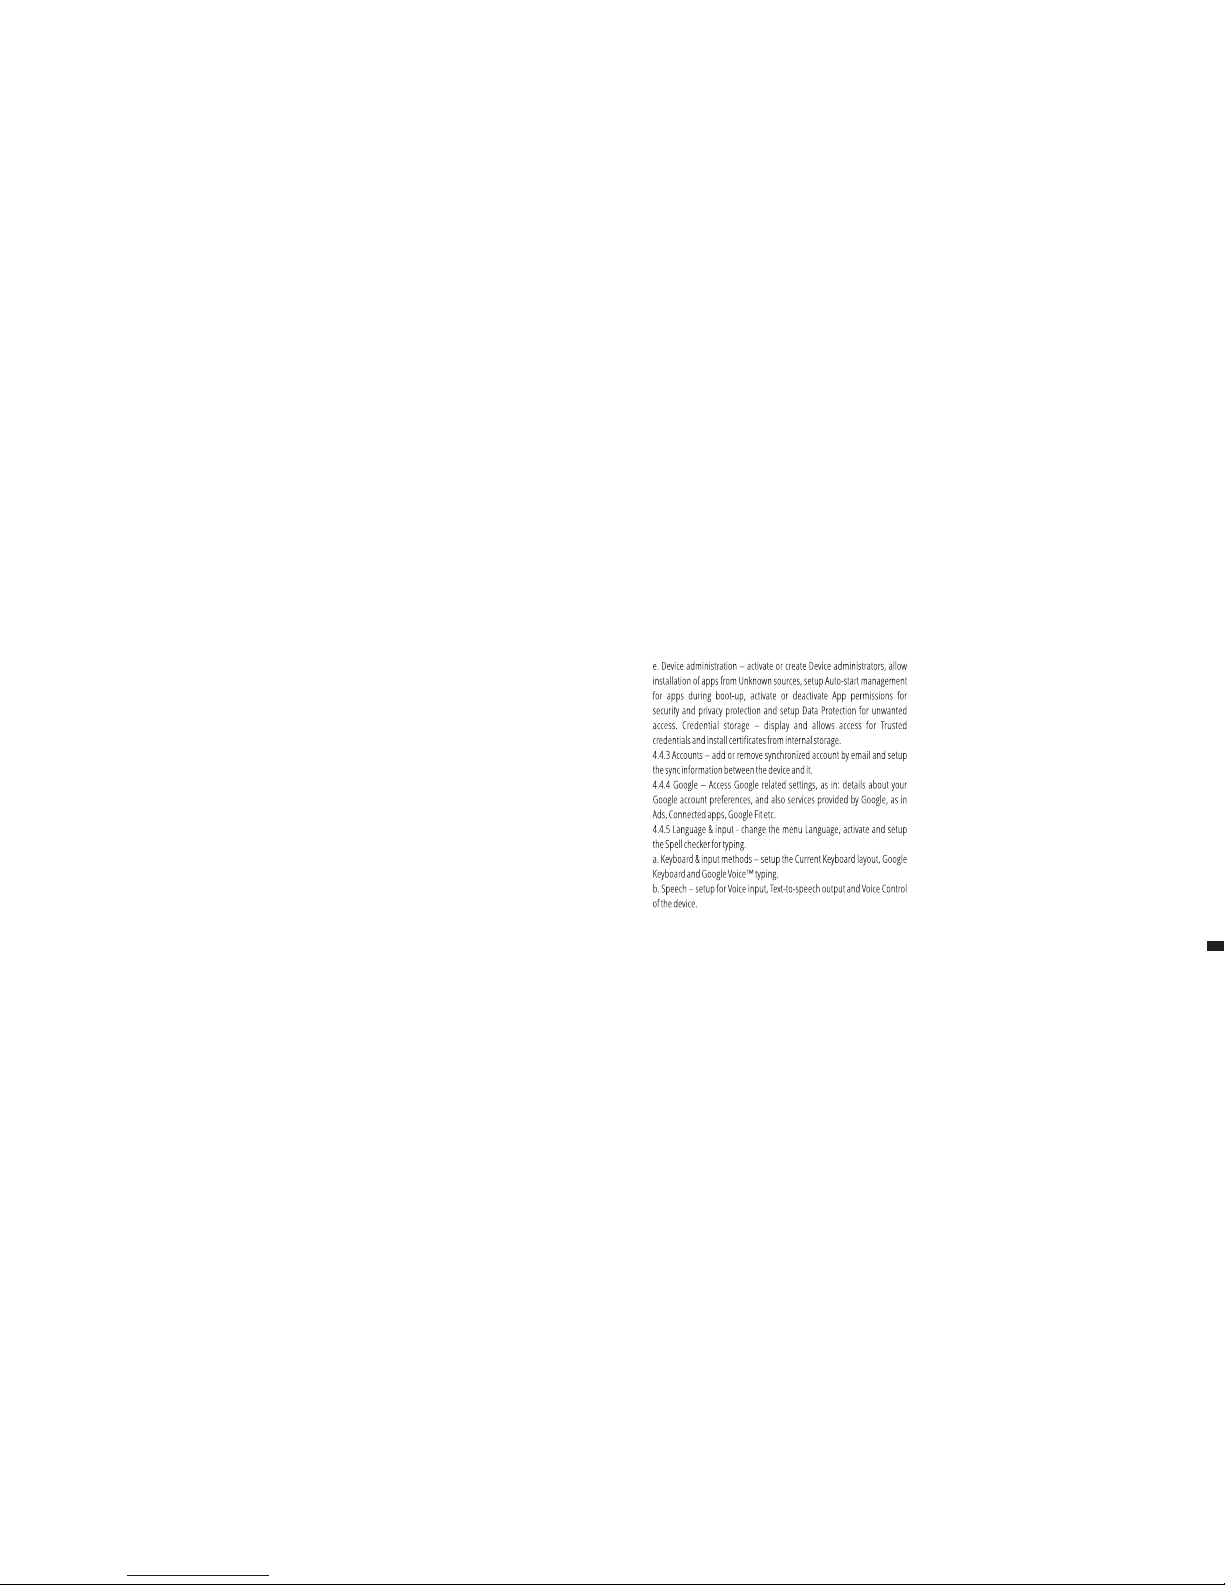
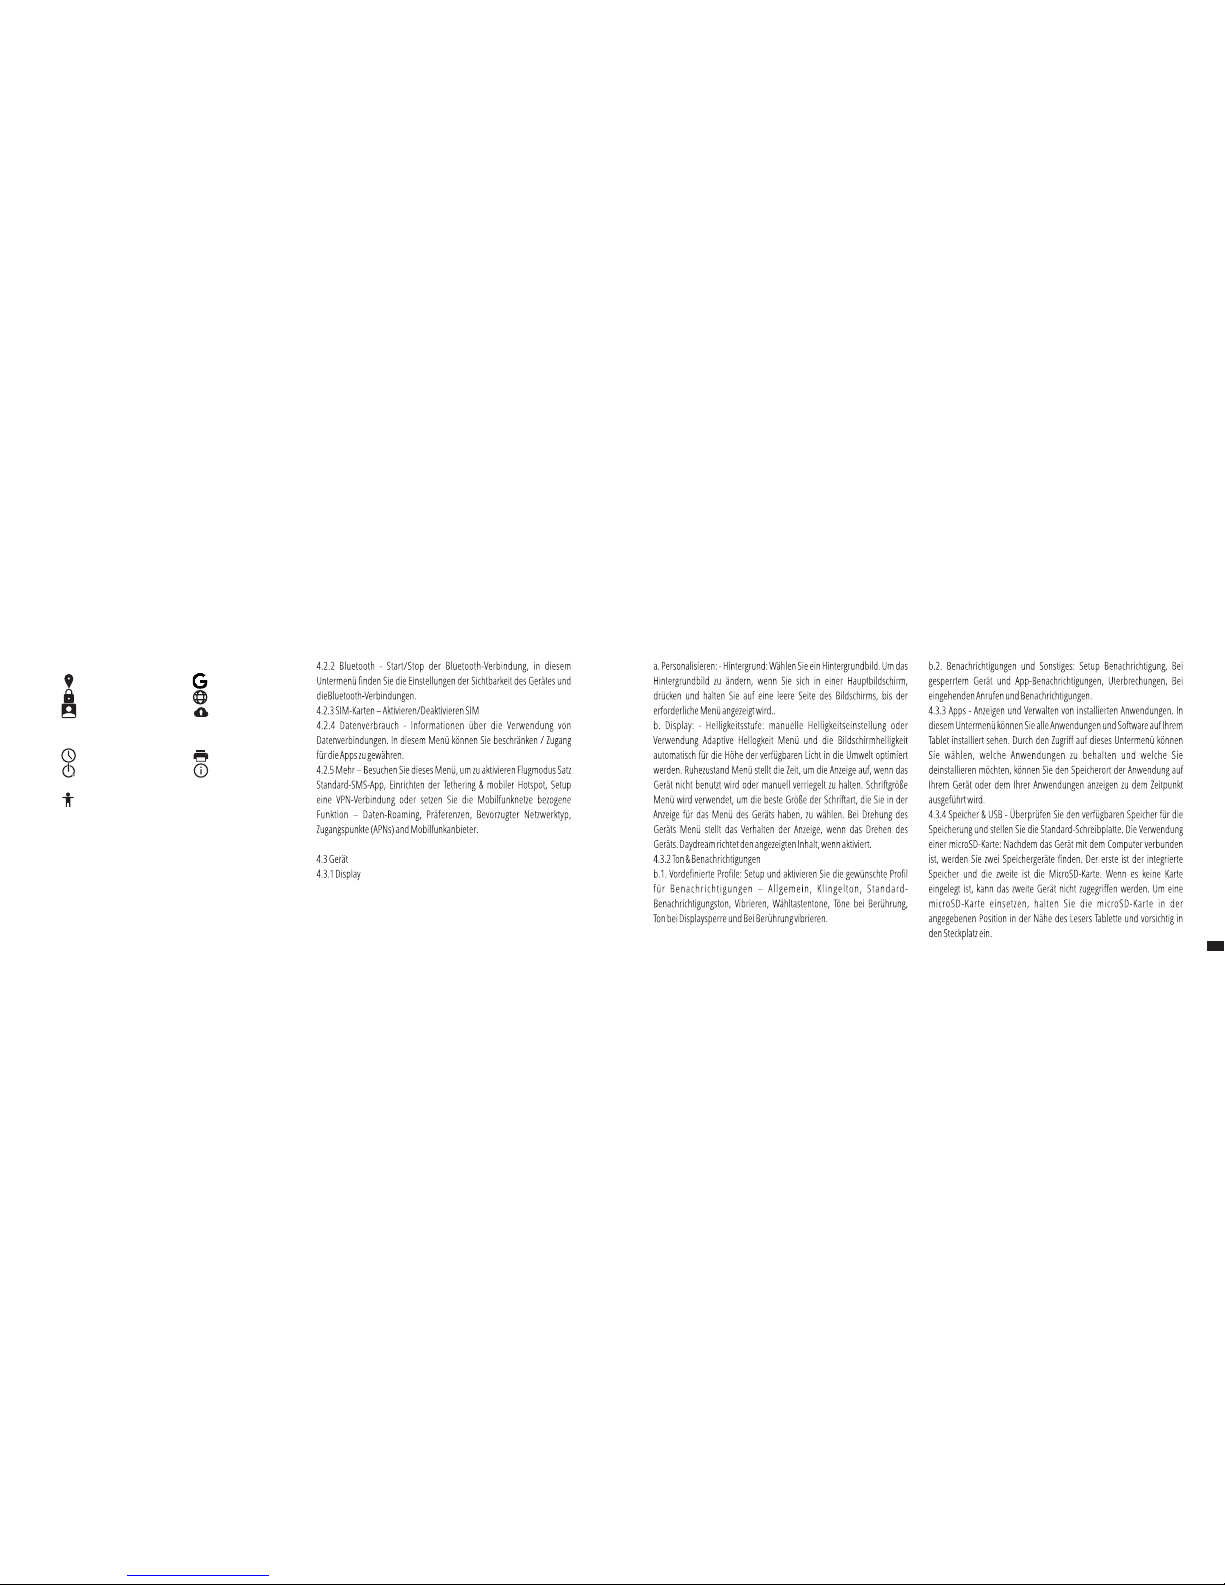
Press this icon to access the menu with installed applications.
Battery status icon.
The strength of the 3G signal, when active.
05EN
4.2.3 SIM cards
4.2.4 Data usage
4.2.5 More
4.3.4 Storage & USB
4.3.5 Battery
4.3.6 Memory
4.3.7 Users
07EN
4.5.4 Printing
4.5.5 About device
4.4.4 Google
4.4.5 Language & input
4.4.6 Backup & reset
4.2.2 Bluetooth - Turn on/off Bluetooth connectivity; in this submenu, you
can find the visibility settings of the device and the Bluetooth devices
available for connection.
4.2.3 SIM Cards – Activate/Deactivate SIM
4.2.4 Data usage - Displays information about the use of data connections.
In this menu you can restrict/grant access for the apps.
4.2.5 More – Using this menu you activate Airplane mode(switch on/off all
network connection), set Default SMS app, setup the Tethering & portable
hotspot, setup a VPN connection or set the Cellular network related
function – Data roaming, Preferred networks, Preferred network type,
Access Point Names and Network operators.
4.3 Device
4.3.1 Display
a. Personalize:
- Wallpaper: choose a background image. To change the background image
when you are in a main screen, press and hold on an empty side of the
screen, until the necessary menu is displayed.
4.3.5 Battery - Displays information on the power status. The device uses a
Li-Ion battery of high capacity. The consumption of energy depends on
both the size and the type of the files you access, as well as on the
operations you perform on the device. The device can be configured by the
user in the Settings menu, accessing the submenus present there. The
device can be recharged using an USB cable or its charger. Plug the charger
to an alternative electric power source of 220V, then connect the charger to
the jack of the device.
4.3.6 Memory – check the amount of memory usage over sa selected
period of time, and also details about the apps that are most using you
RAM memory.
4.3.7 Users – setup different User & profiles with different access and
features for each.
4.4 PERSONAL
4.4.1 Location - Contains settings to turn On or Off automatic location
through GPS or Wi-Fi connection and set the Mode of function. Your device
is equipped with a global positioning system (GPS) receiver.
For better reception of GPS signals, avoid using your device in the following
conditions: Between buildings, in tunnels or underground passages, or
inside buildings; In poor weather conditions; Around high voltage or
electromagnetic fields; In a vehicle with sun protection film. Do not touch or
cover the area around the antenna with your hands or other objects while
using the GPS functions. This feature may be unavailable depending on
your region or service provider.
4.4.2 Security
a. Screen security - Screen lock: You can configure the way you wish to
unlock your screen: None, Swipe – just swipe the screen upwards to
unlock, Voice Unlock – unlock with a predefined spoken text, Pattern –
unlock by dragging according to pattern, by PIN or Password.
b. Encryption – activate to encrypt the content of you device.
c. SIM card lock – activate or deactivate PIN SIM card lock.
d. Passwords – activate in order to see the passwords you enter when
required.
c. Mouse/trackpad – access this menu to setup Pointer speed.
4.4.6 Backup & reset
a. Backup & restore – setup the Back up my data option to account of your
choice and activate or deactivate the Automatic restore option.
b. Personal data – access the menu for DRM reset licenses and Factory data
reset of the device in order to restore it to its factory settings.
4.5 SYSTEM
4.5.1 Date & time – the menu gives you control to setup Automatic date &
time, activate or deactivate Automatic time zone, manual setup for date,
time and time zone and display format for date and time.
4.5.2 Schedule power on & off – setup automatic ON and OFF time and
days for the device.
4.5.3 Accessibility
a. Services – this menu accesses installed services like TalkBack or Switch
Access so you can turn it On / Off
b. System – gives access to the functions of Magnification gestures, Large
text, High contrast text, Power button behavior, Auto-rotate screen, Speak
passwords, Accessibility shortcut, Touch and hold delay
09EN
c. Display – activates or deactivates Color inversion and Color correction.
4.5.4 Printing – allows you to install printing services for the compatible
printers.
4.5.5 About - access the System updates menu, Status of your device –
Battery status and level, SIM status, IMEI information, IP address, Wi-Fi
MAC address, Bluetooth address, Serial number and Up time; Legal
information regarding Open source licenses, Google legal and Wallpapers;
Model number, running Android™ version, Baseband version, Kernel
version and Build number.
Android, Google, Google Play and other marks are trademarks of Google
Inc.
We hereby declare that [all essential radio test suites have been carried out
and that] the above named product is in conformity to all the essential
requirements of Directive 1999/5/EC.
The technical documentation kept at:
Vonino Inc.
which will be made available upon request by
Advanced Technologies SRL
(Representative in the EU)
Putul lui Zamfir 7 street, 4th floor, 1st district, Bucharest, Romania, ZIP
Code 021255
2016.06.07
(date of issue)
EN 60950-1 : 2006+A11:2009
EN 50332-1 : 2000
EN 50332-2 : 2003
62311 : 2008
EN 503671 : 2002
IEC 62209-2 : 2010
Council Recommendation 1999/519/EC
SAFETY
SAR EN
EN 301 489-01 V1.8.1 (04-2008)
EN 301 489-17 V2.1.1 (05-2009)
EMC
EN 300 328 V1.7.1 (10-2006)
EN 300 440-1 V1.5.1 (03-2009)
RADIO
EN 300 440-2 V1.3.1 (03-2009)
EN 301 893 V1.5.1 (12-2008)
11EN
Vasile Razvan
CEO

13
DE
SIM und Speicherkarte Installieren:
1. Entfernen Sie die Schutzabdeckung aus
2. Setzen Sie die SIM in der angegebenen Position
01 | Das produkt
1.1 Aussehen und Beschreibung des Gerates
1. microUSB/Ladegerät
Anschluss
2. Rücken zur Kamera
3. Headset-Anschluss
4. Vorne Kamera
5. Headset
UNPACKING:
Your Vonino device should come securely packaged in its shipping
container along with the items listed below. Contact your dealer
immediately if you find that anything is missing or damaged. Note,
however, that contents may be changed without notice.
1 x Tablet Vonino 1 x USB2.0-Kabel
1 x Netzteil DC 5.0V 2.0Ah 1 x Anleitung
6. B-Sensor & P-Sensor
7. Volumen +/-
8. Starten/ Schließung/
Sperren/Entsperren
9. Reset
10. Lautsprecher
11. Mikrofon
3. Legen Sie die Speicherkarte in der angegebenen Position
4. Schließen Sie die Schutzabdeckung
1
2
1
4 6
5
3
2
7
8
9
3
11
10
11
3.1 TastenFür 5 Sekunden startet das Gerät, drücken und halten Sie die Taste Power .
So schalten Sie das Gerät aus, drücken und halten Sie die Power-Taste für 5
Sekunden und tippen Sie auf "OK", um sie auszuschalten, wenn die
automatische Dialogfeld erscheint.
In der Betriebsart, kurz die POWER-Taste drücken, um zu verriegeln Im
Betrieb, um das Gerät zu Entsperren, drücken Sie kurz das Start-Symbol
und ziehen Sie das Symbol mit dem Fingerin Richtung Symbol . Während
des Betriebs kann das Gerät automatisch nach einer voreingestellten Zeit
in den Standby Modus übertreten, falls diese Option aktiviert ist.
Wenn das Tablet während der Anwendung sich blockiert, kann man durch
Verwendung der Rücksetzen-Taste (Reboot) einen Neustart erzwingen.
Zum Einstellen der Lautstärke Drücken Sie die Lautstärke-Taste.
02 | Inbetriebnahme
Ihres Geräts
03 | Wichtigste
schnittstelle
Tippen Sie auf dieses Symbol, um zur vorherigen
Seite zurückzukehren.
Tippen Sie auf dieses Symbol, um auf Anwendungen die im
Hintergrund laufen zuzugreifen.
Lebensdauer de Tablets.
Wireless-Signalstärke-Symbol.
Tippen Sie auf dieses Symbol, um das Menü mit
installierten Anwendungen zu greifen.
Batteriestatus-Symbol.
Netzwerke Signalstärke-Symbol.
15
4.2.3 SIM-Karten
4.2.4 Datenverbrauch
4.2.5 Mehr
4.3.4 Speicher
4.3.5 Akku
4.3.6 Speicher
4.3.7 Nutzer
DE
4.5.4 Drucken
4.5.5 Über das Tablet
4.4 Nutzer
4.4.1 Standort
4.4.2 Sicherheit
4.4.3 Konten
4.5 System
4.5.1 Datum & Uhrzeit
4.5.2 Ein-/Abschaltung
nach Zeitplan
4.5.3 Bedienungshilfen
4.2 Drahtlos & Netzwerke
4.2.1 WLAN - Start / Stop der Wireless-Verbindung; Fügen Sie in diesem
Menü die Einstellungen für Wireless- Verbindung. Selektieren Erweitert
für Netzwerk hinzufügen, WLAN im Ruhemodus aktiviert lassen, Wi-Fi
Direct, MAC addresse, IPv4 addresse und IPv6 addresse.
17
4.4.4 Google
4.4.5 Sprache & Eingabe
4.4.6 Sichern &
zurücksetzen
DE
 Loading...