

Smart Touch devices must be
installed by a qualified
electrical expert.
TOUCH
TOUCH
!
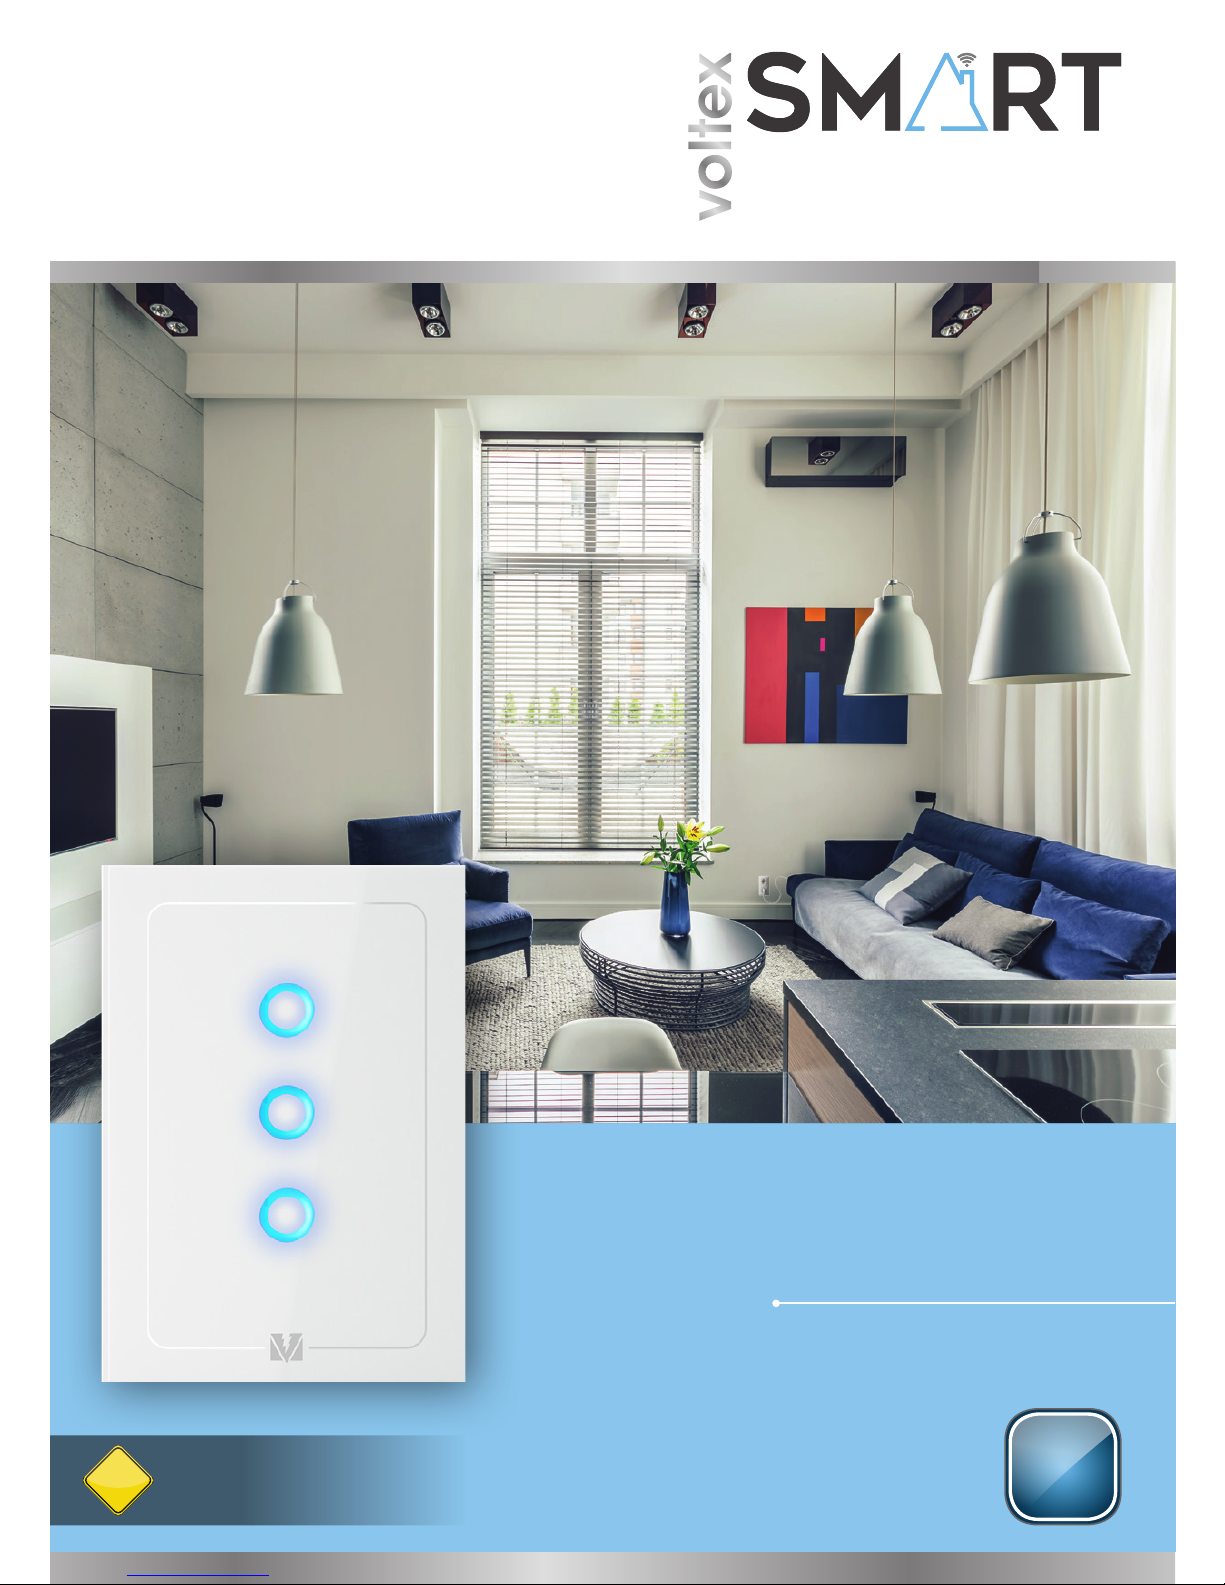
TRIPLE Switch
smart
control.
smart life.
2
Year
Warranty
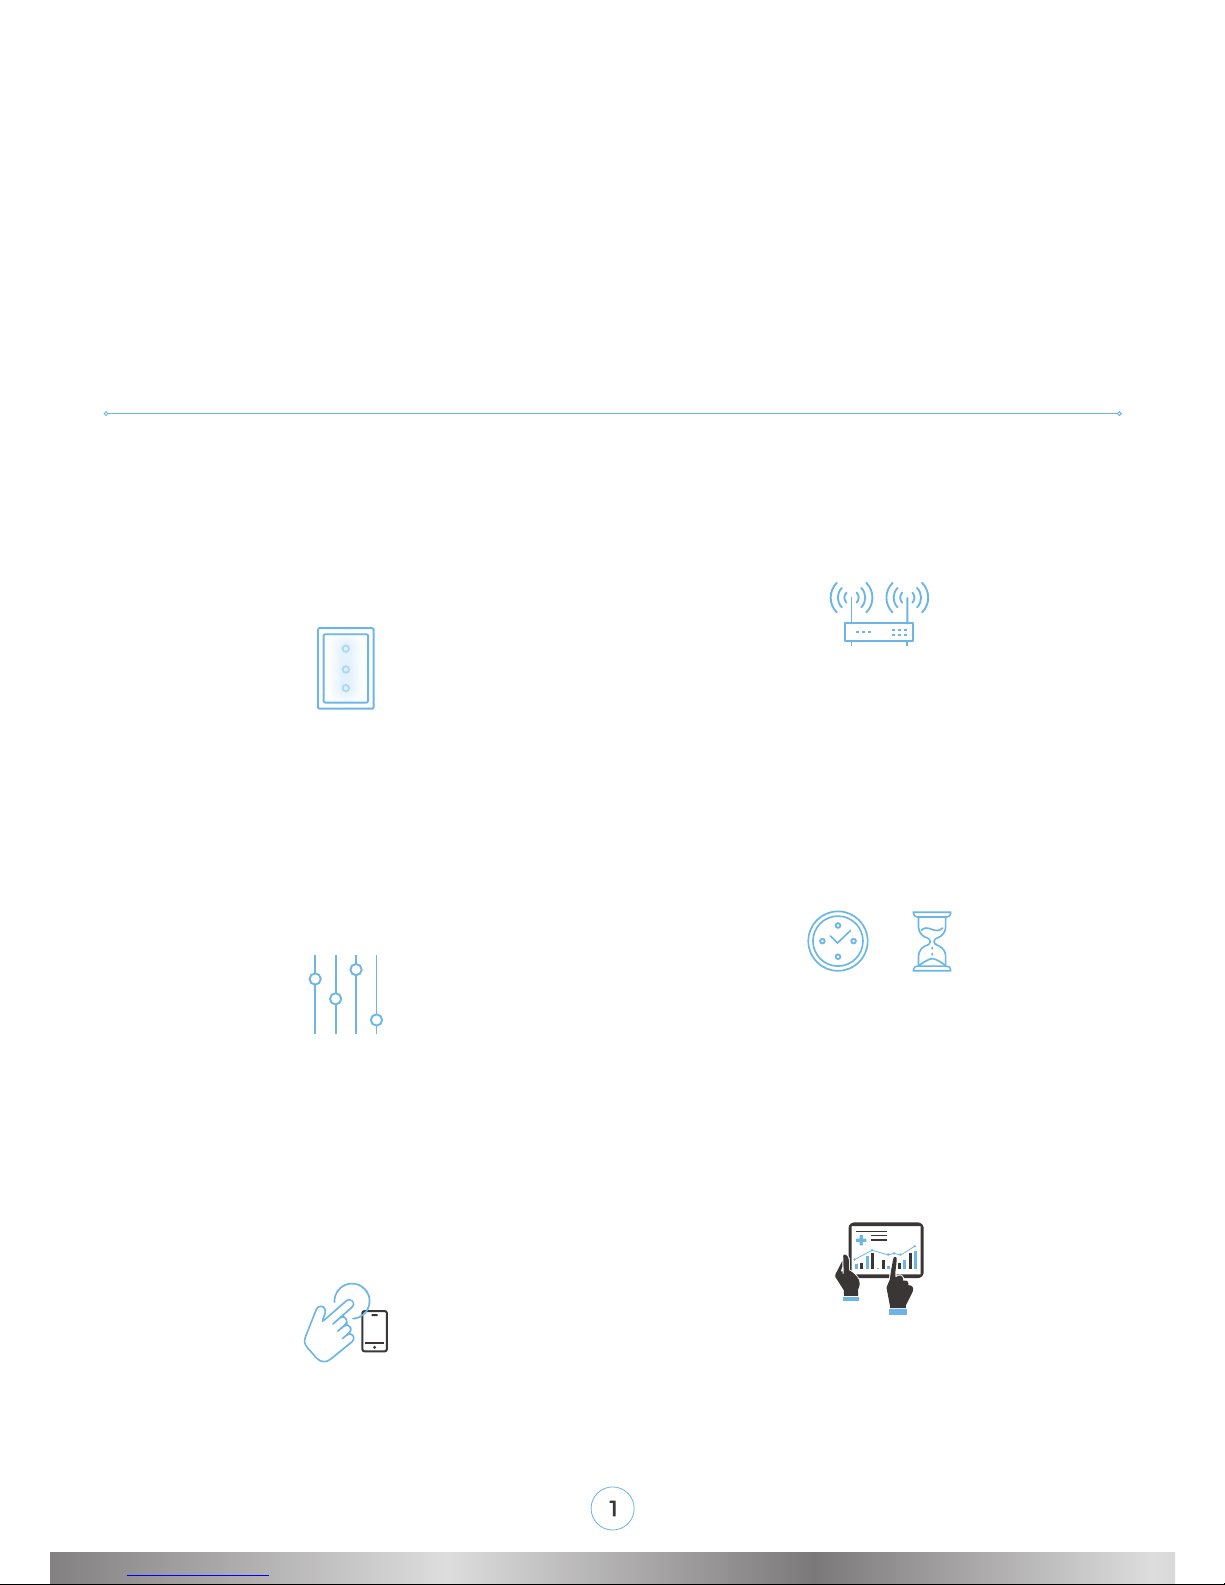
1. This switch cover offers a clean and fresh
look. Backlit and touch-enabled, ideal for
your new smart home and suitable for
use in conjunction with a standard
wall box.
2. No need for any extra wiring or a neutral
wire and no need for changes to the
existing electrical infrastructure. By using
the mobile App each switch may be set
up as an On/Off switch, a dimmer switch,
a 2-Way switch, a timed switch option or
a favourite scenario switch.
3. The length of transmission of each
command is less than 2 milliseconds and
uses a very low power level. Transmissions
only occur when a command is initiated.
The amount of data consumed is also
very low for these transmissions and
commands.
4. The switch continues to work even if the
internet goes down or if the router or
Central Unit goes off.
5. Every time a paired light switch is
triggered, the most optimal timing
system, called Zero Cross Technology, is
implemented to complete the process.
This is to protect and extend the lifespan
of the electrical lamps and fittings that
are connected.
6. A sensor, fitted into the module, allows
the system to get an accurate reading
of the electrical current consumption
of each paired switch. The sensor also
functions as an overload protector and
shuts off the load in case of an overcurrent.
Versatility is the key to bringing your home to life. Instantly make your home a
smart home with our wirelessly brilliant technology! The Voltex Smart Touch
Triple Switch, enables scheduled switching, as well as the creation of unique
customised scenarios from the comfort of your home or directly from your
smart device when you are not homebound.
Using patent protected innovative technology, the system is installed quickly
and no rewiring or wall drilling is required.
Upgrade your living standards in a matter of hours!
Technical Specifications:
3A 10A
NAME V-3-SW-SSR-3A V-3-SW-R10
PRODUCT CODE A12744 A12745
POWER 100V-230V, 50-60 Hz 100V-230V, 50-60 Hz
MAX. CURRENT
3A, for all the buttons,
(3A Dimmer)
7A, for all the buttons,
(2A Dimmer)
LOAD RANGE 6VA-400VA 6VA-1600VA
TRANSMISSION
FREQUENCY
433 MHz 433 MHz
RANGE
Up to 100m Indoors,
500m Outdoor
Up to 100m Indoors,
500m Outdoor
DIMENSIONS FOR
MODULE
65 x 45 x 30mm 65 x 45 x 30mm
DIMENSIONS FOR
COVER PLATE
2 x 4 or 50 x 100mm 2 x 4 or 50 x 100mm
CONFIGURATIONS
On/Off, Dimmer, 2-Way,
Scenario, Timed
On/Off, Dimmer, 2-Way,
Scenario, Timed
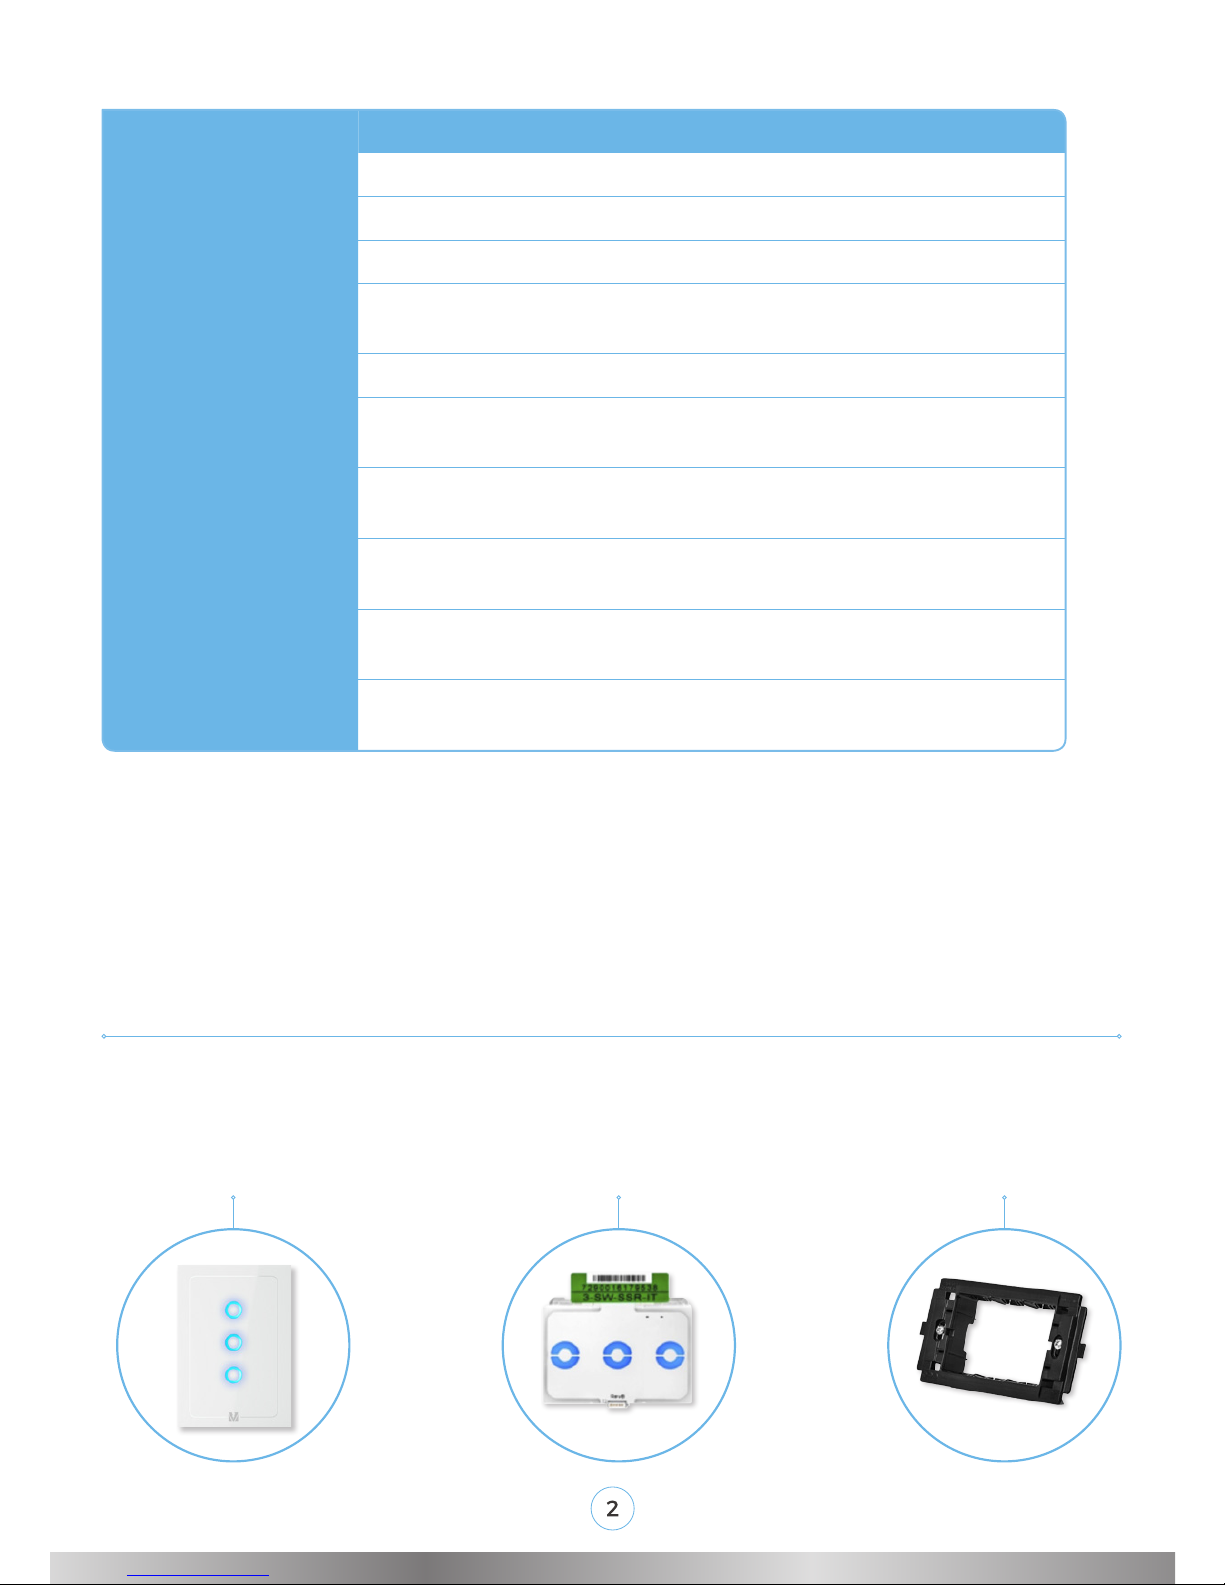
What your Triple Switch includes:
1. Switch Cover Plate 2. Module 3. Yoke
Dimming – for light fixtures to be dimmable you need to ensure your light
fixture or bulbs/tubes are dimmable and that the voltage ranges from 220-230V.
If the voltage is lower than 220-230V, please contact us for an additional driver.
If the bulb or tube burns out, the module will go dark. It is not faulty, just replace
the lamp, and the switch backlight will light up again.
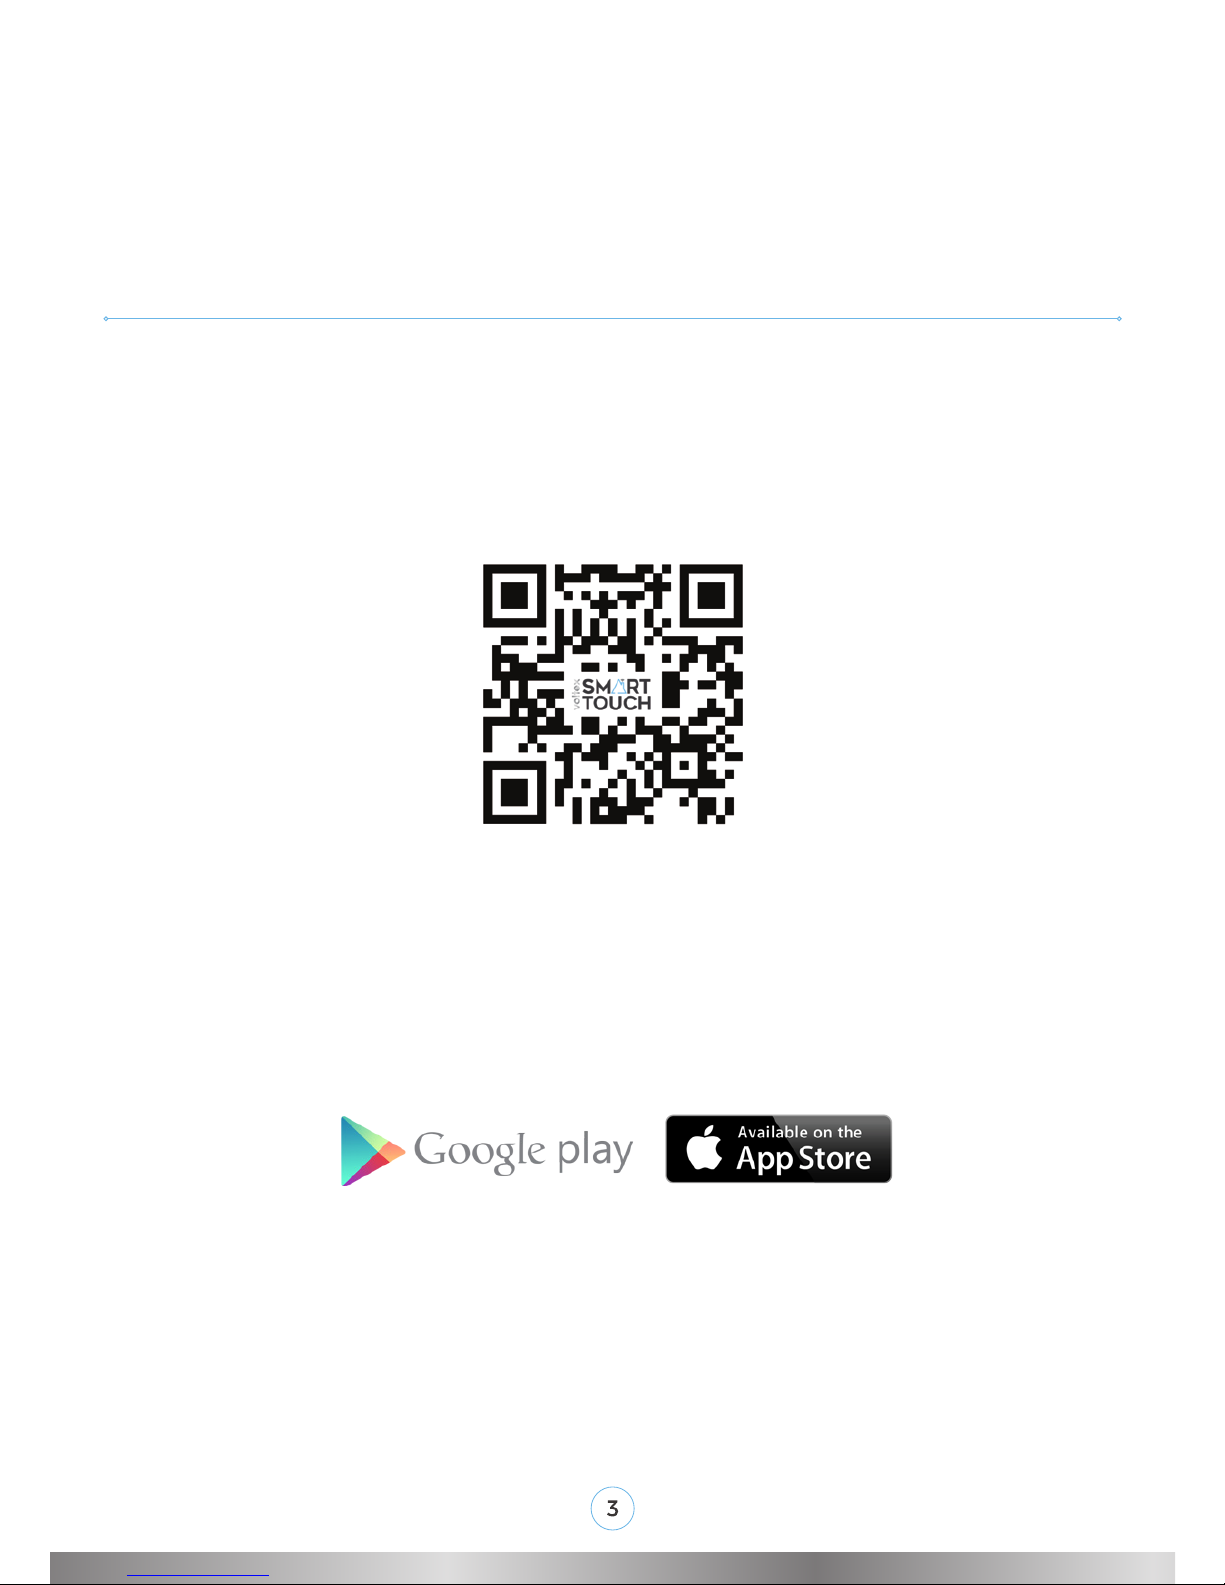
1. Download the App
Getting started:
1. Download the App
2. Install the Switch
3 Sync the Switch to your Central Unit and Mobile App
Scan the QR code
Search for the App in your Google Play Store or
Apple App Store
OR
For the initial installation, your smartphone must be connected to the same
Wi-Fi network as the Central Unit!

2. Install the Switch
Installation Instructions – 1-Way
• Connect the Live into LIN and the return or lamp to L1, L2 & L3
N (optional)*
Phase return to the light fitting
N
L
(fuse)
3-SW-SSR
L1LIN
L2
L2
*If there is a neutral wire is present,
we recommend to connect it to N.

Installation Instructions – 2-Way
To control another light switch as a 2-Way switch, make sure that on the
other switch there is a Voltex Smart Touch module. Select one of the buttons
that has no wiring connected behind it and when pairing it to the mobile
application select 2-Way switch.
Once the switch has been paired as above then you are able to control the
switch by selecting the physical button or through the mobile application.
In the same way, any switch button that is not connected to a lamp can be
set as a scenario.
The two types of scenarios are:
Group Scenario - means that all the switches are turned On, then Off, then
On again each time you press on the physical scenario button or On the
scenario icon in the App.
Regular Scenario - means that all the selected switches are brought to a
particular state or level. You can select this level when creating the regular
scenario, by choosing On/Off, dimming % or opening/height %.
If the selected state has been implemented, pressing on the button again
causes no changes.

• Open the App.
• The App identies the Central Unit and starts the registration process.
• For registration, enter your name and email address.
3. Sync the Switch to your Central Unit and Mobile App
How to pair your switch to the Central Unit (CU) and your App:

• Pair the switches one at a time by pressing “EDIT”, in the App and then “+”
and then “ADD SWITCH”.
• Press the circle of the switch for 6 seconds until the switch circle blinks to
indicate that pairing has started.

• Follow the on-screen instructions to specify the switch name, switch room
and switch icon.
• The switch can be tested, before moving onto the next switch.
Please note that this process will only set up the one button on the switch.
Please follow the same process for the other two buttons to be set up.
• Press “ADD ANOTHER SWITCH” to continue adding switches, or “DONE” to go
to the main screen.

• To add timers press “EDIT”, select the required switch icon, then select
the TIMERS tab. Set the times you require and press “SAVE” to finish.
Use the blue tick mark to select which timers you want to temporarily
deactivate.
Timers can be added on individual switches, on sockets and on scenarios.

We hope you enjoy having
smart control of your
smart life!
If you have any
product related queries,
don’t hesitate to contact us.
For full terms and conditions visit
www.voltex.co.za/smarttouch
smartcontrol@voltex.co.za
www.voltex.co.za/smarttouch
 Loading...