

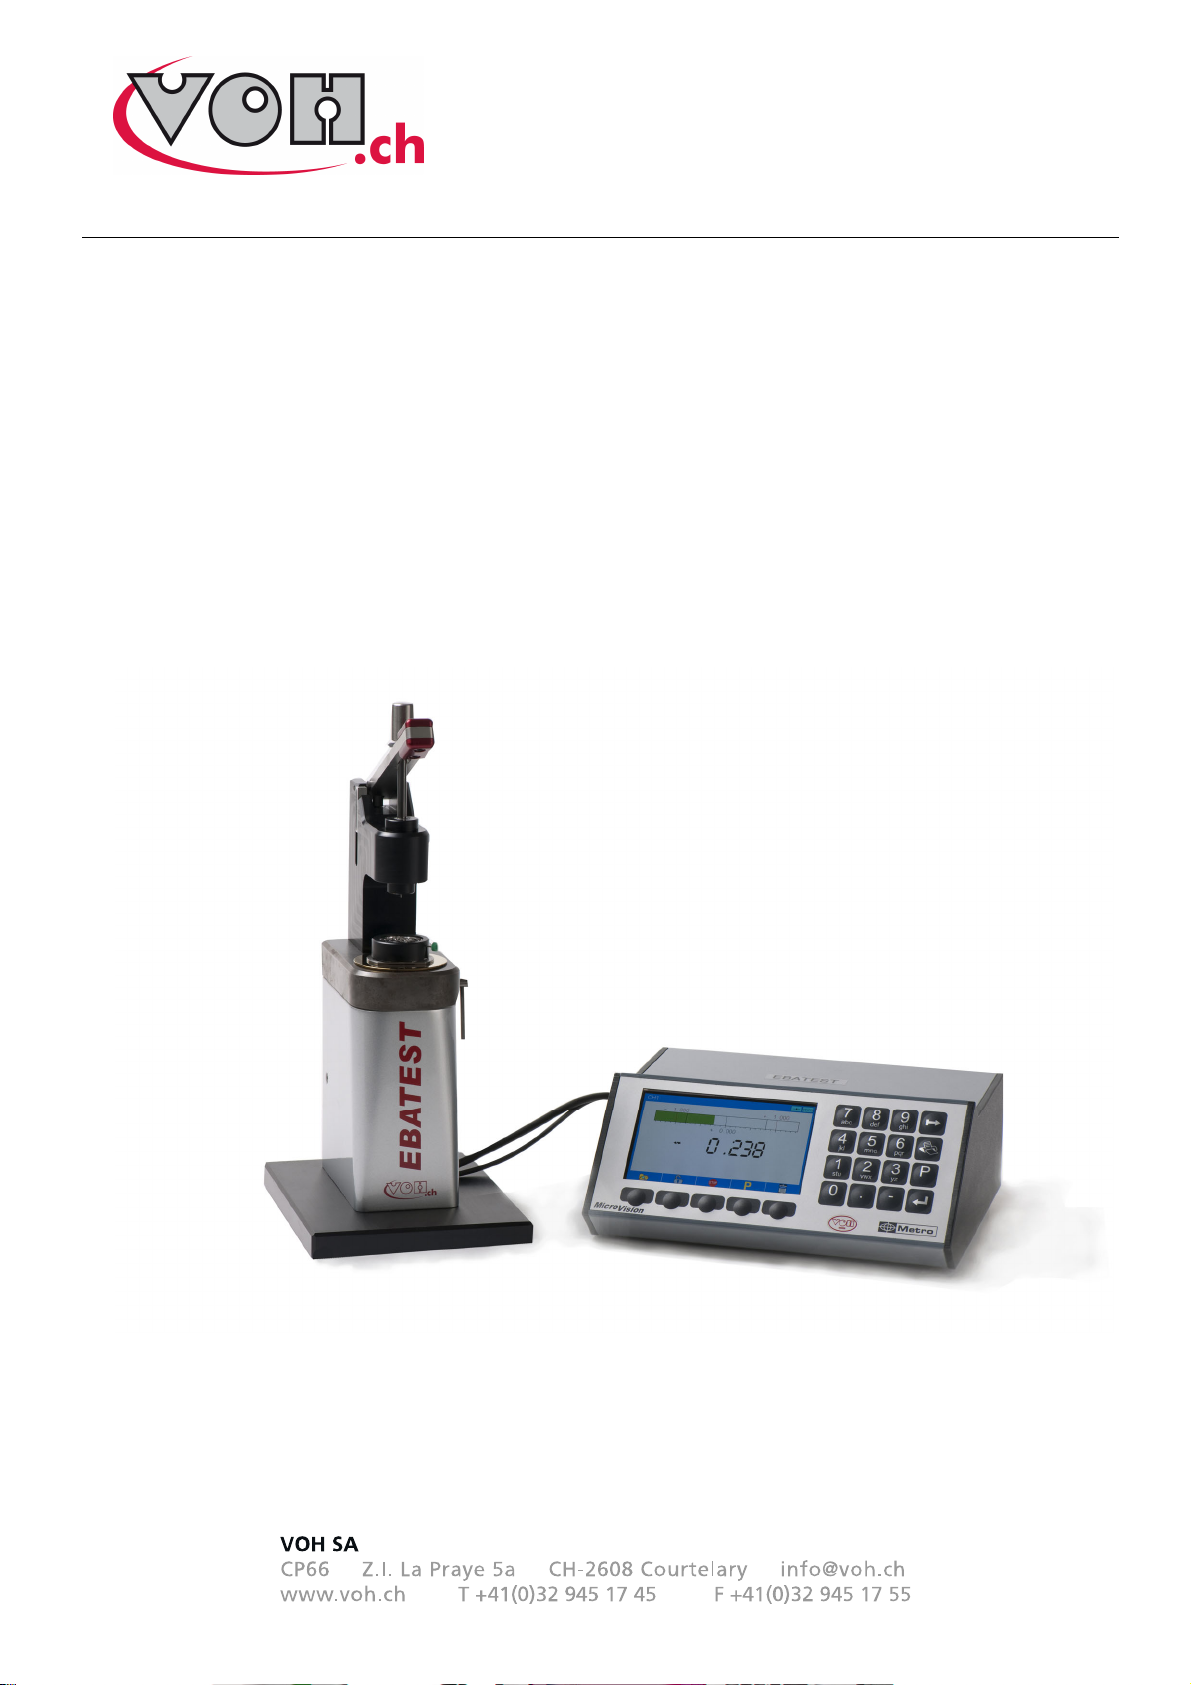
EBATEST
User guide
Translated from french

Solution
mécatronique
Ebatest
Page 2
User guide
1
General ......................................................................................................................................................... 3
1.1 Warranty .................................................................................................................................................... 3
1.2 Information ................................................................................................................................................ 4
1.3 Transportation ........................................................................................................................................... 4
1.4 Storage ...................................................................................................................................................... 4
2 Elements of the device ............................................................................................................................... 5
3 Operation ..................................................................................................................................................... 6
4 Switch on/off ............................................................................................................................................... 7
5 Use ............................................................................................................................................................... 8
6 Settings ...................................................................................................................................................... 10
6.1 Change the tip ......................................................................................................................................... 10
7 Representation/distribution ..................................................................................................................... 11

Solution
mécatronique
Ebatest
Page 3
User guide
1 General
1.1 Warranty
VOH SA warrants this product against defects in workmanship or material under conditions of normal use and
operation for a period of one year beginning on the date of placing into service by the customer. If at any time
during the warranty period, the product is deemed defective or is breaking down, VOH SA will repair or replace
it (determined by VOH SA).
If the product is defective, call the VOH after-sales service +41 (32) 945 17 45.
This does not apply if VOH SA shows that the defect or malfunction was caused by damages which occurred
while the product was in possession of a buyer.
The responsibility of VOH SA is limited to repair and replace the product under the above mentioned conditions.
VOH SA, SHALL NOT BE RESPONSIBLE FOR LOSS OR DAMAGES WHATSOEVER, INCLUDING
CONSEQUENTIAL Or ACCESSORIES DAMAGES FROM DIRECTLY OR INDERECTLY BREACH OF
WARRANTY, EXPRESSED OR IMPLIED Or ANY OTHER FAILURE OF THIS PRODUCT.
THIS WARRANTY IS THE ONLY EXPRESSED WARRANTY THAT VOH SA GIVES ON THIS PRODUCT.
This warranty covers only the original purchaser and is not transferable.
If you have questions concerning this warranty, please contact VOH SA :
VOH SA
z.i. La Praye 5a
CH-2608 Courtelary
Phone : +41(32) 945 17 45
Fax : +41(32) 945 17 55
E-Mail : info@voh.ch
Website : http://www.voh.ch

Solution
mécatronique
Ebatest
Page 4
User guide
1.2 Information
Attention !!!
Please read the information contained in this manual before using the device. An improper use may
damage the system, cause measurement errors.
Before connecting the device for the first time, make sure the power supply network matches the one
requested by the device.
In case of longer non-use of the device, disconnect the power cable.
Do not disassemble the unit. Only the manufacturer is entitled to replace or repair a faulty component.
Use this device to a temperature between 10° and 40° C (104 F)
1.3 Transportation
When moving the device, make sure not to cause shocks which might damage its mechanics. If transported over
a long distance, it is preferable to use a packaging protecting well from shocks.
1.4 Storage
The Ebatest must be stored in a dry place and protected from dust. The storage temperature should be between
10° and 40° C (104°F). It is advisable pack the camera to protect it from dust and humidity.

Solution
mécatronique
Ebatest
Page 5
User guide
2 Elements of the device
Ebatest :
Mirror
Handle
Lever
The handle is to move the tip downward (see chap. 3). The mirror enables the operator to place easily
movement-holder on the Ebatest. The lever allows to free the counter-tip when the operator wants to change it.
Micro Vision display :

Solution
mécatronique
Ebatest
Page 6
User guide
3 Operation
The Ebatest allows the measurement of the shake on mounted watch-movements. Its accuracy is about one
micron. Its operating principle is as follows: when moving down the handle, the counter-tip (lower tip) moves up
and pushes the movement wheel from below so as to catch it in the slot. While continuing to descend the handle
the upper tip comes pressing on the wheel from above. By its own weight, the top pin will lower the wheel. A
feeler is measuring this displacement, which represents the clearance. The measure will be displayed on the
Micro Vision.
Tip
Counter-tip

Solution
mécatronique
Ebatest
Page 7
User guide
4 Switch on/off
Before switching on the display, make the following connections :
Switch
ON/OFF
Feeler
Power cable
230 VAC
Sensor
Once the connections are done, the display can be started by pressing the switch on ON. In the same way, it can
be stopped by pressing the switch on OFF.

Solution
mécatronique
Ebatest
Page 8
User guide
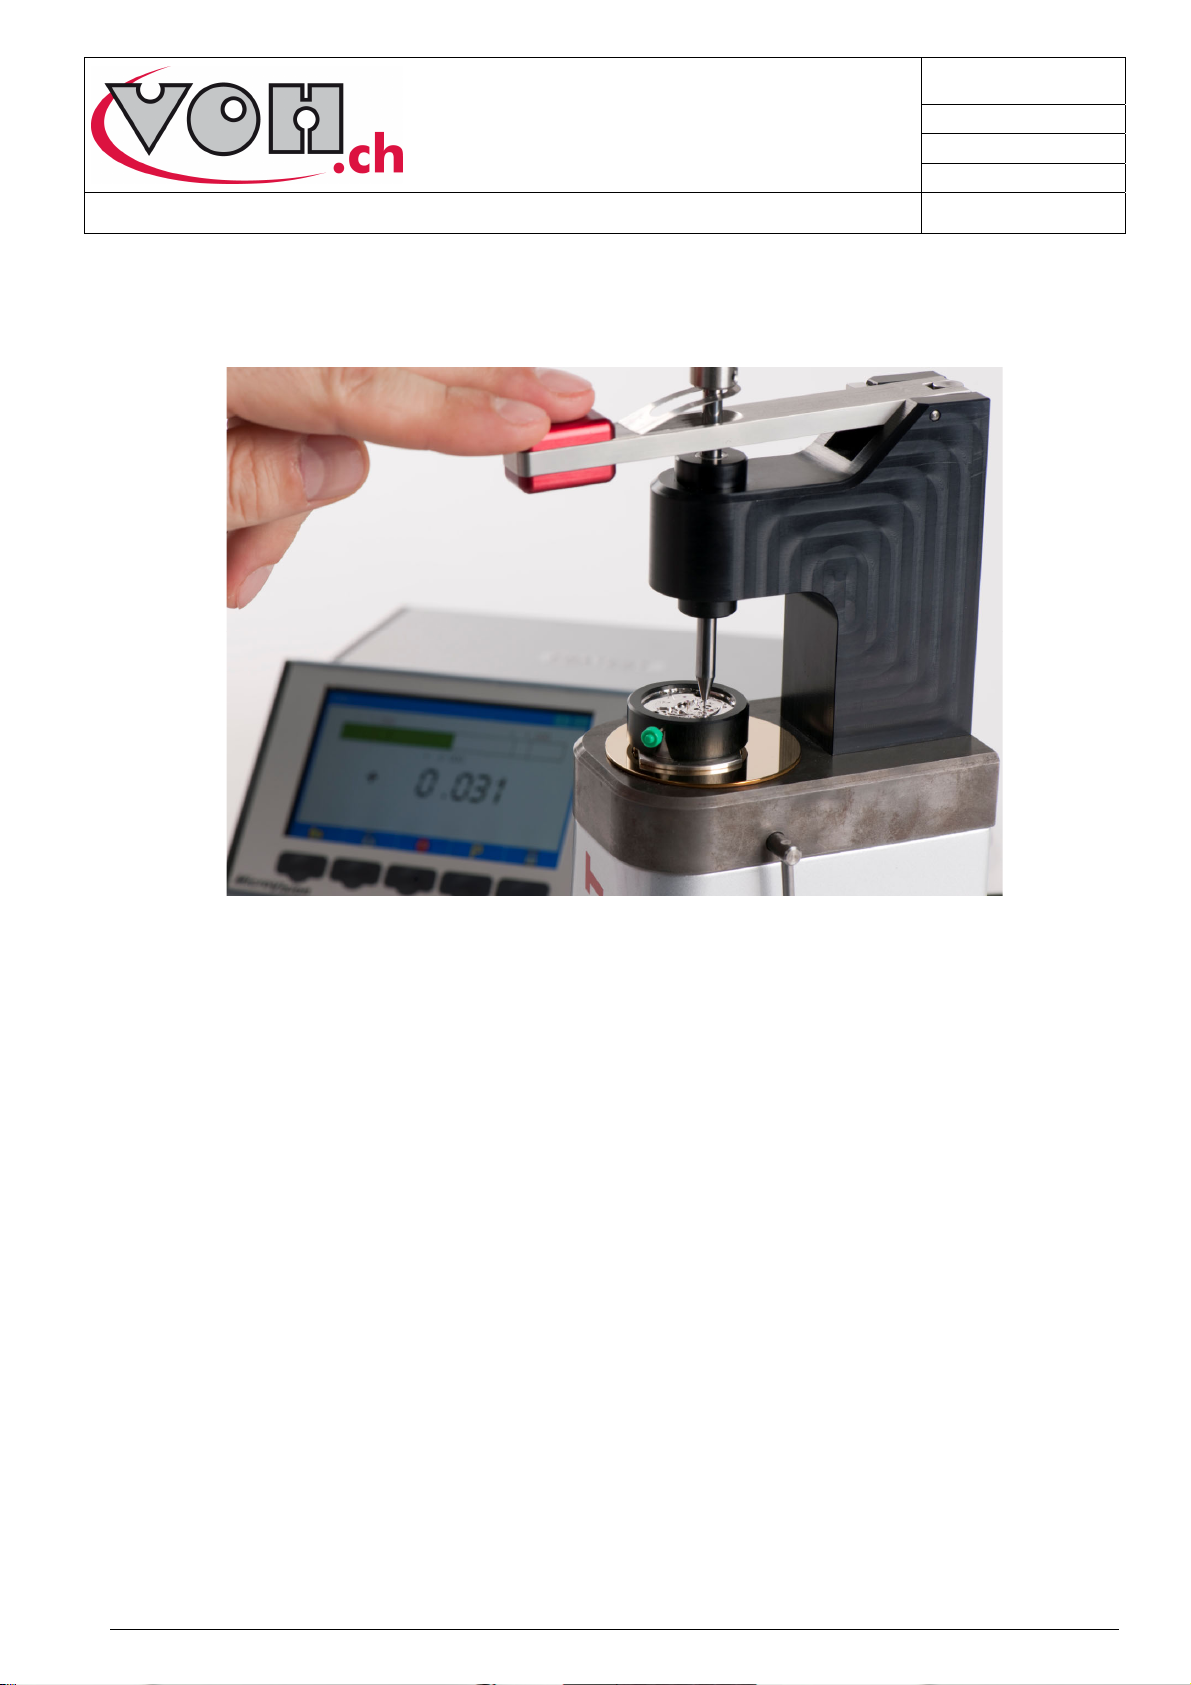
5 Use
To measure the shake of a wheel on a watch-movement, proceed as follows :
1. Connect the device (see chap. 4) and switch on the display.
2. Place the watch-movement you want to measure on the fitting.
3. Place the movement on the Ebatest. The mirror allows to easily set the correct fitting hole on the pin
(each hole corresponds to a wheel position on the movement and is specific to this movement).
Solution
mécatronique
Ebatest
Page 9
User guide
4. Lower the handle until the tip presses on the wheel.
5. Note dowb the value of the shake displayed on the Micro Vision.
Solution
mécatronique
Ebatest
Page 10
User guide
6 Settings
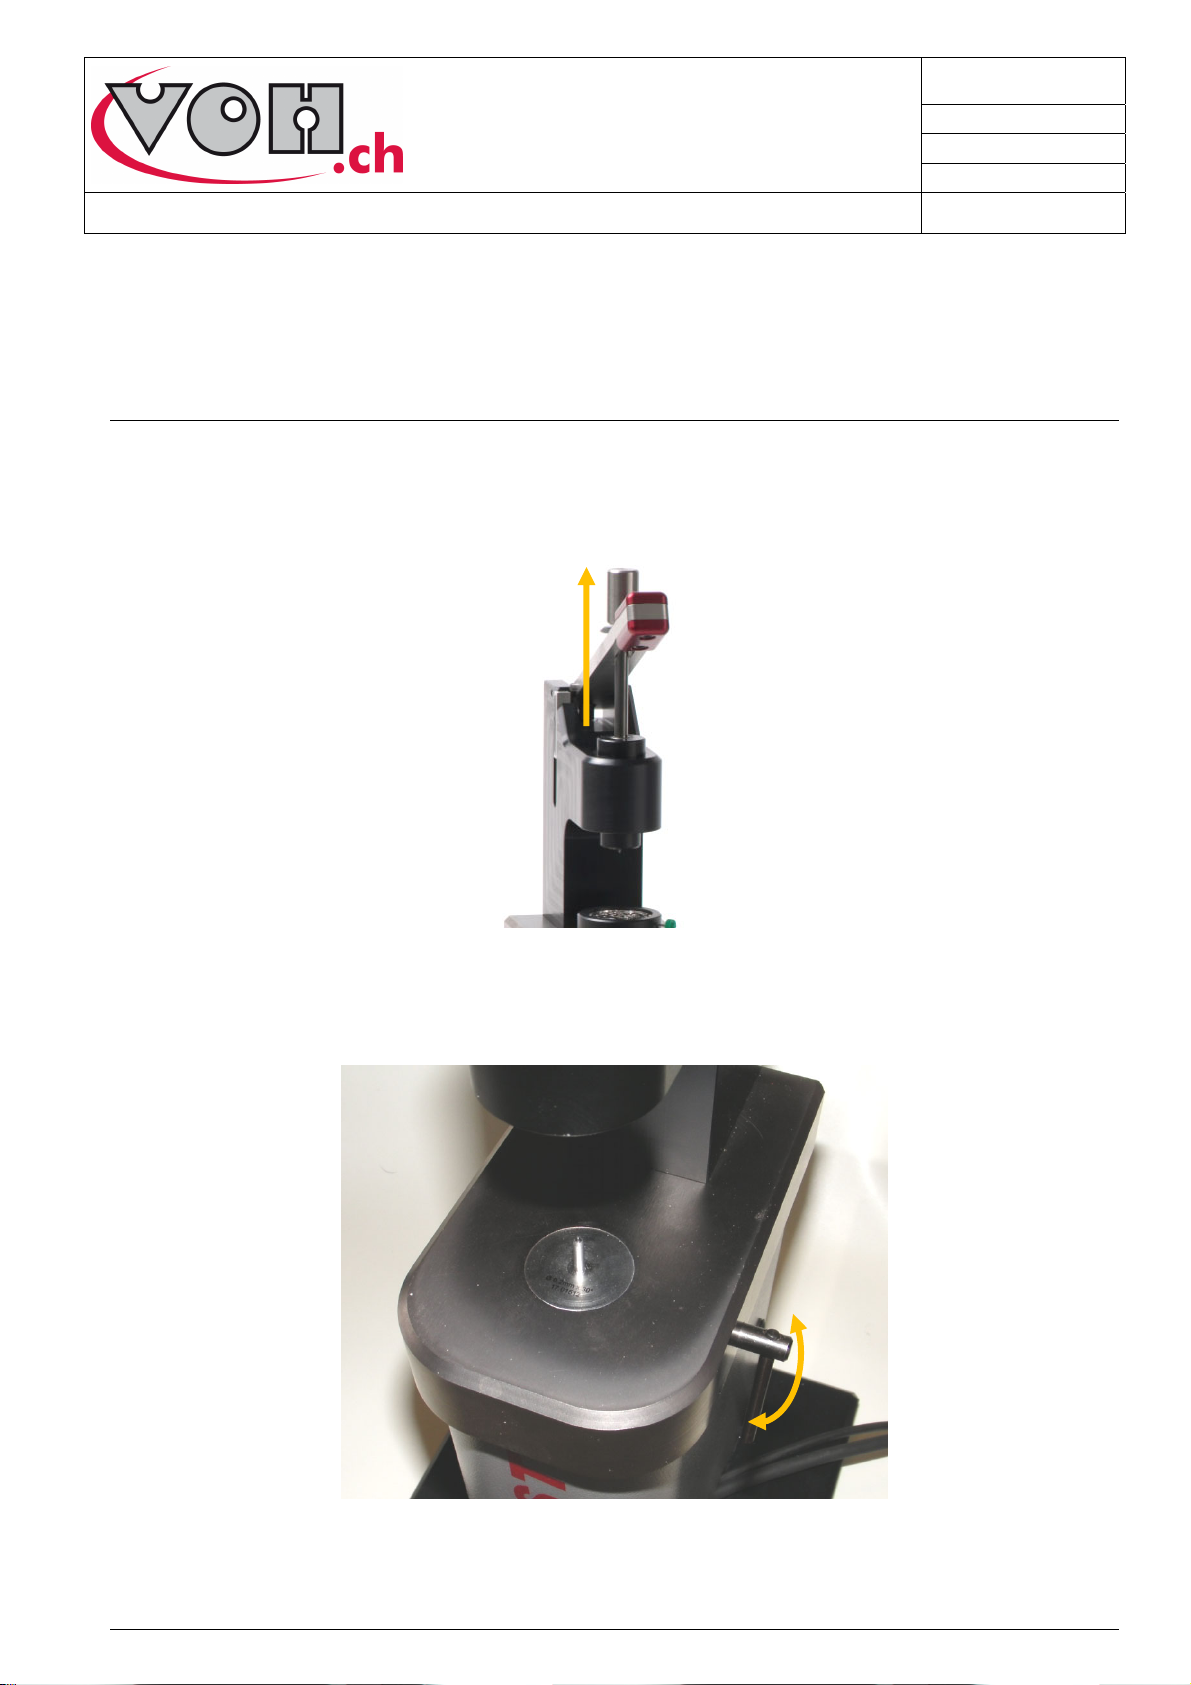
6.1 Change the tip
Tip :
To change the tip, simply slide it by the top
Caution : The head of the tip is extremely fragile !!! Avoid shocks, as it may damage it !!!
Counter-tip :
To release the counter-tip, remove the mirror and turn the lever.

Solution
mécatronique
Ebatest
Page 11
User guide
7 Representation/distribution
 Loading...