

Page 1
Instruction Sheet For:
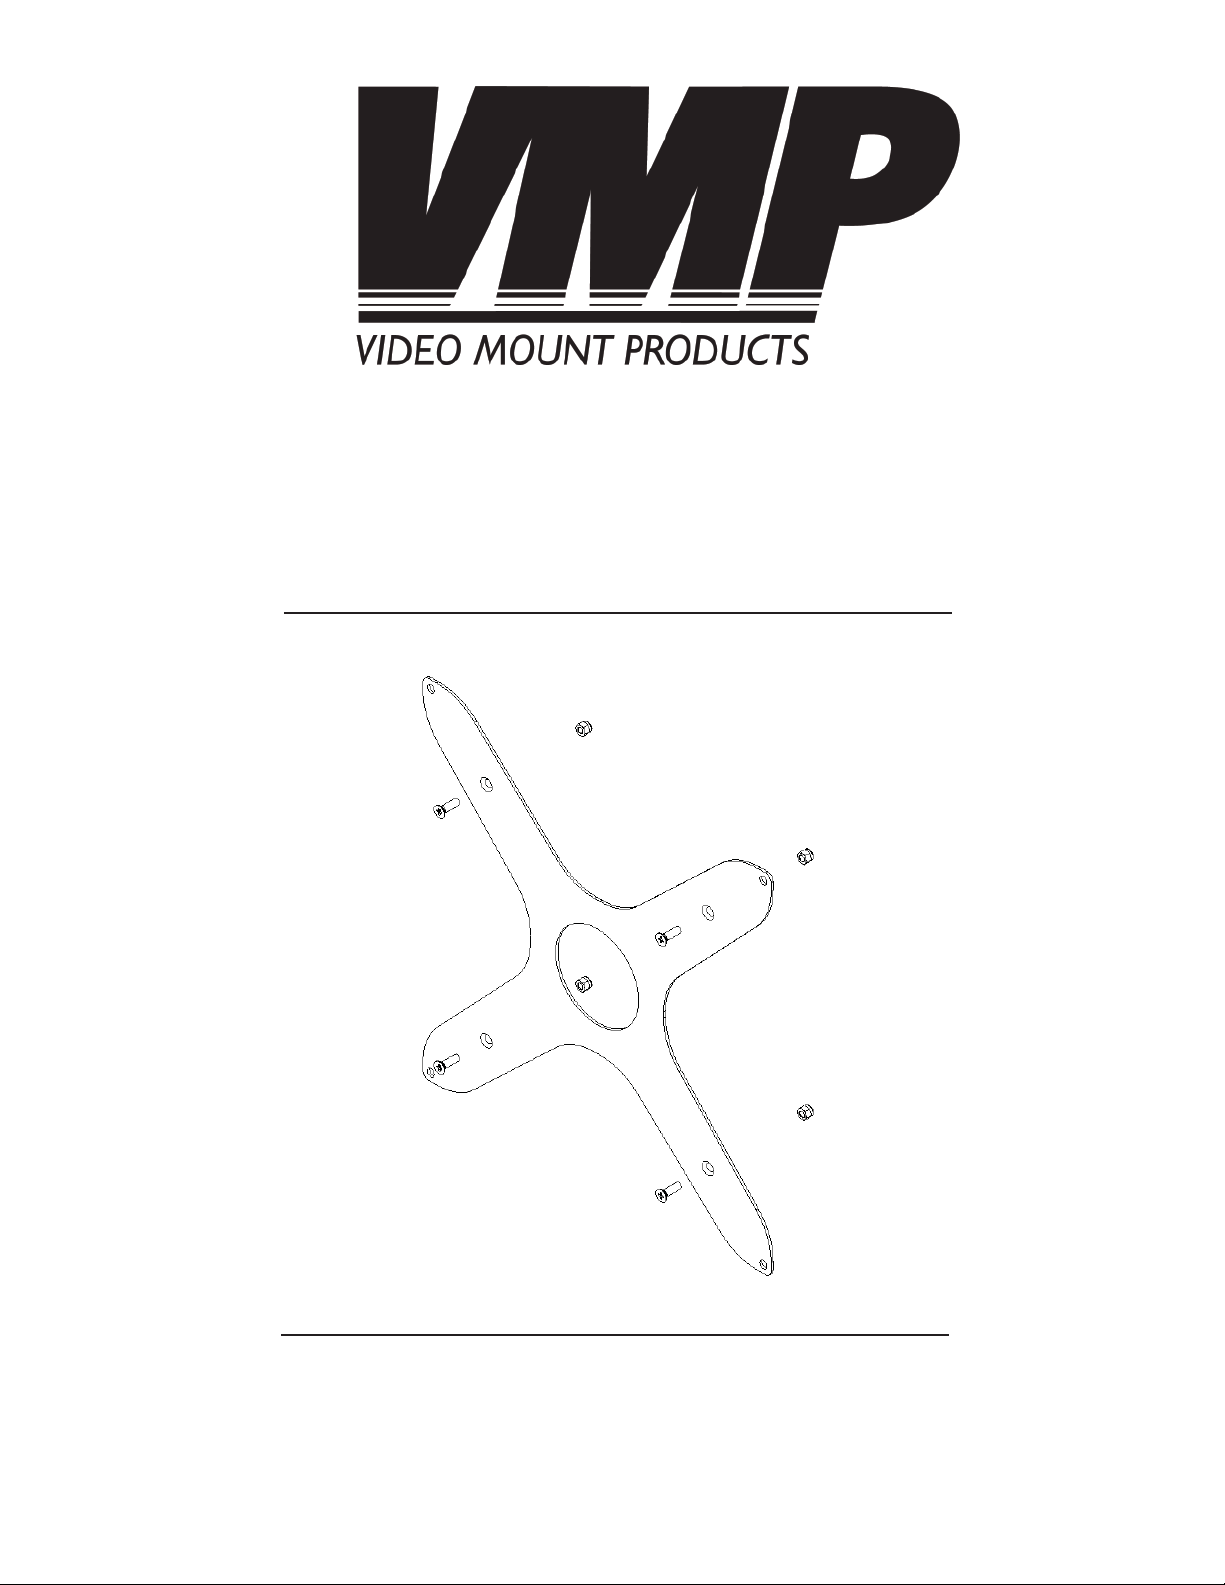
AP-2B
For more information, please contact us at:
345 Log Canoe Circle, Stevensville, Maryland 21666
Toll Free: 877.281.2169 Phone: 410.643.6390 Fax: 410.643.6615
www.videomount.com
Page 2
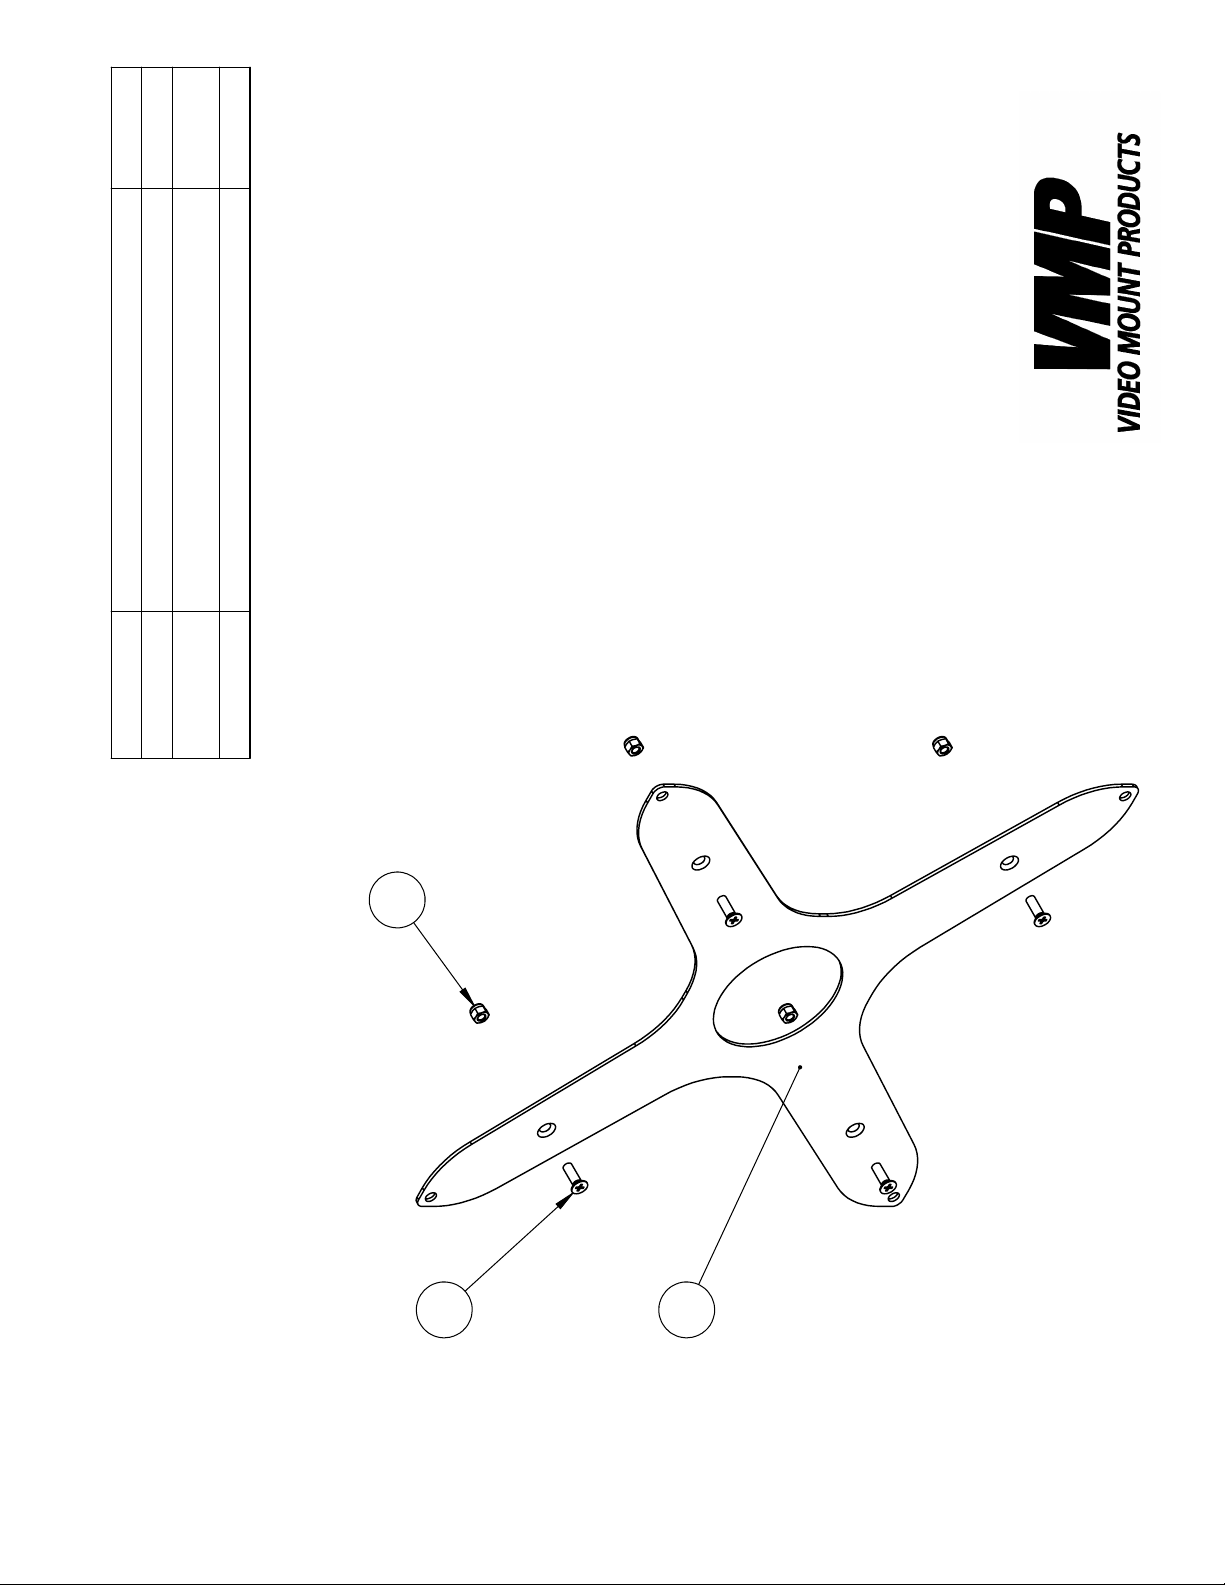
1
4
4
QTY.
DESCRIPTION
Adaptor Plate
Nylon Nut M5*P0.8
Flat Head Screw M5*P0.8*L16
1
2
3
ITEM NO.
3
AP-2B
2
1
Page 3

Step 2: Attaching the AP-2B
to the mount
Step 1
Before starting, lay out all parts to your mount and match them to
the parts list provided. Verify that you have all your parts before
attempting to assemble the mount.
Note: For the purposes of these instructions it is assumed that you
have already assembled the VESA 200 mount which you want to
attach the AP-2B to. If you have not done so please proceed to
do so at this time.
Step 2
Attach the AP-2B to the VESA 200 plate by inserting the fl at head
screws into the countersink holes in the front of the AP-2B .
Then use the nylon nuts on the backside of the VESA 200 plate
to secure the fl at head screws .
2
3
2
1
Step 3
Attach the fl at screen to the AP-2B using the correct size screws
1
that are provided with the VESA 200 mount.
Step 3: Attaching the fl at
screen to the AP-2B
Please verify that all nuts and screws are securely tightened.
Enjoy Your Mount!
WARNING: The installer of these products must verify that the mount surface, ceiling or wall, will safely
support the combined weight of all attached equipment and hardware. Video Mount Products will not
be held liable for the improper use or installation of its products.
 Loading...