

Page 1
Page 2
Important Safety Instructions
Explanation of WARNING symbols
The lightning flash with arrowhead symbol, within an
equilateral triangle, is intended to alert the user to the
presence of not isolated dangerous voltage within the
inside of the product that may be sufficient magnitude
to constitute a risk of electric shock to persons.
The exclamation point within an equilateral triangle is
intended to alert the user to the presence of important
operating and servicing instructions in the literature
accompanying the appliance.
Safety instructions
1) Read these instructions.
2) Keep these instructions.
3) Heed all warnings.
4) Follow all instructions.
5) Do not use this apparatus near water.
6) Clean only with dry cloth.
7) Do not block any ventilation openings. Install in accordance with
the manufacturer’s instructions.
8) Do not install near any heat sources such as radiators, heat
registers, stoves, or other apparatus (including amplifiers) that
produce heat.
9) Do not defeat the safety purpose of the polarized or
grounding-type plug. A polarized plug has two blades with one
wider than the other. A grounding type plug has two blades and
a third grounding prong. The wide blade or the third prong are
provided for your safety. If the provided plug does not fit into your
outlet, consult an electrician for replacement of the obsolete outlet.
Page 3
Important Safety Instructions
10) Protect the power cord from being walked on or pinched particularly
at plugs, convenience receptacles, and the point where they exit
from the apparatus.
11) Only use attachments/accessories specified by the manufacturer.
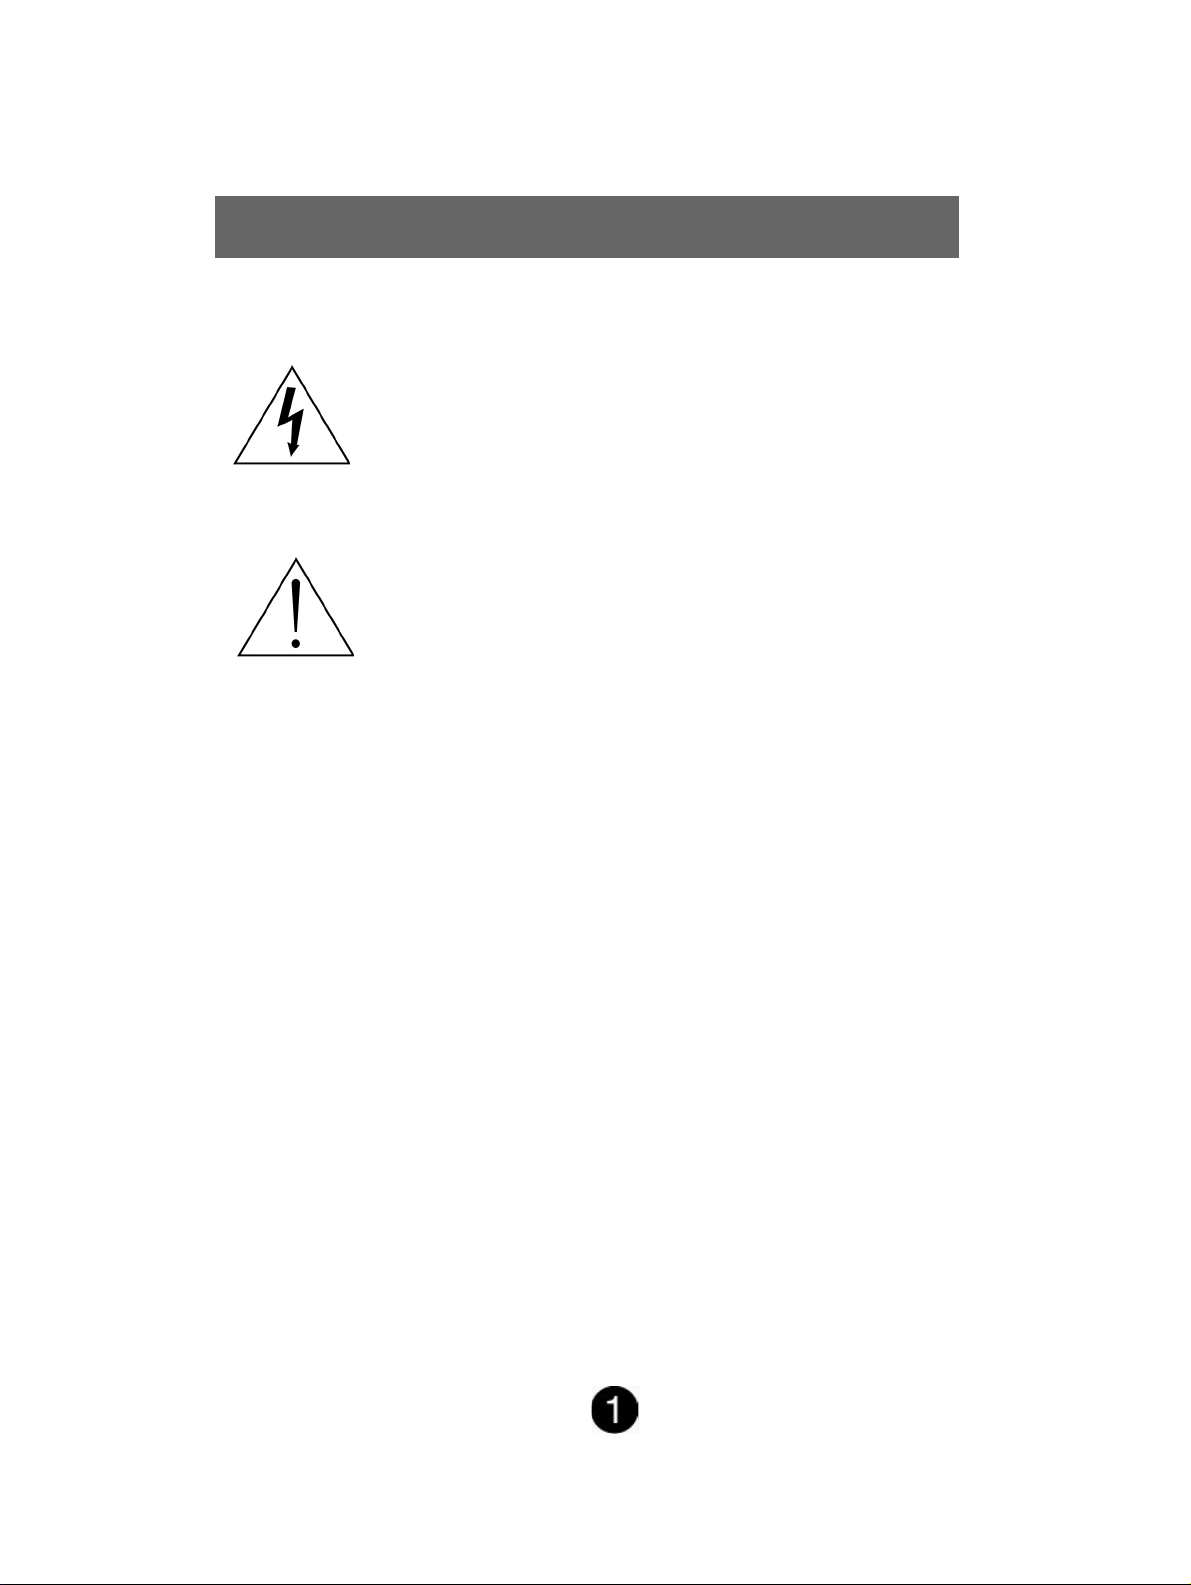
12) Use only with the cart, stand,
tripod, bracket, or table specified
by the manufacturer, or sold with
the apparatus. When a cart is
used, use caution when moving
the cart/apparatus combination
to avoid injury from tip-over.
13) Unplug this apparatus during lightning storms or when unused for
long periods of time.
14) Refer all servicing to qualified service personnel. Servicing is
required when the apparatus has been damaged in any way,
such as power-supply cord or plug is damaged, liquid has been
spilled or objects have fallen into the apparatus, the apparatus
has been exposed to rain or moisture, does not operate normally,
or has been dropped.
15) Apparatus shall not be exposed to dripping or splashing and no
objects filled with liquids, shall not be placed on the apparatus.
16) The Shock Hazard Marking and Associated Graphical Symbol is
provided on the better panel of unit.
WARNING: To reduce the risk of fire or electric shock, do not
expose this apparatus to rain or moisture.
Page 4

Operation Instructions
Thank you for purchasing multi-scan color LCD-TV.
Please read this guide thoroughly before installation.
FCC RADIO FREQUENCY INTERFERENCE STATEMENT
WARNING: (FOR FCC CERTIFIED MODELS)
This LCD TV has been tested and found compliant with the limits for a Class
B digital device, pursuant to part 15 of the FCC Rules. These limits are
designed to provide proper protection against harmful interference to a
residential installation. This LCD TV generates, uses, and can radiate radio
frequency energy. Harmful interference to radio communication may be led
as a result if it‘s not properly installed and used. However, there is no
guarantee that interference will not occur in a particular installation. If this
LCD TV does cause serious interference to radio or television reception,
resetting the LCD TV may determine it. Moreover, users are encouraged to
correct interference by doing one or more of the following:
Reorient or relocate the receiving antenna.
Move the LCD TV and the receiver further away from each other.
Connect the LCD TV into an outlet on a circuit different from that to which
the receiver is connected.
Consult your local dealer or an qualified technician.
FCC Warning:
To assure a continued FCC compliance, a user must use a grounded power
supply cord and the provided shielded video interface cable with bonded
ferrite cores. Also, any unauthorized changes or modifications to this LCD TV
would void the user‘s authority to operate this device.
Note: If necessary, shielded interface cables and AC power cord must be
used to meet the emission level limits.
EMI Certification:
The Class B digital apparatus meets all requirements of the Canadian
Interference-Causing Equipment Regulation.
Cet appareil numerique de class B respecte toutes les exigences du
Reglement sur le materiel brouilleur du Canada.
Page 5

Content
Fisrt Setup ........................................................................ 5
Front Panel Control .......................................................... 6
Installation ........................................................................ 7
Remote Control ................................................................ 8
How to uninstall the stand ..............................................9
Using the OSD functions ................................................. 10
-TV mode........................................................................ 10
-Video (Include-YCbCr, AV).............................................14
TV-Frequency table .........................................................16
Technical Information .......................................................18
Safety Precaution ............................................................19
Care and Maintenance ....................................................20
Page 6
First Step
Thank you for purchasing this LCD TV of high performance!
This LCD TV package comes with:
Power Cable
User Guide book
Remote control 29 key
◆ AV Video cable
Quick Installation
1. Connector TV ANTANA or CATV
Cable or Connect video cable
Make sure the LCD TV are
powered OFF.
Connect to TV antenna jack or
CATV box by 75-ohm coaxial
cable.
2. Connect Power Cord
Connect the power cord to a
properly grounded AC outlet,
then to the LCD TV.
3. Power-ON LCD TV
Power-ON the LCD TV.
4. Setting input source for LCD-
TV from source of remote,
or OSD menu.
5. In TV mode you can auto scan
TV channel from OSD indicat
(page 10.)
Page 7
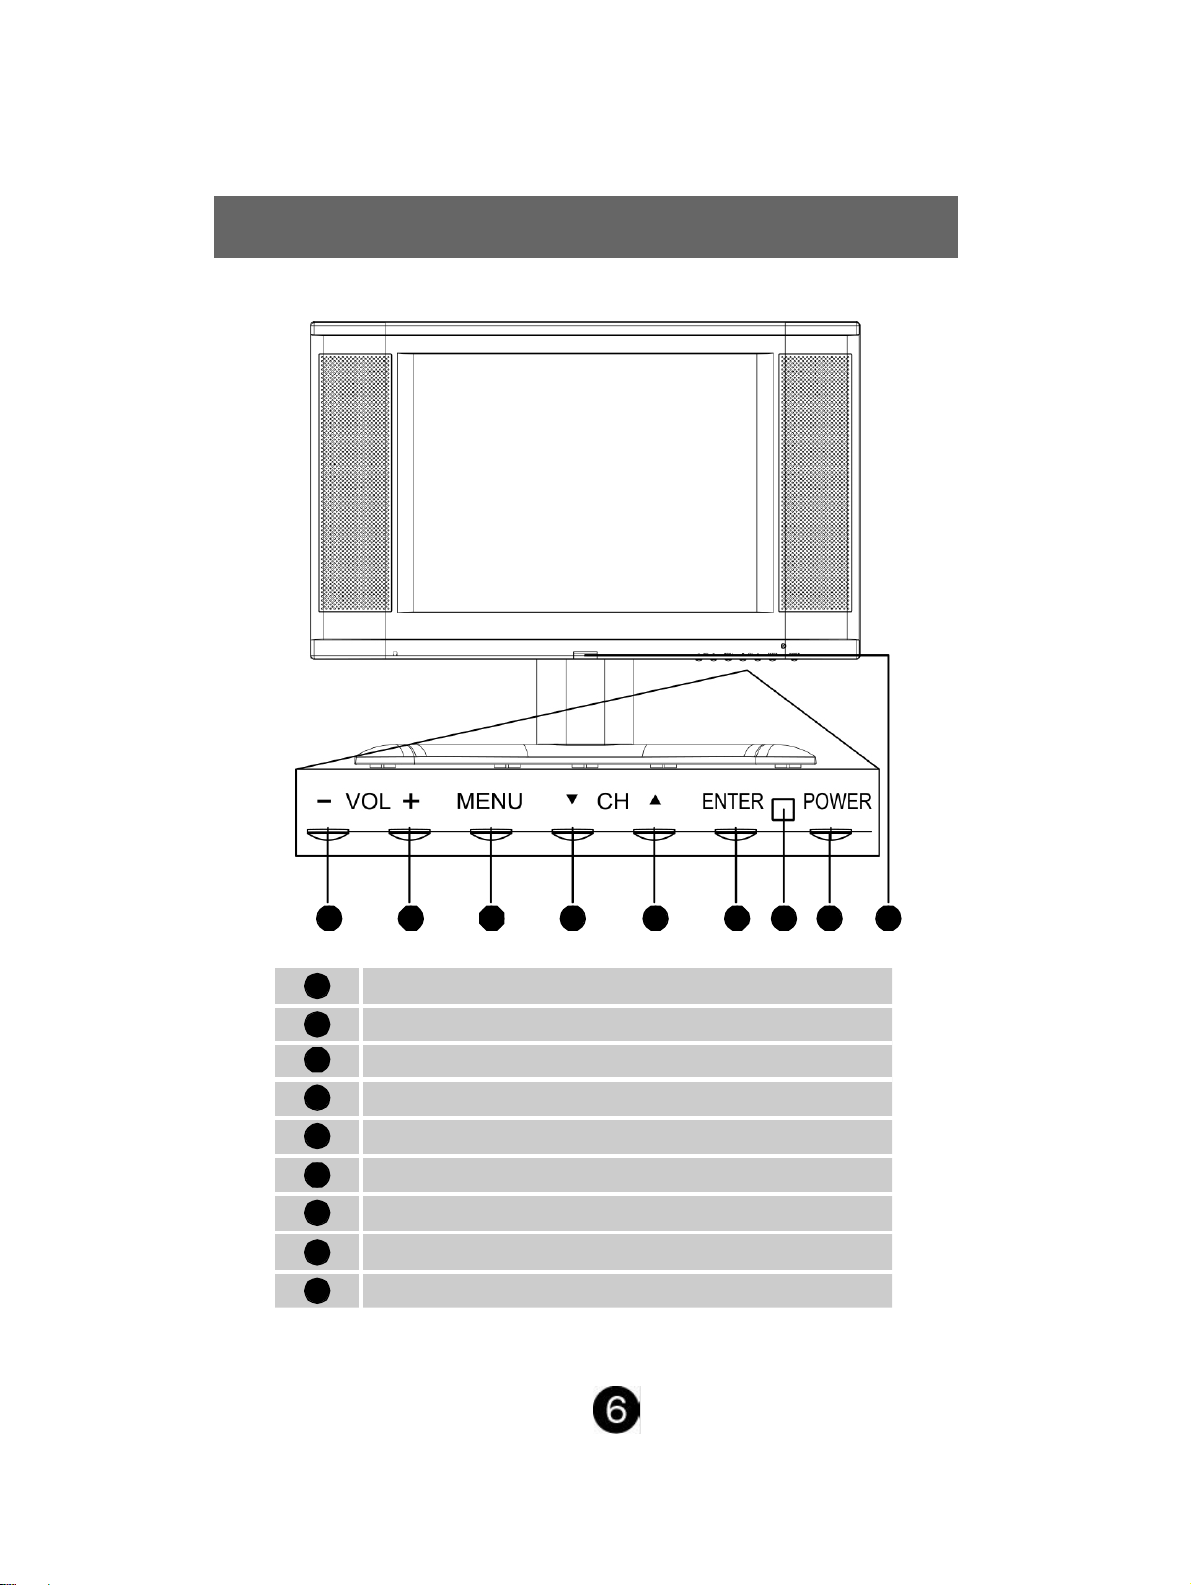
Front Panel Control
1 2 3 4 5
1
2
3
4
5
6
7
8
9
Volume Down or adjust decaease
Volume Up or adjust increase
Menu Key OSD ON/OFF
Scroll Down
Scroll UP
Enter
Power LED indicator
Power ON/OFF switch
Remote control receiver
6 7
8 9
Page 8

Installation
E
F
G
H
A
B
C
D
E
F
G
H
A
B C D
Power input (AC input)
Audio output (left/right)
CVBS / S-Video Audio input (left/right)
YCbCr-Audio input (left/right)
TV signal input
S-Video input
AV Video input
YCbCr signal input
Page 9

Remote Control
Switch TV or CATV
Source select
Mute ON/OFF
Volume UP/DOWN
adjust
TV Sleep time
setting
OSD Menu ON/
OFF
Switch channel
number key
Power ON/OFF
Source and channel
display
MTS Select
Channel UP/DOWN
adjust
Function UP/DOWN
Select and Left/Right
adjust
Enter
Return to previous
channel
Page 10

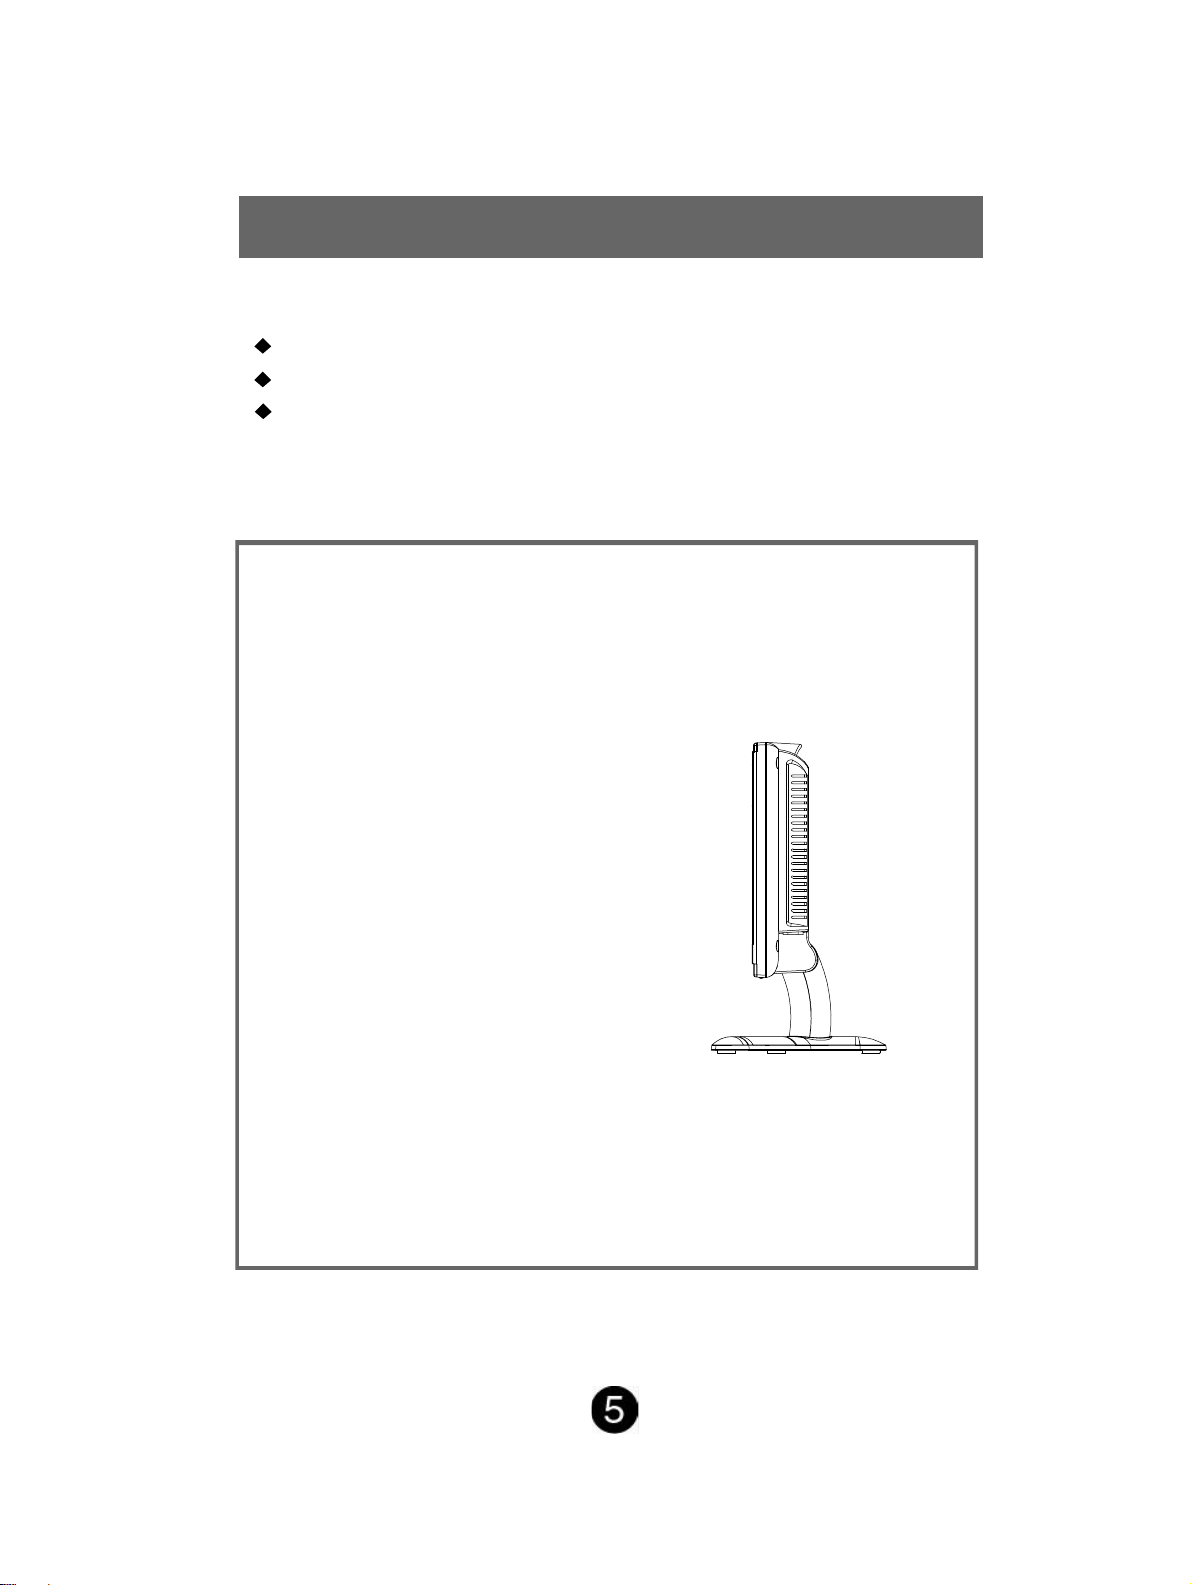
How to uninstall the stand
(for wall-mounting the LCD TV)
Fig.1 Fig.2
Fig.3 Fig.4
Fig.5 Fig.6
1. Pave a piece of fabric on the table, and lay the TV flat on the
table with the front face down (see Fig.1).
2. Press the two concave portions with both your thumbs (see Fig.2).
3. Pull the pivot cover to yourself to detach the cover from the back
panel of the TV (see Fig.3).
4. Remove the pivot cover (see Fig.4).
5. Unscrew the four setscrews (see Fig.5).
6. Remove the stand from the TV (see Fig.6).
Page 11

Using the OSD Functions
Press menu key to display OSD Menu, and press menu key again to
change menu page.
TV mode
Picture Menu:
This submenu can to adjust Contrast, Brightness, Color, Tint and
sharpness.
Contrast: To adjust the contrast of the video. (right: Max, left: Iow)
Brightness: To adjust the Luminance of the Video. (right: Max, left: Iow)
Color: To adjust color saturation. (right: brilliant color, left: pale color)
Tint: To adjust the tint level. (right: greenish tone, left: reddish tone)
Sharpness: To adjust the picture sharpness of display.
Sound Menu:
This submenu can to adjust , Balance, Bass, Treble, and to Audio Out
Off/On.
Page 12

Using the OSD Functions
Balance: To adjust the left and right audio balance.
Bass: To adjust the bass.
Treble: To adjust the treble.
Audio Out: To adjust the Audio Out Off/On.
Option Menu:
This submenu can set Caption (CC1, CC2, T1, T2) and Source Select
(AV, S-Video, YCbCr, TV)
Input: To select the input source (AV, S-Video, YCbCr, TV).
Memory Recall: Recall factory setting condition, about video & Audio
setting.
Setup Menu:
TV/CATV SELECT: To select TV signal input is TV , CATV, HRC,and IRC.
AutoScan: To autoscan the TV channel (TV or CATV).
Channel: Add or delete TV channel.
Parent Control: To set V-Chip condition and password.
Page 13

Using the OSD Functions
V-Chip setting: To enable V-Chip functions please enter 0000 if you
have not assigned the special password.
Use remote control arrow keys to select V-chip blocking to set parental guidelines on or off.
Select MPAA/TV rating to set rating grade.
Use remote control arrow keys to move cursor to desire rating grade,
when the text is Red, press enter key to set block or unblock
condition.
New PIN-code you can change the password.
Use remote control to enter 4 digit number, then press enter.
Page 14

Using the OSD Functions
Use remote control numbering keys to confirm the number again, then
press enter.
V-Chip blocked: To enable V-Chip blocked please enter 0000 if you
have not assigned the spical password.
Page 15

Using the OSD Functions
Press menu key to display OSD Menu.
Video mode (Include-S-Video, YCbCr, AV)
Picture Menu:
This submenu can to adjust Contrast, Brightness, Color, Tint and
sharpness.
Contrast: To adjust the contrast level. (right: Max, left: Iow)
Brightness: To adjust the brightness level. (right: Max, left: Iow)
Color: To adjust color saturation. (right: brilliant color, left: pale color)
Tint: To adjust tint level. (right: greenish tone, left: reddish tone)
Sharpness: To adjust the picture sharpness of display. (right: sharper,
left: soft)
Sound Menu:
Page 16

Using the OSD Functions
This submenu can to adjust , Balance, Bass, Treble, and to Audio Out
Off/On.
Balance: To adjust the left and right audio balance.
Bass: To adjust the bass.
Treble: To adjust the treble.
Audio Out: To adjust the Audio Out Off/On.
Option Menu:
This submenu can set Caption (CC1, CC2, T1, T2) and Source Select
(AV, S-Video, YCbCr, TV)
Input: To select the input source (AV, S-Video, YCbCr, TV).
Memory Recall: Recall factory setting condition, about video & Audio
setting.
Page 17

U.S.A Channel
TV Frequency Table
Page 18

TV Frequency Table
Page 19

Technical Information
Technical Specification
LCD Panel
Displayable Resolution
Pixel Dimension
LCD Display Color
Viewing Angle
Tilt
Contrast Ratio
Brightness
Response Time
Active Display Area
Temperature
Compliance
Power
Speaker
13" TFT
640(H) x 480(V)
0.4125 x 0.4125 mm
16.7M (8 bits/color)
170/155, CR
O
+20 , -5
>
5
=
O
500 : 1 (typical), (Video-typical)
2
450 cd /m
(typical)
15 ms. Max.(Gray Scale Level)
264 mm x 198 mm
Operating: 0 C ~ +40 C
Storage: -20 C ~ +60 C
O
O
O
OO
UL, FCC-B
Voltage 100-240 V
2.5 W x 2
Page 20

Safety Precautions
This LCD TV is manufactured and tested on a ground principle that a
user’s safety comes first. However, improper use or installation may
result danger to the LCD TV as well as to the user. Carefully go over
the following WARNINGS before installation and keep this guide
handy.
WARNINGS:
This LCD TV should be operated only at the correct power
sources indicated on the label on the rear end of the LCD TV. If
you’re unsure of the power supply in your residence, consult your
local dealer or power company.
Do not try to repair the LCD TV yourself as it contains no user serviceable parts. The LCD TV should only be repaired by a
qualified technician.
Do not remove the LCD TV cabinet. There is high-voltage parts
inside that may cause electric shock to human bodies, even
whenthe power cord is disconnected .
Stop using the LCD TV if the cabinet is damaged. Have it
checked by a service technician.
Put your LCD TV only in a clean, dry environment. Unplug the
LCD TV immediately if gets wet and consult your service
technician.
Always unplug the LCD TV before cleaning it. Clean the cabinet
with a clean, dry cloth. Apply non-ammonia based cleaner onto
the cloth, not directly onto the glass screen.
Keep the LCD TV away from magnetic objects, motors, TV sets,
and transformer.
Do not place heavy objects on the cable or power cord.
For PLUGGABLE EQUIPMENT, the Socket-outlet shall be
installed near the equipment and shall be easily accessible.
Page 21

Care and Maintenance
Care
Avoid exposing your LCD TV directly to sunlight or other heat
source.
Place your LCD TV away from the sun to reduce glare.
Put your LCD TV in a well ventilated area. Do not place anything
heavy on top of your LCD TV.
Make certain your LCD TV is installed in a clean and moisture-free
area.
Keep your LCD TV away from magnets, motors, transformers,
speakers,and TV sets.
Safety Tips
If smoke, abnormal noise or odor came out of your LCD TV, switch
off the power immediately and call your service center.
Never remove the rear cover of your LCD TV cabinet. The display
unit inside contains high-voltage parts and may cause electric
shock to human bodies.
Never try to repair your LCD TV yourself. Always call your service
center or a qualified technician to fix it.
Page 22

V INCORPORATED LIMITED WARRANTY
For VIZIO LCD Displays
Welcome to the V, Inc. Digital Family! Please read this warranty carefully, it is a “ONE-YEAR LIMITED WARRANTY” on parts and labor.
V, Inc.’s Responsibility
V, Inc. LCD Displays purchased in the United States are warranted to be free from defects in materials or workmanship for a period of
one (1) year from the date of their original retail purchase. If the unit fails to conform to this warranty, we will service the monitor using
new or refurbished parts.
Service Labor
During a period of one year from the effective warranty date, V, Inc. will provide, when needed, service labor to repair a
manufacturing defect at its designated Service Center. To obtain warranty service in the Untied States, you must first call our
Customer Support at (714) 668-0588, 9:00am-5pm PST. The determination of service will be made by V, Inc. Customer Support. .
PLEASE DO NOT RETURN YOUR UNIT TO V, INC. WITHOUT PRIOR AUTHORIZATION.
Parts
New or remanufactured replacements for defective parts will be used for repairs by V, Inc. at its designated Service Center for one
(1) year from the effective warranty date. Such replacement parts are warranted for the remaining portion of the original warranty
period.
Service
During the one (1) year warranty period, V, Inc. will, at its option and sole discretion, repair or replace defective parts, including
replacement of the entire LCD Panel. The Customer will be required to ship the unit to the Service Center indicated at the time
Customer Support is contacted to make the necessary repairs. You are responsible for all transportation charges to and from the
service facility. V, Inc. is not responsible for the de-installation or re-installation of the unit.
Packaging and Shipping Instructions
When you send the product to an authorized V, Inc. service facility you must use the original carton box and packing material or an
equivalent as approved by V, Inc.
Not Covered
This warranty does not cover defects, malfunctions or failures resulting from shipping or transit accidents, abuse, misuse, operation
contrary to furnished instructions, operation on incorrect power supplies, operation with faulty associated equipment, modification,
alteration, improper servicing, tampering or normal wear and tear or TVs on which the serial number has been removed or defaced.
Image Sticking caused by operating at excessive brightness levels for extended periods or mishandling are not covered by this
warranty.
ANY IMPLIED WARRANTIES, INCLUDING ANY IMPLIED WARRANTY OF MERCHANTABILITY AND FITNESS FOR A
PARTICULAR PURPOSE SHALL BE LIMITED IN DURATION TO THE PERIOD OF TIME SET FORTH ABOVE. OUR LIABILITY
FOR ANY AND ALL LOSSES AND DAMAGES RESULTING FROM ANY CAUSE WHATSOEVER, INCLUDING OUR
NEGLIGENCE, ALLEGED DAMAGE OR DEFECTIVE GOODS, WHETHER SUCH DEFECTS ARE DISCOVERABLE OR LATENT,
SHALL IN NO EVENT EXCEED THE PURCHASE PRICE OF THE DISPLAY. WE SHALL NOT BE RESPONSIBLE FOR LOSS OF
USE, COMMERCIAL LOSS OR OTHER INCIDENTAL OR CONSEQUENTIAL DAMAGES. SOME STATES DO NOT ALLOW
LIMITATIONS ON HOW LONG AN IMPLIED WARRANTY LASTS OR THE EXCLUSION OR LIMITATION OF INCIDENTAL OR
CONSEQUENTIAL DAMAGES, SO THE ABOVE LIMITATIONS OR EXCLUSIONS MAY NOT APPLY TO YOU. This warranty
gives you specific legal rights, and you may also have other rights which vary from state to state. This is the only warranty
applicable; no one is authorized to extend or modify it or to grant any other warranty.
V, Inc. retains the right to assess all warranty claims and to determine if damages are covered by the warranty. In case of a claim
that is not covered by the warranty, you will be contacted to determine whether V, Inc. should repair the damage for a fee or whether
Owner’s Responsibility
the product should be returned to you as received by the repair center.
Effective Warranty Date
Warranty begins on the date of sale to the end user. To ensure warranty service, keep the dated bill or sale receipt as evidence of
the purchase date.
User Manual
Read your User Manual carefully so that you will understand the operation of your LCD Display and how to adjust the user controls.
Warranty Service
For warranty service information, contact V, Inc. Customer Support at (714) 668-0588, 9:00am-5pm PST. Parts and service labor
that are V, Inc.’s responsibility (see above) will be provided without charge. Other service is at the owner’s expense. You must
provide the model, serial number and date of purchase. Before you ask for warranty service, read your User Manual. You might
avoid a service call.
For Technical Support, visit WWW.VINC.COM, Call (714) 668.0588
or E-mail Techsupp@vinc.com
Page 23

 Loading...