

Vixen Air VXO4850CF, VXO4840B Installation Manual
VXO4850CF
The specific voltage requirement for this on-board air system is 12 volt DC, therefore installation must be done to
a DC power source of 12 volts.
PLANNING YOUR INSTALLATION
Before beginning the installation, determine each component’s spot.
Confirm you have the proper length of airline and wire.
Power wire to compressor should be kept short.
To power up the air compressor, make sure you use a 12-gauge wire or thicker.
INSTALLATION GUIDE
BEFORE BEGINNING YOUR INSTALLATION
Read through the instruction guide before getting started with the installation. Professional installation is recommended for
this product.
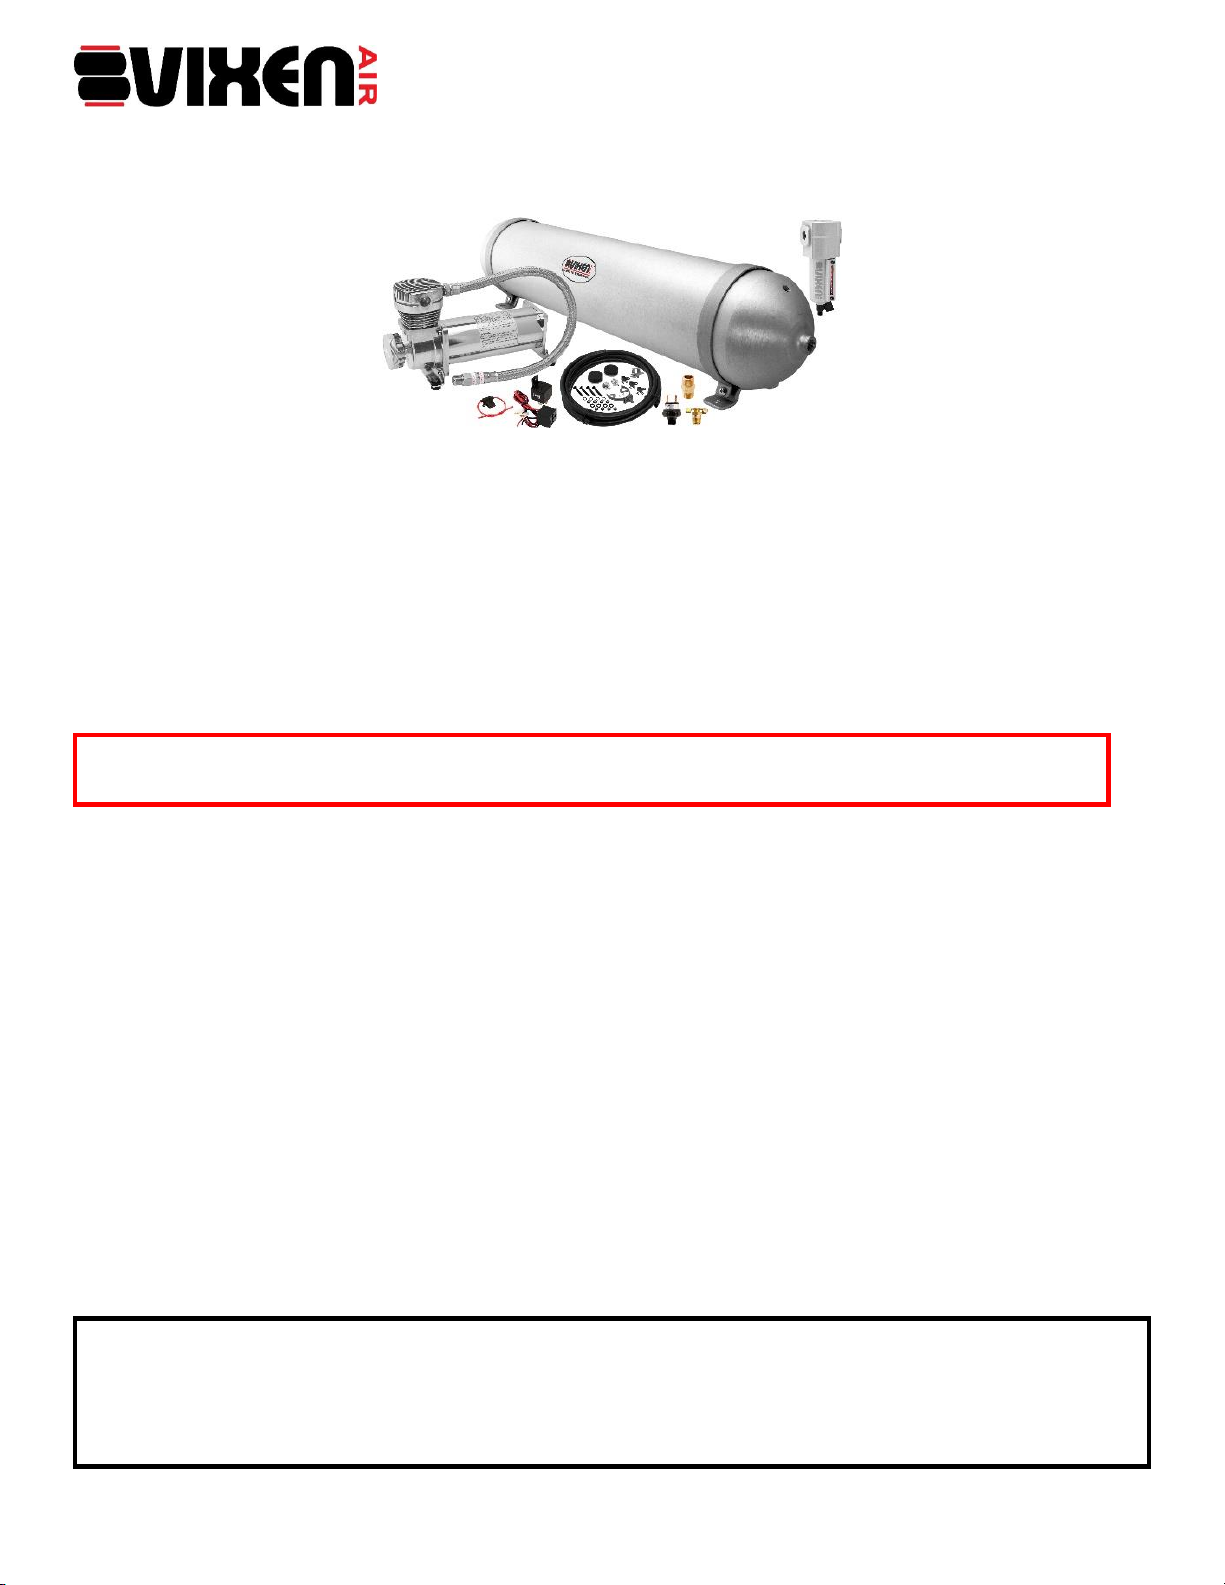
CONTENTS
200 PSI Air Compressor (Chrome Color)
5 Gallon Seamless Aluminum Air Tank
170-200 PSI Pressure Switch
1/4" NPT Wing Style Drain Valve
3/8" NPT Male Straight Coupling
3/8" NPT Air Line Filter 250 PSI (Silver)
Intake Air Filter with Remote Installation Kit (10 FT Hose)
4-PIN 12V/40A Relay with Pre-wired Plug
40A In-line Fuse with Waterproof Holder
Mounting Hardware (Compressor Only)
SAFETY INSTRUCTIONS
Do not attempt to disassemble, repair or customize this product.
Avoid setting up any parts of this product where there is a risk of falling off or risk of coming in contact with water.
Avoid reaching out to touch or pick up any fallen or water submerged parts.
Never leave this product unattended during use.
Intended for use by adults only.
During and immediately after use, avoid touching any part of the compressor with bare hands as it is very hot
during such periods.
Avoid use of product near flames, explosive materials, aerosol products or oxygen devices.
Be sure to pump nothing other than atmospheric air.
It is important to determine the maximum air pressure for any tool or attachment before using it.
Air sprayer or nozzle should always be pointed away from any part of the body.
The compressor has Thermal Overload Protection, if this protection activates, cut off the source of power and let
the unit cool down for about 30 minutes. This will reset the system and allow you to safely resume use of the air
compressor.
Make sure your battery ground is detached and the tank has no pressure before you begin the installation.
Employ equipment for eye protection during drilling operations.
Ensure that your air system has no pressure before you begin.
PAGE 1 of 5
VXO4850CF
COMPRESSOR
MOUNTING
Determine a dry place to mount your compressor. If you have chosen to install in the engine compartment,
you should mount it as close to the front as possible to allow for maximum flow of air around compressor and
also to avoid heat from the exhaust. IMPORTANT: Never attach the compressor to any plastic or other
flexible material.
For optimal results, the compressor should be placed as close to the battery as possible. This will reduce the
amount of wiring needed.
Avoid placing compressor near flammable liquids.
If you are planning to move compressor’s air intake to an area other than where the compressor was
installed, make sure your placement allows for the airline to be routed from the air inlet of the compressor to
the remote inlet air filter.
Mark the spots for the holes with the mounting base as a guide and then drill. Make sure the compressor is
secured.
To enhance performance and make sure the battery of your vehicle doesn’t discharge, keep the engine
running while the compressor is being used.
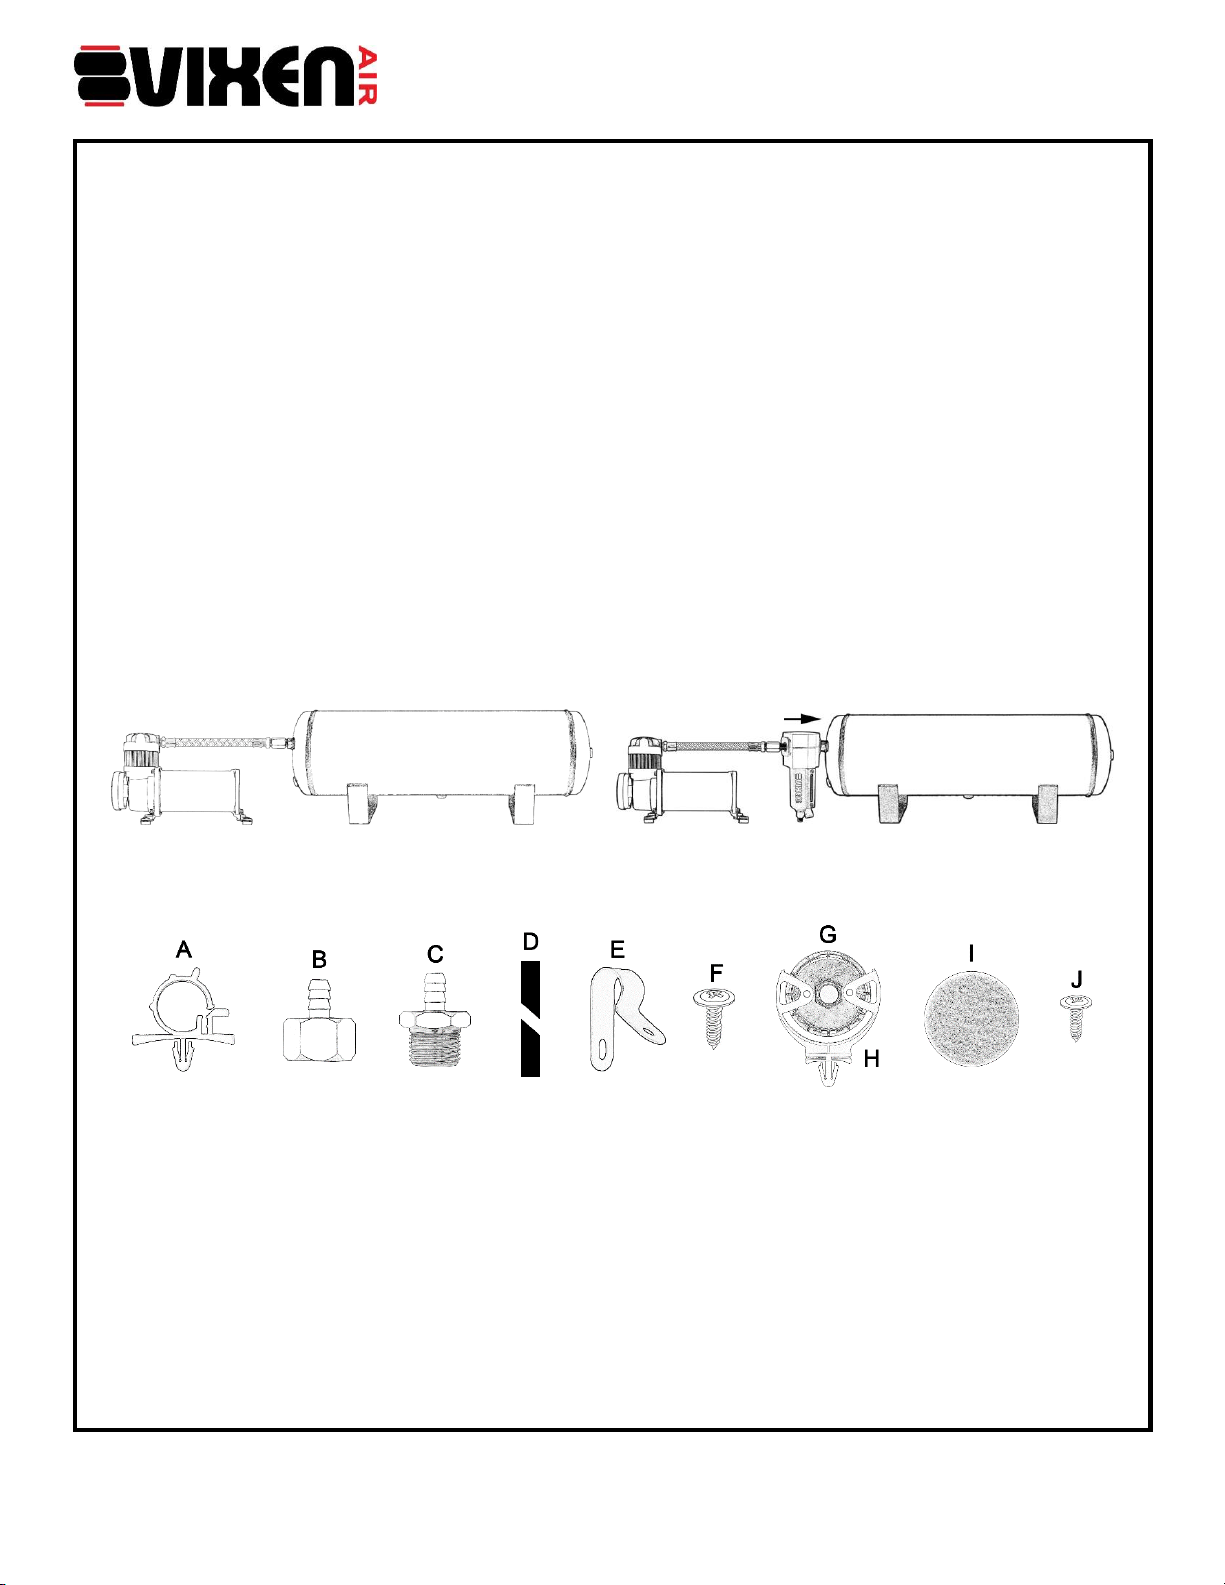
BRAIDED HOSE INSTALLATION
Connect the stainless steel braided hose of the compressor to the tank’s inlet port.
For details about installing the water trap on the compressor line see water trap section below.
IMPORTANT: The tank’s inlet port must be 3/8" N.P.T. (National Pipe Thread).
REMOTE AIR FILTER INSTALLATION KIT
Only use if you need to move compressor’s air intake to an area other than where the compressor was installed.
A. Braided Hose Bracket with Self-Anchoring Pin (1 pc)
B. 3/8" NPT Female x 3/8" Barbed Tube Fitting (1 pc)
C. 3/8" NPT Male x 3/8" Barbed Tube Fitting (1 pc)
D. 3/8" OD Air Line (1 pc)
E. Air Line Clips (3 pcs)
F. Air Line Clips Screws (3 pcs)
G. Remote Inlet Air Filter with Filter Element (1 pc)
H. Remote Filter Holder with Self-Anchoring Pin (1 pc)
I. Filter Elements (2 pcs)
J. Remote Filter Holder Screws (2 pcs)
10 feet of air line is enclosed for attaching the remote air filter.
Find an installation location for the remote air filter, ensuring that the location should be dry and far from a
heat source.
Use a hose cutter, a razor blade, or a sharp knife when trimming the airline. A clean, square cut is optimal.
IMPORTANT: Do not use wire cutters or scissors to cut the air line, these tools may flatten or crimp the air
line causing it to leak.
Place the airline all the way onto the barbed fittings or at least, until it covers two ridges and starts routing the
air line.
INSTALLATION GUIDE
PAGE 2 of 5
 Loading...