

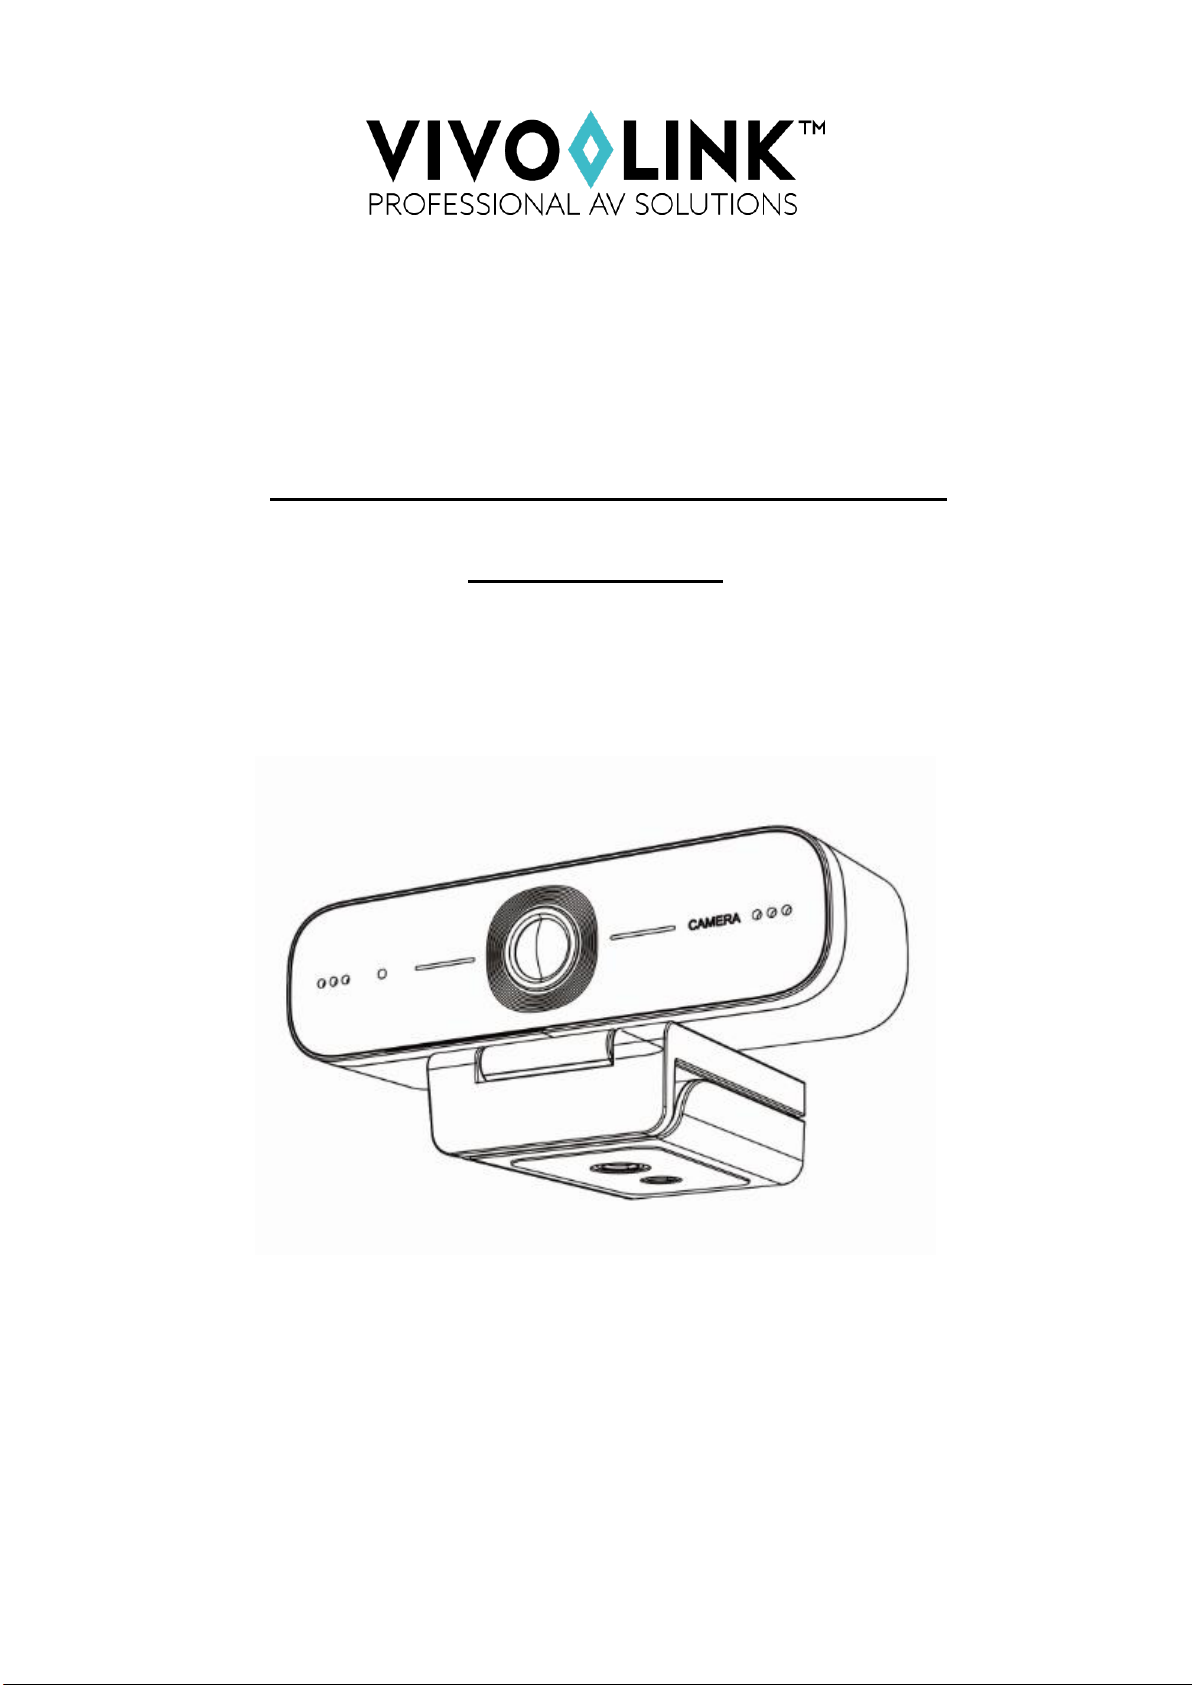
VLCAM75
HD Video Conferencing Camera
User Manual

HD Video Conferencing Camera
1
Attentions
This manual briefly introduces the camera functions, installation and operations. Please read carefully
before application.
1. Application instructions
To prevent damages to this camera or any products connected to it, this product can only be used within the
specified range:
1) Do not expose the camera to rain or moisture;
2) To prevent the risk of electric shock, do not disassemble the camera, only qualified technical personnel to
perform installation and maintenance;
3) Do not use the camera in situations which is excess of the specified temperature, humidity or power
specifications;
4) When cleaning the camera lens, wipe with a soft and dry cloth. If with too much dust, wipe gently with a mild
detergent. Do not use strong or corrosive detergent, so as not to scratch the lens, affecting the image effect.
2. Electric Safety
This product must be installed in strict compliance with local electrical safety standards.
3. Caution to transport
Avoid heavy pressure, severe vibration, soaking damage to the product in transportation, storage and installation.
4. Careful installation
The camera body is made of organic material, please do keep way from corrosive liquid, gas or solid material.
5. Do not disassemble discretionarily.
We are not responsible for any damage caused by unauthorized disassembling.
6. Magnetic field interference
The electromagnetic field at a specific frequency may affect the camera image. As this is a Class A product, in
household environment it may cause radio interference, users need to take appropriate measures.

HD Video Conferencing Camera
2
Content
1.Fast Installation Explanation .................................................................................... Error! Bookmark not defined.
1.1. Product Interfaces .......................................................................................... Error! Bookmark not defined.
1.2. Usage of the Product ..................................................................................... Error! Bookmark not defined.
2. Product Introduction............................................................................................... Error! Bookmark not defined.
2.1. Product Introduction........................................................................................................................................ 4
2.2. Product Features ............................................................................................ Error! Bookmark not defined.
2.3. Technical parameters ....................................................................................................................................... 5
3.Maintenance and Troubleshooting .......................................................................... Error! Bookmark not defined.
3.1. Camera Maintenance ....................................................................................................................................... 6
3.2. Troubleshooting ............................................................................................................................................... 6
Copyright Notice ......................................................................................................... Error! Bookmark not defined.

3
1. Quick Installation Instructions
1. Lens(fixed)
3.USB2.0 cable outlet hole(unplug)
5.Screw hole for tripod
2. Audio IN(built in pick-up)
4. Flexible clip/base
6.mounting and locating
holes
1.1. Product Interfaces
HD Video Conferencing Camera
Picture 1.1 Interfaces Instructions
The USB 2.0 port available for plug and play, can output video and power the camera.
1.2. Usage of the Product
1) Grasp the webcam on LCD screen, the top of laptop, desk or tripod directly.
2) Connect the USB cable with computer, video conference devices or other USB input device.
3) Open the video software, select the video device to get video output.

4
2.1. Product Introduction
Product Dimension:
HD Video Conferencing Camera
2. Product Introduction
Pic. 2.1 Dimension
Check and confirm all accessories are provided when opening the package:
User Manual x 1
Warranty Card x 1
2.2. Product Features
VLCAM75 features perfect functions and excellent performance. Adopts advanced ISP processing algorithms so
as to provide vivid images with evenly clear brightness, strong color layering, high resolution, and fantastic color
rendition. Easy and convenient to install and maintain, stable and reliable.

HD Video Conferencing Camera
5
Specification
VLCAM75
Camera Parameter
Image Sensor
high quality CMOS sensor
Effective Pixels
2.07MP,16:9
Video Resolution
USB Output:
960x540/320x180/432x240/640x360/800x448/800x600/864x480/960x720/1024x576/
1280x720/1600x896/1920x1080/272x144/368x208/384x216/480x272/624x352/
912x512/424x240/640x480/320x240/160x120/P30
View Angle
88°(D) /80°(H)/ 50°(V)
Focal Length
3.24mm
Minimum Illumination
0.5Lux(F1.8, AGC ON)
Focus
Manual
AF
Fixed
Backlight
contrast
On/off
Exposure
Auto / Manual
Video Adjustments
Brightness, Definition, Saturation, Contrast, white balance, gain, anti-flicker, low brightness
compensation adjustable
SNR
>50dB
Output Parameter
Video Output
USB2.0(Power, upgrade support)
Video Compression
MJPEG,YUV2,H.264,H.265
Audio Input
Inbuilt omni-directional mics
Other Parameter
Input Voltage
5V
Input Current
500mA (max)
Power
2.5W(max)
Store Temperature
-10℃ ~ +60℃
Store Humidity
20% ~ 95%
Working Temperature
-10℃ ~ +50℃
Working Humidity
20% ~ 80%
Dimension
102mm*46mm*30mm
Weight
0.15kg
Accessory
User Manual, Warranty card
Advantages
a. High-definition Image: high quality CMOS sensor. Support compression of resolution up to 1920x1080 with
frame up to 30fps. Provides clear, vivid HD image.
b. Multiple installation: Free to choose installation place, the device is with fix clamp which enable it to be
installed on LCD screen, the top of laptop or directly on desk and tripod.
c. Wide Application: Personal Video Platform, Videoconferencing, Cooperative Office etc.
d. Convenient application: No need to download driver or extra software, it is used-conveniently and easily.
Features:
a. USB2.0: Easy plug and play, power and upgrade support
b. Multiple Lens Optional: 80 degree, 120 degree wide angle lens with free distortion.
c. Advanced Focus Technology: VCM motor auto focusing lens and advanced focus algorithm to auto focus fast,
accurately and stably.
d. Built-in Mic: Inbuilt Microphones pick up, for clear and natural stereo sound without external pickup
equipment.
e. Multiple Video Encoding: Support H.264, H.26, .MJPEG, YUV video encoding which enables the video play
more fluently.
Specification:

HD Video Conferencing Camera
6
3.Maintenance and Troubleshooting
3.1. Maintenance
1) If camera is not used for a long time, please turn off power adapter switch and AC plug.
2) Use soft cloth or tissue to clean the camera cover.
3) Use soft cloth to clean the lens; Use neuter cleanser if bad smeared. Do NOT use strong or corrosive
cleanser or corrosive cleanser avoiding scuffing.
3.2. Trouble shooting
No video output & video staccato
a. Make sure camera USB Cable is connected properly, USB Port is normal, Power indication light on.
b. Disconnect the camera with computer and re-connect by USB.
c. Make sure video software selects the right device.
Copyright Notice:
All the contents of this manual and the copyright ownership belong to Vivolink. Without the approval of Vivolink,
no one can imitate, copy, reproduce or translate arbitrarily. This manual does not have any form of warranty,
express or other imply. Specifications and information of this manual mentioned is just for informational purposes
and the content will be updated at any time without notice.
Copyright cannot be reproduced.
 Loading...