

Page 1
User manual
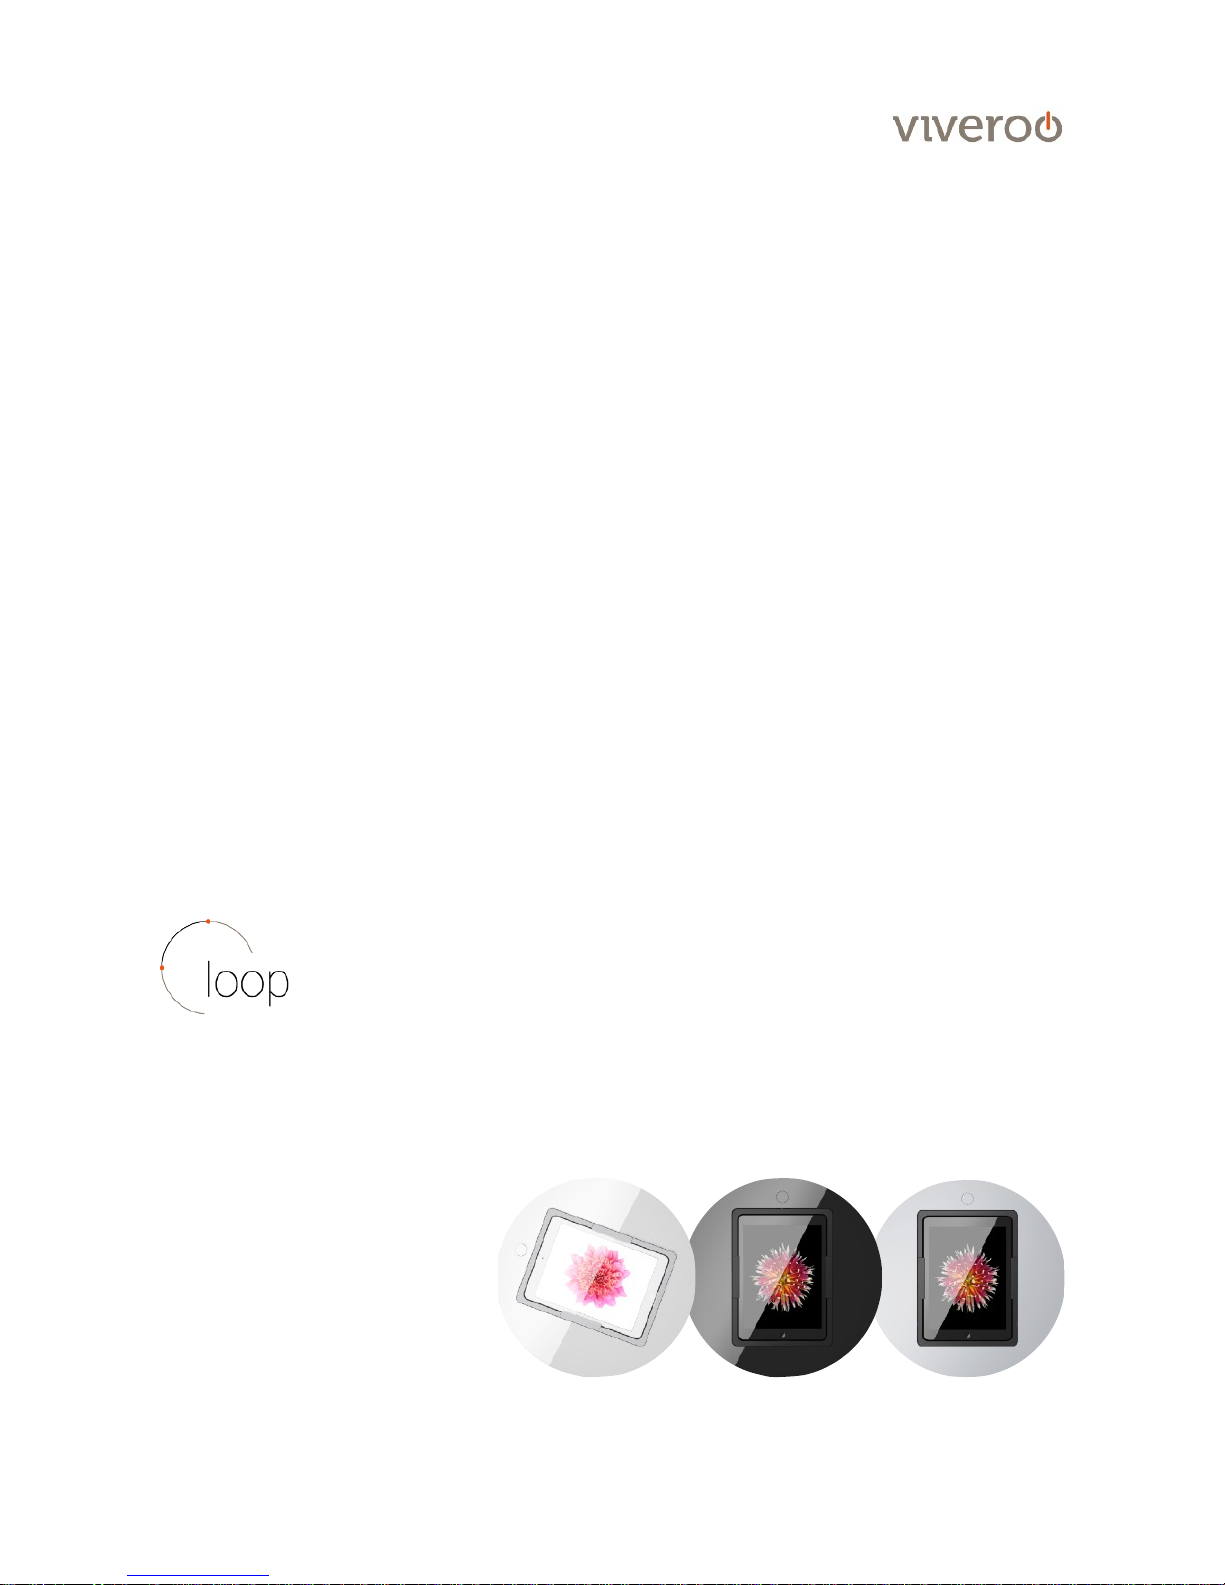
loop
!
viveroo GmbH
Wewelsburger Straße 4
33154 Salzkotten
Germany
www.viveroo.de
REV20170624
Page 2

Safety information
!WARNING
Please read the assembly instructions included carefully. Please
read this loop user manual completely before using your loop.
Please follow the instructions and recommendations to ensure
proper use and maximum enjoyment.
Safety
information
loop and all loop mounting sets are intended for use in enclosed
and dry living spaces.
The following conditions must be provided:
- Operating temperature between 0° C (32° F) and 35° C (95° F).
- Relative humidity (during use): 20!% to 90!%, non-condensing.
- No external environmental influences such as oil, chemicals, salt,
extensive dust, etc.
The maximum altitude is 2.000m.
Installation, service or repairs, if necessary, may only be performed
by authorized persons.
The installer is responsible for selecting the proper mounting
location and safe installation of loop. This also applies to
installation in movable parts, such as doors. The installer is
responsible for performing and documenting all necessary safety
tests.
All electrical installation work may only be conducted by authorized,
trained electricians, always adhering to the general rules and
regulations applying to electrical installation. Wire end sleeves and
ferrules must be used for flexible cables.
Should it become apparent that safe operation of loop is not
assured, then loop must immediately be taken out of service and
secured against potential misuse. If the loop functions are limited,
blocked or disabled, if an unusual odor is present, if noises such as
scratching are audible or damage is visible, safe operation can no
longer be guaranteed.
!
Page 3
Technical Data
Product
contents
-
User manual loop
-
loop
Please note! External cable, power supply and mounting screws are
included in loop MountingSet.
Compatability
Electrical operation of loop is permitted only in connection with loop
Mounting Set and power supply and cable included in the Mounting
Set. Operation of loop without a Mounting Set will lead to immediate
loss of guarantee and warranty.
Measurements
in mm
Diameter design cover
385
Depth loop
39
Diameter opening (for furniture installation)
Diameter opening (for flush-mounted box)
351
363
Installation depth loop !
(for furniture installation)
Installation depth loop !
(for flush mounting)
30
66
Weight in kg
loop
4,8
Electrical
connections
low voltage
Power consumption
12 Vdc
18 Watt
Removal from
power supply
loop may be removed from the power supply via the circuit
breaker in the respective rooms.
Circuit Breaker
16A (EU) , 20A (USA/Canada)
Overvoltage
category
OVC II
wire crosssection
The permitted conductive cross-section is between 0.75mm²
and 2.5mm².
CE & Co.
All loops have CE certification. loop is quality "Made in
Germany". We use only high-quality parts and components
produced by market leaders. loop customers are proud of their
iPad Garage.
*) Technical changes and mistakes are excepted.
iPad is a registered trademark of Apple Inc.
Page 4

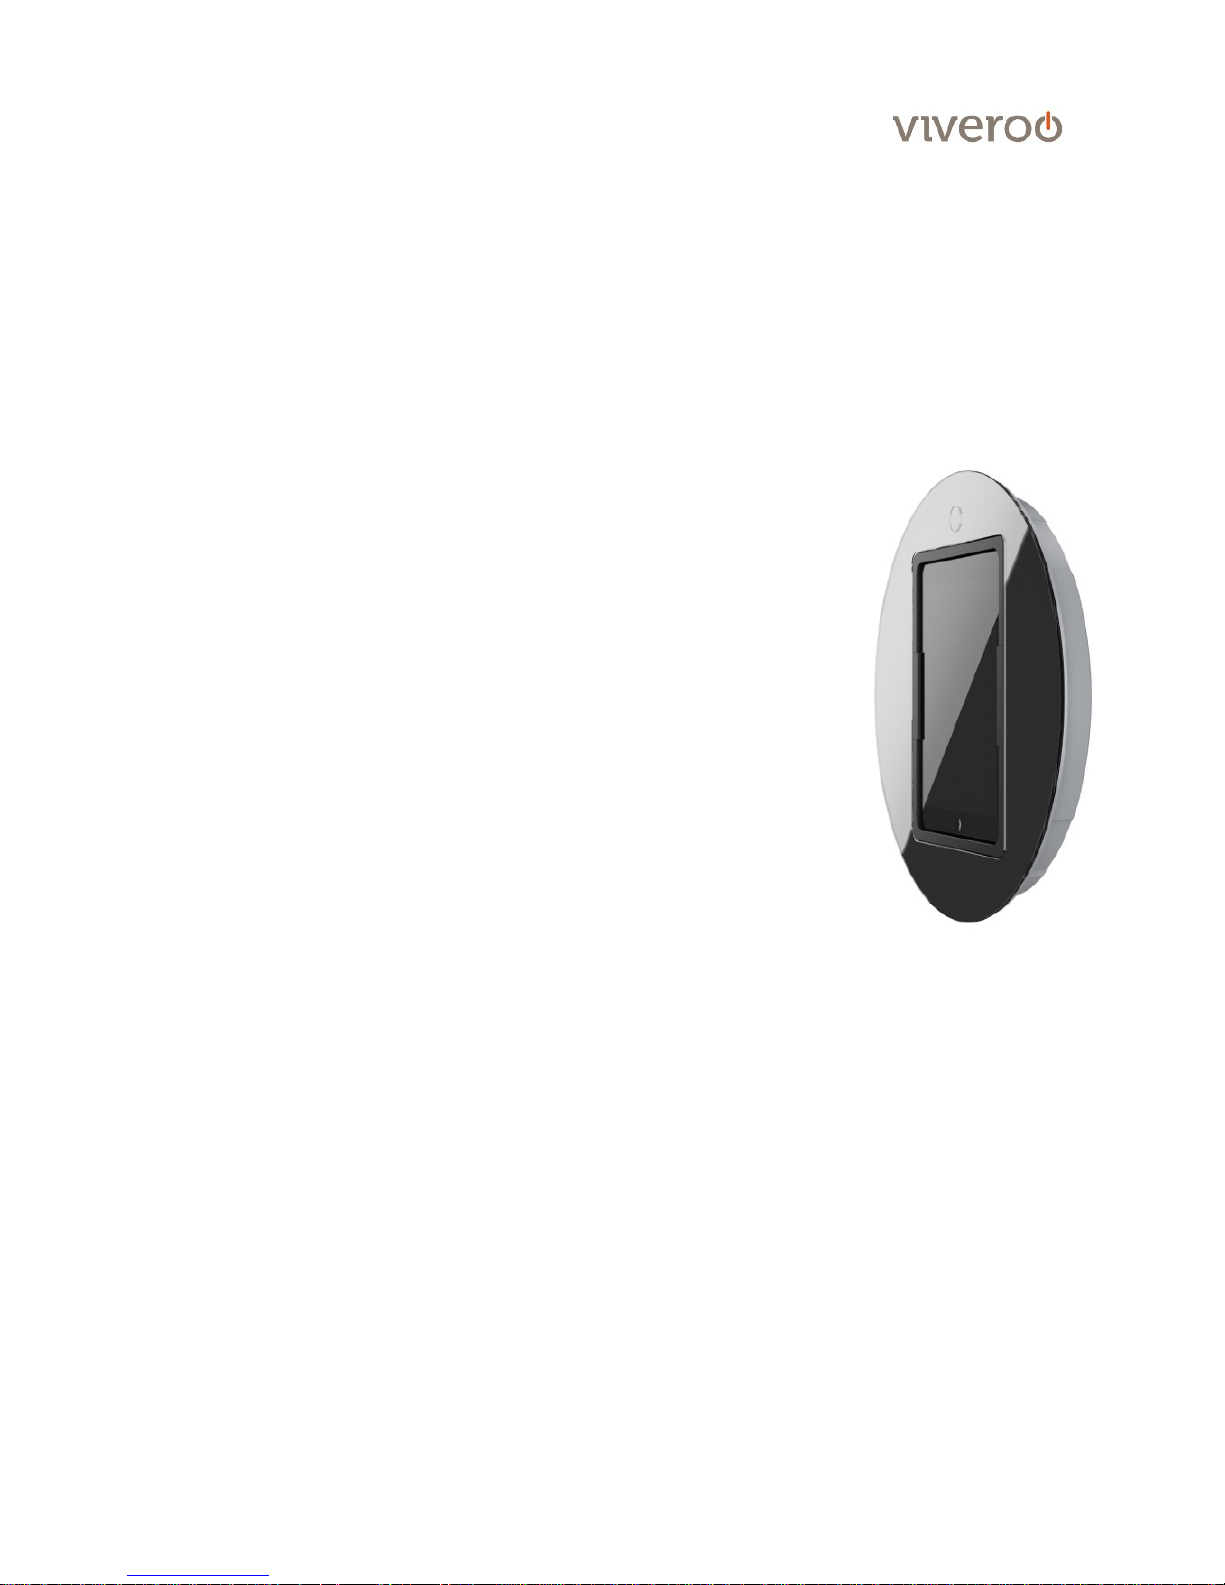
Operation
Functions
loop It! 90° Rotation
A recessed handle is created by applying gentle pressure on the
loop button. Now you can easily spin the loop from horizontal to
vertical and back again with just the touch of a finger.
To go from vertic al to ho rizo ntal format, spin the loop to the left.
From horizontal to vertical, spin the loop to the right.
Thanks to the SoftClose function, loop will automatically complete
the rotation just before reaching its final resting position.
Click It! Opening the iPad shelf
Open the iPad resting shelf by using the loop button.
! IMPORTANT: The iPad must be in vertical position.
! IMPORTANT: loop must be installed vertically to open the resting
shelf, i.e. wall. - the suspension of the resting shelf has been set
to this position. For horizontal (i.e. table) or diagonal (i.e. lectern,
teacher's desk, control panel) installation, special adapter sets are
available on request.
Care and
Cleansing
Cleanse your loop as needed with a soft micro fiber cloth and clear
water only. Dampen the micro fiber cloth and wipe the surfaces
gently. If necessary, you may remove the rubber pads (see
„Installation").
The glass surfaces of DeepBlack and ClearWhite may also be
cleaned with standard glass cleaners.
! WARNING: The interior of the loop must remain dry. To ensure
this, use only a damp cloth for cleansing.
! WARNING: Never scratch, scrape or scrub loop surfaces with
abrasive materials.
!
Page 5

Installation
Use the corresponding MountingSet to install your loop. All MountingSets come with
specific mounting instructions.
Step 1
Carefully remove the lower rubber pad first and then the upper
rubber pad. !
Proceed as follows:
- Open the iPad resting shelf by pressing the button down
completely. If the loop is in a horizontal position, the shelf must
be gently lifted manually.
- Lift the lower rubber pad starting from the center of the loop (see
photo). When the inlay has reached approximately a 45° angle it
can be carefully pulled out.
- Close the resting shelf and gently pull the upper rubber cushion
out.
Step 2
Carefully remove the four screws on the cover (see photo - green).
! IMPORTANT: Hold cover tightly when removing the final screw to
avoid damage from falling down.
Step 3
Carefully remove the cover by lifting it towards you and place the
cover in a safe spot.
Step 4
Plug the connecting cable from the MountingSet into the loop plug
contact. Make sure that the cable runs along the outer section
behind the barrier (see photo - red line).
! WARNING: Do not run the connecting cable through the inner
section of the loop because it can easily block and damage the
rotating function.
Step 5
The various fastening points for the loop are easily identifiable.
Using the screws included in the MountingSet, fasten the loop as
follows:
- Photo Red: Inwall-Mounting with flush mounting box
- Photo Green: Furniture and door mounting
! IMPORTANT: Please follow the instructions included with the
MountingSet.
Step 6
Place the cover on the loop. Important: The correct positioning is
dictated by the button. Thread the cover into place there. Fasten the
cover with the four screws and put the rubber pads back in place.
Page 6

Warranty
Warranty
loop comes with a two year warranty from date of purchase by the
original end customer, unless the device was repaired or replaced
during the warranty period. In this case, the warranty is valid until
the end of the regular two year warranty or six months following the
repair/replacement, whichever comes first.
Warranty
claims and
verification
Should your loop for any reason not perform as expected, please
contact your dealer and provide the original invoice with serial
number as well as a brief description of your complaint.
Warranty
exceptions
The following devices are excluded from the warranty!
Devices with damages caused by:
- acts of nature,
- misuse, including but not limited to disregarding the user manual
and mounting instructions,
- inappropriate handling,
- connection to an incorrect power supply,
- repairs or attempted repairs by unauthorized persons,
- use of the device in connection with third party products,
- devices on which the serial number of the producer has been
changed, deleted, removed or made illegible.
Page 7

Installation guide
LockingSystem security, PIN controlled opening with viverooApp
Installation guide security
page of 1 2
1
Your viverooDock is already locked by default. A
metal pin behind the button prevents pressing the
knob and thus opening the iPad shelf. To unlock
your Dock the viveroo App "SecurityDock" is
required. Go to the App Store, search for „viveroo“
and download the app.
The app controls your viverooDock via Bluetooth.
Therefore you can use any iOS device to unlock
your Dock, in addition to the iPad which is inside.
2
When you open the app for the first time you have
to set a password. Choose a safe password and
confirm with „Signup“. If you have an iOS device
with Touch ID (iPhone 5s or later or iPad Air 2) you
can also use your fingerprint to unlock.
Page 8

Installation guide
LockingSystem security, PIN controlled opening with viverooApp
Installation guide security
page of 2 2
3
Now you will be redirected to a dashboard where all
your available viverooDocks are being displayed.
! IMPORTANT: Connect your viverooDock to the
power supply so that the Bluetooth module can send
out a signal and is displayed in the app.
! Additionally, activate Bluetooth on your iOS device.
4
Tap the image of your Dock . Your camera is now
activated, please allow access for using your camera.
To pair your iOS device and your viverooDock, scan
the QR code on the included key card. This procedure
is necessary only once, after the first pairing the
devices are able to communicate with each other. !
A message indicates the successful pairing of the
devices.
! IMPORTANT: Please keep the key card in a safe
place. For pairing a new iOS device or resetting the
password it is needed again. The key cards are also
archived by viveroo and can be requested at any
time.
5
When you now tap your viverooDock, the pin is
magnetically attracted and unlocks the dock. Then
you can press the button and open the iPad shelf. The
time slot in which the dock is unlocked, is 5 seconds.
After that, the dock is locked with an audible click
again.
A tap on the little "i" next to the dock allows you to
make some adjustments, such as the model, color or
the name of the dock.
00 00 00 00 00 01
 Loading...