

Vitrex MIXSTAND User Manual
WARNING
Some dust created by power sanding, sawing, grinding, drilling, and other
construction activates contains chemicals known to the State of California to
cause cancer, birth defects or other reproductive harm. Some examples of these
chemicals are:
• Lead from Lead-based paints,
• Crystalline silica from bricks and cement and other masonry products, and
• Arsenic and chromium from chemically treated lumber.
Your risk from these exposures varies, depending on how often you do this type
of work. To reduce your exposure to these chemicals: work in a well ventilated
area, and work with approved safety equipment, such as those dust masks that
are specially designed to lter out microscopic particles.
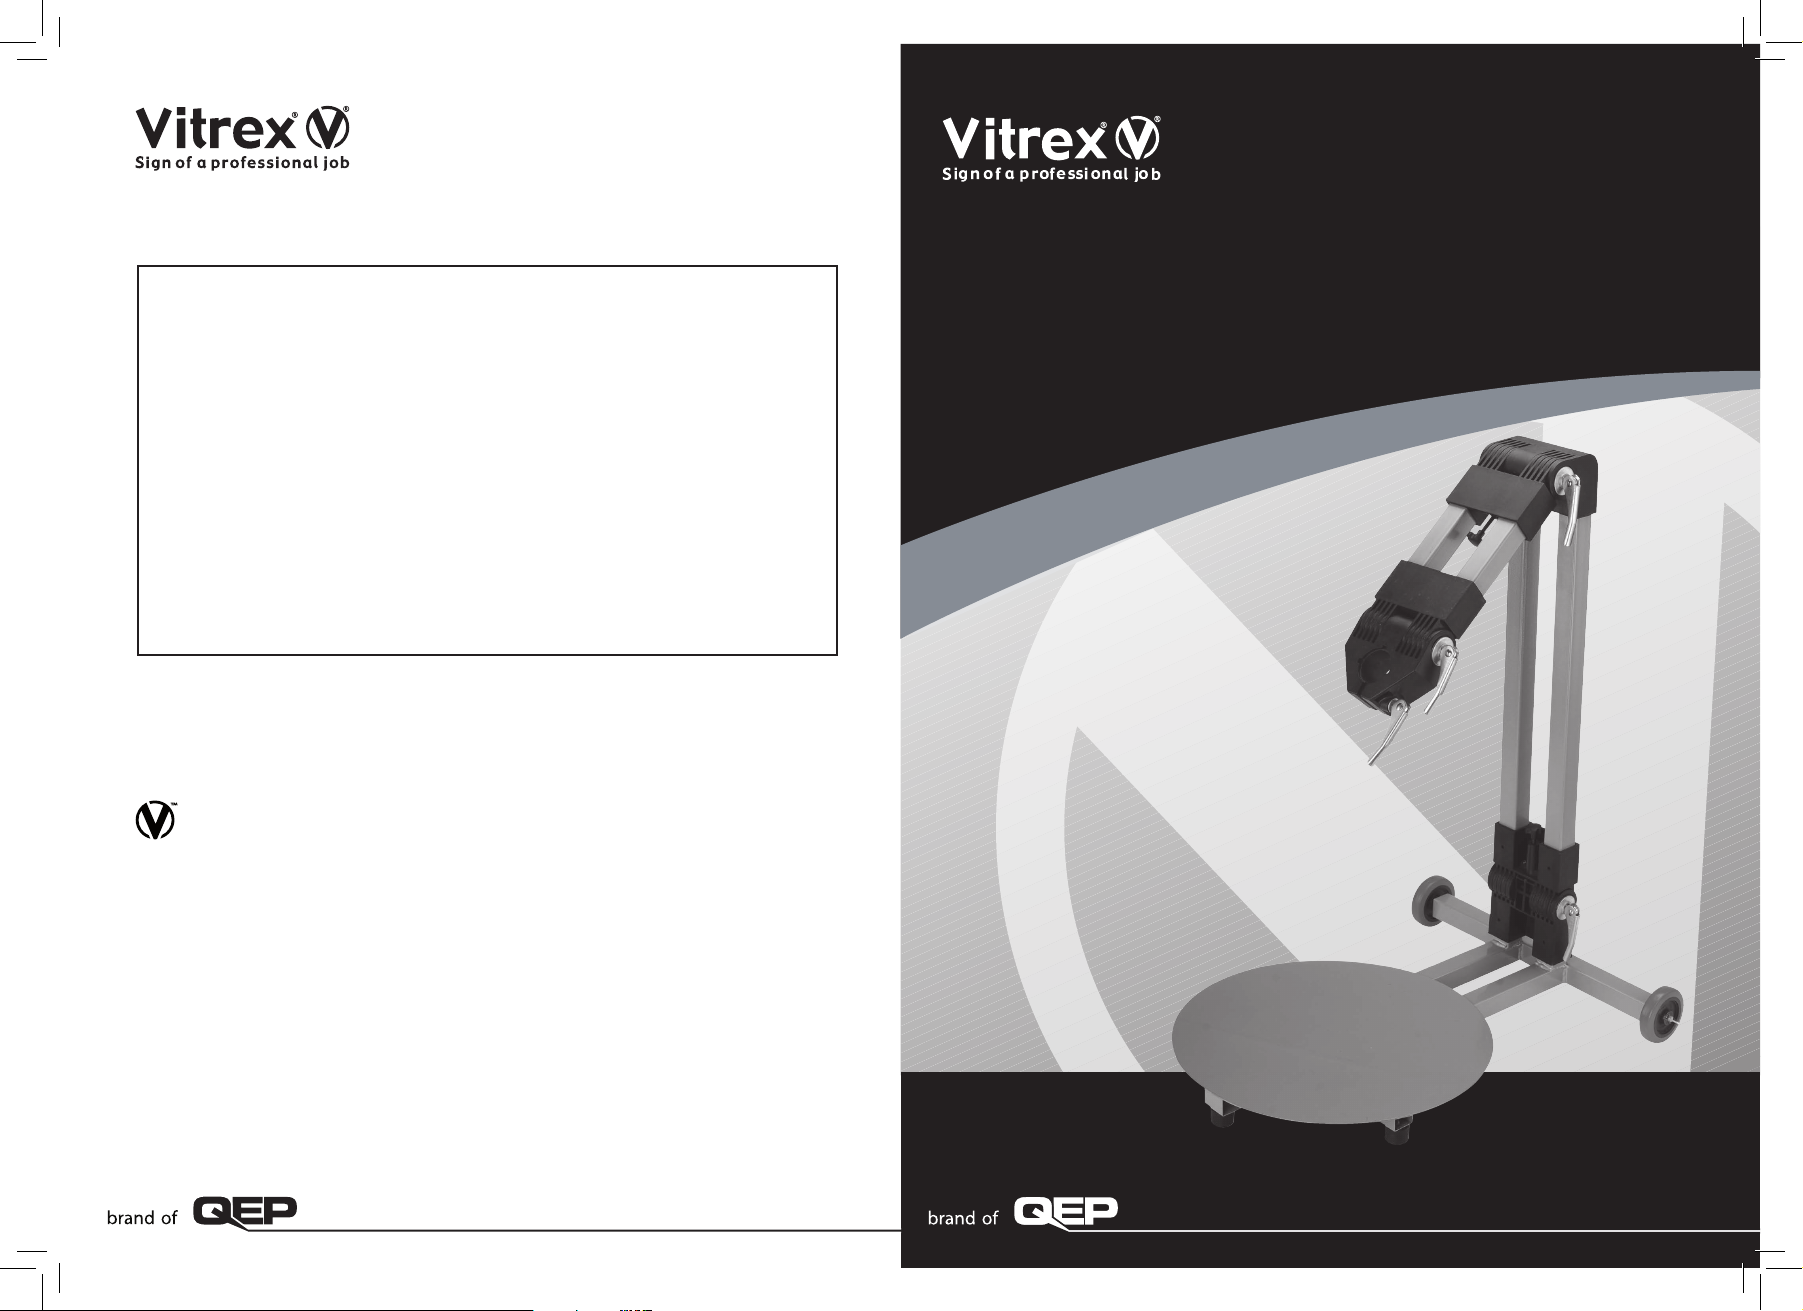
POWER MIXER
S TA N D
QEP Co UK Ltd.
Everest Road
Lytham St Annes
Lancashire
FY8 3AZ
Tel: +44 (0) 1253 789180
Fax: +44 (0) 1253 789182
www.vitrex.co.uk
WARNING
Read carefully and understand all
INSTRUCTIONS before operating.
Failure to follow the safety rules
and other basic safety precautions
may result in serious personal
injury.
MIXSTAND
Stand Suitable for uSe with Vitrex MixerS

POWER MIXER STAND
SPECIFICATIONS ASSEMBLY INSTRUCTIONS
Unpack the Mixer Stand and ensure none of the components have been damaged during transit.
Components are listed in the table below:
Item# Description Qty
1 Mixer stand 1
ASSEMBLING THE WHEELS
NOTE:
Place the wheels on the axles and insert the wheel rotating pins. Bend one leg of the pins to secure
See Figure 1, Figure 2 & Figure 3
2 Rubber feet 3
3 Screws 3
4 Wheels 2
5 Wheel Pins 2
KNOW YOUR MIXING STAND:
Wheel
FIG.1
ASSEMBLING THE RUBBER FEET
• Use a Phillips screwdriver to screw each rubber foot to the bottom of the seat. See Figure 4 &
Figure 5
FIG.4
NOTE
1. Check if the active joints are locked in place tightly before use.
2. Loosen the lock assembly II before afxing the mixing paddle (not included). Tighten the lock
assembly for maximum efciency. Make sure the Power Mixer rests securely on the stand.
3. Use the pins to tighten the stand at vertical positions. You must pull out the pins before
adjusting the stands angle, to avoid unnecessary damages.
4. Use the mixer on level, even ground.
5. Make sure all lock assemblies are securely fastened.
FIG.2
FIG.5
FIG.3
01 02
Tel: +44 (0) 1253 789180 Tel: +44 (0) 1253 789180
 Loading...