

Vita-Mix Inc. Blender Container Rinser Operation Manual
RINSE-0-MATIC
USE & CARE
®
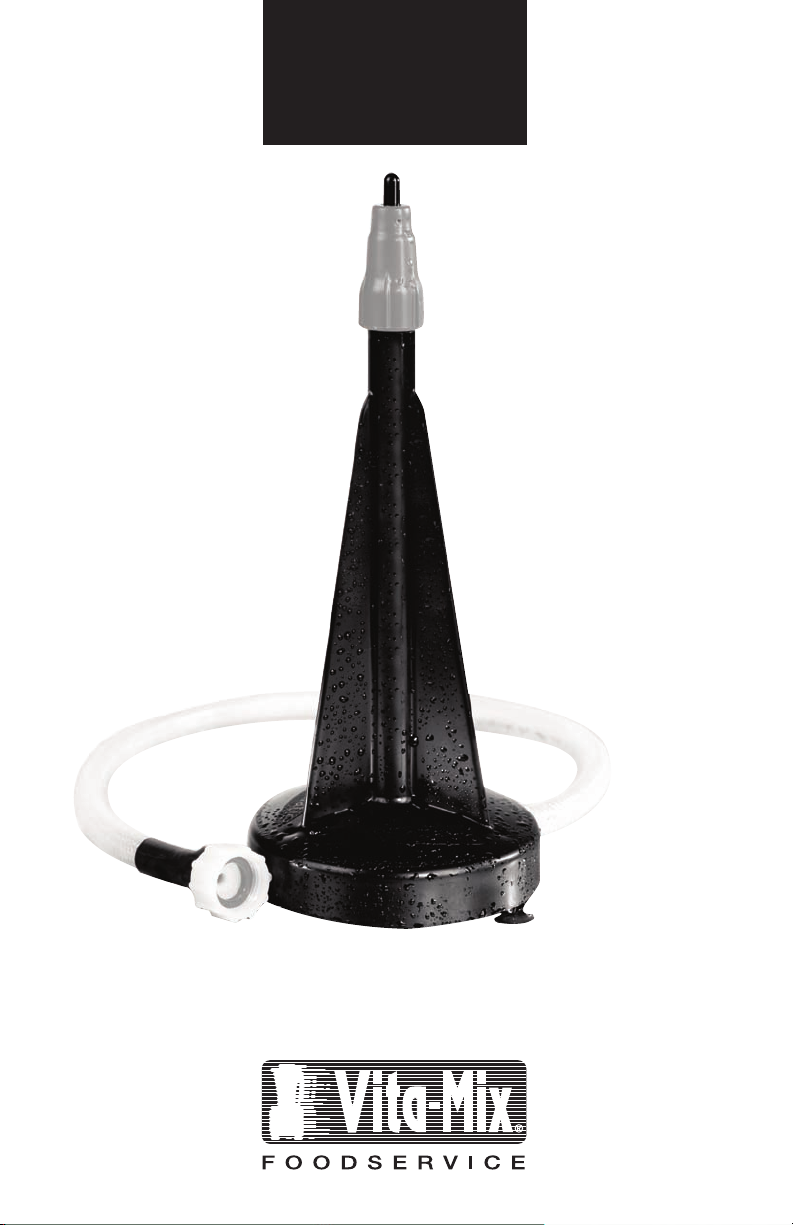
Rinse-o-matic
Blender Container Rinser
o Faucet (Step 6)
T
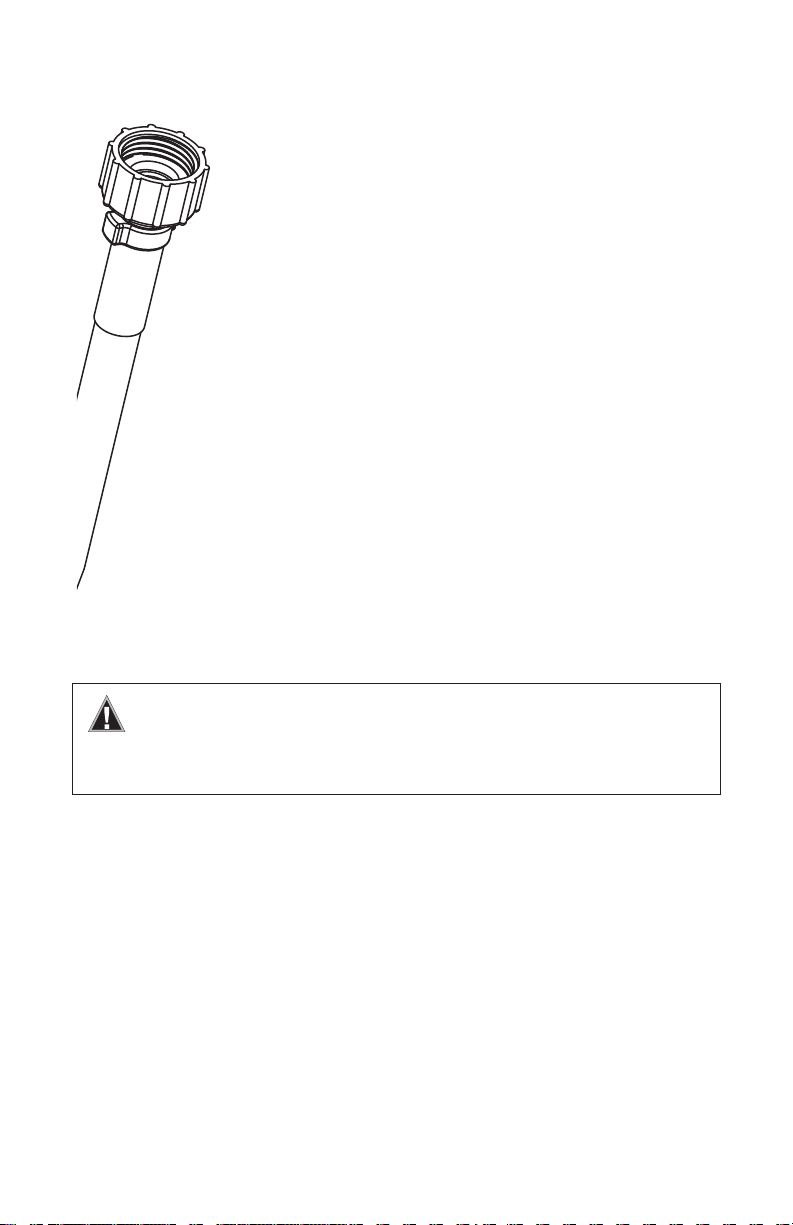
Swivel Connect
To Rinse-o-matic
INSTALLATION INSTRUCTIONS
PLEASE NOTE: This equipment is to be installed to comply
with the applicable plumbing codes having jurisdiction.
1. Ensure that you have received all of the parts shown in figures
1-6 of the Parts List diagram on page 7. If you are missing any
parts, please contact Vita-Mix Customer Service or your
Vita-MIx Distributor.
2. Make sure the faucet is turned off.
3. If your faucet is equipped with a garden hose thread, proceed to
Step 5. Otherwise, remove the faucet aerator, if one is installed,
and proceed to Step 4.
4. Locate the bag of faucet adapters. Find the faucet-to-hose
thread adapter (fig. 6a) and screw onto the faucet. An additional
adapter (fig. 6b) is provided to accommodate various faucet
designs. Be sure to use the correct washer if it is necessary to
use an adapter.
5. Turn the faucet on to wet the bottom of the sink. The suction
cups are more effective when the sink bottom is wet and clean.
Turn the water off once the sink bottom is wet.
6. Screw the swivel connect (fig. 5) on the free hose end of the
Rinse-o-matic unit to the faucet.
7. Place the Rinse-o-matic unit in the bottom of the sink in the
desired location and press down firmly and evenly to secure the
suction cups.
8. Turn on the cold water.
ATTENTION: Turn off water supply and disconnect system from faucet
after closing time. MAXIMUM OPERATING TEMPERATURE: 60˚C / 14˚F.
NOTE: Periodically check water supply hose and connections for leakage.
Refer to the Troubleshooting guide (pages 4-5) if there is leakage.
RINSING INSTRUCTIONS
1. Place the item to be rinsed upside down over the top of the Rinse-o-matic unit until
it rests on the plunger. For the best results when rinsing items with blades, ensure that
the blades are not resting on the tip of the plunger before attempting to depress the
plunger (Fig.A). The bottom internal surface of the unit being rinsed should be in contact
with the plunger (Fig. B). This ensures the best performance of the Rinse-o-matic.
2. Press down on the item to be rinsed. This will depress the plunger and release the
water.
3. Hold the plunger down for 2-5 seconds or until the item is fully rinsed.
4. Lift the rinsed item from the Rinse-o-matic. The water will stop flowing.
5. Continue with the cleaning and sanitizing process necessary for the item.*
*Applicable codes should be followed for cleaning equipment.
2
WRONG
Fig. A Less Effective Fig. B For Best Results
CORRECT
MAINTENANCE
The plunger and sprayhead may wear down from improper contact with the blade
when rinsing containers. The wearing may affect rinsing performance and will require
part replacement. Included with the Rinse-o-matic is an extra sprayhead kit (#1411)
which consists of one replacement plunger and sprayhead. (Additional replacements
®
must be ordered through your Vita-Mix Distributor or by contacting Vita-Mix
Customer
Service.) Avoid damage to the plunger and sprayhead by following the correct
Rinsing Instructions.
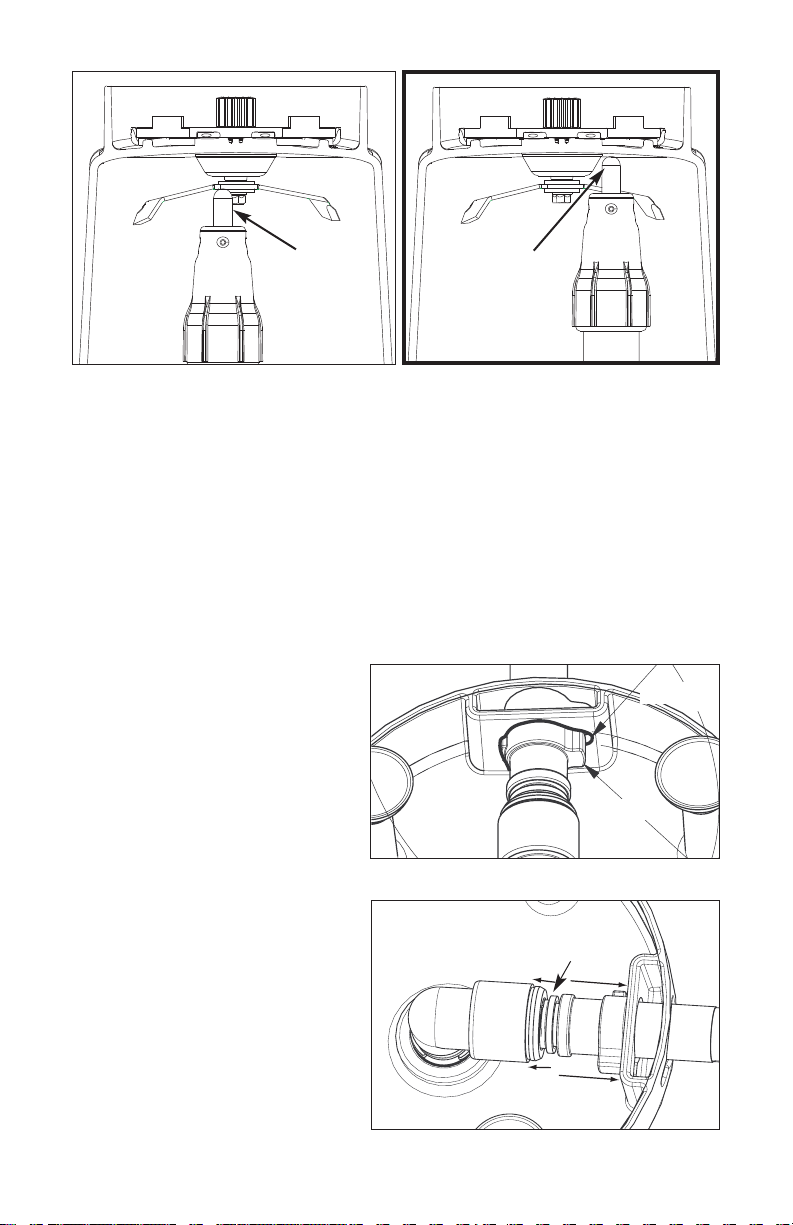
DISASSEMBLY OF HOSE FROM BASE
1. Make sure the water supply is off
and disconnect the unit from the
water supply.
2. Remove the Rinse-o-matic from
the sink and turn it over so the
hose connection can be seen.
3. Turn the hose so that the key slot
in the base and hose are aligned
as shown in Fig. C.
4. Using two fingers, hold the elbow
collar back while pulling on the
hose to disengage it (Fig. D).
5. Pull hose carefully through the
key slot hole.
6. After cleaning or replacement,
push hose back through key slot
hole and connect at the elbow. Push
end of hose completely into the
elbow (approx. 1 in. / 2.5 cm). The
elbow will “grip” the hose when
correctly connected.
Fig. C Bottom View of Rinse-o-matic
Elbow Collar
Fig. D Bottom View of Rinse-o-matic
Key Slot
Hose Key
3
 Loading...