

Vitalograph Compact 6600 User Manual
Vitalograph Compact User Manual
User Manual
l
Vitalograph
Vitalograph
VitalographVitalograph
COMPACT
MODEL 6600
07330
Issue 1
Copyright Vitalograph 2004

Vitalograph Compact User Manual
07330
Issue 1
Vitalograph Ltd., Maids Moreton, Buckingham, MK18 1SW, England
Phone: (01280) 827110 Fax: (01280) 823302
e-mail: sales@vitalograph.co.uk
Vitalograph GmbH, Jacobsenweg 12, 22525 Hamburg, Germany
Phone: (040) 54 73 91-0
Fax: (040) 547 391 40
e-mail: info@vitalograph.de
Vitalograph Inc., 8347 Quivira Road, Lenexa, Kansas 66215, U.S.A.
Phone: (913) 888-4221 Fax: (913) 888-4259
e-mail: vitcs@vitalograph.com
Vitalograph (Irl.) Ltd., Gort Road Business Park, Ennis, Co. Clare, Ireland
Phone: (065) 6864100 Fax: (065) 6829289
e-mail: sales@vitalograph.ie
Internet: www.vitalograph.com
© Copyright Vitalograph 2004
Current Edition (Issue 1)
Cat. No. 07330
Vitalograph is a registered trademark
Copyright Vitalograph 2004

Table of Contents
DESCRIPTION OF THE VITALOGRAPH COMPACT 1
MAIN COMPONENTS OF THE VITALOGRAPH COMPACT 1
FEATURES OF THE VITALOGRAPH COMPACT 1
GETTING THE VITALOGRAPH COMPACT READY FOR USE 2
OPERATING THE VITALOGRAPH COMPACT 2
LOGGING IN 2
ENTERING OR SELECTING SUBJECT INFORMATION 3
CREATING A NEW SUBJECT 3
Creating a New Subject for a Non-advanced User 4
Creating a New Subject for an Advanced User. 6
SELECTING A SUBJECT FROM THE DATABASE 7
PERFORMING A TEST SESSION 8
Checks to Make before Performing a Test Session 8
Performing an FVC Test 8
Performing a Single Breath Test Continued 11
Using the Incentive Device 12
PERFORMING CLOSED CIRCUIT SPIROMETRY 15
PERFORMING A POST TEST SESSION 18
PRINTING AND VIEWING TEST SESSIONS 19
Printing a Test Session 20
Viewing a Test Session 20
MODIFYING SUBJECT INFORMATION 21
Modifying Subject Information for a Non-advanced user 21
Modifying Subject Information for an Advanced User. 24
CHECKING ACCURACY 25
VIEWING/PRINTING THE ACCURACY LOG 26
WHEN TO CHECK ACCURACY 27
DELETING SUBJECT INFORMATION AND/OR TEST RESULTS. 27
POPULATION GROUPS AND NORMAL SETS 29
TEST CONFIGURATION 31
VITALOGRAPH COMPACT CONFIGURATION 36
i

REPORT/PRINTER OPTIONS 40
FITTING A NEW PAPER ROLL 42
USER CONFIGURATIONS 43
CLEANING INSTRUCTIONS 44
CLEANING AND DISINFECTING THE VITALOGRAPH COMPACT 44
DISASSEMBLING THE VITALOGRAPH COMPACT 47
REASSEMBLING THE FLEISCH FLOWHEAD 48
FAULT FINDING GUIDE 49
CUSTOMER SERVICE 51
CONSUMABLES AND ACCESSORIES 51
EXPLANATION OF SYMBOLS 52
OTHER LABELS 52
TECHNICAL SPECIFICATIONS 53
CE NOTICE 53
FDA NOTICE 53
DECLARATION OF CONFORMITY 54
GUARANTEE 55
BUTTONS AND ICONS USED IN COMPACT 56
ii
B
D
Vitalograph Compact User Manual
07330
Issue 1
A
C
Copyright Vitalograph 2004

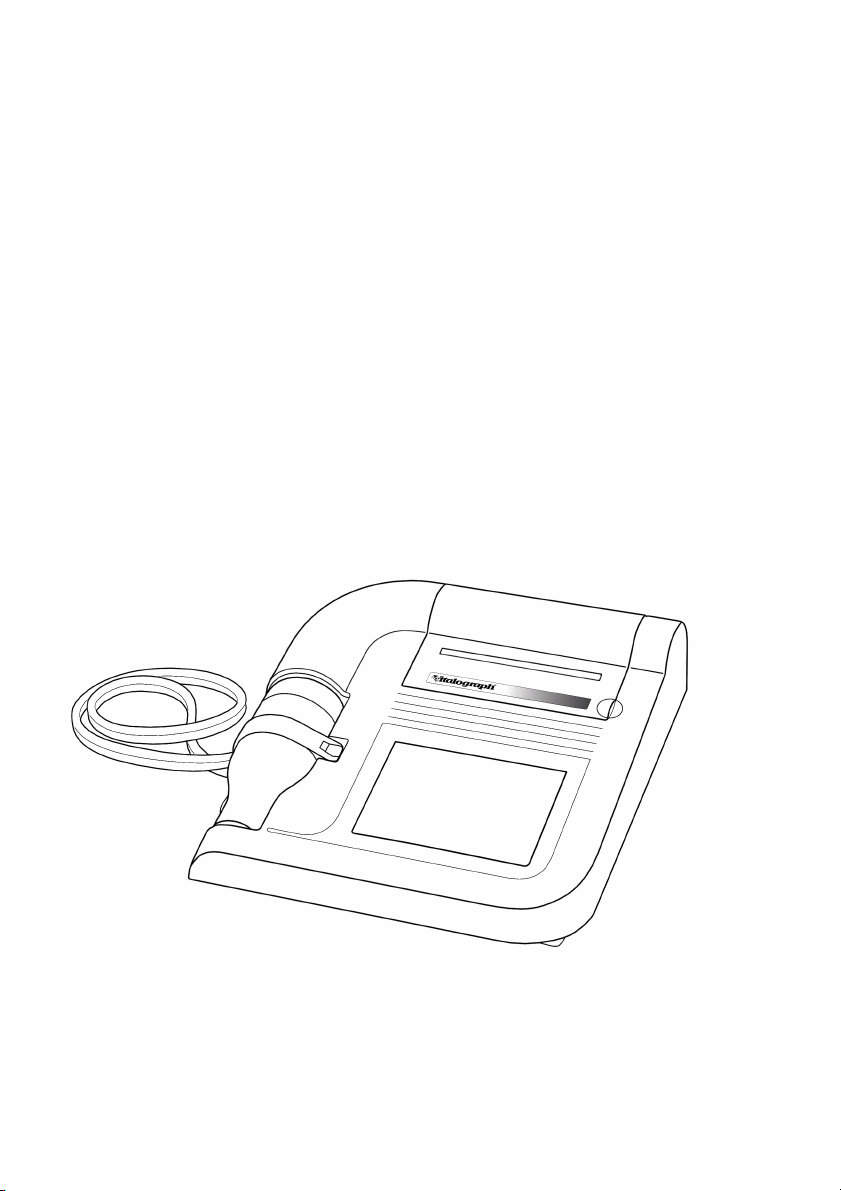
DESCRIPTION OF THE VITALOGRAPH COMPACT
The Vitalograph COMPACT is a desktop spirometer designed for use
by trained professionals in the doctor’s office, clinic, hospital
department, clinical trials, etc. for measuring and archiving tests on
human subjects. Demographic data are uploaded or entered via a
touchscreen and stored, together with spirometry test data. Current
test data and the subject’s history can be viewed on the LCD and
printed and downloaded to a PC. There are a variety of backup and
other configuration options.
Information about the software can be obtained from the About box.
This information can be used if any queries are made to Vitalograph or
a service agent.
To access the About box:
1. Press the More button on the Home screen.
2. Press the About button.
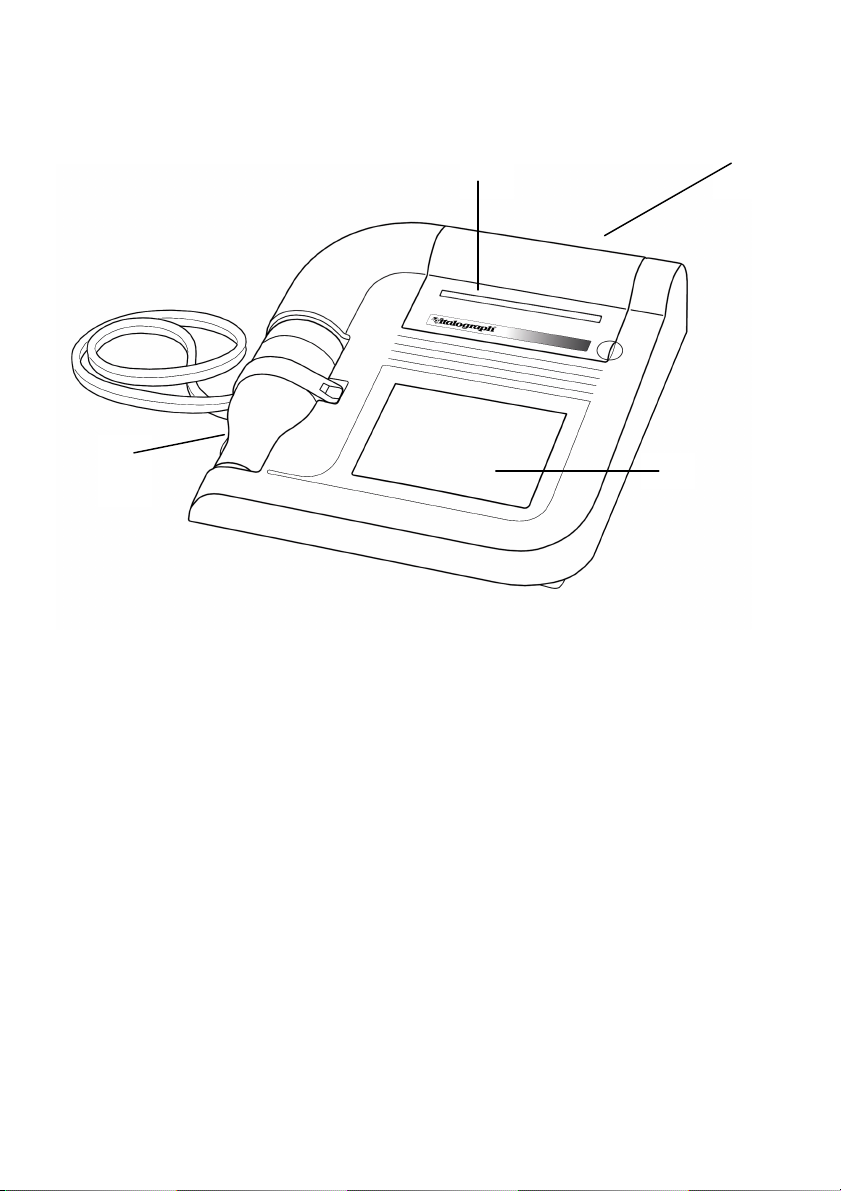
MAIN COMPONENTS OF THE VITALOGRAPH COMPACT
A Vitalograph COMPACT device
B LCD/Touchscreen
C Flowhead
D Printer
FEATURES OF THE VITALOGRAPH COMPACT
The Vitalograph COMPACT’s features include:
• Very high accuracy, linearity and stability
• Automatic trending
• Extremely simple to operate touchscreen with extra-large buttons
• Integral printer for instant results or optional external printing
• Automatic storage of tests and demographic information
• Ability to exchange information with a PC
1

• Robust, proven fleisch-type flowhead. No moving parts or delicate
sensors
• Simple cleaning. The flowhead completely dismantles for washing,
disinfecting or even autoclaving.
GETTING THE VITALOGRAPH COMPACT READY FOR USE
1. Attach the flowhead to the Vitalograph COMPACT by the dual
silicone tubing (Flowhead Connection Tube). Ensure that the
coloured/ribbed tapping on the flowhead is connected to the ribbed
side of the connection in the housing.
2. Open the printer door and remove bubble wrap from each side of
paper roll.
3. Only use the Vitalograph COMPACT with the purpose-built low
voltage power supply unit with which it is supplied. Attempted use
with other power sources may cause irreparable damage and
invalidate the warranty. The output from the power supply is 10
volts DC.
4. Connect the jackplug from the power supply into the socket on the
rear of the Vitalograph COMPACT. The IEC connector on the
mains lead plugs into the socket on the power supply. Plug the
mains plug into a suitable socket, operate the On/Off switch on the
rear of the instrument and the Vitalograph COMPACT is ready for
use.
5. A helpful demonstration will automatically start when the
COMPACT is powered up for the first time. On subsequent powerup the demonstration will not start automatically. To access the
demonstration again press the Help button on the Home screen.
Note: A complete list of the buttons and icons used in this device is
available at the back of this Manual.
OPERATING THE VITALOGRAPH COMPACT
Logging In
The COMPACT can be configured so that a user must login during
power-up. (See section User Configurations). If this option is selected,
2
the user is presented on power-up with a login screen showing a list of
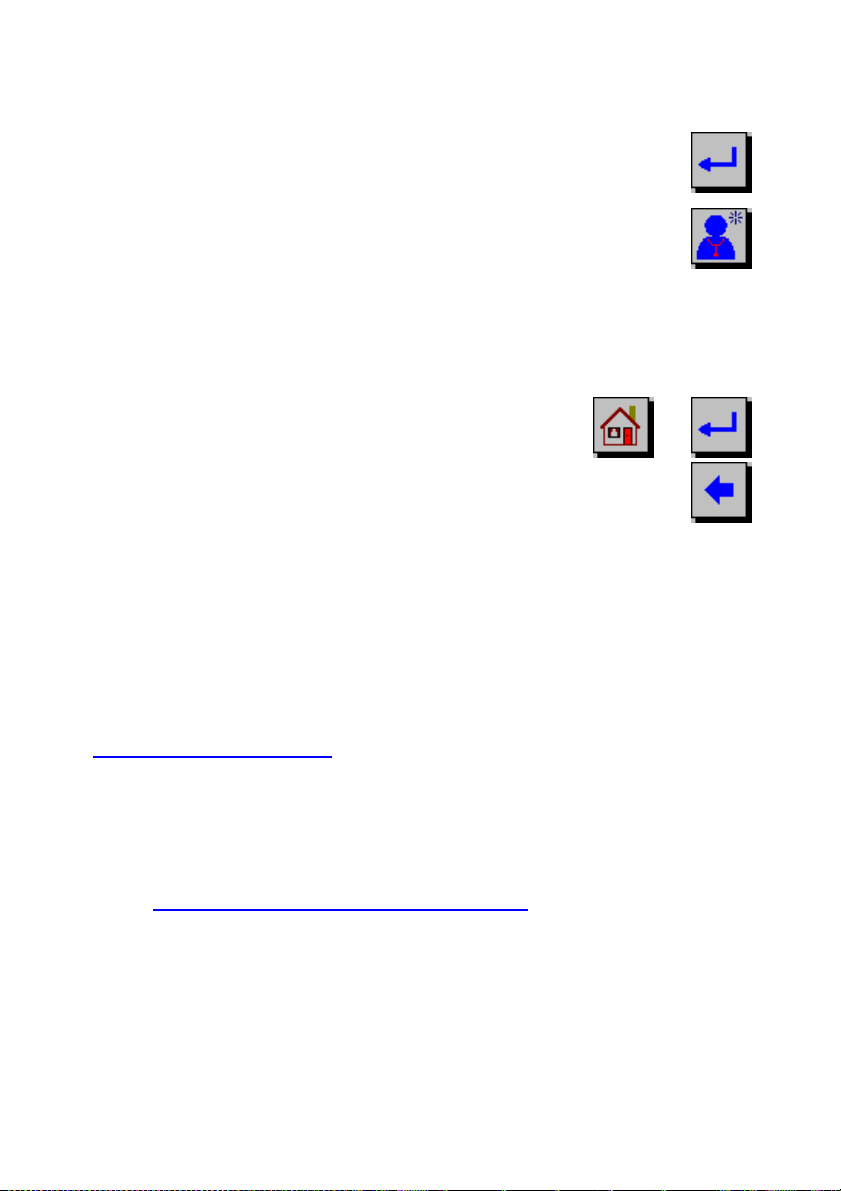
Save the username to the database and
users stored in the database. There are two options available:
1. Select the required username from the list-box
and continue to login by pressing the Return
button.
2. If the required username is not on the list, then
you can create one by pressing the New User
button.
Enter the username using the on-screen keyboard. When you have
entered the username you can do one of two things:
a.
return to the login screen by pressing either
the Home or Return buttons.
or
b. Do not save the changes and return to the
login screen, by pressing the Back button.
Entering or Selecting Subject Information
In order to save test sessions to the database, a current subject must
first be created or selected for test.
You can:
• Enter subject information for a new subject as described in the
Creating a New Subject section. This information is stored on the
database.
Or
• Recall a previously entered subject from the database as described
in the Selecting a Subject from the Database section.
Creating a New Subject
There are 2 methods available to the user for creating a New Subject:
• Creating a new subject for a non-advanced user.
• Creating a new subject for an advanced user.
3

Note: Refer to section
User Configurations for instructions on how to
set a user to advanced and non-advanced.
To access the New Subject screen, select the New
Subject button from the Home screen.
Creating a New Subject for a Non-advanced User
After entering the New Subject screen, you are presented with a series
of dialog boxes in which you can enter information. Once you are
ready to move onto the next dialog box, press the Enter key on the
keyboard. These dialog boxes appear one at a time in the following
order:
1. Enter Last Name using the on-screen keyboard
2. Enter First Name using the on-screen keyboard
(Last Name)
(First Name)
3. Enter Date of Birth using the on-screen
keyboard
4. Enter Male/Female by selecting the relevant
option
5. Enter Height using the on-screen keyboard
Note: The next dialog box will appear automatically if the maximum
information allowed for a field has been entered.
When the subject’s height has been entered, a dialog box containing
the subject ID will appear at the top of the screen. This ID is created by
the COMPACT unit, but it can be modified by the user if required.
There are four options available to you at this stage. You can:
1. Save the new subject to the database and return to the
Home screen by pressing the Home button.
(Date of Birth)
/
(Male/Female)
(Height)
4
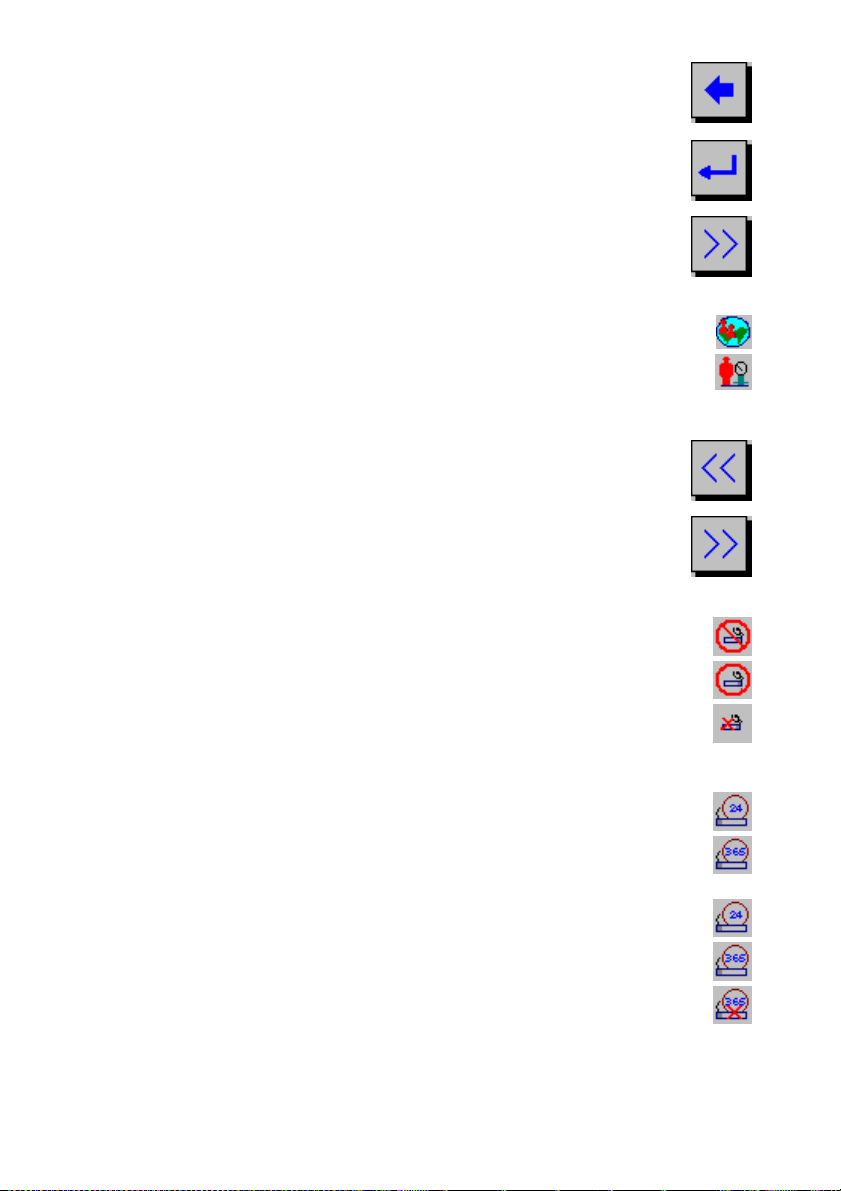
2. Return to the Home screen without saving the new
subject to the database by pressing the Back button.
3. Save the new subject to the database and perform a
test session by pressing either the Enter key on the
LCD keyboard or the Return button.
4. Enter additional subject information by pressing the
Forward button.
This option will allow you to enter:
a. Population group from a drop down list
b. Weight using the on-screen keyboard
5. There are now two options available:
a. Return to the New Subject screen by pressing the
Back button.
b. To modify the smoking information, press the
Forward button. This will allow you to modify the
smoking status by selecting the relevant option from
the following:
i. Non-smoker
ii. Current smoker
iii. Ex-smoker
For a Current smoker, you will need to enter the:
i. Cigs. per day
ii. Year started
For an Ex-smoker, you will need to enter the:
i. Cig. per day
ii. Year started
iii. Year quit
c. If you suspect the subject has COPD, check the
COPD check box.
d. Enter subject comments in the field provided using
5

the on-screen keyboard
6. You can return to the New Subject screen by pressing
the Back button twice.
(X2)
Creating a New Subject for an Advanced User.
After entering the New Subject screen, you are presented with a series
of dialog boxes.
1. Enter data in the fields as required.
a. Enter the subject ID using the on-screen
keyboard
b. Enter last name using the on-screen
keyboard
c. Enter first name using the on-screen
keyboard
d. Enter the population group from a drop down
list
e. Enter date of birth using the on-screen
keyboard
f. Enter gender by selecting the relevant option
g. Enter height using the on-screen keyboard
h. Enter weight using the on-screen keyboard
2. Once you are ready to move onto the next field press Enter on the
keyboard.
Note: The curser will move on automatically if the maximum
information allowed for a field has been entered. Any or all fields
can be left blank also.
3. When you are satisfied with the data you have entered, you can do
one of four things:
(Subject ID)
(Last Name)
(First Name)
(Population
Group)
(Date of Birth)
/
(Male/Female)
Height
Weight
6
a. Save the new subject to the database and return to
the Home screen by pressing the Home button.
b. Return to the Home screen without saving the new
subject to the database by pressing the Back button.
c. Save the new subject to the database and perform a
test session by pressing the Return button.
Note: The unit will only allow you to perform a test if a
subject ID has been created. If you did not enter a
subject ID, the unit will automatically create one. You
can modify this if required.
c. Enter the smoking information screen by pressing the
Forward button. Refer to section Creating a New
Subject for a Non-advanced User for entering
information here.
Selecting a Subject from the Database
If a subject has previously been created, the details will be stored in
the database.
Follow these steps to recall a subject from the database.
1. To access the Recall Subject screen, press the Recall
Subject button on the Home screen.
2. All subjects are listed. It is possible scroll down through
the list by pressing the up/down arrows on the list box.
3. You can list the subject by Name or ID by making the
relevant selection.
4. Highlight the subject you require by making a selection in
the list box. The subject will now appear in the dialog box
beside the list box.
You can now do one of three things:
a. Make the selection the current subject and return
to the Home screen by pressing the Home button.
7
or

Note: If the selected subject has a name entered it will appear
at the status bar on the bottom of the screen. If the selected
subject has no name entered the text ‘No name entered’ will
appear on the status bar.
b. Cancel the selection and return to the Home
screen by pressing the Back button.
c. Make the selection the current subject and edit the
subject’s information by pressing the Return
button.
Refer to section Modifying Subject Information on how to edit
subject information. Carry out a test session on the selected
subject by pressing the Return button again.
Performing a Test Session
Checks to Make before Performing a Test Session
Before starting a test session, there are a number of checks which
should be made:
1. Ensure that the accuracy of the COMPACT unit was checked
recently. (Refer to section on Checking Accuracy)
2. Check that the required Save Options, FVC Test Type and Test
Indices are selected. (Refer to section on Test Configuration).
3. Check that a subject is selected and that all the required
demographic information is entered for the subject. (Refer to
section on Selecting a Subject from the Database).
Note: If a name has been entered, then that name will appear in
the status bar. If no name has been entered, then ‘No name
entered’ will appear on the status bar.
Performing an FVC Test
There are two test types that can be performed using the COMPACT.
These are:
• Single Breath Test
• Closed Circuit Spirometry
Refer to section on
Test Configuration for selecting the test type.
8

Performing a Single Breath Test
Follow these steps to perform a single breath test:
1. Press the Perform Test button on the Home screen.
Note: If no subject has been selected from the database then you will
be presented with a list of all subjects. There are two options here. You
can:
a. Select the subject required and press the Enter key. The
subject’s demographic information will then be displayed.
Review this and change if required. Press the Enter key to
display the testing screen.
b. Press the Enter key without selecting any subject from the
database. The COMPACT unit will automatically create a
subject ID before displaying the testing screen.
Depending on the Test Configuration settings, you may be presented
with a testing screen to either perform a VC or an IVC test.
Note: If neither VC or IVC is selected in the Test Configuration settings,
then the testing screen will not be displayed.
Perform a VC Test
1. Wait for the Exhale to Begin icon to appear.
This indicates that the COMPACT unit is ready to accept a blow.
2. Read the following instructions to the subject so that testing is
performed properly:
a. Stand up.
b. Keep the flowhead away from your mouth.
c. Inhale as deeply as possible and insert the mouthpiece into
your mouth, clamping it between your teeth.
d. Close your lips around the mouthpiece.
e. Exhale normally for as long as possible.
9
3. If you are prompted to accept the test, press the Cancel button to
reject the test or the Enter key to accept the test.
The VC values recorded for the blow are tabulated. The best VC
value for the current session and the Lower Limit of Normality
(LLN) are also displayed.
4. Repeat to perform another VC test if required.
Note: A maximum of 12 VC tests can be performed in one session.
5. After performing the VC tests, you can do one of four things:
a. Return to the Home screen by pressing the
Home button. This will finish the test session.
b. Return to the Subject Select screen by pressing
the Back button. This will end the test session.
c. Perform a Single Breath Test by pressing the
FVC button.
d. Perform a Post test by selecting the Post
button.
Note: Refer to the section on Performing a Post
Test Session
Perform an IVC Test
1. Wait for the Exhale to Begin icon to appear.
This indicates that the COMPACT unit is ready to accept a blow.
2. Read the following instructions to the subject so that testing is
performed properly:
a. Stand up.
b. Insert the mouthpiece into your mouth and, clamping it between
your teeth.
c. Close your lips around the mouthpiece.
d. Breathe in and out normally. This is tidal breathing.
10

When you are happy that the subject has achieved steady tidal
breathing, continue with:
e. Exhale as deeply as possible.
f. Inhale as much as possible (speed is not important) and when
fully inhaled
g. Return to tidal breathing i.e.: Breathe in and out normally again.
3. If you are prompted to accept the test, press the Cancel button to
reject the test or the Enter key to accept the test.
The IVC values recorded for the blow are displayed in the table. The
best IVC value for the current session and the Lower Limit of
Normality (LLN) are also displayed.
4. Repeat to perform another IVC test if required.
Note: A maximum of 12 IVC tests can be performed in one session.
5. After performing the IVC tests, you can do one of four things:
1. Return to the Home screen by pressing the Home
button. This will end the test session.
2. Return to the Subject Select screen by pressing the
Back button. This will end the test session.
3. Perform a single breath test by pressing the FVC
button.
4. Perform a Post test by pressing the Post button.
Note: Refer to the section on Performing a Post Test Session
Performing a Single Breath Test Continued
Note: If you have not selected either of the VC or IVC check boxes in
the Test Indices selection screen, you will be brought directly into the
FVC test screen.
11

1. Press the FVC button in the VC or IVC screens to enter the Single
Breath Test screen. To perform a Single Breath Test:
a. Wait for the Exhale to Begin icon to appear.
This indicates that the COMPACT unit is ready to accept a blow.
b. Read the following instructions to the subject so that testing is
performed properly:
i. Stand up.
ii. Keep the flowhead away from your mouth.
iii. Inhale as deeply as possible and inset the mouthpiece
into your mouth, clamping it between your teeth.
iv. Close your lips around the mouthpiece.
v. Exhale as much and as quickly as possible and try to
keep exhaling for at least 6 seconds.
vi. If inspiratory indices are selected, then inhale as
quickly as possible.
2. If you are prompted to accept the test, press the Cancel button to
reject the test or the Enter key to accept the test.
The FVC and FEV1 values recorded for the blow are tabulated.
The best FVC and FEV1 values for the current session and the
Lower Limit of Normality (LLN) are also displayed.
3. Repeat to perform another Single Breath Test if required.
Note: A maximum of 12 Single Breath tests can be performed in one
session.
Using the Incentive Device
The Incentive Device is used as an aid in the Single Breath Test of
children. To access this:
1. Press the Incentive button on the top of the screen.
Note: You must wait for the Exhale to Begin icon to
appear before a blow can be performed.
12
2. To view the results for the individual blows
associated with the test session, press the Results
tab.
The blows are listed in order of ranking. The best
blow being listed first. Predicted values are selected
for the selected indices. The predicted number will
be displayed if the date of birth, height, gender and
population group are entered.
3. To view the next ranked blow, press the Arrow
button.
4. To view the trend graph for the current subject,
press the Trend tab.
There is an option here to switch between trending.
Trending for all test sessions performed will be
shown by default when you select the Trend tab.
This is a seventy-year trend of the best FEV1 value.
A predicted line is shown from the 25–70th year, if
the subject’s demographic information is entered.
a. In order to view the trend of the last ten test
sessions, press the Ten Point Trend button.
b. To switch back to the full trend, press the Full
Trend button.
5. Press the Info tab to view the quality information
and the interpretation of the session results.
The reproducibility information for FVC, FEV1 and PEF is
displayed if at least two tests are performed. If the
reproducibility criteria are met, then a message saying ‘GOOD
test session’ is displayed. No reproducibility information will be
displayed if the manual save option is selected. Refer to the
Test Configuration section.
13
1. Press the Interpretation button to view the
been entered and the COPD check box has been
suggested interpretation of the results.
Interpretation will be displayed if the height, date of
birth and population group are entered for the
subject. There also needs to be a measured value
of FEV1.
2. Press the COPD Risk button to view the COPD
risk. This calculates a subject’s risk of developing
COPD within the next 10 years, and also the risk if
the subject stopped smoking.
COPD risk will be displayed if the date of birth,
gender and current smoking information has been
entered. There also needs to be a measured value
of FEV1.
3. Press the COPD Number button to view the COPD
score.
The COPD number is the measured FEV1 as a
percent of the value compared with a reference
population of people without lung disease. This is
used as a method of categorising the severity of
airway obstruction in subjects with COPD. Most
lung damage is permanent, so the initial COPD
number is unlikely to improve. However, if it
remains close to constant, it is a positive sign that
the subject’s lungs are not suffering further
deterioration. The number will be displayed if the
date of birth, height and population group have
selected for the subject.
4. To print the COPD number, press the Print COPD
button.
5. In order to view the predicted lung age, press the
Lung Age button.
6. After performing the Single Breath Tests, you can
do one of four things:
14

a. Return to the Home screen by pressing the
Home button. This will end the test session.
b. Return to the Subject Select screen by pressing
the Back button. This will end the test session.
c. Print the test session by pressing the Print
button. This will end the test session.
d. Perform a Post test by pressing the Post button.
Note: Refer to the section on Performing a Post
Test Session
Performing Closed Circuit Spirometry
Follow these steps to perform Closed Circuit Spirometry:
1. Press the Perform Test button on the Home
screen.
Note: If no subject has been selected from the
database, then you will be presented with a list of
all subjects.
There are two options here. You can:
a. Select the subject required. Press the Enter key and
the subject’s demographic information will be
displayed. Review this and change if required. Press
the Enter key to bring you onto the testing screen.
b. Press the Enter key without selecting any subject
from the database. The COMPACT unit will
automatically create a subject ID and bring you onto
the testing screen.
2. If FRC, RV and TLC are selected as indices (refer to the
section
enter a value for FRC, RV or TLC will appear. Enter a
value using the on-screen keyboard. If one value is
Test Configuration), then a screen asking you to
15
 Loading...