

Page 1
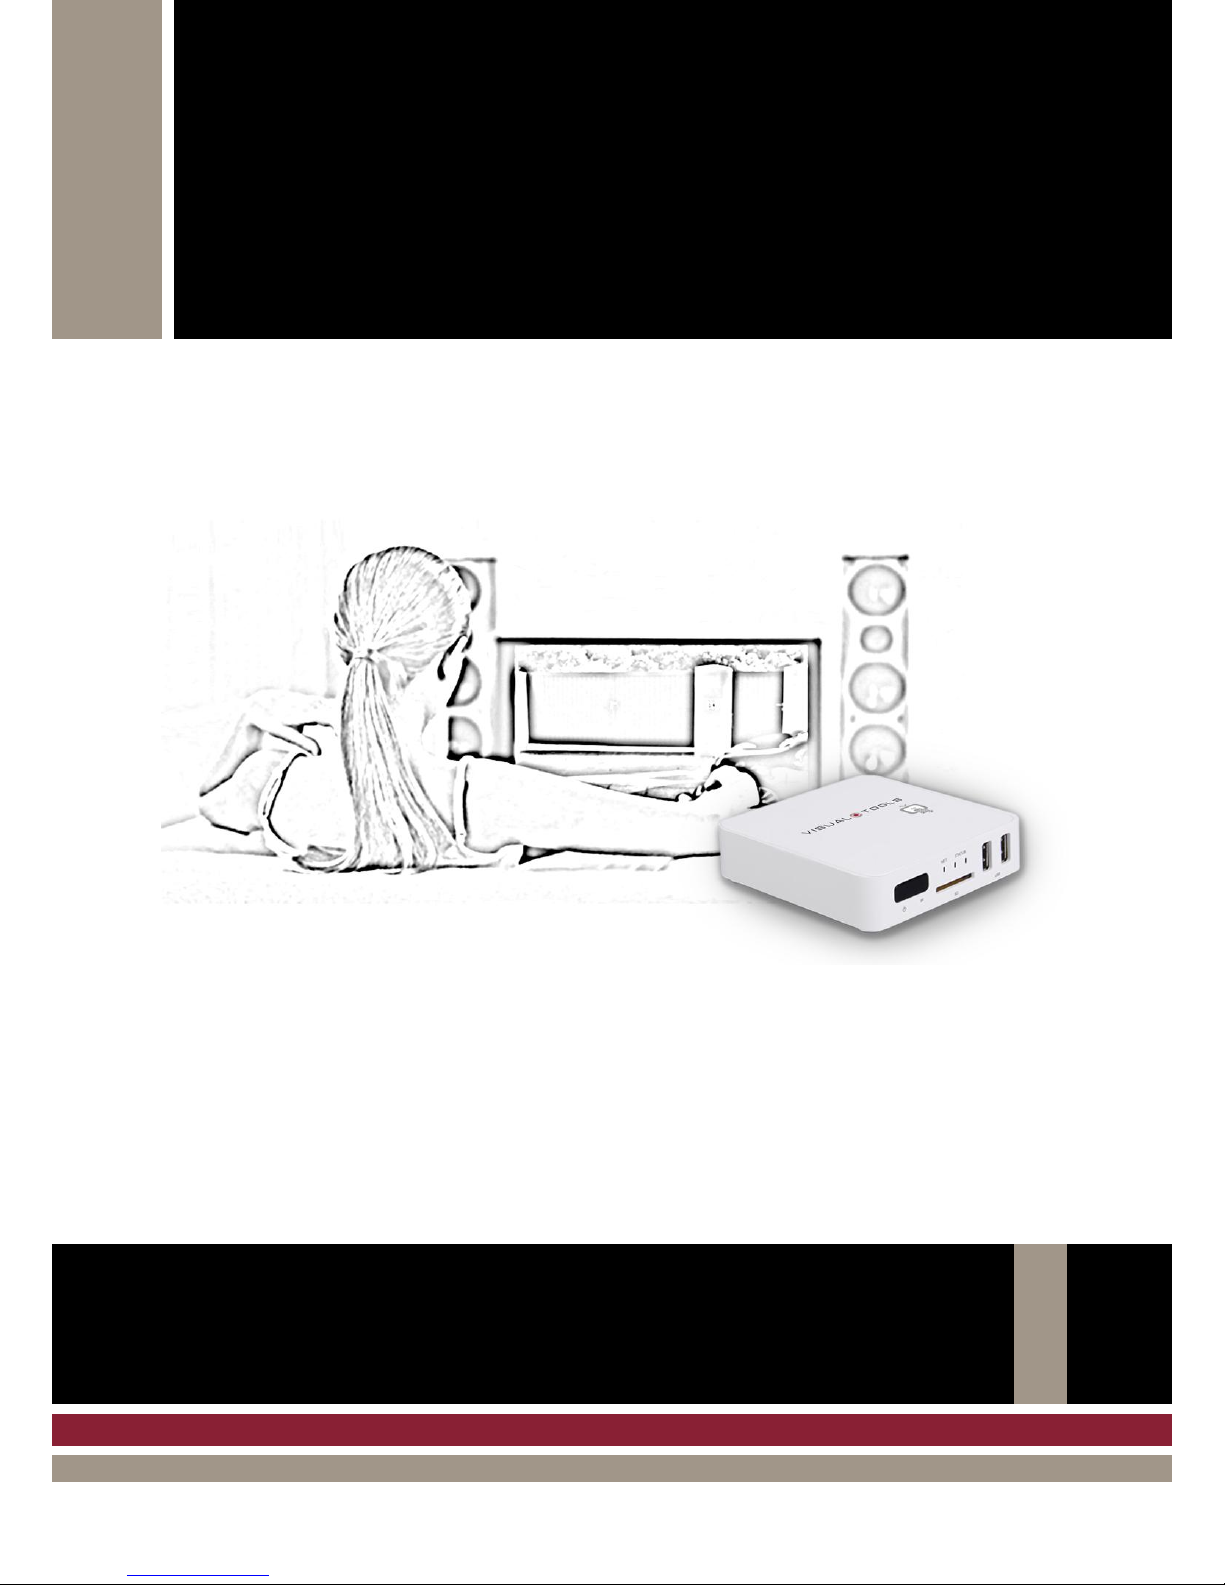
HDMI Wireless video decoder
ENGLISH
VISUAL-TV
User manual
Page 2

Page 3

User manual - 1
ESPAÑOL
INDEX
1 INSTALLATION AND SET UP .................................................................................................................. 2
2 SETTINGS ................................................................................................................................................. 3
3 APPENDIX: TECHNICAL SPECIFICATIONS .......................................................................................... 5
Page 4
User manual - 2
1 Installation and set up
Visual-Tv is a video decoder to visualize CCTV cameras connected to Visual Tools recording units.
With this unit you could see the cameras of a VX range unit on a TV by using the remote control.
Connect the unit to the TV trough the HDMI output and to the recording video unit by a network cable or
WIFI.
For the installation of a Visual-Tv unit check the package contents and follow the steps.
Package contents
Open the packaging and check that includes the following items:
Model applied
HDMI cable
Network cable
Remote control and batteries
Power supply
Installation
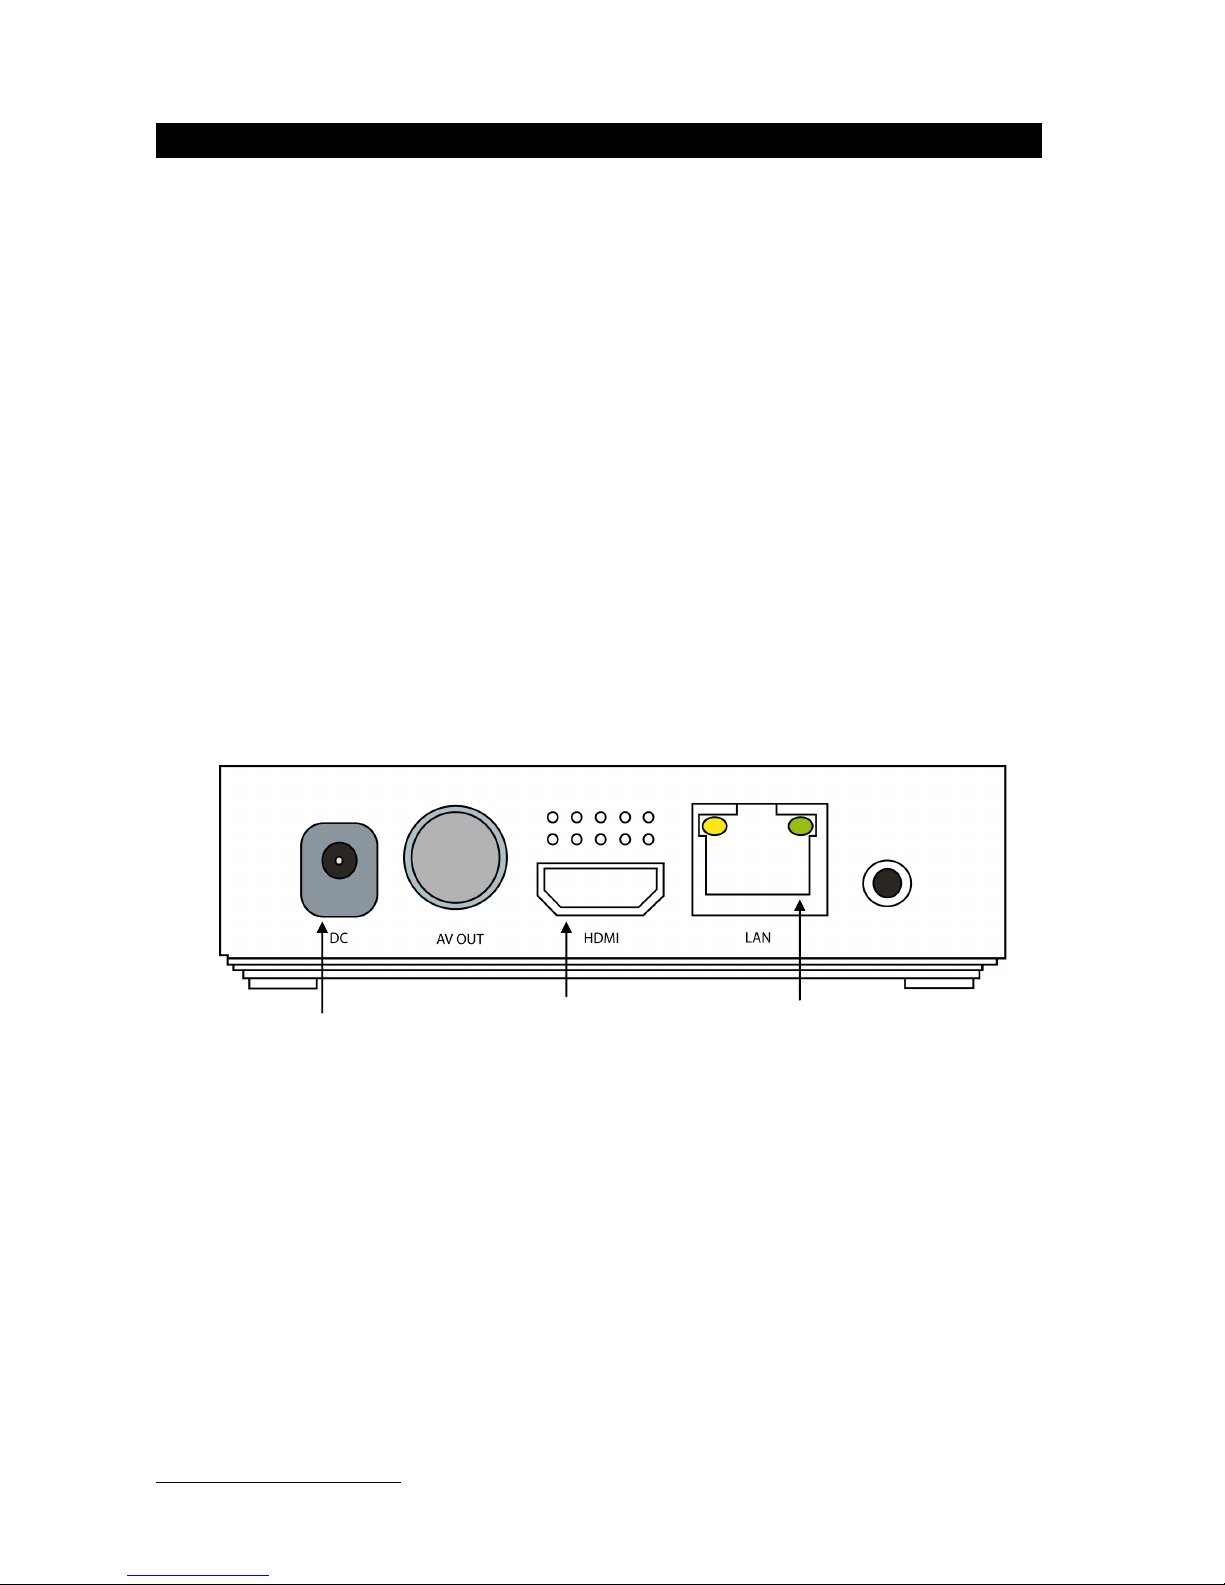
For the unit installation connect the unit to the power supply, the HDMI video cable and the network
cable when the VX unit connection is made through a LAN.
Fig. 1- Visual-Tv rear view
Start
The start-up configuration is made from the TV screen, selecting the HDMI connection
corresponding to the Visual-Tv.
Power supply
HDMI video
connection
Network
connection
Page 5

User manual - 3
ESPAÑOL
2 Settings
When the unit starts the screen shows the Visual Tools logo, press the [Menu] button to show all
available options.
Note: Use the arrow buttons [< ^ >] to scroll through options, the [OK] button to select an option and
the [Exit] button to come back.
To show the virtual keyboards get into a text box and pres [OK]. Select the letter key with the arrow
buttons and press [OK] to press it. Press [Exit] to exit the virtual keyboard.
You can use a mouse and a USB keyboard connected to the unit’s front USB connectors to enter faster
the configuration data.
Main menu
Press the [Menu] button to show the menu options. The options are the following:
Cameras: It lists the camera names and allows selecting one of them.
Settings: It shows the settings and allows editing it.
Round: It shows the round view. The cameras are shown one by one cyclically.
Help: It shows a quick help guide.
About: It shows the version and contact info.
Press [Exit] button to exit the menu.
Network settings
You need to configure the network parameters to connect to the unit. Choose the connection you
prefer, Ethernet or WIFI, and make sure that the corresponding checkbox is selected or the
communications will not be active.
WIFI configuration
Menu >> Settings >> Network settings >> WIFI settings
Select the WIFI network and enter the corresponding password. When the connection it is
correct you will see a connected label under the selected name’s network.
Ethernet configuration
Menu >> Settings >> Network settings >> Ethernet settings
Connect the local network cable. The DHCP protocol configures automatically the network
parameters. If you want to edit the network parameters select the Ethernet settings option.
Connecting to the video recording unit
Menu >> Settings >> Video recorder connection
You have to provide the IP or URL of the video recording unit, the HTTP port (80 by default), the user
and the password.
Press the [Exit] button and wait until the connection is checked.
Note: The Visual-Tv unit it’s ready to recognize and connect to VX units with factory settings (IP:
192.168.1.100 / user: operator – password: operator).
Page 6

User manual - 4
System settings
In this section you can change the language and apply the Factory settings, this option returns the
Visual-Tv unit to its factory settings.
Cameras
Use the numeric buttons [from 1 to 16] to select a single camera, using [Zoom-in] you could change to
quad view: 1, 4, 9 and 16 depending on the VX unit cameras.
Press [Zoom-out] to change to the previous view or exit the round.
When connecting the unit remembers and display the last selected view.
Updates
The unit can be updated, in that case please contact the support department: [email protected]
Page 7

User manual - 5
ESPAÑOL
3 Appendix: Technical specifications
MODEL:
Visual-Tv Wireless video decoder
RESOLUTION:
1280 x 720
COMUNICATION:
Ethernet RJ45 10/100M adapter.
Built in 802.11 b/g/n WiFi inside.
VIDEO OUTPUT:
1 HDMI 1.3 output
REMOTE CONTROL
Remote control with mouse function
DISPLAY:
Cameras one by one or quads 2x2, 3x3 and 4x4
POWER:
Power supply 110-240, 1A Æ DC 5V 2A
PHYSICAL DATA:
Width: 120 mm x High: 30mm x Depth: 120 mm.
Page 8

DOCTVUM00EN_120512v115
HDMI Wireless video decoder
User manual
ENGLISH
 Loading...