

Visual Land PREMIER, PREMIER9W32 Manual Book


PREMIER Windows 10 Tablet Guide Book
Copyright © 2015 Visual Land Inc. All rights reserved.
Windows® and the Windows logo are trademarks of the
Microsoft group of companies. Intel Inside is a trademark of Intel
Corporation in the U.S. and/or other countries. Visual Land and
the Visual Land logo are trademarks of Visual Land Inc. All other
marks and trademarks are properties of their respective owners.
The content of this guide including images/illustrations may differ
in some details from the product or its software. All information
in this document is subject to change without notice.
For online Help and Support, visit www.visual-land.com/support
.
©2015 Visual Land Inc. Page | 1

PREMIER Windows 10 Tablet Guide Book
Table of Contents
1. Getting Started....................................................................................Page 3
2. Tablet Interfaces.................................................................................Page 8
3. Basic Operation..................................................................................Page 12
4.Synchronizing Your Tablet..................................................................Page 18
5.Recovery……………….............................................................................Page 19
Safety Information………………................................................................Page 21
Limited Warranty………………..................................................................Page 22
©2015 Visual Land Inc. Page | 2

PREMIER Windows 10 Tablet Guide Book
1. Getting Started
Charge the battery
The tablet's battery may not be fully charged out of the box. It’s
recommended that you fully charge it before attempting to set up
the tablet.
A fully discharged battery can take about 4 hours to fully charge.
When the battery is being charged, the LED indicator light will
show next to the camera on the front of the tablet. Use only the
supplied power adapter to charge your tablet. Using
unauthorized power adapters may severely damage your tablet.
Note: If the LED indicator light does not light during charging, try
another outlet in your home, also try charging with a computer.
Lastly, try charging with another power cable, either a USB or
power adapter if you have more than one.
If the tablet is having persistent charging issues, please call Visual
Land Customer support at 1-562-860-2669, or visit our website at
visual-land.com/support
. Make a note of the tablet's issue as
well as the methods you used to charge the tablet.
©2015 Visual Land Inc. Page | 3

PREMIER Windows 10 Tablet Guide Book
Power On & Sign In
To turn on your tablet, press and hold the Power Button for 2-3
seconds. You can find the Power Button on the side of your
tablet. After holding down the Power Button, you should see the
Visual Land logo appear on your screen. Once the screen has
powered on, release the button.
Set up your tablet
The initial boot up will walk you through setting up your tablet for
use.
Language:
Specify what language you would like the tablet to
use. Devices sold in the United States typically use English as the
default.
Personalize
: You will then be asked to choose a name and color
for your tablet. This can be any combination of letters and
numbers containing no spaces. This name is used when other
devices encounter your tablet on your home network, or when
you’re configuring settings for OneDrive syncing. Press the "Next"
Button to continue.
Get online
: You will then see a screen showing available Wi-Fi
Networks. If your network has a password set up, you will need it
in order to connect to the Internet. Look through the list of
©2015 Visual Land Inc. Page | 4

PREMIER Windows 10 Tablet Guide Book
available networks and tap on the name of your Wi-Fi network. If
your network is password enabled, you will be asked to enter the
"network security key".
Note: If you have any questions about your Wi-Fi Network or how
to obtain Wi-Fi, please contact your Internet Service Provider.
Settings
: This step will configure your Window's preferences. For
most users, the Express Settings is recommended and will
automatically set your preferences. You are also given the option
to Customize these settings if you would like to change some
default preferences. Either option will allow you to change your
Window's settings at a later time.
Sign in to your Microsoft account
: Add your Microsoft Account to
your device or create a new one. This ensures you’ll get the latest
updates automatically, provide OneDrive syncing capabilities, and
will give you access to the Windows Store to download apps.
©2015 Visual Land Inc. Page | 5
PREMIER Windows 10 Tablet Guide Book
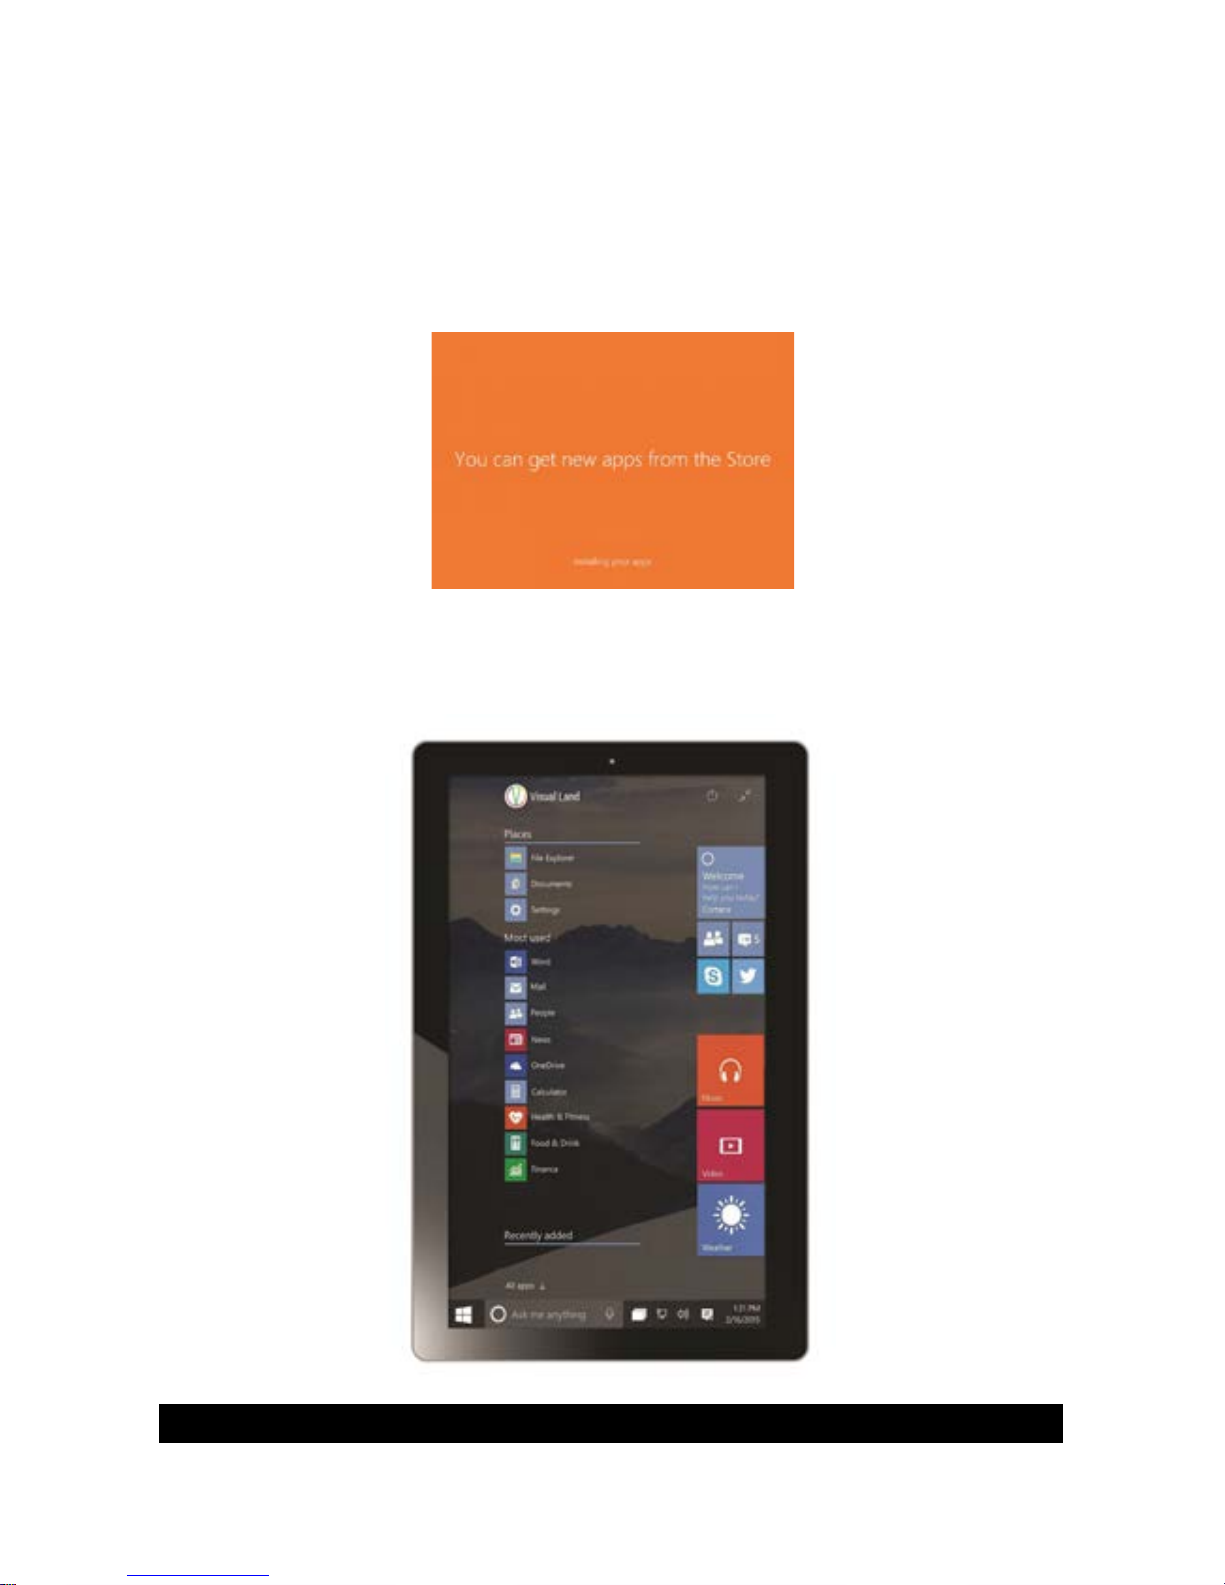
Once you finished the initial setup, your tablet will restart
automatically and begin installing Windows Apps.
After this set-up process, you will see your Start page.
©2015 Visual Land Inc. Page | 6

PREMIER Windows 10 Tablet Guide Book
Subsequent boot ups will go straight to the Windows 10 lock
screen.
Note: If the login screen is not enabled, you will be taken directly
from the lock screen to the start screen.
©2015 Visual Land Inc. Page | 7

PREMIER Windows 10 Tablet Guide Book
2. Tablet Interfaces
Your Premier tablet has several interfaces which are conveniently
labeled on the back of the tablet.
Power Off the Tablet
The Power Button is labeled by the power icon (the leftmost icon
in the above image).
To Power Off your tablet, press and hold the power button for at
least 4 seconds. A shut down confirmation screen will appear on
the screen. Swipe it down to the bottom edge of the display to
turn off the tablet.
Turning On/Off the Screen
You can turn on and off the screen display by pressing the power
button once. Alternately you can use the Notifications by swiping
in from the right edge of the display. Touch All Settings -> Power
-> Sleep to turn off the screen.
©2015 Visual Land Inc. Page | 8

PREMIER Windows 10 Tablet Guide Book
Audio output
You can plug in your headphones using the 3.5mm auxiliary cable
output. This output is labeled by the headphones icon on the
back of your tablet.
Inserting/Removing a Micro-SD Card
You can transfer and backup data using a Micro-SD card. This is
labeled on the back of your tablet as "Micro-SD". Align the
Micro-SD Card so that the pins are pointed toward the card slot.
Push the Micro-SD Card into the card slot until you here a click
sound.
Caution: Removing the Micro-SD Card while it is in use may cause
data loss or result in application errors. Touch the Desktop tile to
enter Desktop mode. Touch Safely Remove Hardware in the
notification area at the bottom right corner of the screen. Note: If
you do not see Safely Remove Hardware, touch Show Hidden
Icons to display all icons in the notification area. Touch Eject SD
Memory Card. A message appears confirming that the Micro-SD
Card can be safely removed.
©2015 Visual Land Inc. Page | 9
 Loading...