

Vista Quest DV-580HD User Manual
Digital Video Camcorder
DV-580HD
User’s Manual

2
For customers in North and South America
For customers in USA
This device complies with Part 15 of the FCC rules. Operation is subject to the following two
conditions:
(1) This device may not cause harmful interference.
(2) This device must accept any interference
received, including interference that may cause
undesired operation.
For customers in Canada
This Class B digital apparatus meets all the requirements of the Canadian
Interference-Causing Equipment Regulations.
For customers in Europe
“CE” mark indicates that this product complies
with the European requirements for safety,
health, environment and customer protection.
“CE” mark cameras are intended for sales in
Europe.

3
Contents Page
Notice 4
Accessories 4
Components 5
Function Keys 6
Quick Guide 7
• Installing the Battery 7
• Charging the Battery 7
• Inserting/Taking out an SD card (Required) 8
• Starting the Camcorder 8
Recording and Photographing 8
• Record Mode 8
• Photograph Mode 9
• TV-IN Mode 10
Playback mode 10
Menu 11
• Menu mode 11
• Playback menu 14
•System Menu
Important Functions 16
•Record Mode 16
• Photograph Mode 18
Data Transmission to PC 20
ArcoSoft Media Impression 21
Organize 22
Present 23
Photo and
video editing 24
Share 26
Protect 27
S
pecifications 28
4
Notice:
This digital camcorder has similar operations a s a PC. If it has no
response during operation, please take the following steps:
1. Take out the battery.
2. Reinstall the battery.
3. Restart the device.
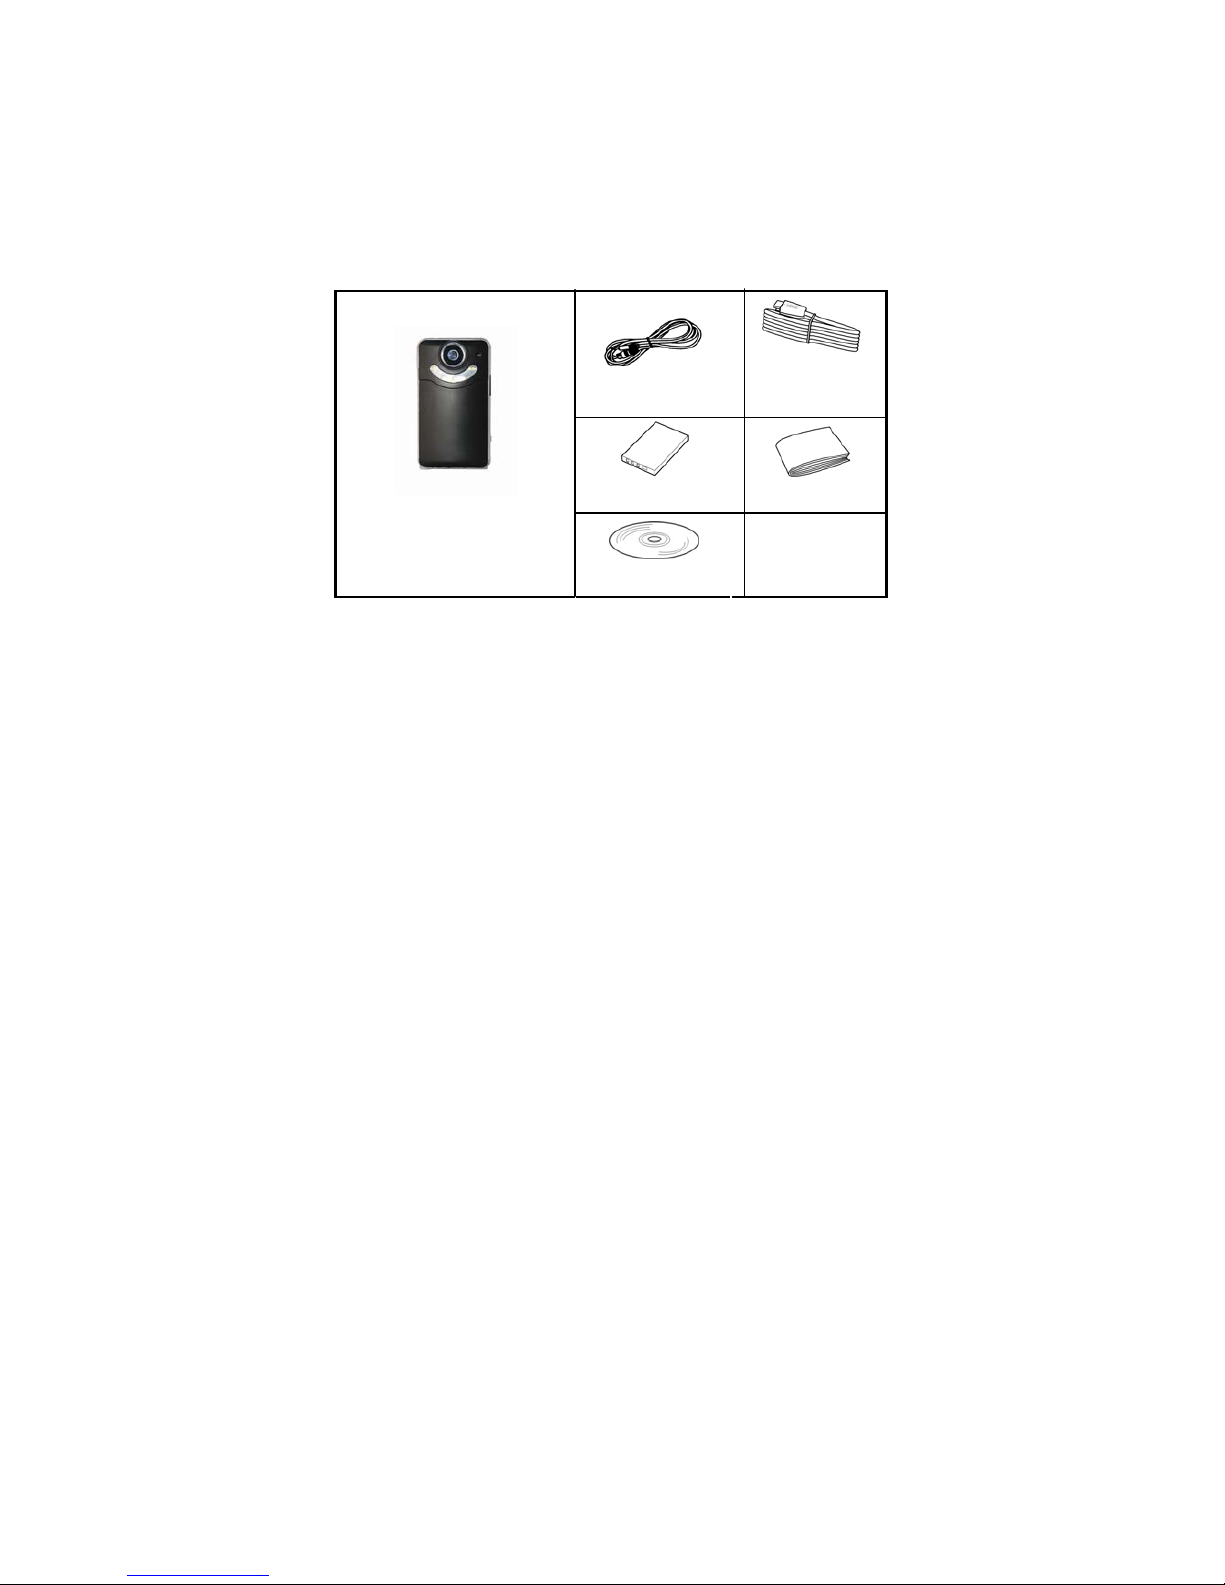
Accessories
• TV cable
•
HDMI cable
• Lithium lon battery
•
Digital Camcorder
• Installation
CD
•
User’s manual
5
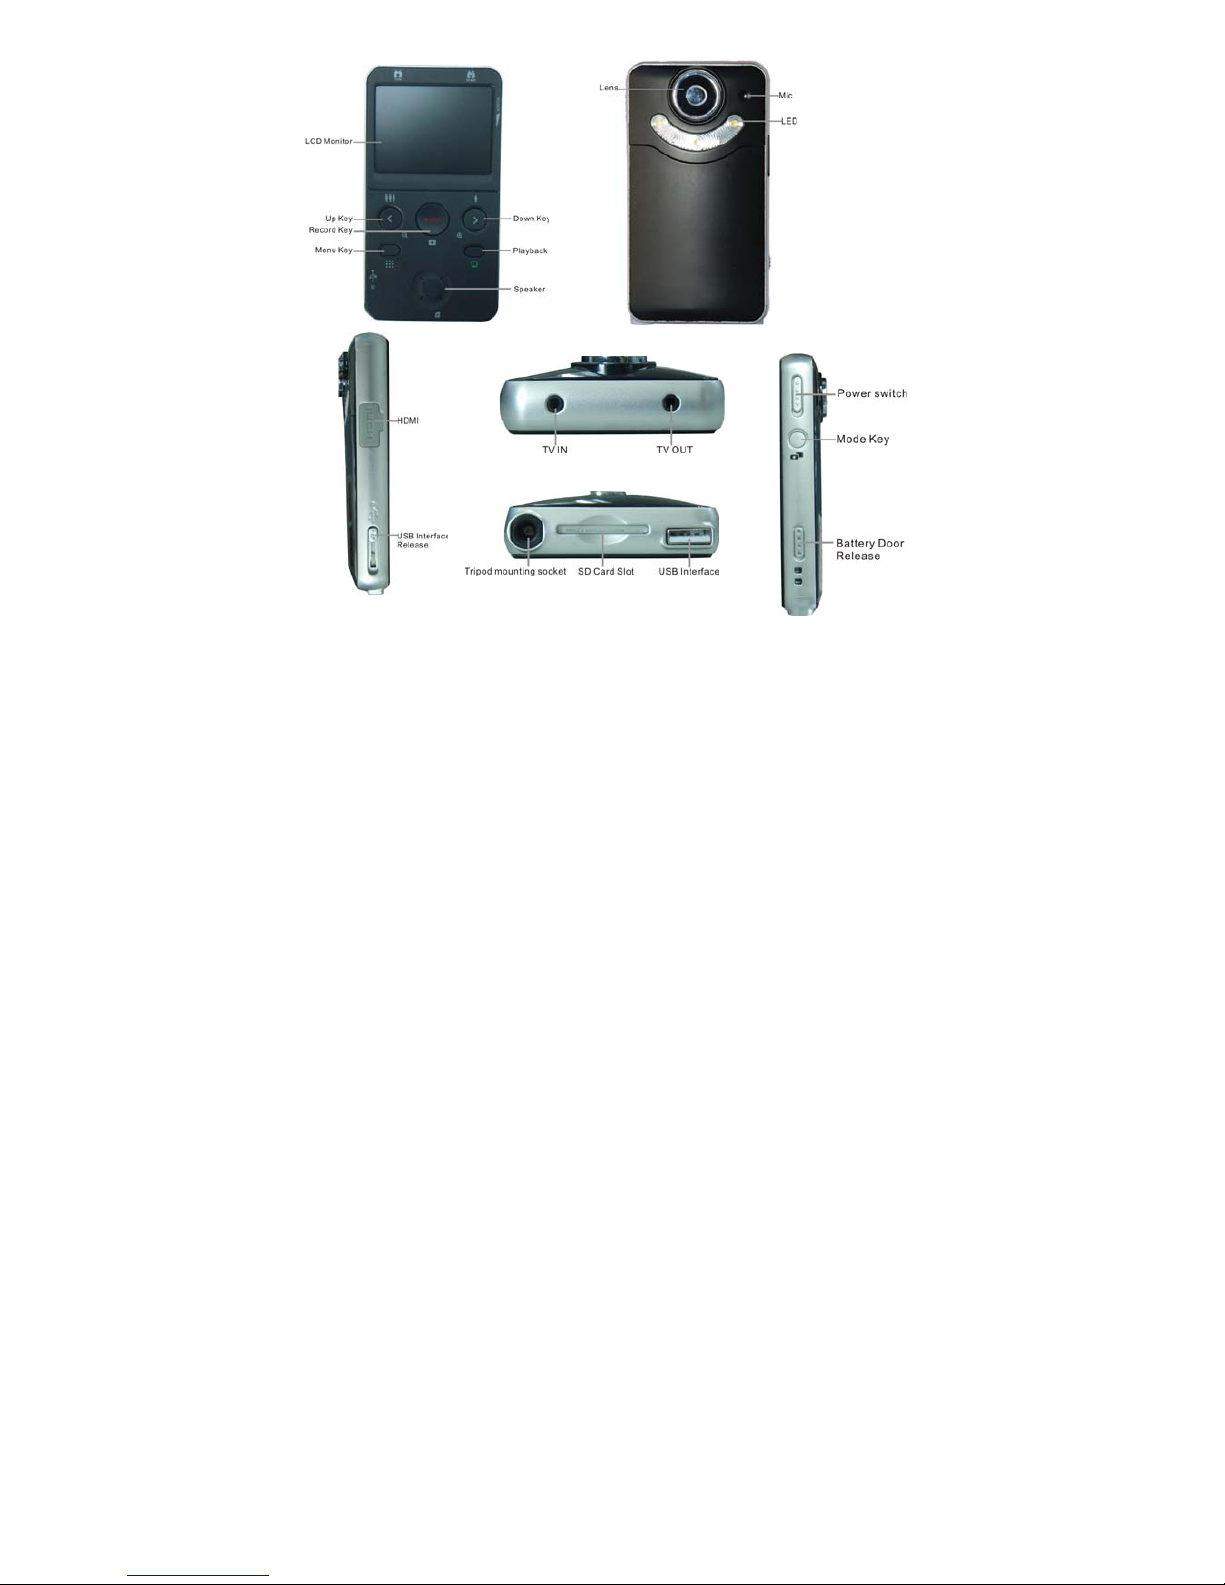
Components
6
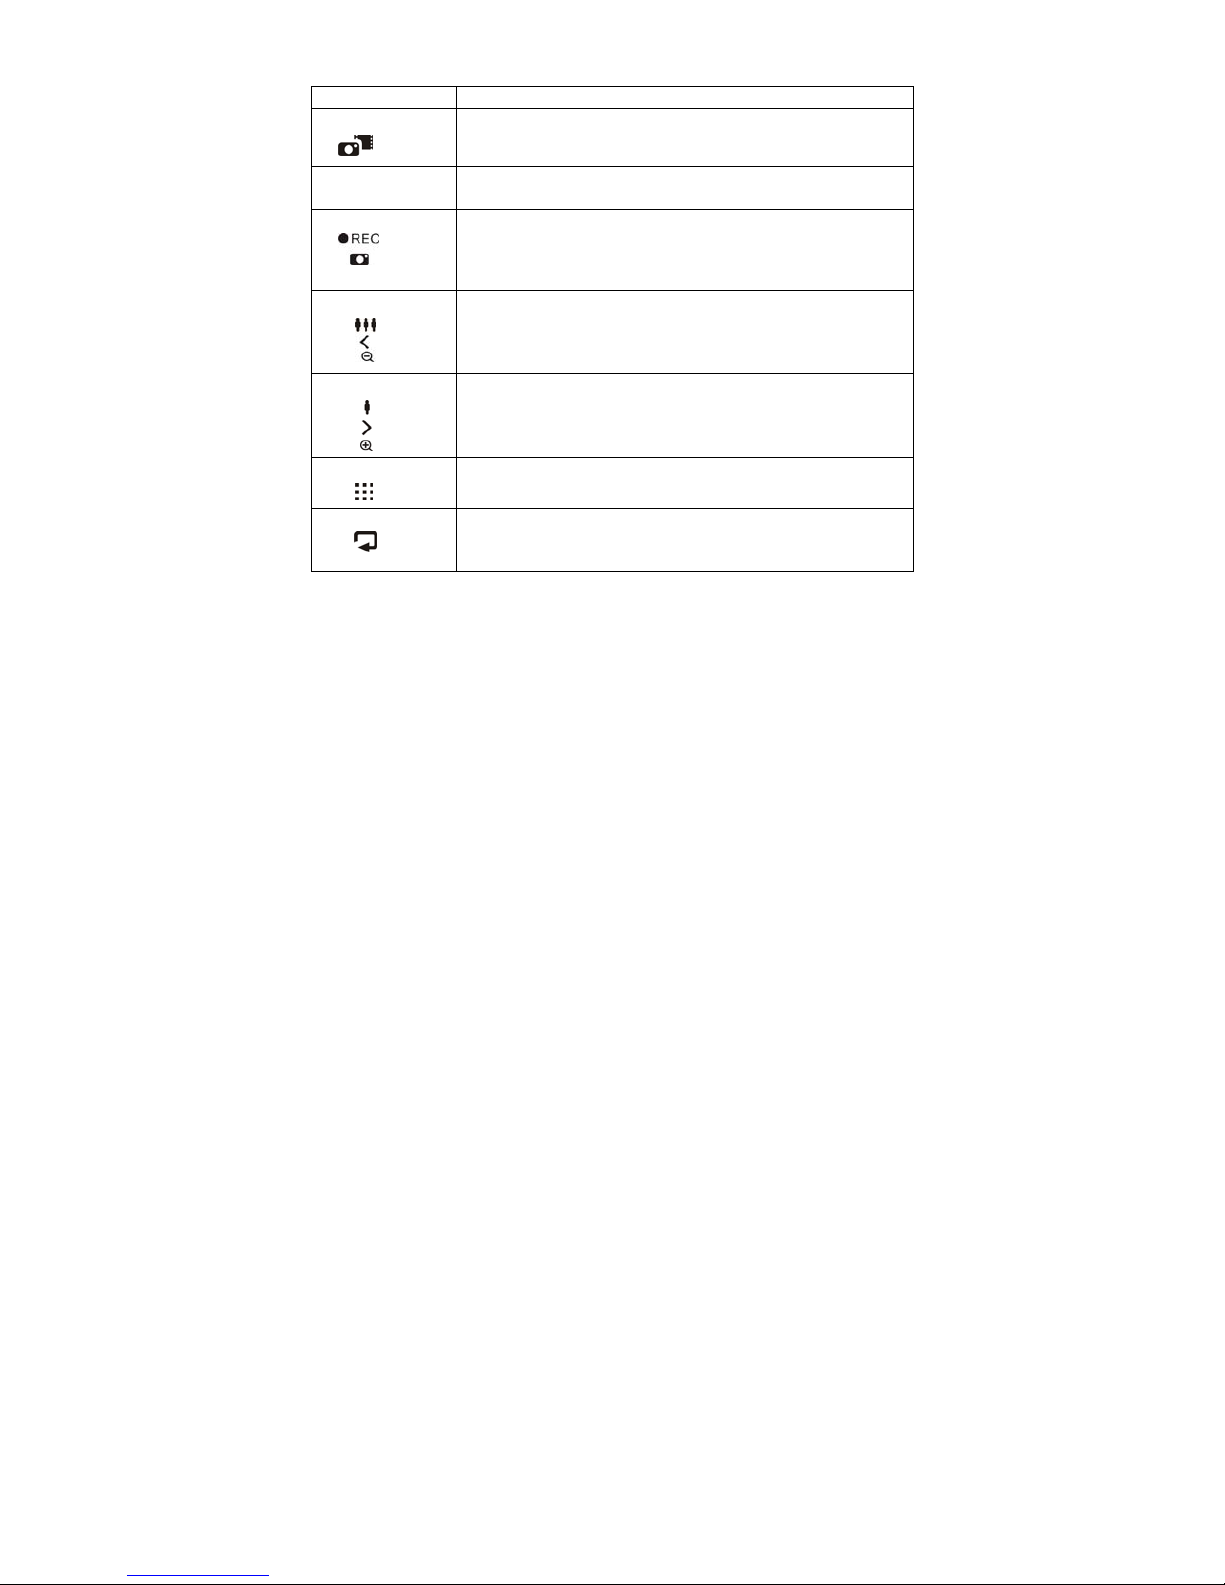
Function Keys:
Power Switch: Slide it to power on/off the camcorder.
Mode Key:
Switch among record mode, ca mera mode and TV IN mode, or exit
from playback mode.
Battery Door
Release:
Slide it to open the battery door .
Record Key:
Start/ stop recording or photographing; switch among the settings in a
menu; start/pause playing video under playback mode; switch from
multiple playback to single playback under playback mode
Left Key: Press it for shrink function of digital zoom in Record and Photograph
Mode; skip to the previous option in a menu interface; page up under
playback mode; fast backward while playing a video under playback
mode
Right Key: Press it for enlargement function of digital zoom in Record and
Photograph Mode; skip to the next option in a menu interface; page
down under playback mode; fast forward while playing a video under
playback mode
Menu Key:
Press it to enter/quit a menu under photograph, record or playback
mode
Playback Key: Press it to enter playback mode under photograph or record mode;
quit a menu in a menu interface; enter multiple playback under
playback mode

7
Quick Guide
Installing the Battery
1. Slide the battery door release to open it as shown in the picture on the
right.
2. Install the battery properly according to its polarities.
3. Close the battery cover.
Charging the Battery
(1) Press down and then push the USB interface release in the direction
indicated in the picture below to withdraw the connector.
(2) Connect the USB connector of the camcorder to a USB port of a PC.
(3) Slide the Power Switch to power on the camcorder. After powering it on,
the LED lamp around the lens will flash a blue light to indicate charging until the charging is
finished.
Note: If the device cannot be powered on as it is not used for a long time, connect it to PC for
10 minutes before powering it on.
8
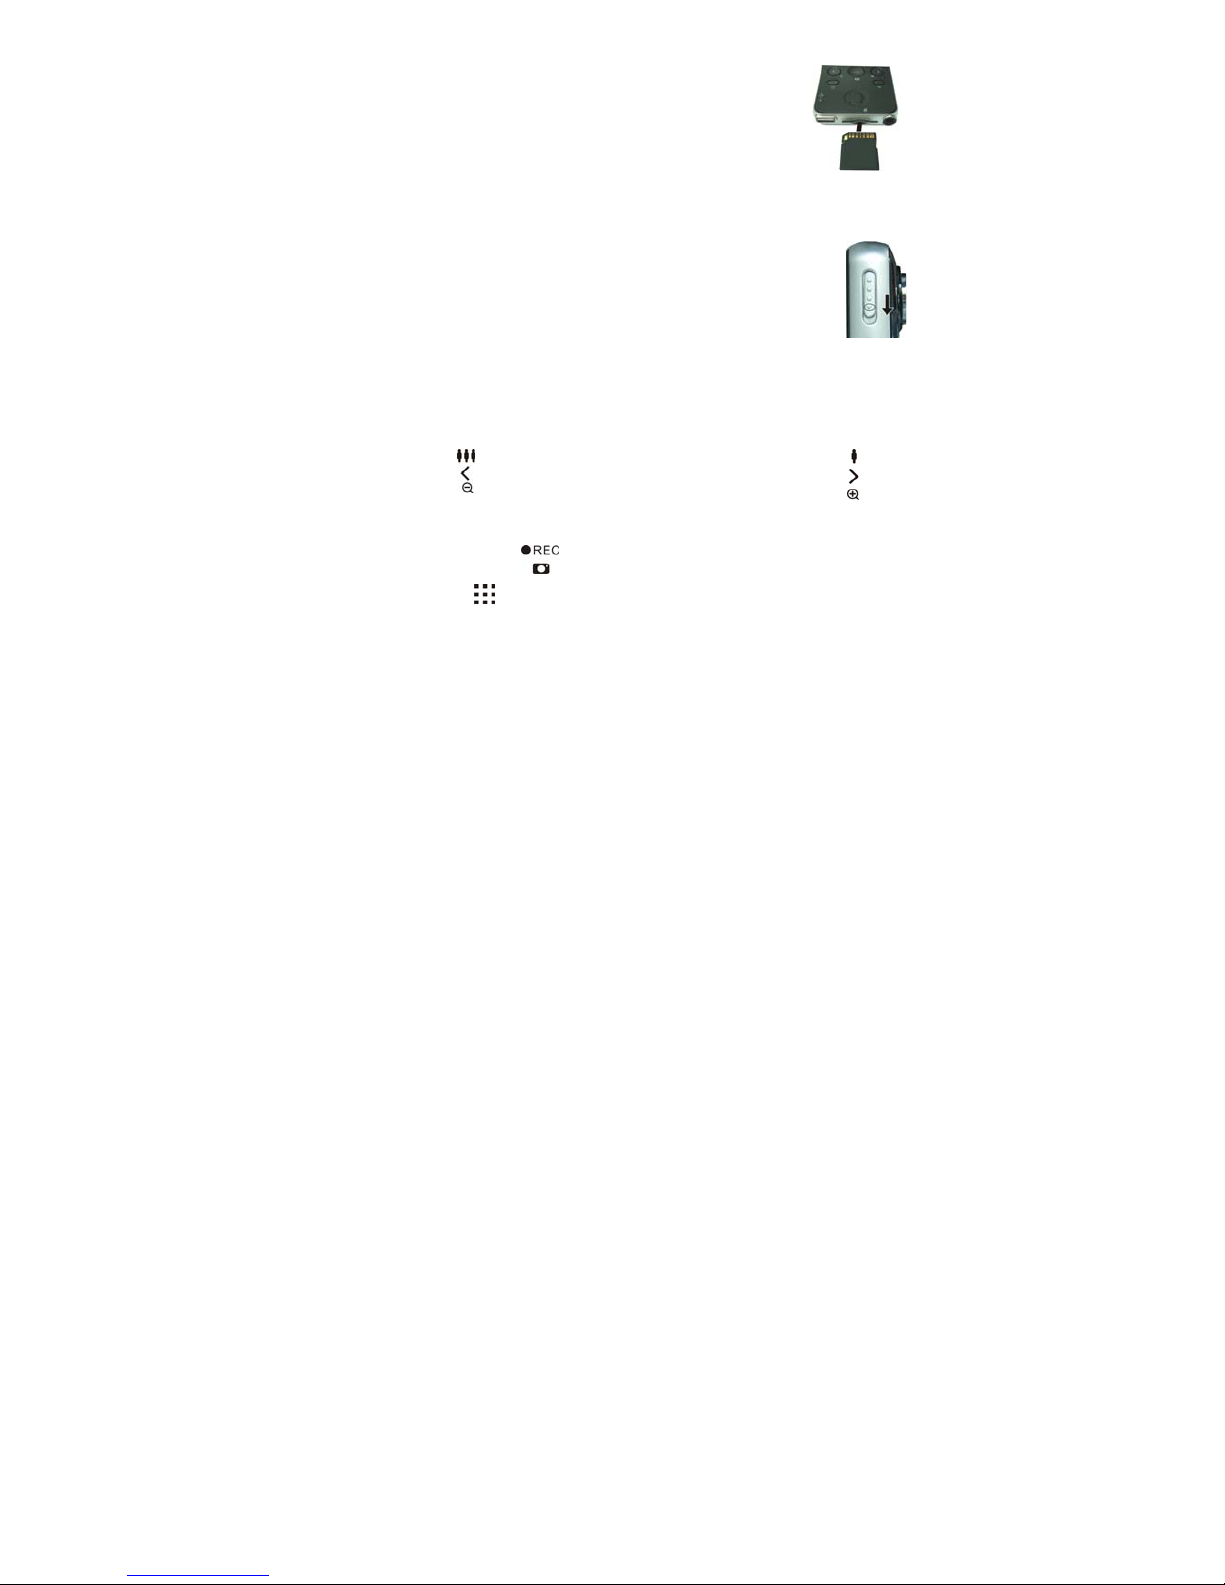
Inserting/Taking out an SD card (Required)
1. Insert an SD card into the SD card slot as shown in the picture.
2. The device has no memory itself, without an SD car d, the record function,
the record function in TV-IN and the photograph fu nction in photograph
mode will not be applicable.
3. Push the SD card slightly inwards before taking it out.
Starting the Camcorder
1. Slide the Power Switch in the direction indicted on it as s hown in t he pict ure on
the right.
2. After startup, the LED lamp around the lens will give off blue light and the
screen will enter record mode by default.
Recording and Photographing
Record Mode: enter this mode by default after startup
1. Press the Left Key for the shrink function of digital zoom; press the Right Key for
enlargement function of digital zoom.
Note: When the record size is 1920*1080, digit a l zoom is not supported.
2. Press once the Record Key to start recording, and press it again to stop recording.
3. Press the Menu Key to enter the menu under record mode, and press it again to quit

9
the menu and return to the int erface under record mode.
4. Press the Playback key to enter playback mode, and after entering, press the Mode
Key to quit playback mode.
5. Press the Mode Key to switch among record mode, photograph mode and TV-IN
mode.
Photograph Mode: press once the Mode Key after startup to
switch to this mode
1. Press the Right Key for the enlargement function of digital zoom; press the Left Key
for the shrink function of digital zoom.
2. Press the Record Key to take photos.
3. Press the Menu Key to enter the menu under photograph mode, and press it again to
quite the menu and return to the interface under photograph mode.
4、Press the Playback Key to enter playback mode, and after entering, press the Mode
Key to quit playback mode and enter record mode.
5. Press the Mode Key
to switch among record, photograph and TV IN modes.
 Loading...