

Vista BTNC1 User Manual
Wood
#6 wood screw
, round or pan head
1/8” Blind Rivet
and washer
Mounting:
Choose the mounting location: When choosing mounting location keep the following in mind.
The Neriah Connect can be mounted using brackets, or adhesive backing.
User Manual
Vista – Neriah Connect
INSTALLATION
Plan which end of the module the light wires will need to exit to connect to the light.
Plan how the power wires will be routed from the module to the power source.
Choose a location to minimize the possibility of being bumped into and a location away
from excessive heat sources.
For adhesive mounting, remove the backing from the HB tape on the back of the module.
Then, as quickly as possible, press the module in its desired mounting location.
For bracket mounting, use two brackets (part number 580529) and four user supplied
fasteners. See the chart below for recommended fasteners to utilize for various mounting
applications.
Material mounted to Recommended Fastener
Aluminum #6 sheet metal screw, (optional self-
tapping, self-drilling)
or
#6 machine screw with mating nut
or
Fiberglass #6 machine screw with mating nut
Wiring:
The Neriah Connect is powered from a 12-volt DC source. For automotive and marine
applications, it can be connected to a 12-volt circuit that is protected by a 10-amp fuse.
For building applications, a class 2, 12-volt power supply must be used. See power
supply instructions for its mounting and connection to the building mains. The Neriah
Connect’s red wire connects to the supply’s positive terminal and the black wire connects
to the supply’s negative terminal.
The Neriah Connect is connected to an RGB light. The black wire connects to the light’s 12-volt
supply input. The red wire connects to the light’s low-side red terminal. The green wire
connects to the light’s low-side green terminal. The blue wire connects to the light’s lowside blue terminal.
USING THE APP
The Vista Bluetooth App is available for both the Android operating system and iOS. Use the
instructions below that refer to the operating system of your device.
Android (Version 6 or later)
Installing: The Android version of the Vista Bluetooth App is available for free download
from Google Play. 30 mB of available ROM memory is required. Search for
Page 1 of 7
P:\P18039 - Vista Aftermarket Marine Line\090 Customer Documents\User Manual.docx
Connecting: Do not initialize the Bluetooth paring to a Vista Bluetooth light through the
IOS (Version 10 or later)
Installing: The iOS version of the Vista Bluetooth App is available for free download
Connecting: Do not initialize the Bluetooth paring to a Vista Bluetooth light through the
Pairing procedure:
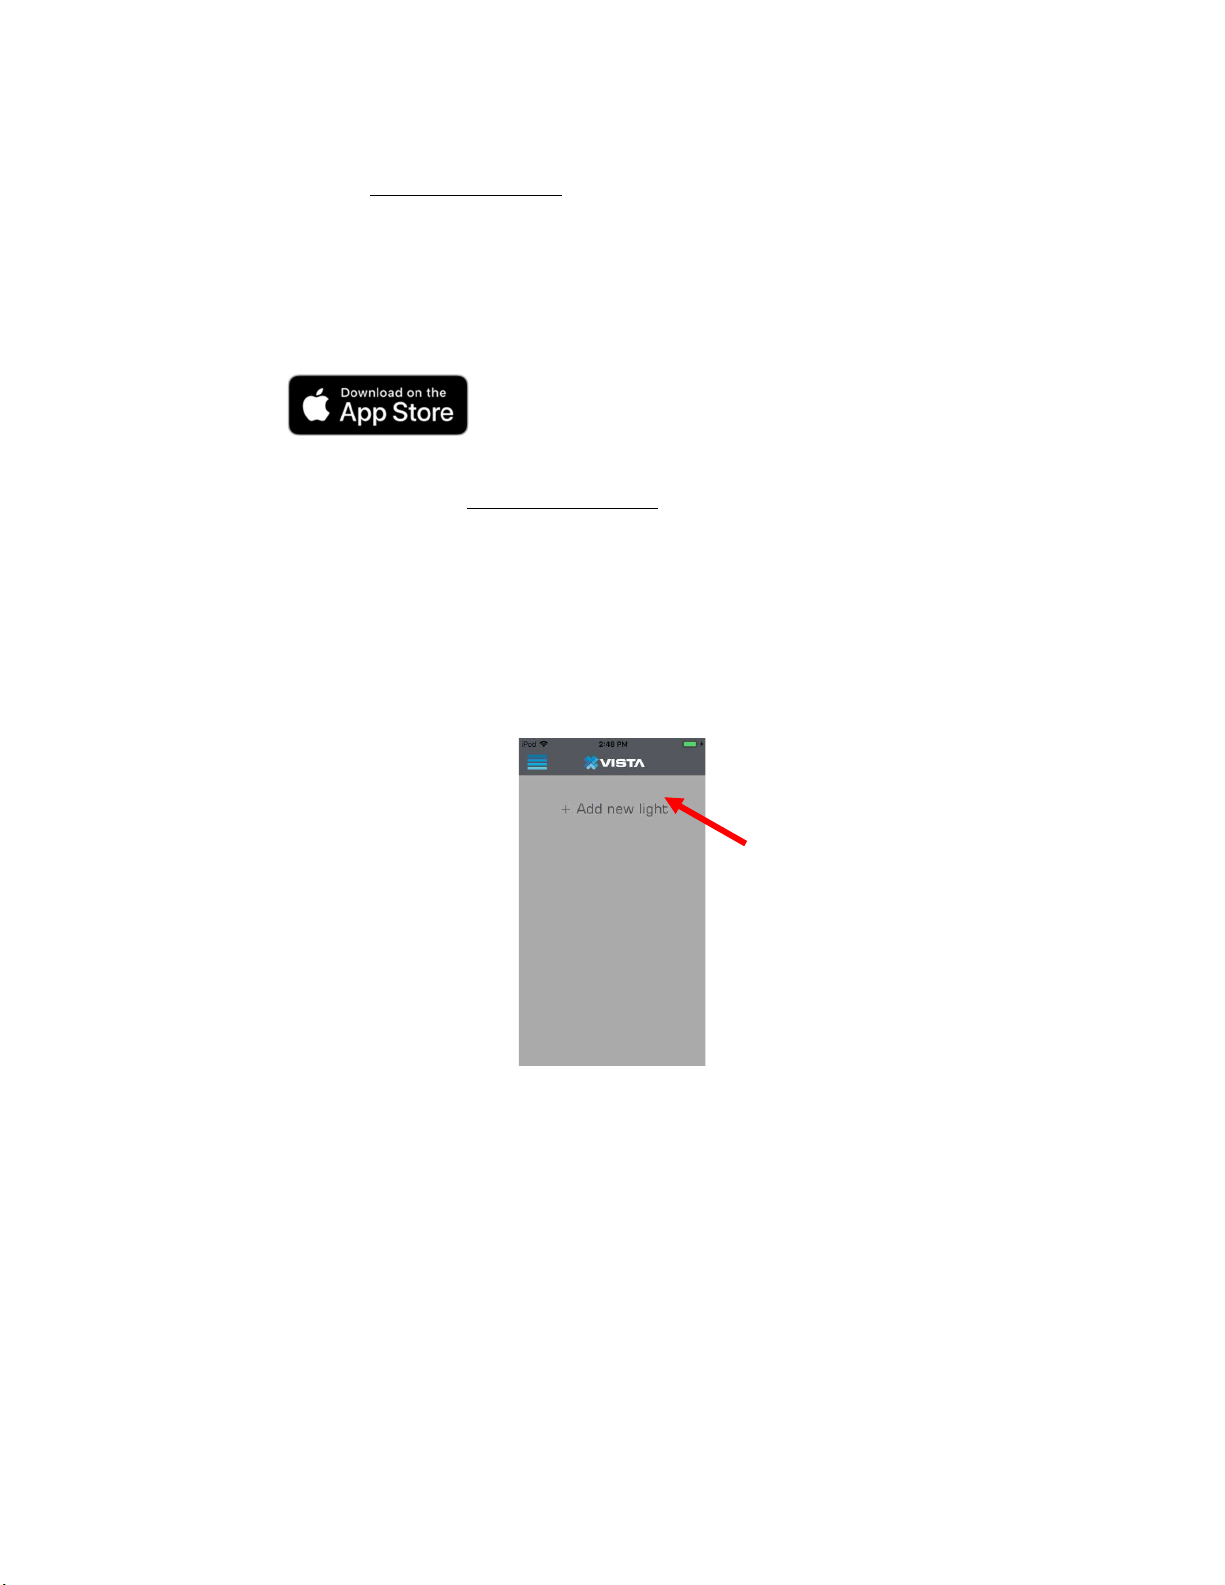
1. To connect to a new light from the Vista Bluetooth App, open the app and select “+
User Manual
Vista – Neriah Connect
“Vista Bluetooth App” in the Google Play Application and click the “Install”
button to start the download and installation.
Bluetooth settings of the Android device. An extra layer of security requires that
the pairing be established through the Vista Bluetooth App. Follow the pairing
procedure below to pair with a new light.
from the Apple App Store. 30 mB of available ROM memory is required.
Search for “Vista Bluetooth App” in the Apple App Store and click the “Get”
button to start the download and installation.
Bluetooth settings of the iOS device. An extra layer of security requires that the
pairing be established through the Vista Bluetooth App. Follow the pairing
procedure below to pair with a new light.
Add new light” on the main screen of the app. See screen shot 1.
Tap on “+ Add new light”
Screen shot 1: “Lights” screen
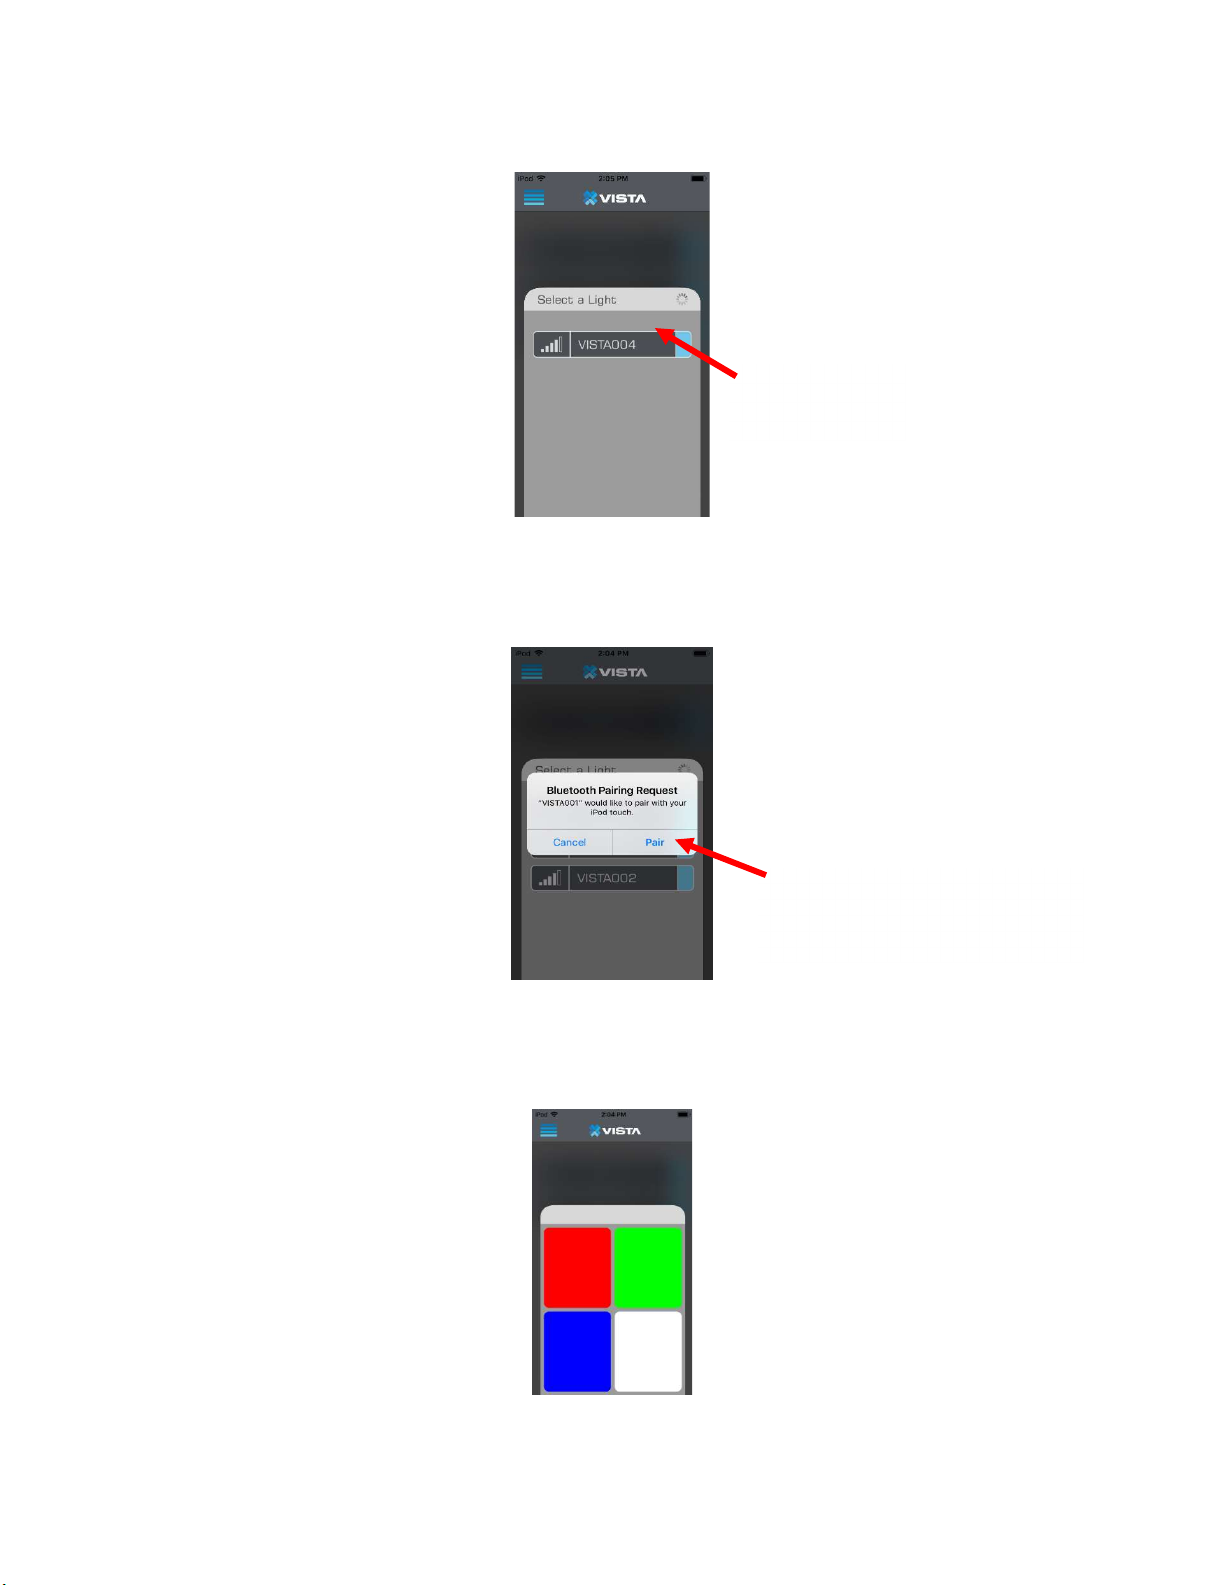
2. Once the “Select a Light” pop up menu appears, select the light you wish to connect
to in the list of lights available. See screen shot 2.
Page 2 of 7
P:\P18039 - Vista Aftermarket Marine Line\090 Customer Documents\User Manual.docx
User Manual
Tap on a light
Vista – Neriah Connect
to connect to it.
Screen Shot 2: Select a light
3. After selecting a light to connect to, the “Bluetooth Pairing Request” prompt will
appear. Select whether you wish to “Cancel” the pair request or “Pair” to continue.
See screen shot 3.
Tap on “Pair” to accept the
connection request or “Cancel”
to cancel the pair request.
Screen Shot 3: Accept the pair request
4. After accepting the pair request, the light you are pairing to will change to a random
color (Red, Green, Blue, or White), and the color tile menu will appear in the app.
Select the color tile that matches the color of the light. See screen shot 4.
Screen Shot 4: Color match Pairing, First Color
Page 3 of 7
P:\P18039 - Vista Aftermarket Marine Line\090 Customer Documents\User Manual.docx
 Loading...