

VISIONXLIGHTING.COM
Installation Instructions & User’s Manual
VISION X
DURA-4:
1
FEATURES
1. Four 5-watt LED Produces 2,150 Lumens
2. Single Bolt mounting for easy & universal installation
3. High Pressure spray IP-69K waterproof
XIL-OPR110 SERIES SPECIFICATIONS
1. Warranty : Extended
2. Housing Colors : Black
3. Amp Draw : 1.67A (12V)
4. Input Voltage : 9-32V
5. LED Lifespan : 50,000 Hours
PREPARATION
1. We recommend completely reading instructions before installing.
2. Consult your local state regulatory agency regarding the use of LED
lighting.
3. The placement of LED lighting should not restrict airow to the radiator,
or block head lamps, turn signals, or parking lights.
MAINTENANCE
1. All Vision X models have been designed for maintenance free use. In the
case an LED lamp or other part replacement is needed please contact
your authorized service center.
TIP: For complete application guide see Website

DURA 4
WARNINGS
As with many other high-tech products, this VISION X LED requires a bit of
attention before you can use it. Please read the accompanying information
carefully rst.
1. Don’t stare directly into the light or shine directly into the eyes of another
person as this may cause temporary loss of vision.
2. Never disassemble the products, as all parts must be factory serviced to
insure proper operation.
3. Don’t interchange the parts inside this light with other products.
4. The LED light is to be mounted on the vehicle only in a vertical, bottom
mounting, or in a suspended position.
5. After turning on the light, the body might be hot enough to warrant a burn
risk. Be careful when you touch the body after turning on the light for a
long period of time.
6. Use the supplied wire harness for electrical installation.
7. The LED light must not adversely aect the performance of low beam,
high beam, engine cooling or the driver’s view.
1
2
3
4
5
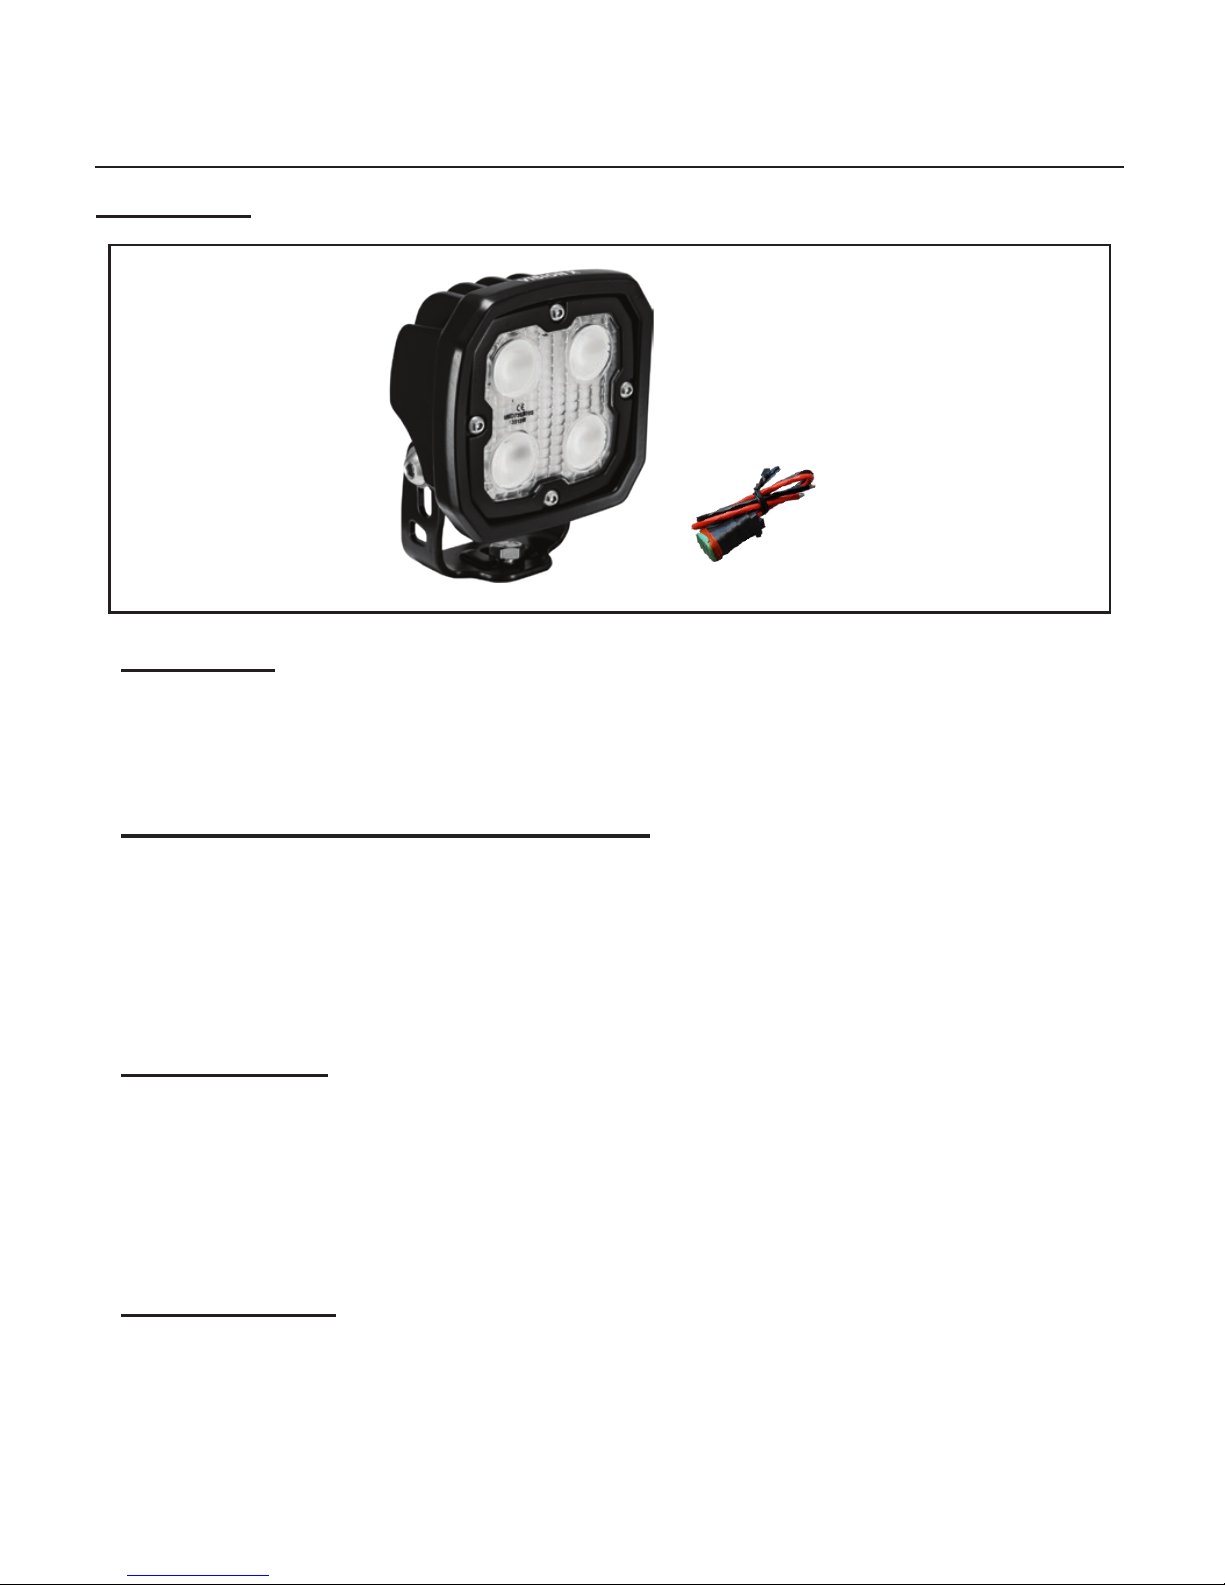
Qty: 1
Qty: 1
Qty: 1
Qty: 1
Qty: 1
LED Light Pod
Pigtail
Hex Head Bolt
(M8)
Allen Key
(M8)
Washer
(M8)
MOUNTING
WIRING PART (M1)
PART (M5)
PART (M2)

VISION X
MANUFACTURER RECOMMENDATION
For those unfamiliar with electrical wiring on vehicles, Vision X recommends
that all LED Lighting products are professionally installed.
WIRING INSTALLATION
1. Disconnect your battery before instal.
2. Find the factory fog Light harness or an existing power source, to tap into.
3. Connect the positive (red) Pigtail wire to the positive wire of your previous
wiring harness. Repeat this step for the negative Pigtail (black) wire as
well.
4. Once the Pigtail is connected to the factory wiring harness, its ready to
plug into the LED Light for use.
+
-
2
+
PIGTAIL
1
2
3
COMPONENTS KEY
1) LED Light
2) Pigtail
3) Wire to Factory Fog Light
WARNING: Bolts, Nuts, and Washers are Stainless Steel. DO NOT USE
Pneumatic or Electric Tools to Tighten and Loosen. The Hardware Will
Permanently Lock Together.

DURA 4
MOUNTING INSTALLATION
1. First, place the Light on the location where it will be mounted. Remember
that it must be within reach of the harness.
2. Next determine where the (M8) bolt will be placed, and mark where the
bolt locations will be.
3. Drill a hole for the (M8) bolt.
4. Place the Light over the hole, and slide the bolt through. Washer is then
applied on the other end of the drilled hole followed by the bolt.
5. Tighten nut to desired tightness.
MOUNTING KEY
Part (M1) Bolt [M8]
Mounting Bracket
Part (M2) Washer
Part (M3) Nut [M8]
(Mounting Bracket)
(M1)
(M2)
(M3)
TIP: For complete application guide see Website

You May Also Be Interested In:
VISIONXLIGHTING.COM
Part # - 9897349
Item # - XIL-SN06
Security Hardware
Part # - 4000322
Item # - XIL-SRECEIVER
Tow Hitch Mount
Pro Pods
Available in multiple colors
Part # - 9893372
Item # - XIL-C200
Clamp Tube Mount
(0.75”-3.0” Diameter Available)
Flush Mount
Ideal for bumpers
 Loading...