

VisionTab T8014TQ User Manual
Windows 8 Tablette
Manuel de l’utilisateur
Windows 8 Tablet PC
User’s Manual

Explanation, Noted and Warning
*Explanation: ” Explanation” is an important information which help you use of the tablet PC better.
*Noted : “Noted” is remind if you do not follow the content, hardware will be damaged or data will be lost .
* Warning: “Warning” is a warning if you do not follow the content, It may be result in property damage,
personal injury or death.
* Parts 3
* Charge Accessories 4
Set your tablet PC 4
Charge the tablet PC 5
Turn on tablet PC 5
Power off tablet PC 6
Off screen 6
Insert the micro SD card 6
The use of Headset 7
Using the tablet PC 8
WI-Fi settings 8
Gesture 8
Screen orientation 10
The Windows 8 start screen 11
Sync your tablet PC 12
*Troubleshooting 13
Clean your tablet PC 14
Refresh your tablet PC 15
Specifications 16
Explication Noté et Avertissement
* Explication: “Explication” est une information importante qui vous aideront à mieu utiliser la tablette PC .
* Noté: “Noté” est pour vous laisser savoir si vous ne suivez pas le contenu, le matériel peut être endom
magé ou lesdonnées seront perdues.
* Avertissement: “Avertissement” est un avertissement si vous ne suivez pas le contenu, sa peut
causer Dommages à la propriété, blessure personel ou la mortalité
* Pièces 3
* Frais accessoires 4
Réglez votre tablette PC 4
Chargez la tablette PC 5
Allumer la tablette PC 5
Éteignez la tablette PC 6
Hors de l’écran 6
Insérez la carte micro SD 6
L’utilisation du casque 7
Utilisation de la tablette PC 8
Paramètres Wi-Fi 8
Geste 8
Orientation de l’écran 10
L’écran de démarrage de Windows 8 11
Synchronisez votre tablette PC 12
* Dépannage 13
Nettoyez votre tablette PC 14
Actualiser votre tablette PC 15
Spécifications 16
2
2
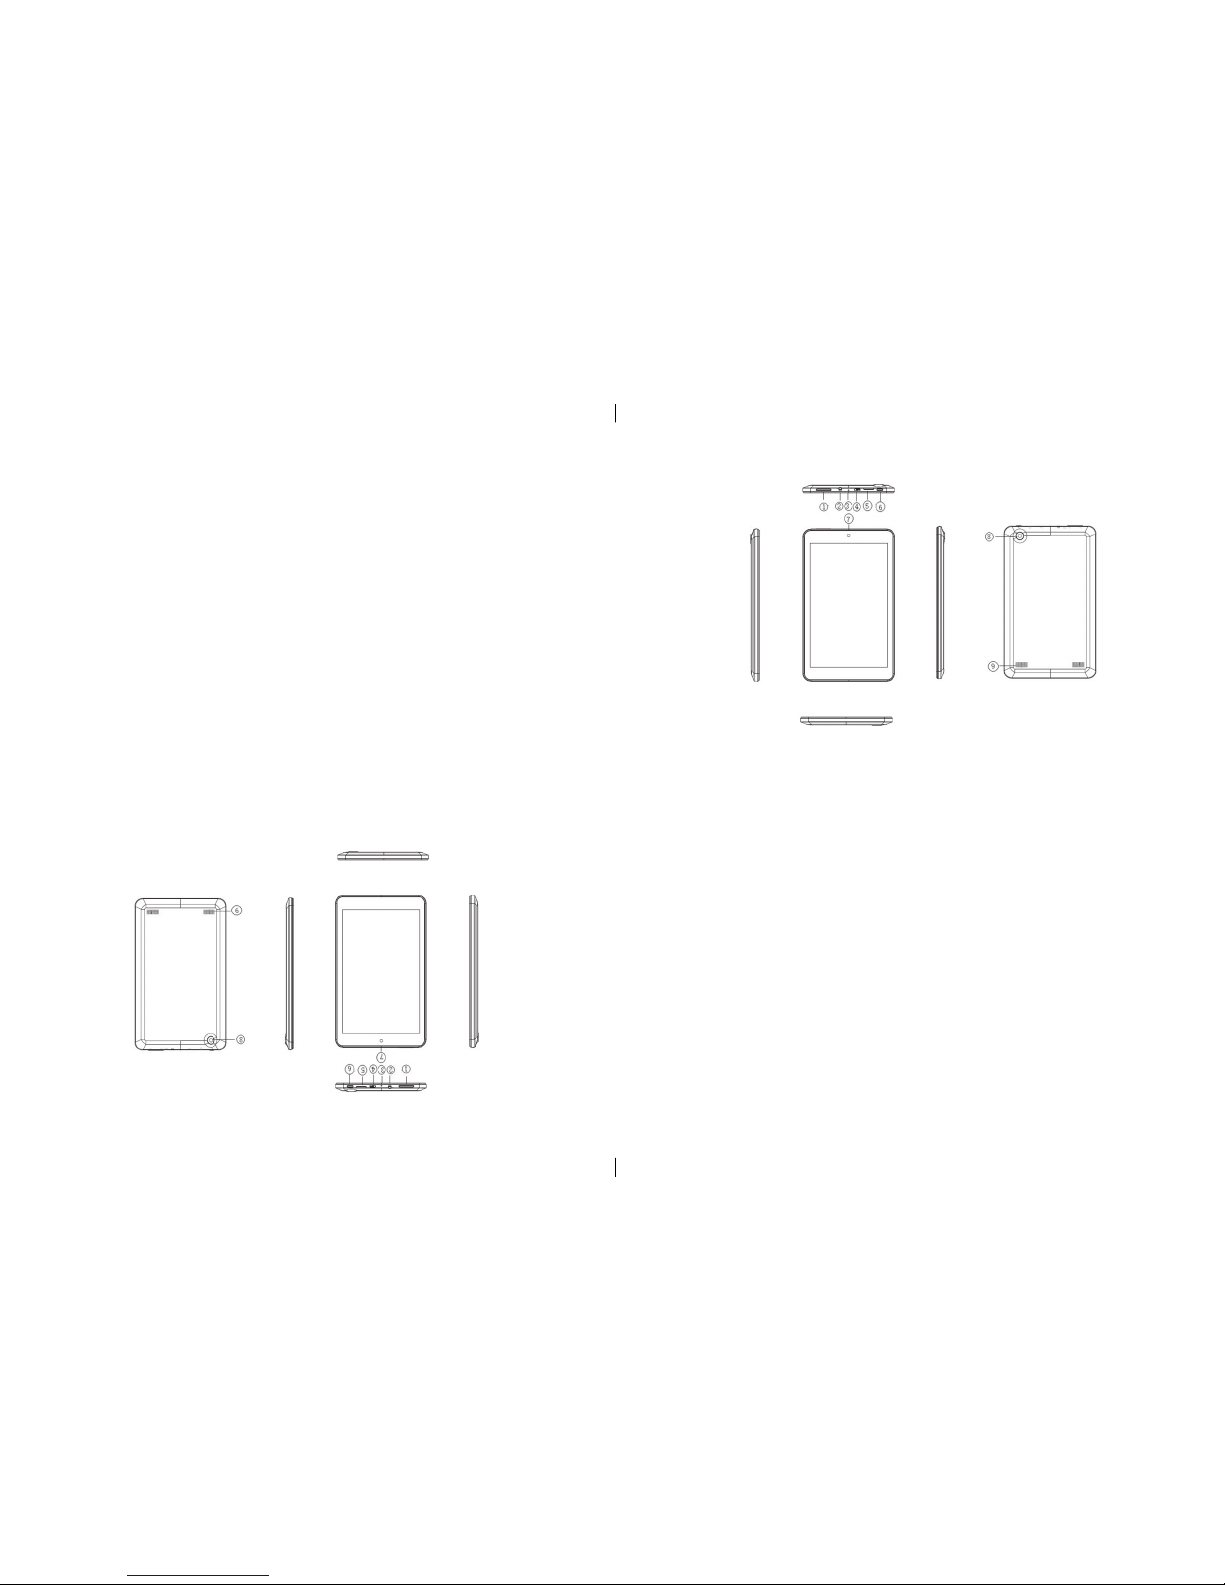
Parts
Parts Function
————————————————————————————————————————————————————————————————————————
1 Volume buttons • Press to increase/decrease the volume
————————————————————————————————————————————————————————————————————————
2 Audio port (3.5 mm) • SA Connect a headset, headphones, microphone,
• or other audio device to listen to Stereo, record audio or call
————————————————————————————————————————————————————————————————————————
3 Microphones • You can record sound around the same time for video cameras
————————————————————————————————————————————————————————————————————————
4 Micro-USB port •.Connect the power adapter which came with the Tablet PC to
supply power and to charge the battery.
• Through the optional USB Portable (OTG) encryption dog USB
device, used to transfer data, music, photos, videos, ext.
————————————————————————————————————————————————————————————————————————
5 TF card slot • Insert TF card, you can identify the le within TF
————————————————————————————————————————————————————————————————————————
6 The power button • Hold to open or close the tablet PC.
• Press to open or close the display.
————————————————————————————————————————————————————————————————————————
7 Front camera • Take a picture or video from Front view.
• Make video calls.
————————————————————————————————————————————————————————————————————————
8 Rear camera • Take a picture or video from Front view.
• Make video calls.
————————————————————————————————————————————————————————————————————————
9 Speakers • output audio
————————————————————————————————————————————————————————————————————————
Pièces
Pièces Fonction
——————————————————————————————————————————————————————————————————————————————————————————————————————————
1. Boutons de volume • Appuyez pour augmenter / diminuer le volume
——————————————————————————————————————————————————————————————————————————————————————————————————————————
2. ports audio (3,5 mm) • SA Connect un casque, des écouteurs, microphone,
•
ou autre appareil d’audio pour écouter en stéréo, enregistrement audio ou un appel
——————————————————————————————————————————————————————————————————————————————————————————————————————————
3. Microphones • Vous pouvez enregistrer des sons aux même temps pour les caméras vidéo
——————————————————————————————————————————————————————————————————————————————————————————————————————————
4. Ports Micro-USB • Connecter l’adaptateur qui est fourni avec la Tablet PC, au bloc d’alimentation pour charger la
batterie.
——————————————————————————————————————————————————————————————————————————————————————————————————————————
5. TF carte fente pour carte • Insérer la carter TF, vous pouvez identier le chier au sein du TF
——————————————————————————————————————————————————————————————————————————————————————————————————————————
6 . Le bouton d’alimentation • Appuyez sur le bouton pour ouvrir ou fermer la tablette PC
• Appuyez sur pour ouvrir ou fermer l’écran.
——————————————————————————————————————————————————————————————————————————————————————————————————————————
7. Caméra frontale • Prendre une photo ou une vidéo du vue d’avant.
• Faire des appels vidéo.
——————————————————————————————————————————————————————————————————————————————————————————————————————————
8. Caméra de recul • Prendre une photo au une vidéo du vue d’avant.
• Faire des appels vidéo.
——————————————————————————————————————————————————————————————————————————————————————————————————————————
9. Haut-parleurs • audio de sortie
——————————————————————————————————————————————————————————————————————————————————————————————————————————
3
3
Set your Tablet PC
Charge the tablet PC
Note: to charge the battery under 0 -35 ambient temperature
Note: use only the power adapter that came with your Tablet PC for charging. Using
unauthorized power Adapter or Micro-USB cable can severely damage your tablet PC.
Note: batteries for new tablet PC are not fully charged.
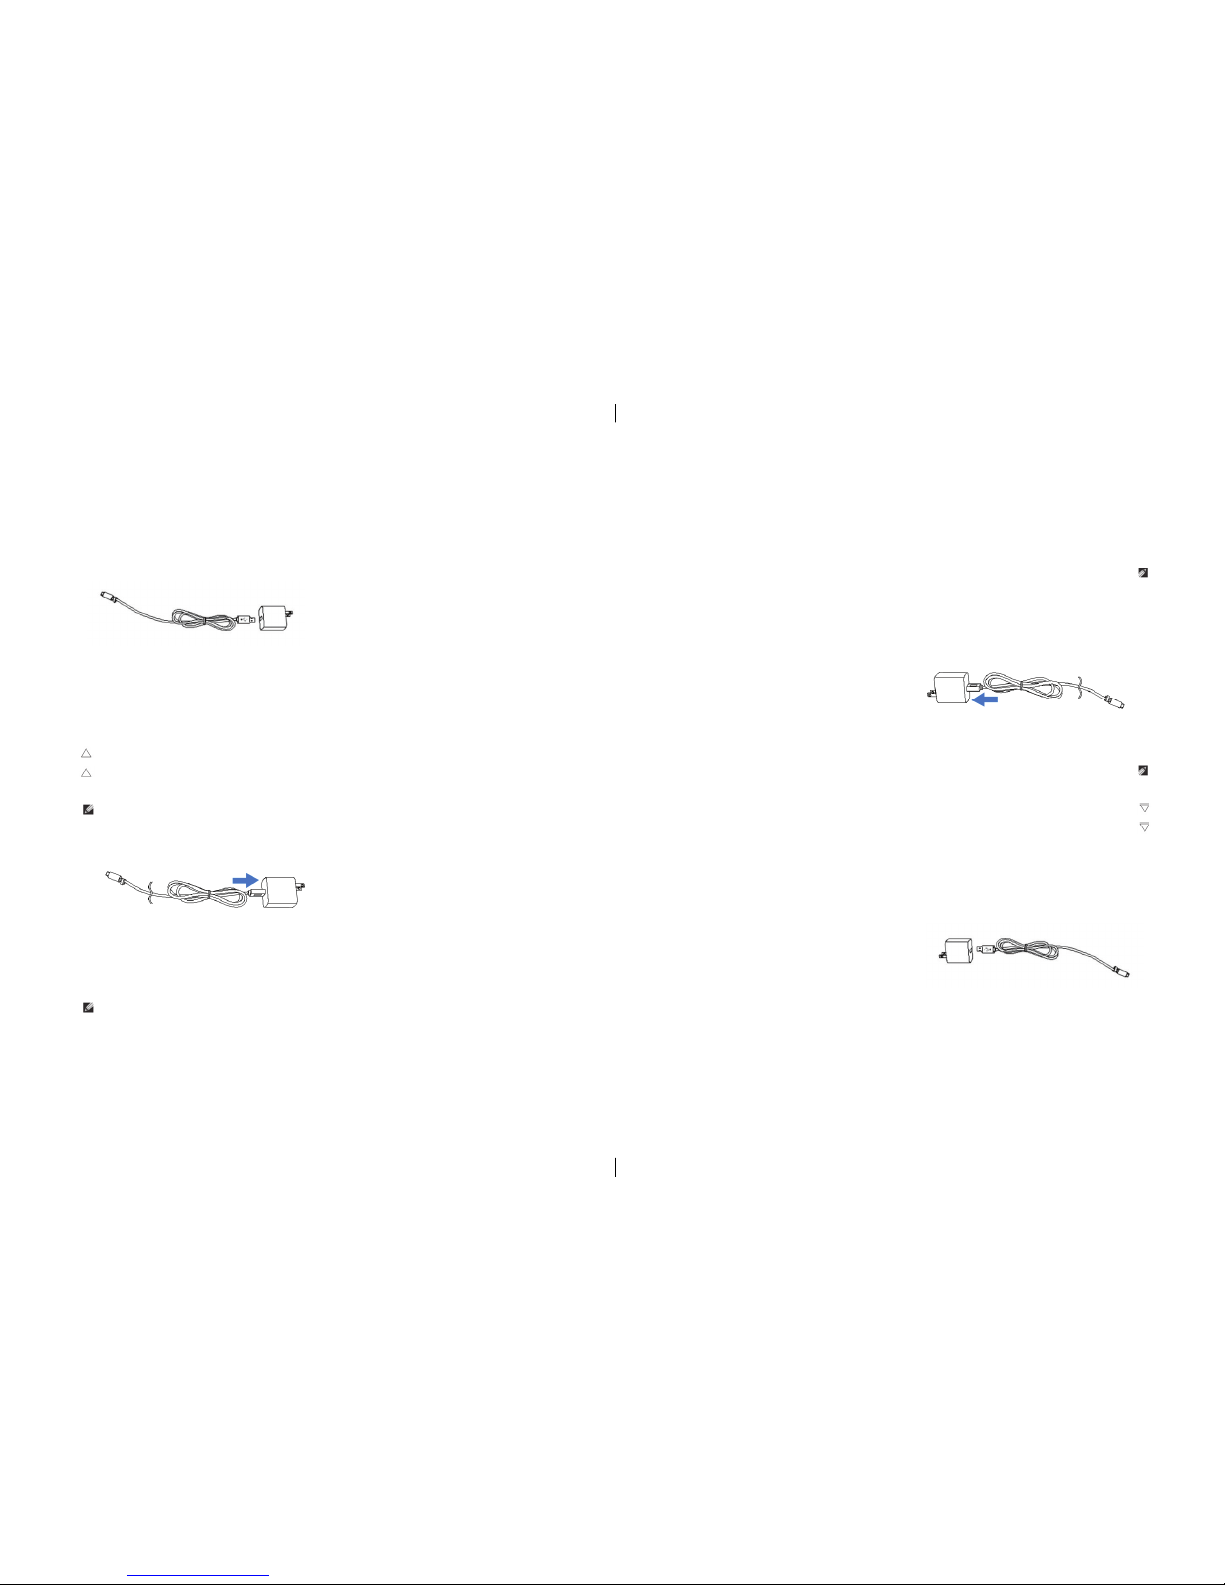
1. Connect the power cord to the power adapter.
2. Connect Micro-USB cable to the Micro-USB port on the Tablet PC.
3. Plug the power adapter into a power socket and to charge the Tablet, until the battery
is fully charged.
Description: It will take approximately 4 hours to charge the Battery. (When Shutting
down and charging the battery) while power on and charging the battery, the charging
time will be longer.
Charging accessories
A power adapter with 5V/2A and a Micro-USB connector supply power and charge the battery For Tablet PC.
Réglez votre Tablet PC
Chargez la tablette PC
Remarque: pour charger la batterie en dessous du température ambiante 0 à 35.
Note: ne utiliser que l’adaptateur secteur fourni avec votre Tablet PC. l’utilisation d’un
adaptateur non autorisé ou du câble Micro-USB peuvent gravement endommager votre tablette PC.
Remarque: les batteries de la nouvelle tablette PC ne sont pas complètement chargées.
1, Branchez le cordon d’alimentation à l’adaptateur d’alimentation.
2, Brancher le câble Micro-USB au port Micro-USB sur le Tablet PC.
3, Branchez l’adaptateur d’alimentation dans une prise pour charger la tablette, jusqu’à ce que la
batterie est complètement chargée.
Description: Ceci va prendre environ quatre heures pour recharger la batterie complètement. (Seulement si la
tablette est fermer) Si la tablette est allumé ceci va prendre plus long.
Accessoires pour charger
Un adaptateur 5V / 2A et un connecteur Micro-USB
pour charger la batterie du Tablet PC.
4
4
You can view battery charging status for Tablet PC in the following ways:
The battery icon appears on the screen: The battery charging light is located in the right side of the Tablet:
_______________________________________ ___________________________________
The battery icon Explanation LED status Explanation
_______________________________________ ___________________________________
Tablet PC is connected to the power Permanent red the battery is being charged.
supply and batteries fully charged.
_______________________________________ ___________________________________
Tablet PC is connected to the power LED Is off, battery is not charging or battery fully
supply and the battery is being charged. charged..
_______________________________________ ___________________________________
Tablet PC is running and using battery power and the battery is discharging.
—————————————————————————————————————————————————————————————————————————————
The Tablet is plugged into a power and no battery is detected or the battery doesn’t work.
—————————————————————————————————————————————————————————————————————————————
Tablet PC is running on battery power and the battery is low.
—————————————————————————————————————————————————————————————————————————————
Tablet PC is running on battery power, and battery are seriously inadequate.
—————————————————————————————————————————————————————————————————————————————
Turn on your Tablet
When you open the Tablet PC the first time, you must complete Windows Setup to start using Tablet PCs.
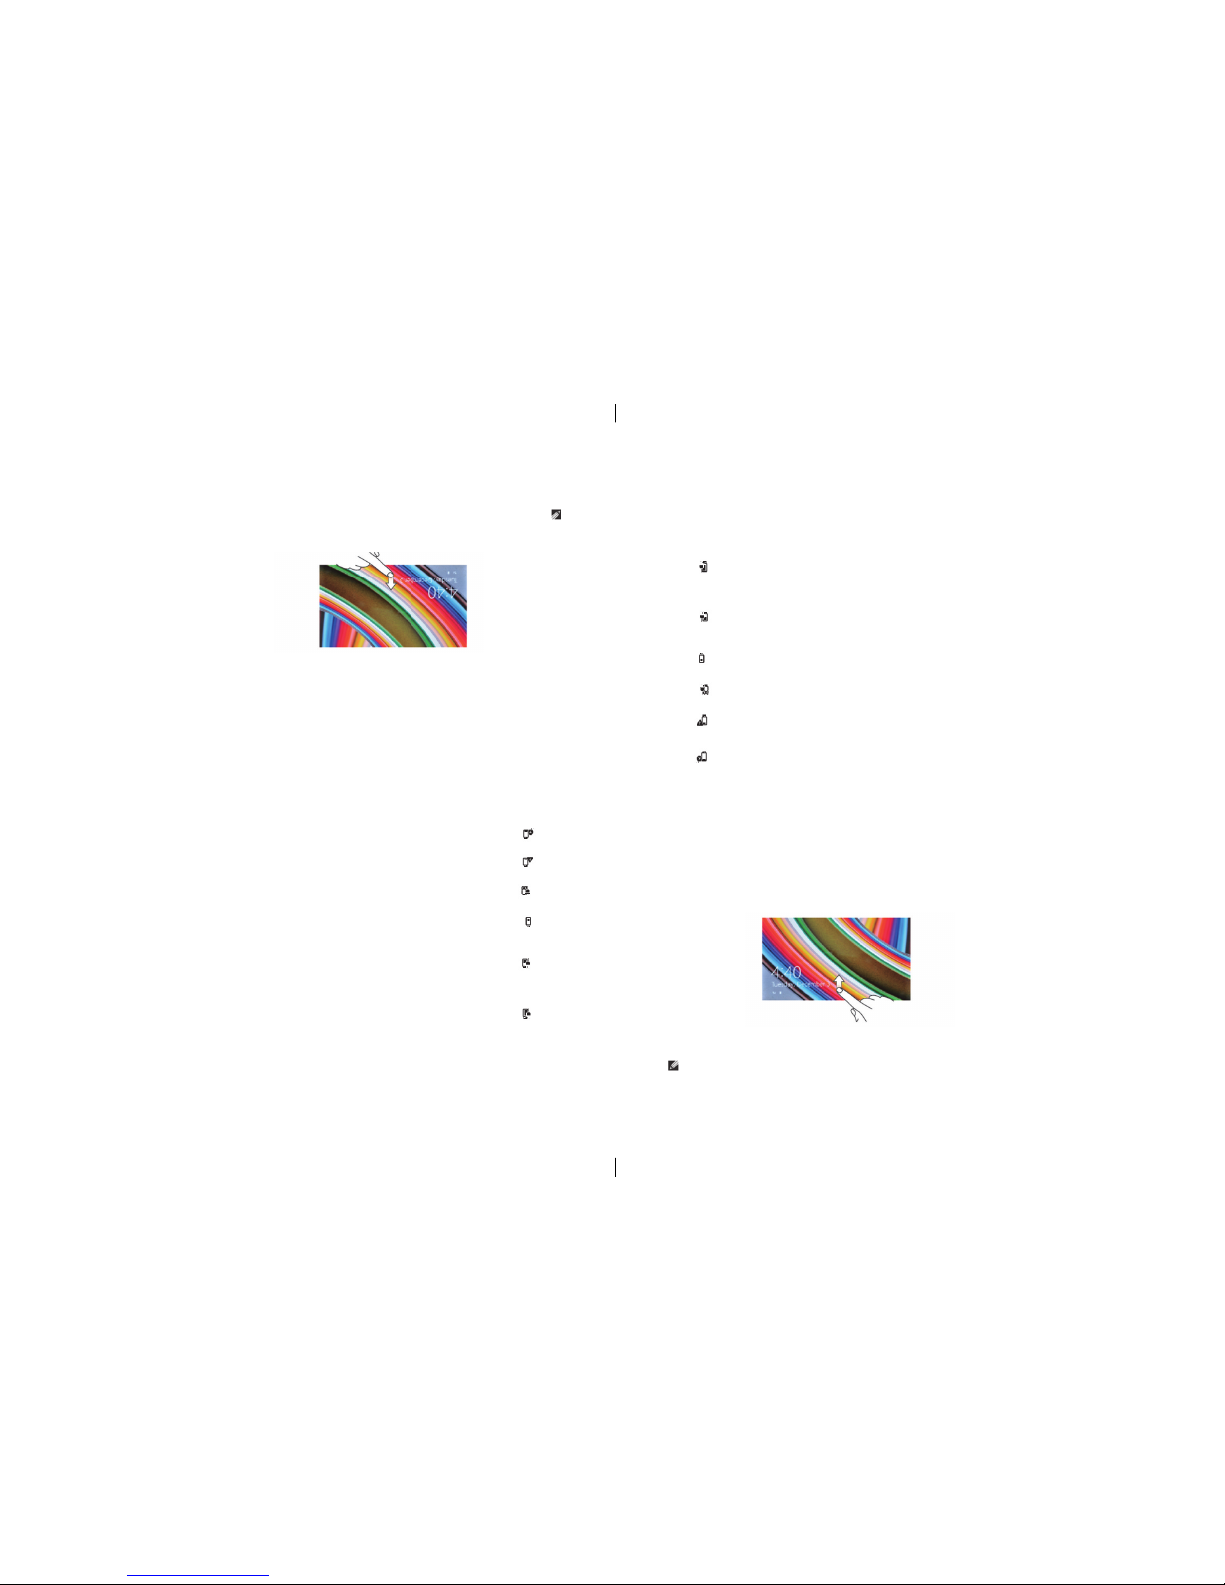
1. Press and hold the power button for 3 seconds to turn on the tablet PC . Locked screen appears.
2. A finger swipe up from the bottom of the screen to switch to the login screen and enter the password to log
in Windows.
Windows “start” screen appears, you can use the Tablet PC.
Note: If Windows 8 is not enabled in the login screen, you would enter The “start” screen from the locked
screen directly.
Vous pouvez voir l’état du batterie pour Tablet PC de la manière suivante:
L’icône de la batterie apparaît sur l’écran:
La lumère du batterie est situé dans le côté droite de la tablette:
_________________________________________________ ___________________________________
L’icône de la batterie
Explication statuts du LED Explication
_________________________________________________ ___________________________________
Tablette PC est connecter à l’alimentation Rouge- la batterie est entrain de charger.
électrique et des batteries complètement chargées.
_________________________________________________ ___________________________________
Tablette PC est connecter à l’alimentation LED est éteint, la batterie ne se charge
et la batterie est entrain de charger. pas ou la batterie entièrement chargée.
_________________________________________________ ___________________________________
Tablet PC est en marche et en utilisant la batterie et la batterie se décharge.
______________________________________________________________________________________
La tablette est branché sur une puissance et aucune batterie ne est détecté ou si la batterie ne fonctionne pas.
______________________________________________________________________________________
Tablet PC fonctionne sur batterie et la batterie est faible.
______________________________________________________________________________________
Tablet PC fonctionne sur batterie, et la batterie est gravement insuffisant.
______________________________________________________________________________________
Ouvrir votre Tablette
Lorsque vous ouvrez le Tablet PC pour la première fois, vous devez terminer l’installation de Windows pour commenc-
er à utiliser les Tablet PC.
1 Appuyez et maintenez enfoncé sur le bouton d’alimentation pendant 3 secondes pour allumer la tablette PC.
Écran verrouillé apparaît.
2 Un coup de doigt à partir du bas de l’écran pour passer à l’écran de connexion et entrez le mot de passe pour
ouvrir une session dans Windows.
Windows “Start” s’affiche, vous pouvez utiliser le Tablet PC.
Remarque: Si Windows 8 n’est pas activé dans l’écran d’ouverture, vous entrez dans l’écran “start” de l’écran
verrouillé directement.
5
5
Power off tablet
Using power button:
1. press power button no less than 4 seconds.
2. swipe shut down screen to the bottom of edge of LCD to turn off tablet.
Using super button:
1. Swipe from the right edge of the screen to access the super button icon .
touch settings power turn off tablet.
Off screen
Using power button:
Press power button lightly, screen can be off.
Using super button:
1. Swipe from the right edge of the screen to access the super button icon.
2. touch setting power Sleep to turn off the screen
Note : If your tablet is in standby ( Tablet is turned on , but screen at
the closed state ) , press the power button or the Windows button to turn on the screen.
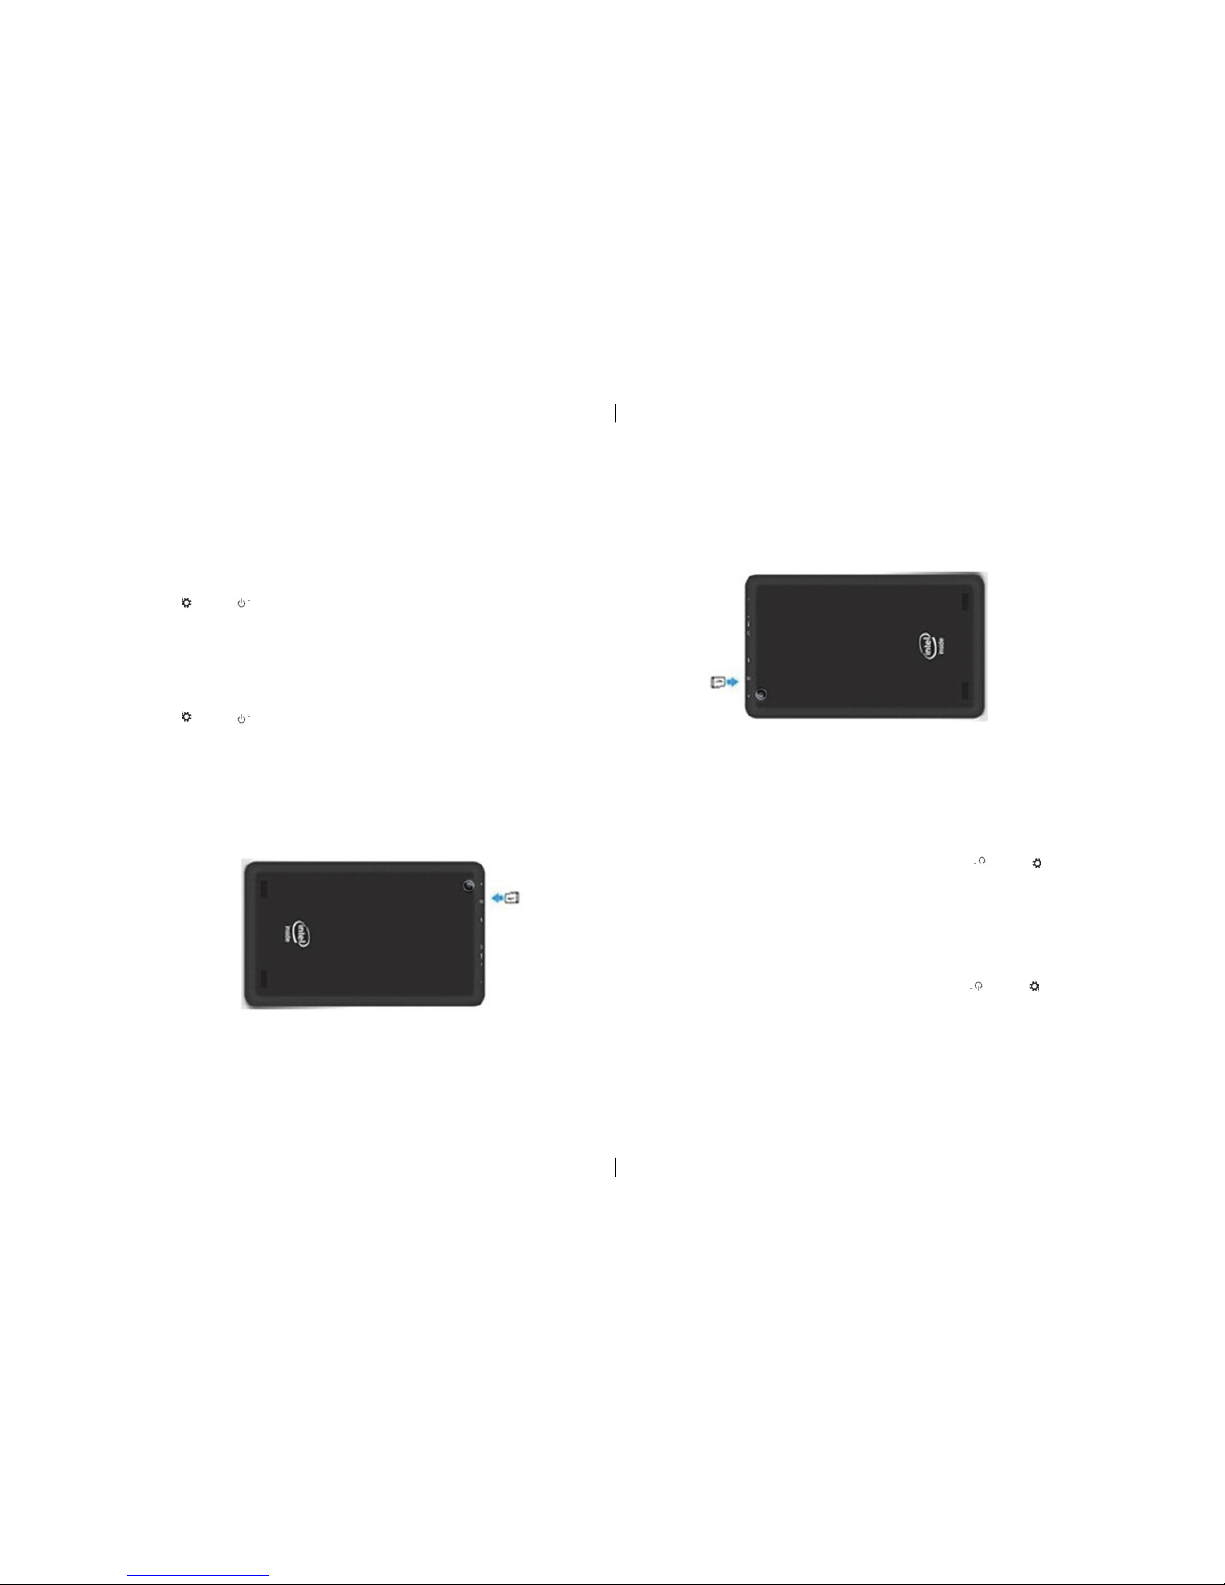
Insert micro SD card:
1. open USB cover which installed on back cover
2. find rabbet correct direction for SD card.
3. insert micro SD card into rabbet.
4. close USB cover.
Éteignez la tablette
En utilisant le bouton d’alimentation:
1 Pousser le bouton d’alimentation en dedans de quatre secondes.
2 Glisser arrêté écran au fond du bord de LCD pour éteindre la tablette.
Avec le bouton super:
1 Faites glisser du coté droite de l’écran pour accéder à l’icône du bouton de super.
réglages tactiles power désactiver la tablette.
hors de l’écran
En utilisant le bouton d’alimentation:
Appuyez sur le bouton d’alimentation légère, écran peut être éteint.
Avec le bouton super:
1 Faites glisser du coté droite de l’écran pour accéder à l’icône du bouton de super.
2 réglage tactile power Dormir pour éteindre l’écran
Remarque: Si votre tablette est en veille (Tablet est allumé, mais l’écran à l’état fermé), appuyez sur le bouton
d’alimentation ou sur la touche Windows pour allumer l’écran.
Insérez la carte micro SD:
1 Ouvrez le capot USB qui a installé sur la couverture arrière
2insérer la carte micro SD. 3 Fermer le couvercle USB.
6
6
 Loading...