

Vision Drive VD-9000FHD User Manual
2
3
4
5
6
7
1
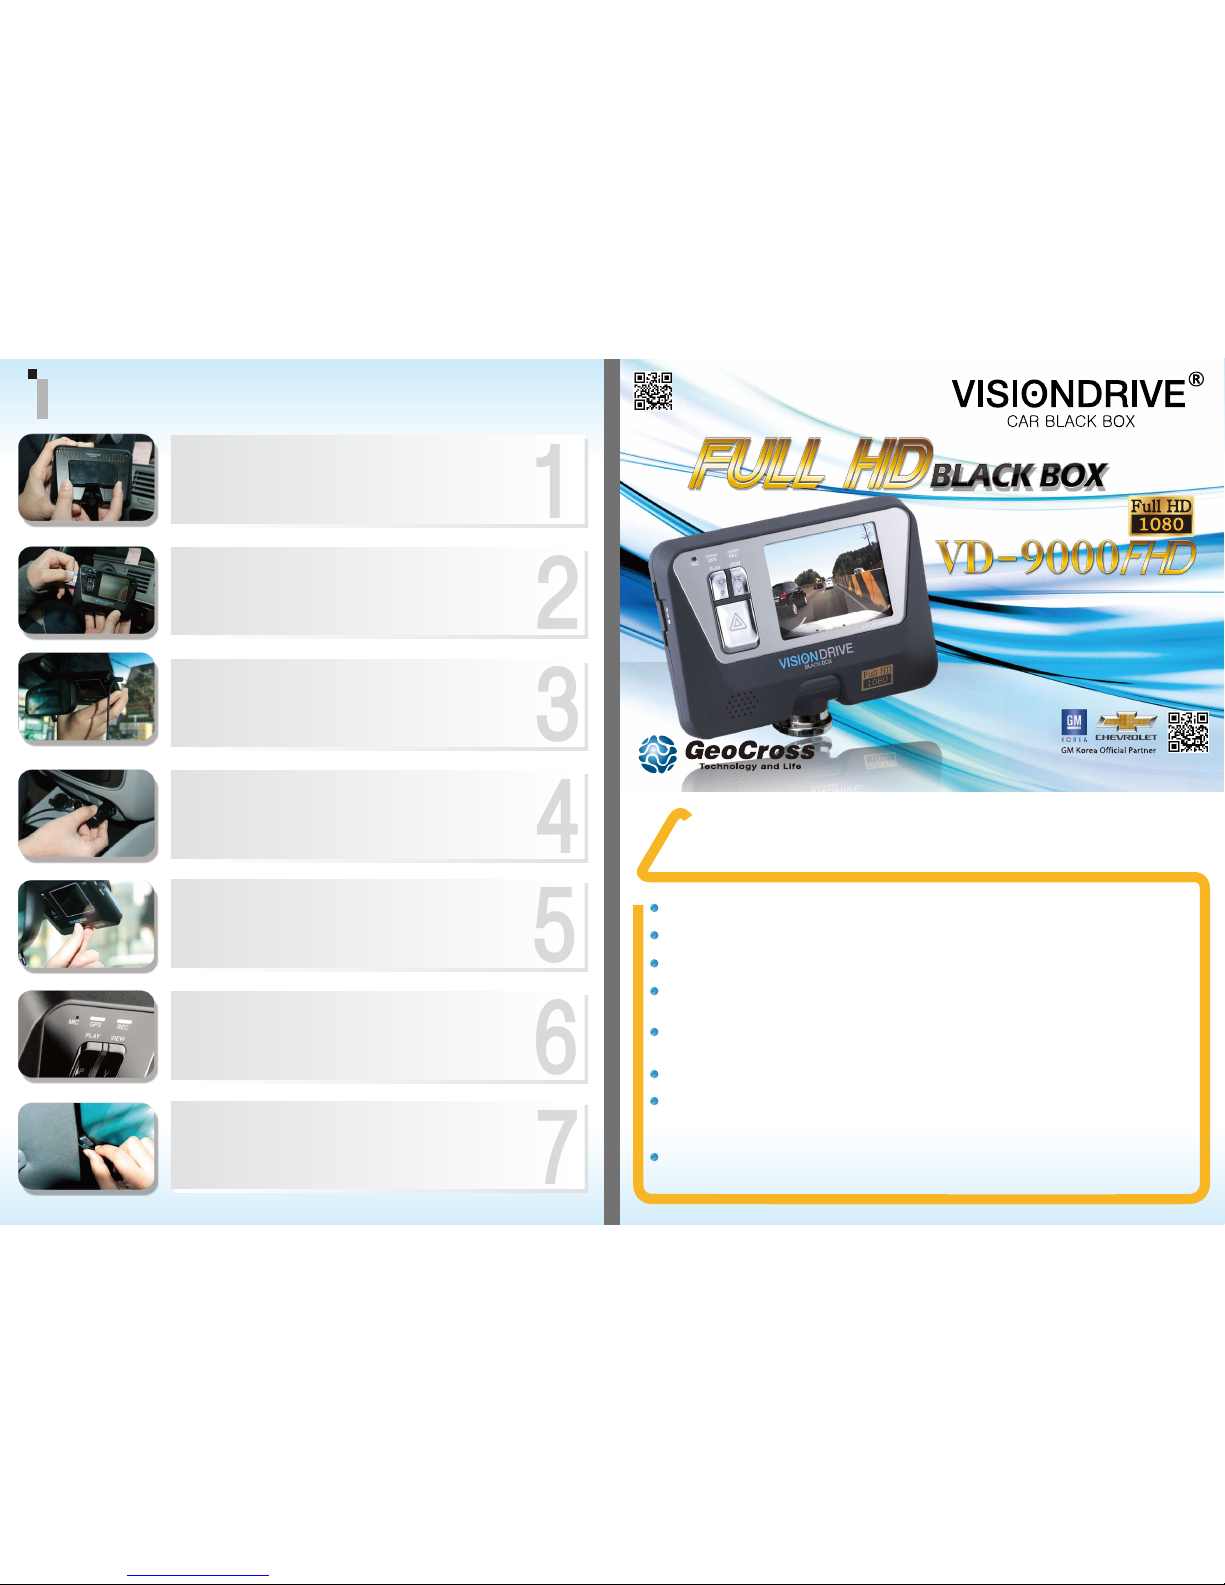
Installation
2012.09.01 12:00:00
User Manual
Ver. VD-9000FHD 1.0 E
www.visiondrive.co.kr
Do not disassemble or remodel this product as it can cause an electric shock.
Only use adaptors with the appropriate specifications.
Do not disassemble the product.
When installing the device to your vehicle, follow all the procedures and make sure the
mount is secure.
Unclean surfaces will weaken the adhesive strength and can damage the product if it
drops due to weak adhesion.
This product is not waterproof. Do not allow liquids and impurities to enter the product.
Where the product is wired to the power supply of the vehicle directly or if the cigar
jack is connected to the power supply while the engine is off, make sure to disconnect
the device to prevent battery drain on your vehicle.
Do not use chemicals or detergents to clean the device. This can result in malfunctioning
of the product.
Caution
!
Connect the bracket and the unit
Connect the attachment bracket with the main unit and push it to the
direction 1 to secure the lock to hear the click sound.
Insert SD card into the unit
Connect cable and attach on windshield
Clean the area on the windshield where the unit will be installed.
For the placement of the unit, it is better to place the unit closer to the
center of the vehicle.
Connect to power source to turn on the unit
Insert the cigarette jack into an appropriate outlet then turn on the engine.
Check LED lamps
The REC lamp is blue when it is recording. It is blue when it is recording a
(NORMAL) file and red when recording an (EVENT) file after an impact or if
the SHOT button has been pressed.
The GPS lamp is red when the GPS signal is not received and blue when it is
received. The GPS connection may take a couple of seconds to several
minutes, depending on the location of your vehicle.
Adjust the camera angle
Move the camera top to bottom to fix it to a recordable position while
checking the LCD
Arranging wires
Use the enclosed wire holders to organize the cable line.
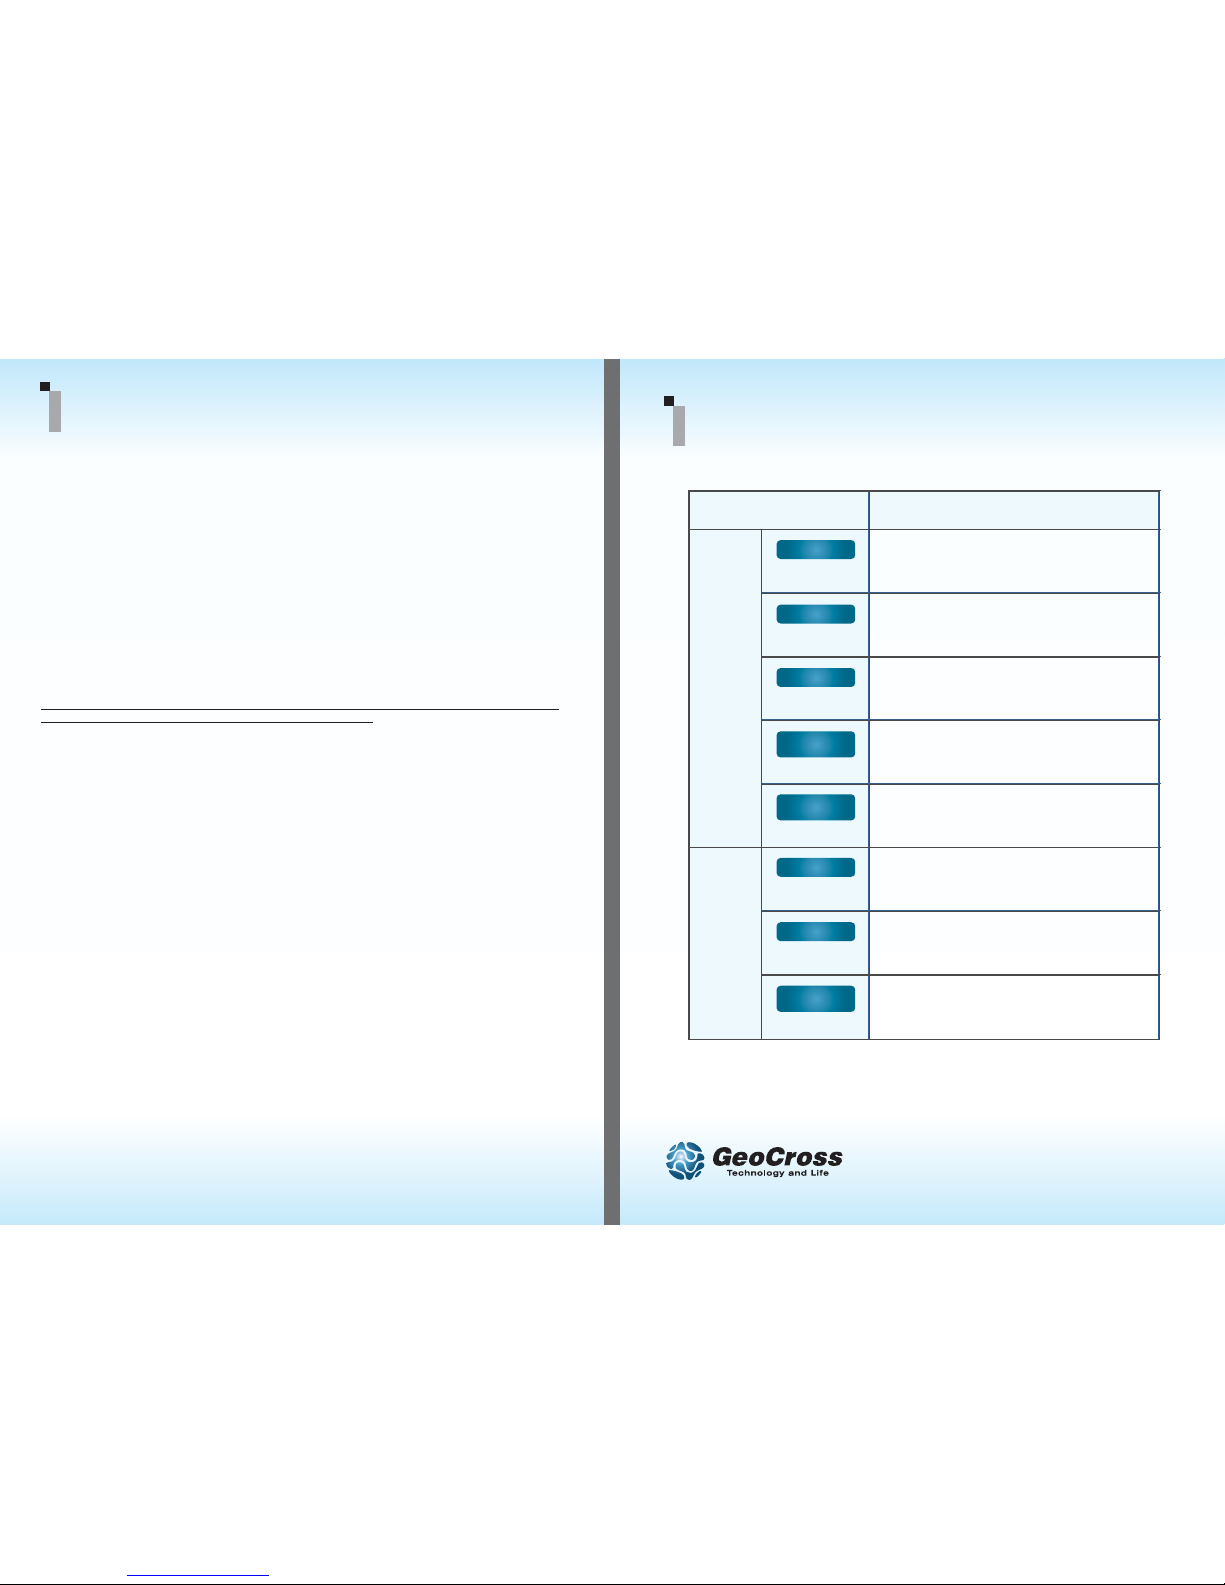
Usage
Play Mode
Play mode => Recording Mode
N.A.
File Search
Operation
Recording
Mode
Recording Mode => Play Mode change
Parking mode < = > Driving mode
Main Cam. => LCD Off
Manual impact file recording
Audio Recording On/Off
*** Please wait for complete power off before taking the SD off.***
www.visiondrive.co.kr
VD-9000FHD Button Instruction
2. Normal and Event recording
• System makes Normal files with power on and stores it in the NORMAL folder of the SD card.
• When registering an impact, the system alarms and records an Event file in the EVENT folder of the SD card.
3. Manual (Event) recording
• When the [SHOT] button is pressed, the alarm will sound and the recorded data will be saved in the
[EVENT] folder.
4. Playback of the recorded videos on LCD
• [PLAY] button starts the playback of the latest videos file.
• [SHOT] button changes the videos according to time sequence.
• Date and time data are displayed on the bottom of LCD.
• Pressing the [PLAY] button for more than 3 seconds will make the system return to recording mode
followed by an announcement of current audio recording status.
5. Voice Recording
• When the [SHOT] button is pressed and held for more than 3seconds, the voice notification will announce
that the voice recording has been enabled/disabled and the voice recording will either start or stop
depending on the previous audio recording state in recording mode
• The initial audio recording setting can be changed in the analysis program.
6. Parking Surveillance Mode
• To enter into the “Parking Surveillance Mode”, push and hold the [PLAY] button for more than 3 seconds
when the system is recording.
• The system automatically rearranges its impact sensing sensitivity to the most sensitive in order to register
the slightest impacts.
• While no impacts, the system records 4 frames/second to save the SD space and return to normal full
frame recording mode making an EVENT file when it receives a certain impact to car. After making an
EVENT file, it returns to 4 frame recording mode again.
• No audio is recorded while parking surveillance mode is on.
• To return to normal (driving) recording mode, press and hold the [PLAY] button for more than 3 seconds
to hear the “Driving mode on” announcement.
7. Disconnecting the SD card
• If you eject the SD card while the product is on, the recorded data may be damaged. Make sure the
main power is completely off and the device is fully powered off (no indicator lights are on) before
removing the SD card from the product.
8. PC Analysis Program Use
• Open up the VDAnalyzer.exe for video analysis then put in the proper password if required.
• The default password is “12345678”.
• Please use a SDHC compatible USB adapter when using a USB adapter to read the SD card.
*** Please refer to the manual for further information ***
1. Viewing recording videos on LCD
• [VIEW] button : Main Camera View < = > LCD Off
Product Use
V
Button
V
Button
P
Button
P
Button
P
Button
SHOT
Button
SHOT
Button
SHOT
Button
Short
Short
Long
min.3sec
Short
Short
Long
min.3sec
Short
Long
min.3sec
 Loading...