

Visa Lighting Northridge Series, OW1709, Southridge Series, OW1713, OW1725 Installation Instructions Manual
...
INSTALLATION INSTRUCTIONS
Model:
OW1709, OW1713, OW1721, OW1725, OW1729
Fixture Family:
Document Description: Installation Instructions for
NORTHRIDGE/SOUTHRIDGE
Surface Mount Northridge Southridge Series Luminaires
1717 West Civic Drive Milwaukee, WI 53209
414-354-6600
Design Modification Rights Reserved
© Visa Lighting
Drawing:
760885XX
Rev:
A
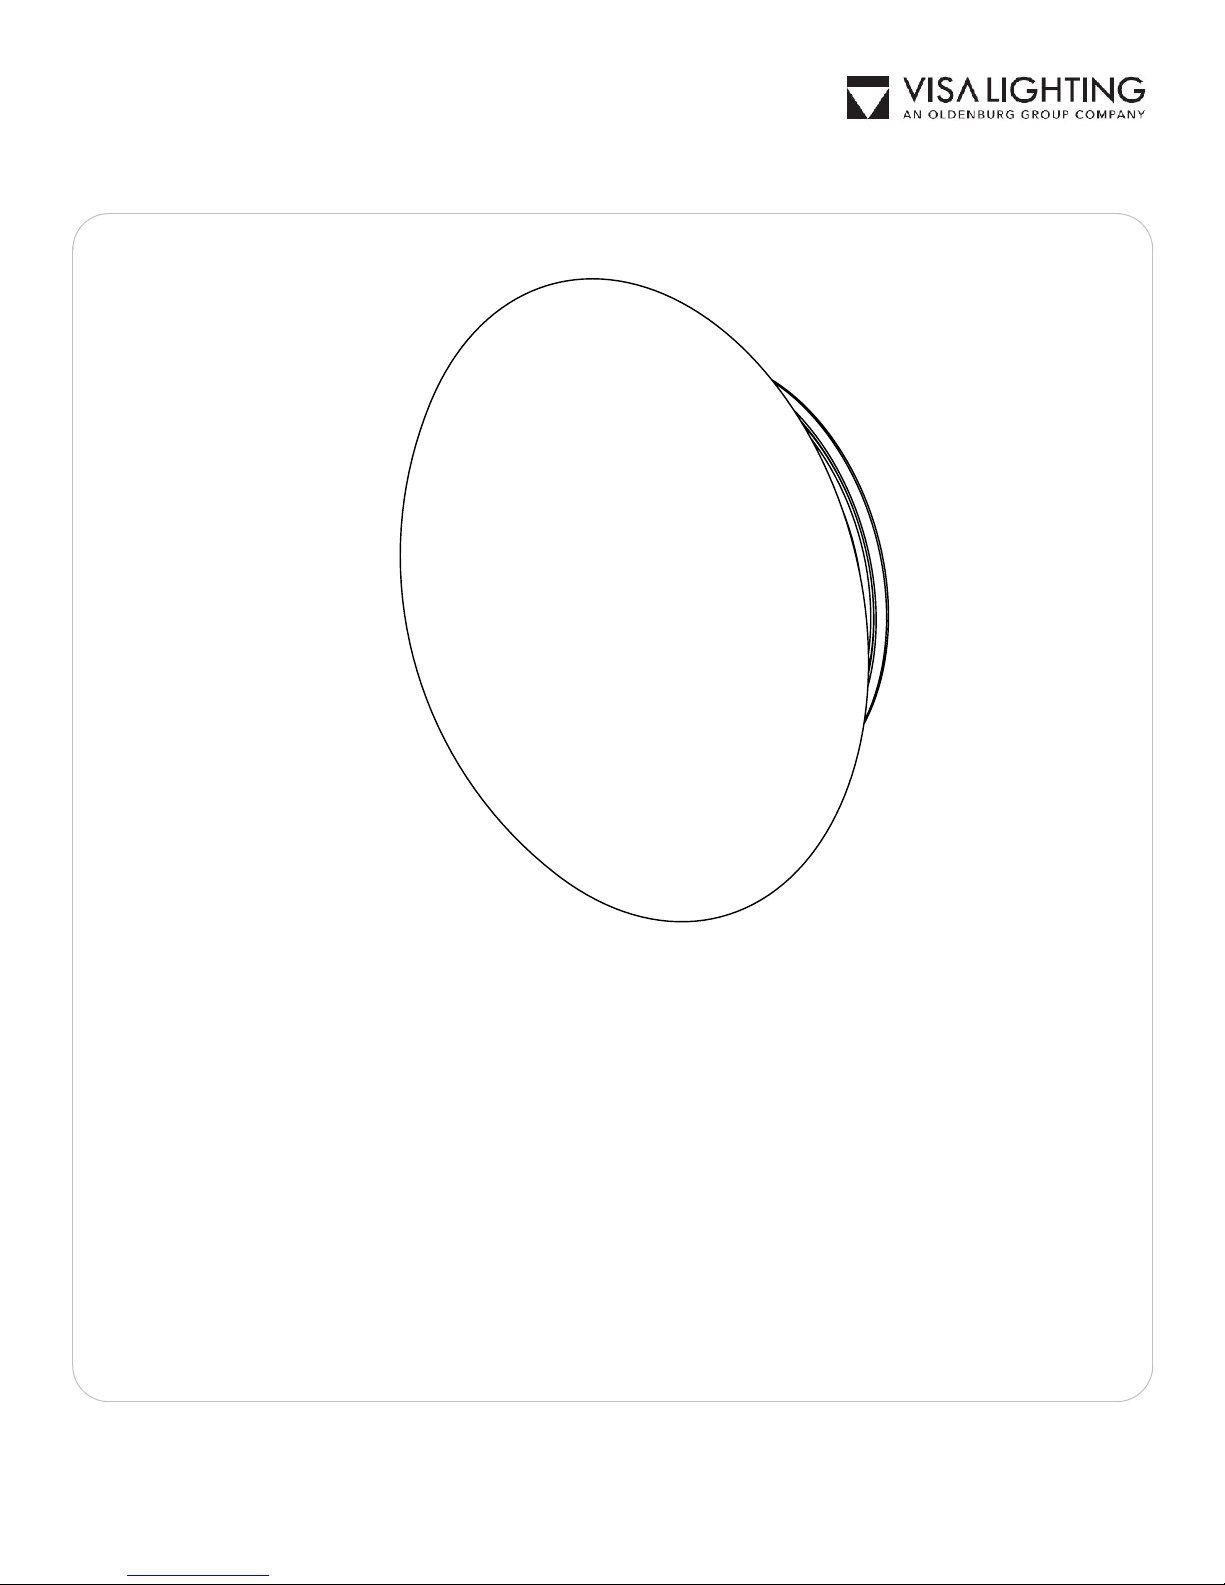
*LENS DIFFUSER STYLE MAY DIFFER
SURFACE MOUNT LED
NORTHRIDGE
OW1709 OW1713
SOUTHRIDGE
OW1721 OW1725
Sheet:
1 of 3
Eng:
CGA
Date Drawn:
02/23/17
When using electrical equipment, basic safety precautions should always be followed, including the following:
Read all instructions carefully before installing and save for future use.
•
Make sure all connections are in accordance with the National Electrical Code and local regulations.
•
To avoid possible electric shock, be sure the power supply is turned off before servicing or installing the fixture
•
Service should be performed by qualified personnel.
•
!
These instructions may not cover all details or variations. If additional information is needed, please contact Visa Lighting.
•
INSTALLATION INSTRUCTIONS
Model:
OW1709, OW1713, OW1721, OW1725, OW1729
Fixture Family:
Document Description: Installation Instructions for
NORTHRIDGE/SOUTHRIDGE
Surface Mount Northridge Southridge Series Luminaires
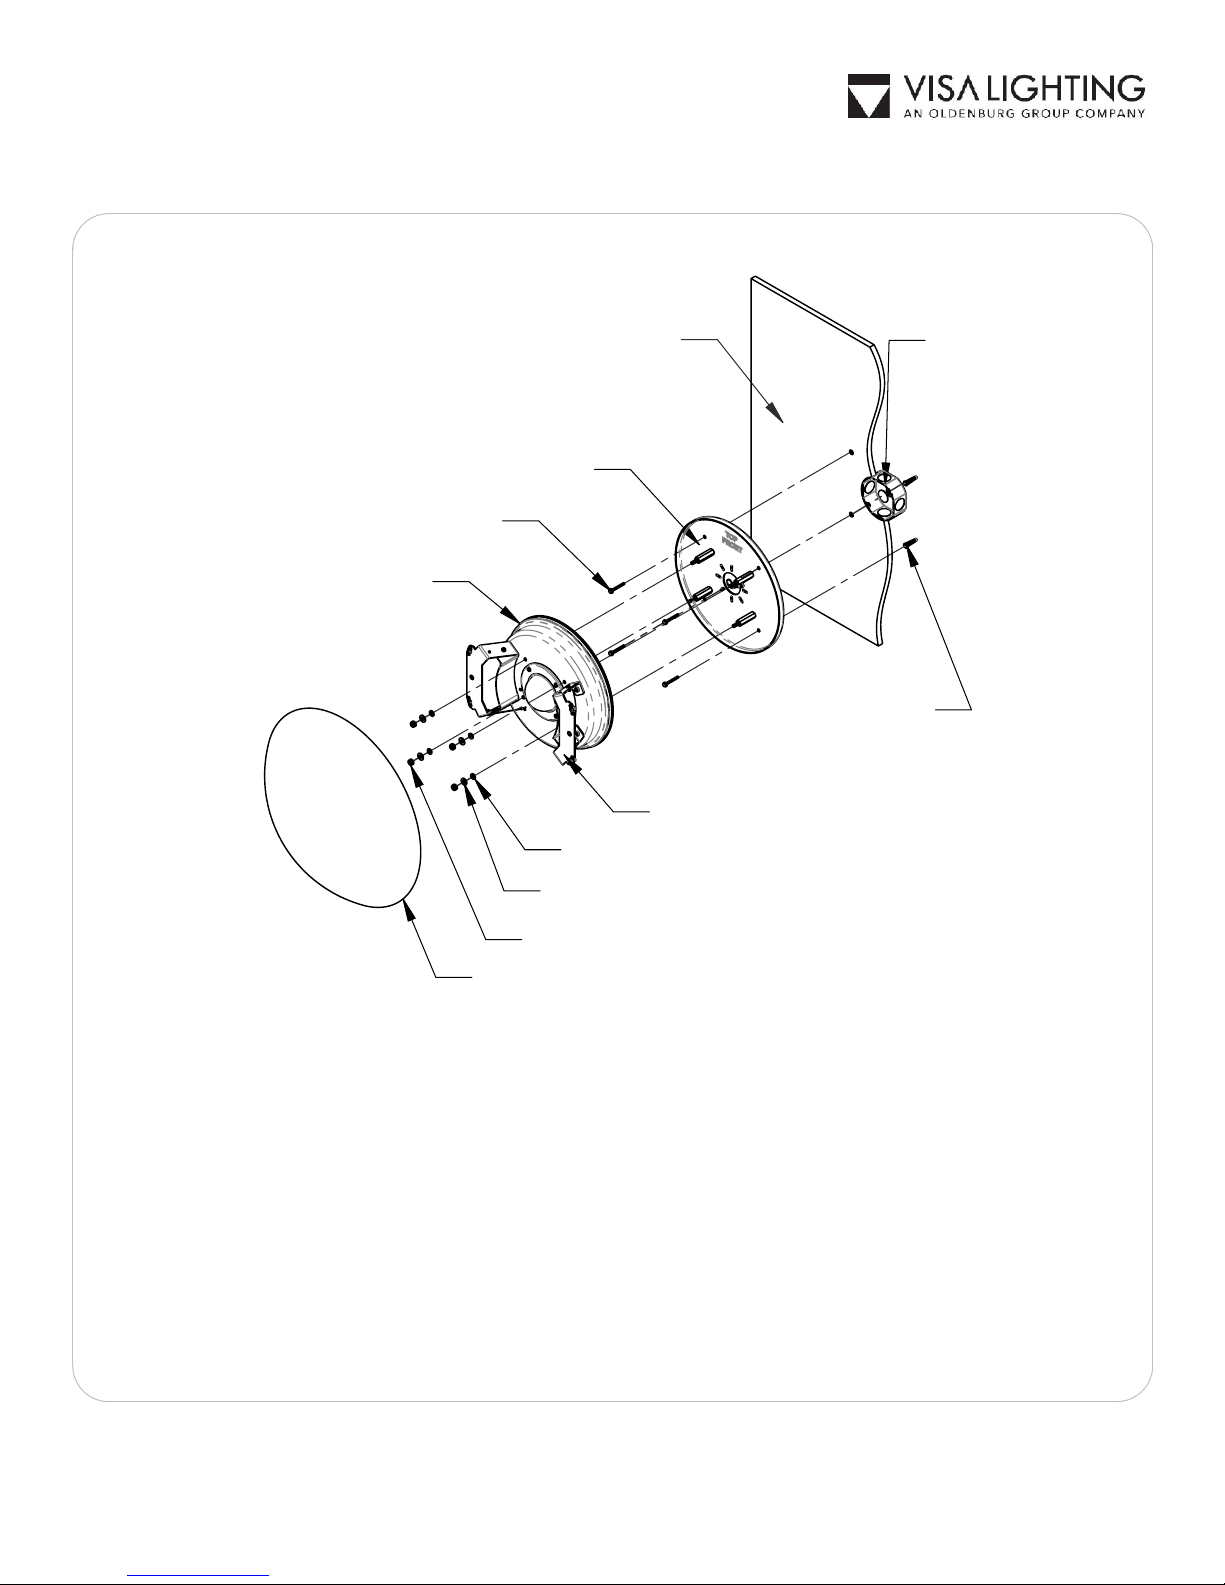
MOUNTING SURFACE
MOUNTING PLATE
MOUNTING HARDWARE
WALL ANCHORS (4)
HOUSING
1717 West Civic Drive Milwaukee, WI 53209
414-354-6600
Design Modification Rights Reserved
© Visa Lighting
Drawing:
JUNCTION BOX
(by others)
760885XX
Rev:
A
WALL ANCHORS (4)
SHIELD SUPPORT
EPDM RUBBER WASHER (4)
METAL WASHER (4)
1/4-20 NUT (4)
FRONT SHIELD
(style may vary)
Locate and drill wall anchor holes.
1.
Caulk around junction box and wall anchor holes staying outside of hole pattern. Refer to
2.
page 3 for caulking instructions.
Secure mounting plate to junction box and wall with hardware provided making sure "TOP
3.
FRONT" is properly oriented.
Make all electrical connections according to local and national codes.
4.
Mount housing to mounting plate hardware making sure EPDM rubber washer is installed
5.
first, metal washer is next, and 1/4-20 nut is last. Tighten to secure and seal. Do not over
tighten.
Secure front shield to shield supports by snapping ball studs into ball clips.
6.
Sheet:
2 of 3
Eng:
CGA
Date Drawn:
02/23/17
When using electrical equipment, basic safety precautions should always be followed, including the following:
Read all instructions carefully before installing and save for future use.
•
Make sure all connections are in accordance with the National Electrical Code and local regulations.
•
To avoid possible electric shock, be sure the power supply is turned off before servicing or installing the fixture
•
Service should be performed by qualified personnel.
•
!
These instructions may not cover all details or variations. If additional information is needed, please contact Visa Lighting.
•
 Loading...