

Virtual industries SMD-VAC-HF, V8400, V8400-220 Operating Instructions And Specifications
Specifications
OPERATING INSTRUCTIONS AND SPECIFICATIONS
ESD SAFE:
GROUNDED THROUGH THREE WIRE CORD
ELECTRICALLY CONDUCTIVE VACUUM CUPS
STATIC DISSAPATIVE RUBBER HOSE
STATIC DISSAPATIVE PLASTIC NOZZLE
VACUUM:
MINIMUM 5 INCHES OF MERCURY AT SEA LEVEL.
DIMENSIONS:
LENGTH HEIGHT WIDTH
8” (203.2mm) 2.8” (70.6mm) 3.6” (91.44mm)
WEIGHT:
2.721 LBS.
POWER REQUIREMENTS:
MODEL # V8400 110 VOLTS A.C. 60 HERTZ 8 WATTS
MODEL # V8400-220 220 VOLTS A.C. 50 HERTZ 8 WATTS
SMD-VAC™-HF OPTIONS
UUM INTERRUPTER P/N V3025
VAC
Facilitates precision placement of small parts. The hand that holds the wand is used to
position and/or rotate the part being placed while the other hand makes or breaks the
vacuum.
SELECTION OF VACUUM CUPS WITH PROBES
The vacuum cups are a soft rubber material that allow handling a wide variety of small
parts.
SELECTION OF MINIATURE VACUUM TIPS
These tips are designed to handle
tiny parts as small as 0.01” (0.25mm).
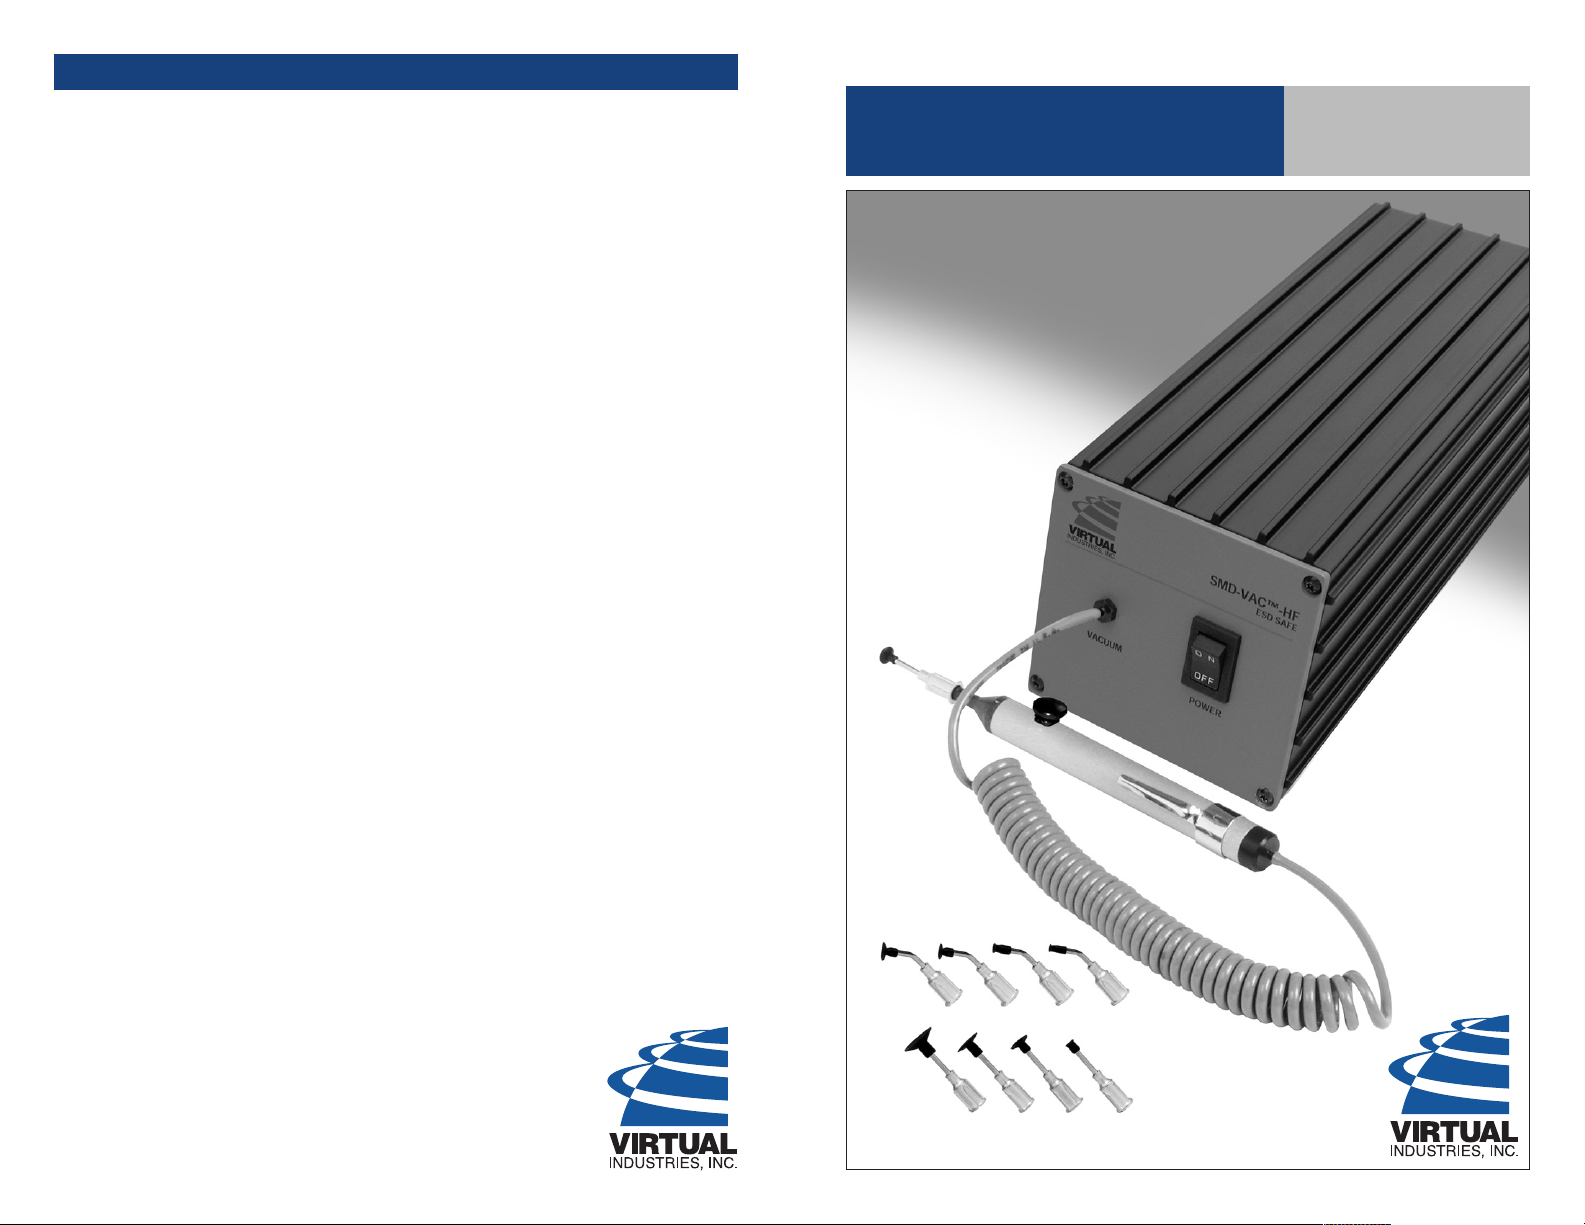
SMD-VAC™-HF
ESD Safe Vacuum Handling Tool
Model No. V8400
Model No. V8400-220
OPTIONAL SIDE MOUNTED VACUUM PEN HOLDER
Mounts on side of SMD-VAC unit for vacuum pen storage.
Virtual Industries, Inc.
2130 Victor Place
Colorado Springs, CO 80915
U.S.A.
For technical assistance call toll free 1-800-590-2829
Tele: 719-572-5566
Fax: 719-572-5504
8:00 A.M. to 4:30 P.M. Mountain Standard Time
9/26/08
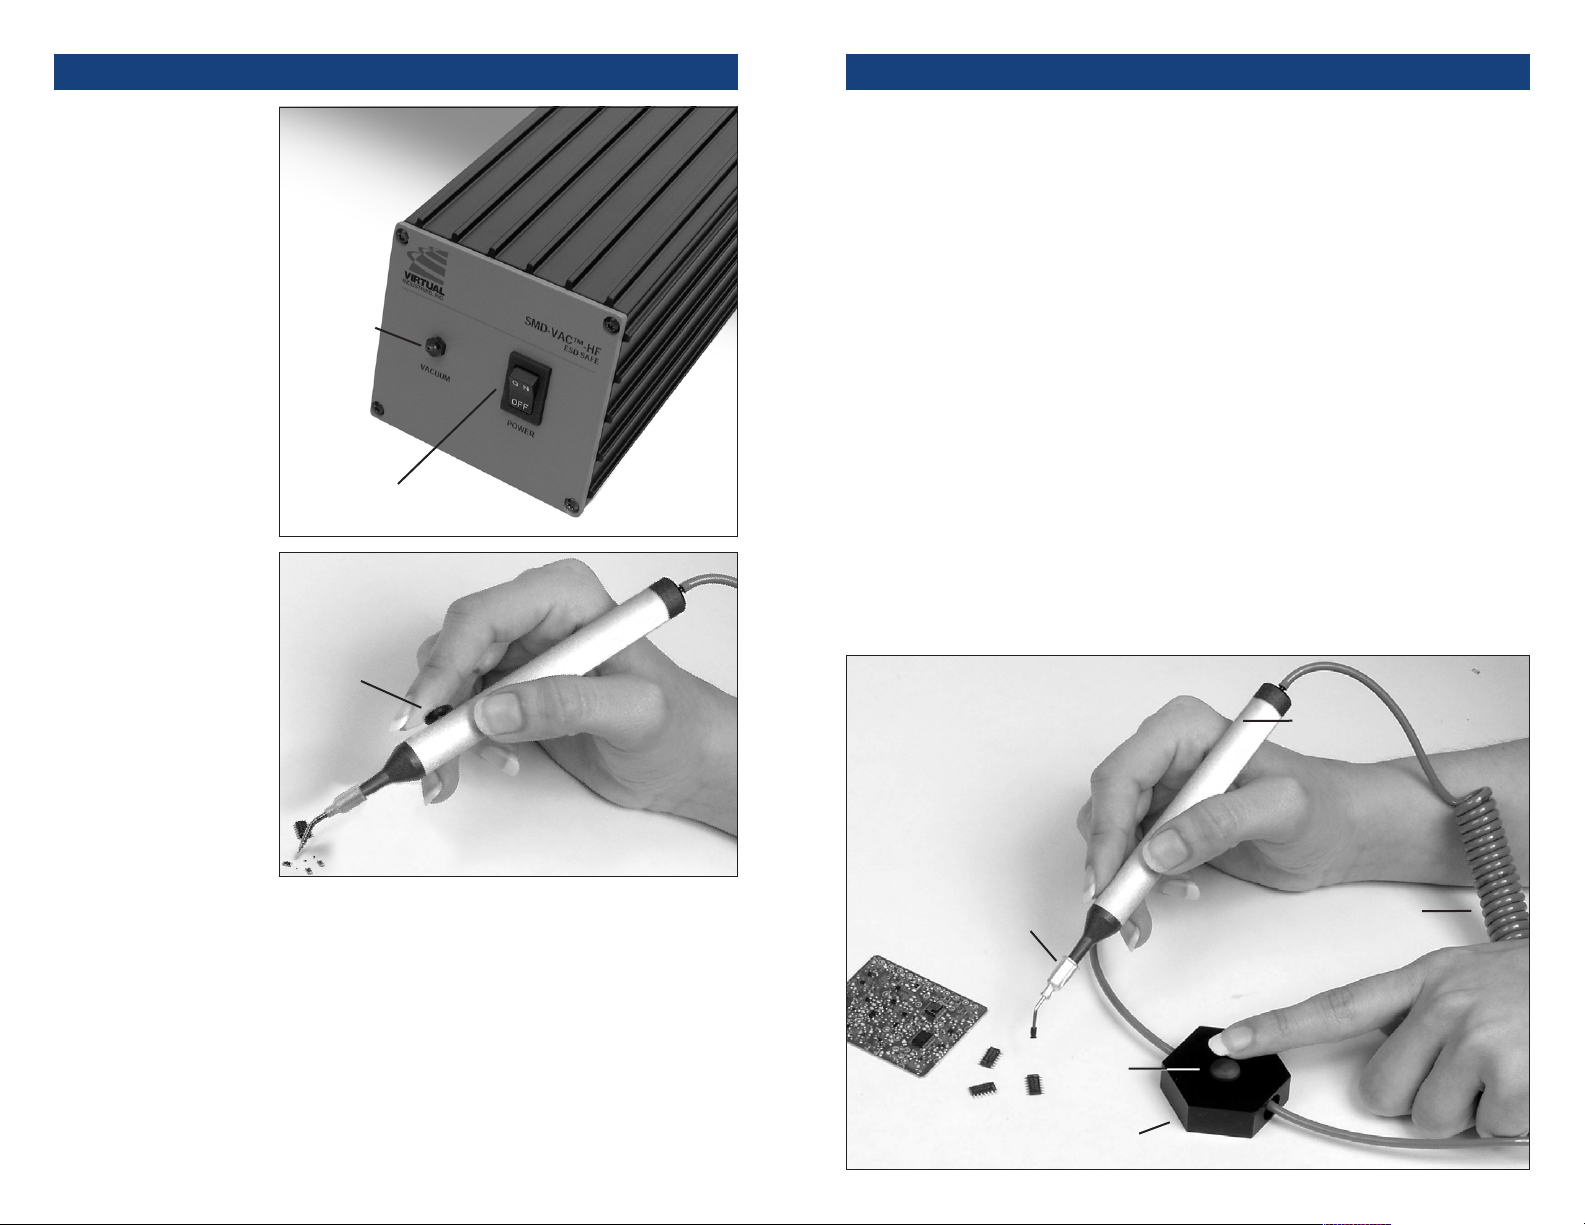
Operation of the SMD-VAC™-HF
Using the optional Interrupter P/N V3025
1. Connect the small
diameter vacuum hose
to the vacuum fitting on
the front of the SMDVAC. Make sure the
hose is pushed all of
the way on. Connect
the other end of the
vacuum hose to the
rear of the vacuum
handle, again make
sure the hoses pushed
all the way on.
2. Select a probe with a
vacuum cup that is
slightly smaller in
diameter to the outline
of the parts that you
want to pick and place.
Securely install
it o
the tapered end of the
vacuum handle.
Selecting a vacuum
cup that is too large or
too small will result in
improper operation.
3. Connect the 3 wire
SMD-VAC power cord
to input power. Turn the
ON/OFF switch to the
on position.
4. To pick and place a
part:
PRECISION PARTS PLACEMENT
1. Connect the small diameter vacuum hose to the vacuum fitting on the front of the
SMD-VAC. Make sure the hose is pushed all the way on. Connect the other end of
the vacuum hose to one side of the vacuum interrupter block. Connect another length
of vacuum hose in between the other side of the vacuum interrupter block and the
V3021-RF or optional V3121-
rear of the vacuum handle that has NO control hole
(
RF), again make sure the hose is pushed all the way on.
VACUUM
FITTING
FOR HOSE
2. Select a probe with a vacuum cup that is slightly smaller in diameter to the outline of
the parts that you want to pick and place. Securely install it on the tapered end of the
vacuum handle. Selecting a vacuum cup that is too large or too small will result in
improper operation.
ord to input power. Turn the ON/OFF switch to
3. Connect the 3 wire SMD-VAC powe
r c
the on position.
4. To pick and place a part:
a. Gently place the vacuum cup on top of the part that you wish to pick up. The part
n
ON/OFF
SWITCH
should now be firmly grasped by the vacuum cup.
b. Now move the part to where you want it.
c. To release the part simply depress the button on the interrupter block with your finger,
the part should now be released.
o turn the unit off when you are finished.
5. Reme
VACUUM
INTERRUPTER
BUTTON
mber t
VACUUM
HANDLE
a. Gently place the
vacuum cup on top of
the part that you wish
to pick up. The part
should now be firmly
grasped by the vacuum
cup.
o w
b. Now move the part t
here you want it.
c. To release the part simply depress the button with your finger, the part should now be
released.
5. Remember to turn the unit off when you are finished.
PROBE
WITH
VACUUM
CUP
VACUUM
BUTTON
INTERRUPTER BLOCK
VACUUM
HOSE
 Loading...