

Virtualfly YOKO User Manual
YOKO, THE YOKE
USER’S MANUAL (ENG)
MANUAL DE USUARIO (ESP)
Rev. 1.0
September/Septiembre 2014

YOKO | User’s Manual

ENGLISH
INDEX
1. IDENTIFICATION OF ELEMENTS
2. ASSEMBLY
3. YOKO CALIBRATION ON WINDOWS
4. YOKO CONFIGURATION ON MICROSOFT FLIGHT
SIMULATOR (MFS) AND PREPAR 3D
4.1. Through the MFS-PREPAR 3D menu
4.2. Through the “VirtualFly-YOKO” driver
5. YOKO CONFIGURATION ON X-PLANE 100
4
6
8
9
14

YOKO | User’s Manual
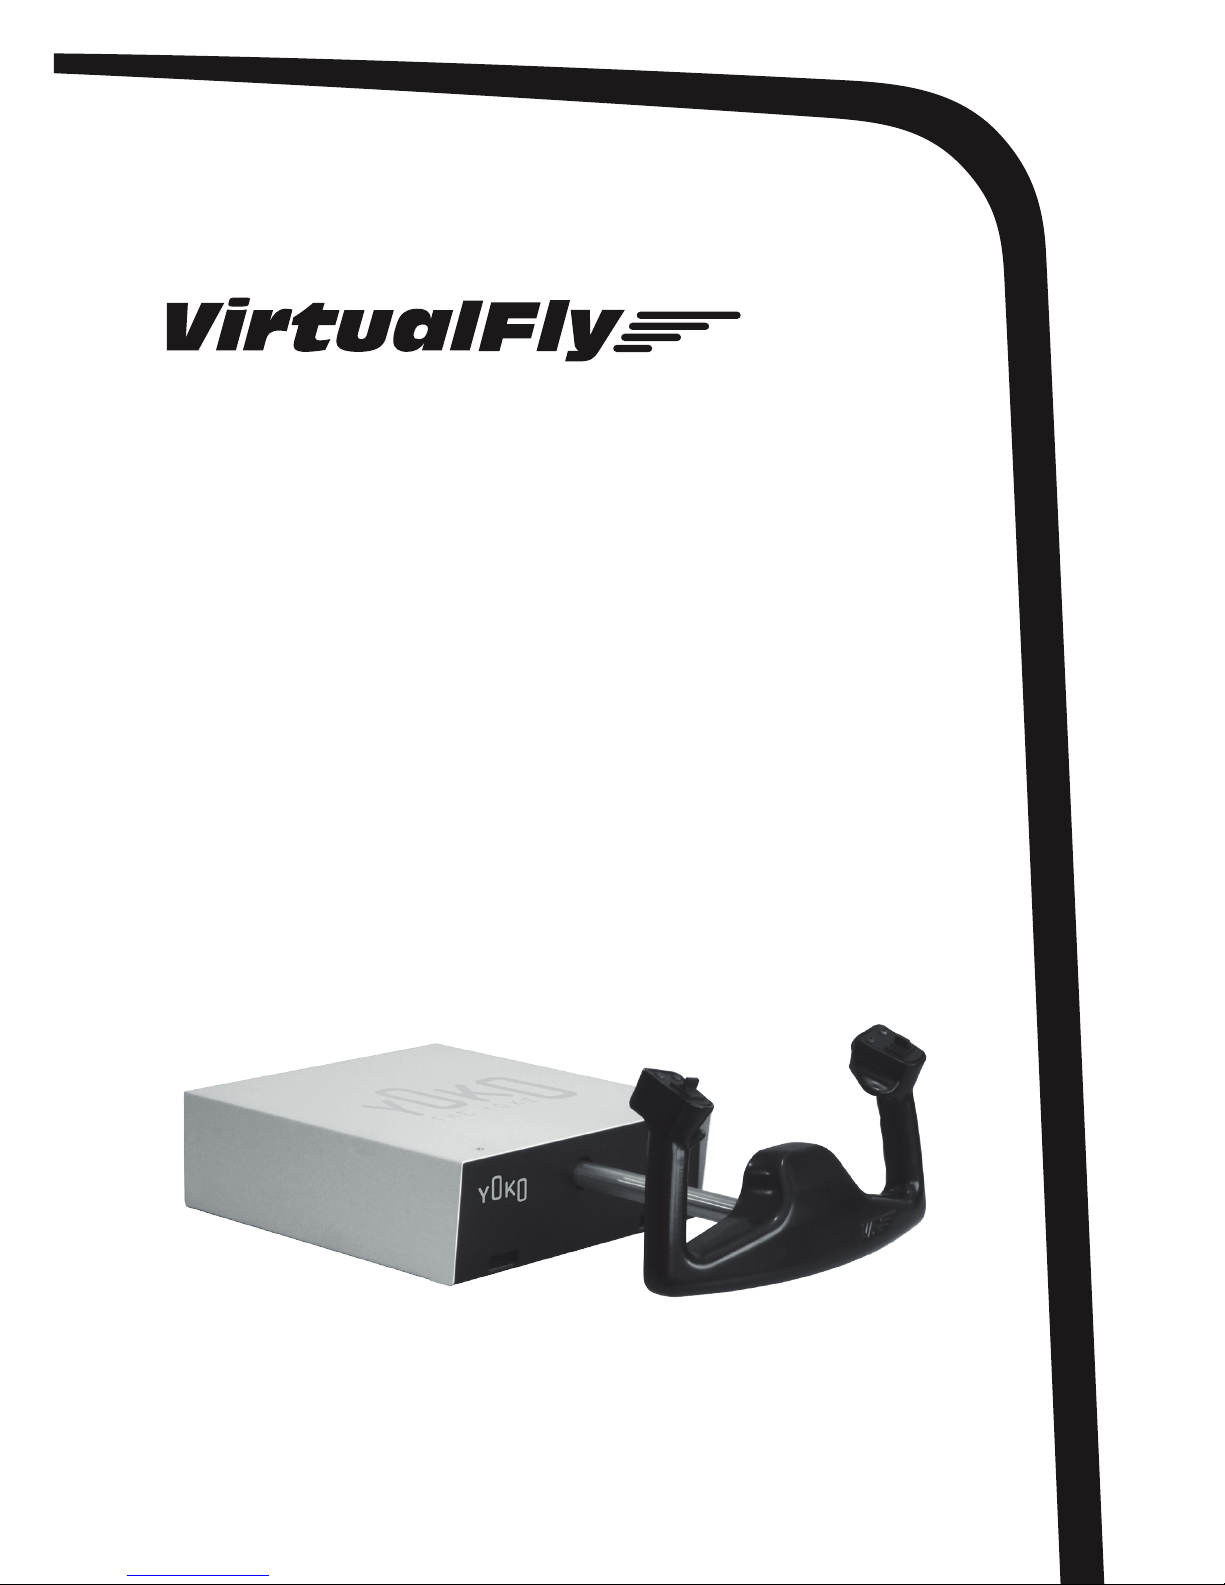
1. IDENTIFICATION
OF ELEMENTS
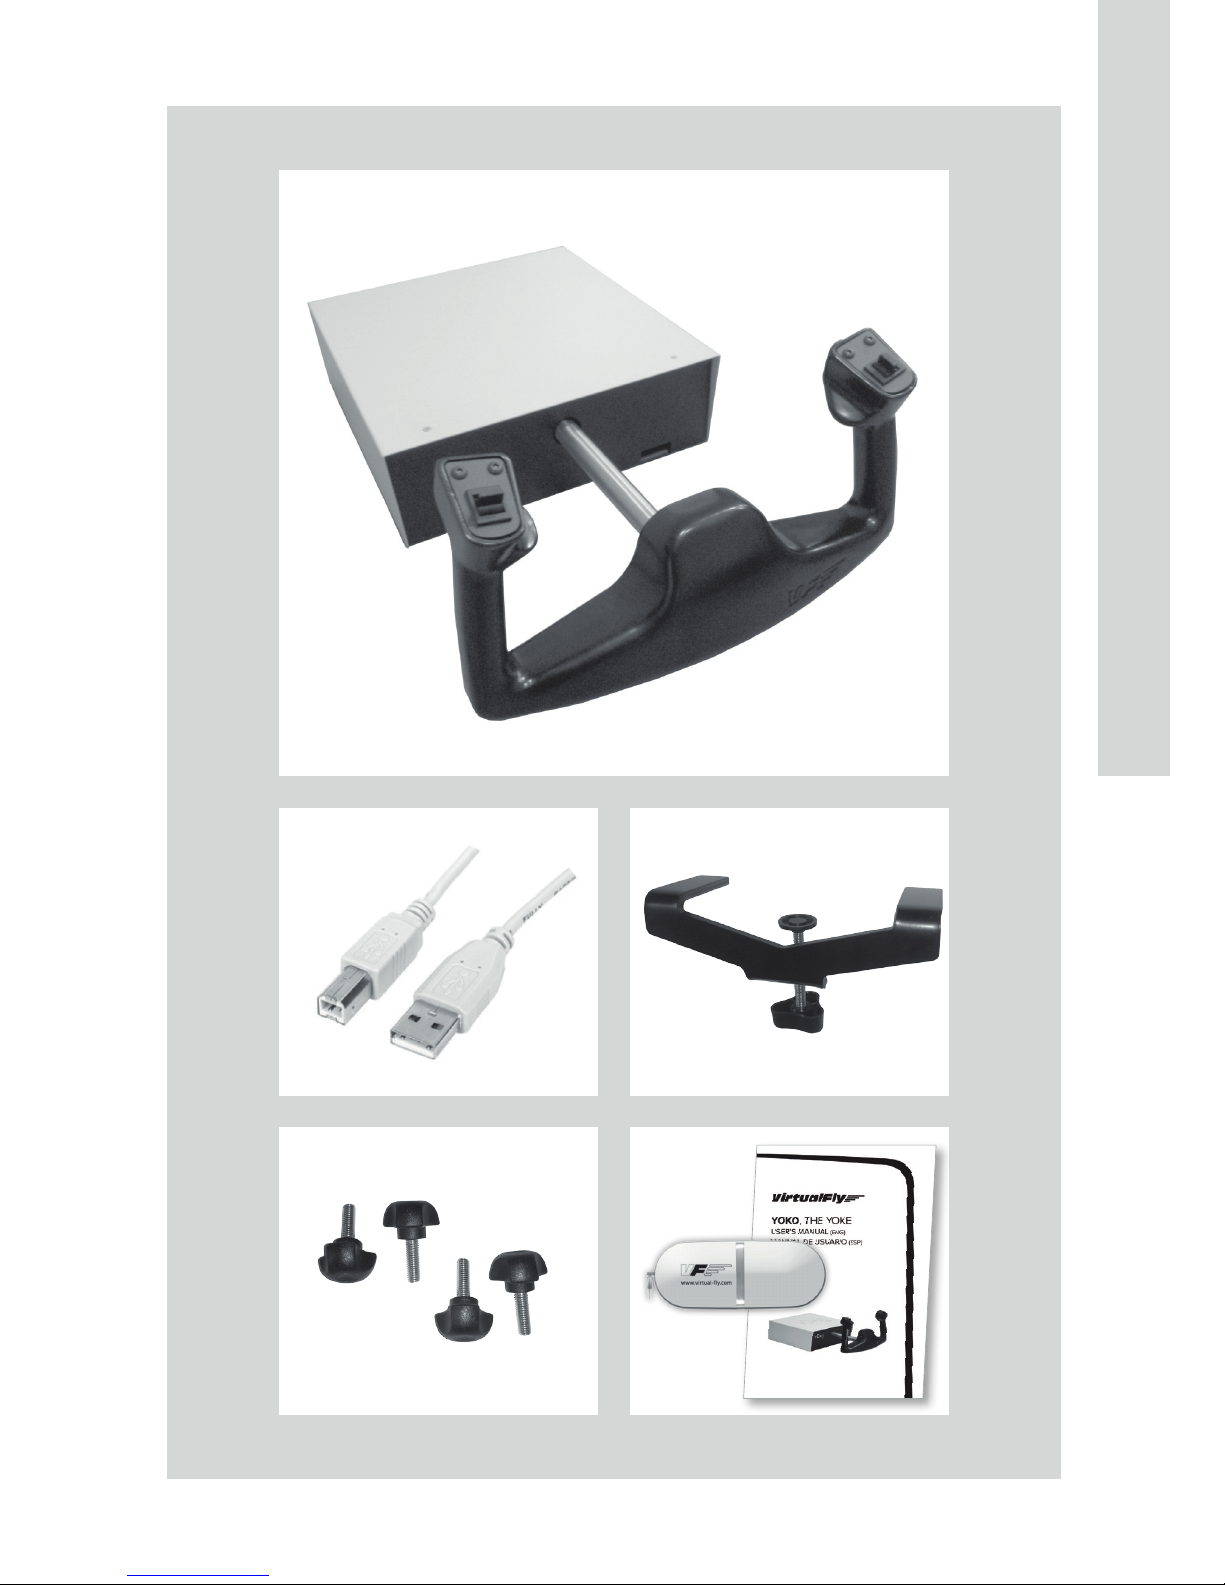
Package contents:
1. YOKO (1 unit)
2. USB data Cable (1 unit)
3. Clamping jaw (1 unit)
4. Clamping knobs (4 units)
5. User’s manual and memory stick (1 unit)
We recommend that you save all content not to be used in case you need it
in the future.
54 –
ENGLISH
1
3
4
2
5

YOKO | User’s Manual
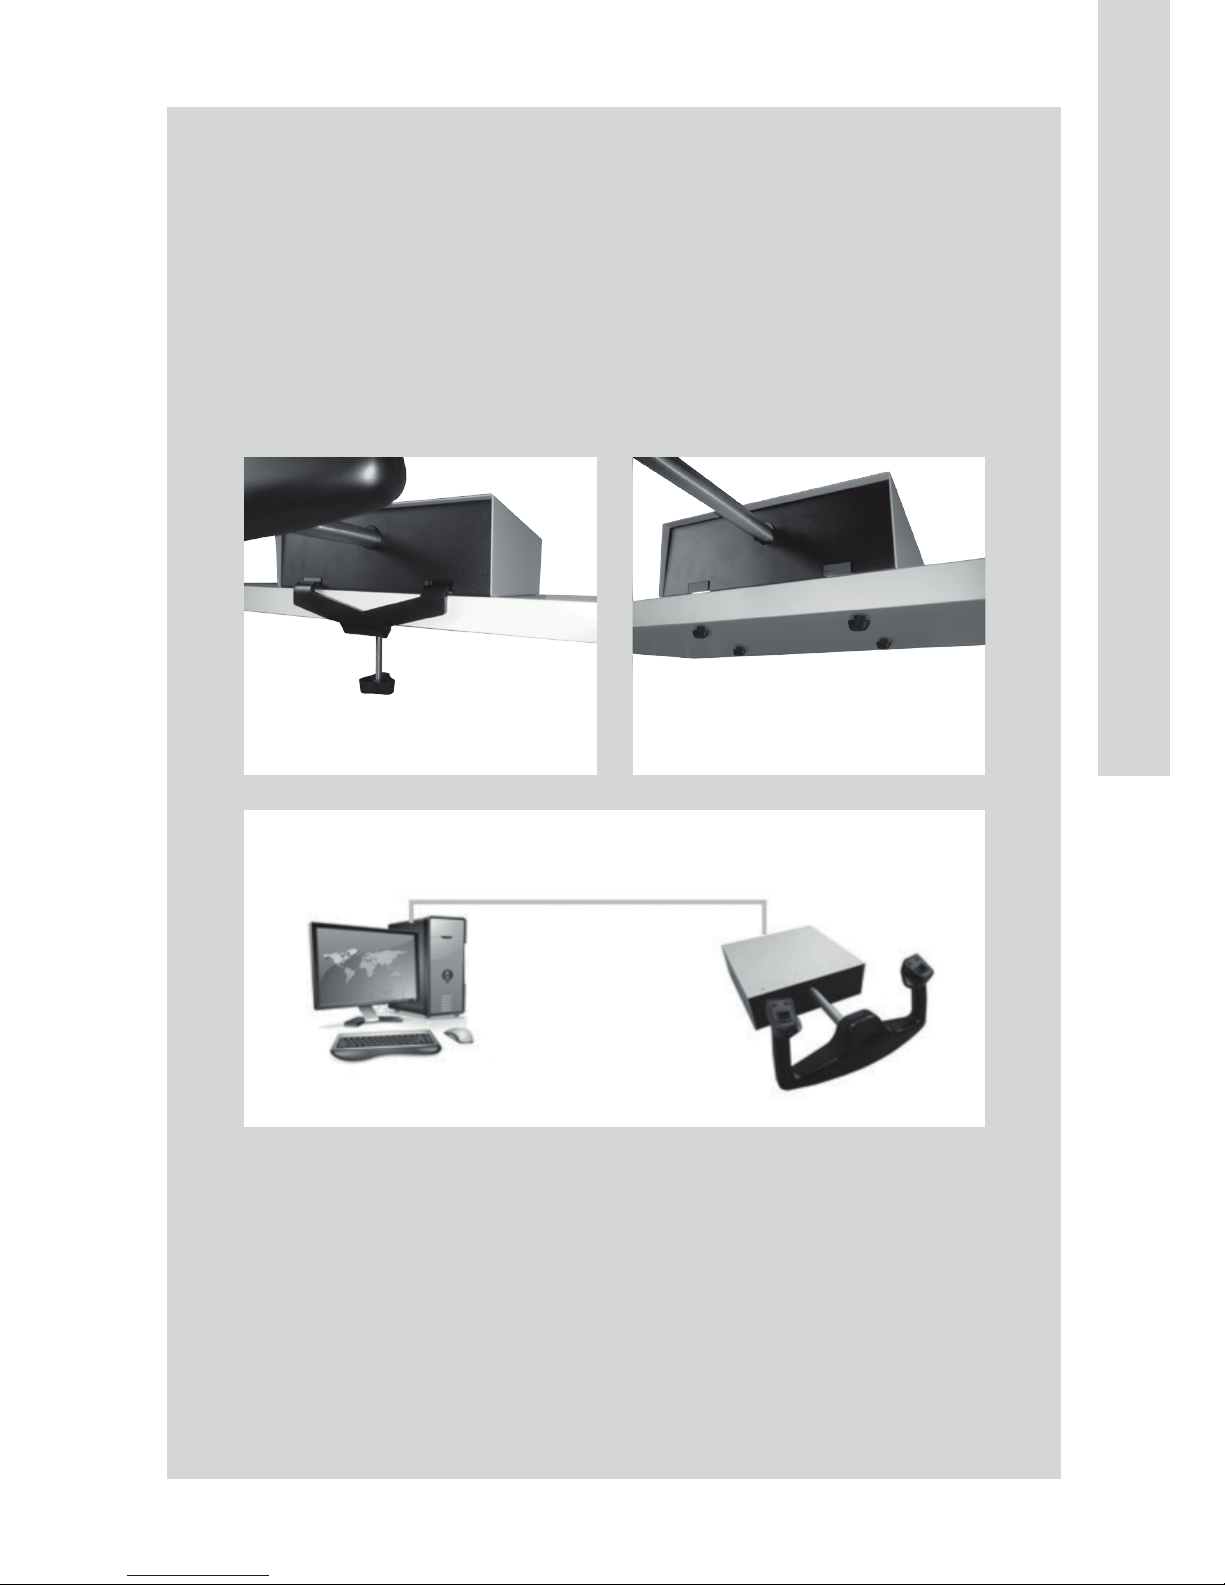
2. ASSEMBLY
• Clamp the YOKO in the desired place with the clamping jaw (3). In case
you have specific support, screw the YOKO with the clamping knobs (4).
• Connect the USB data cable (2) between the rear connector of YOKO
and a PC USB connector.
76 –
ENGLISH
PC MFS YOKO
YOKO | User’s Manual
3. YOKO CALIBRATION
ON WINDOWS
(EXAMPLE BASED ON WINDOWS 7)
• Go to control panel, “Devices and printers”.
• In the “Devices and printers”, right click on “VirtualFly-YOKO”.
• From the menu choose “Game controller settings”.
• In the Game controller window, double click on “VirtualFly” (or alterna-
tively, “BUA”).
• Choose the “settings” tab.
• Click on “Calibrate”.
• In the “Game Device Calibration Wizard”, follow the steps shown.
• Once calibration is completed, go to the “Test” tab to check the correct
operation. Leaving the control in neutral position, the cross should be
centered in the box. Check the function of the six buttons as well.
• Click on “Apply” and “OK” to exit.
For a proper operation of YOKO on Microsoft Flight Simulator (hereafter “MFS”)
- PREPAR 3D and X-PLANE, prior calibration in the “Game Controllers” section
is required.

98 –
ENGLISH
4. YOKO CONFIGURATION
ON MICROSOFT FLIGHT
SIMULATOR (MFS)
AND PREPAR 3D
The user has two options in order to set the YOKO with MFS-PREPAR
3D:
• Through the MFS-PREPAR 3D menu (4.1): This is the common proce-
dure in order to set any control device or joystick.
• Through the “Virtual Fly - YOKO” driver (4.2): “Virtual Fly – YOKO”
is a Windows application that makes a link between YOKO and MFSPREPAR 3D. This program is an alternative of the YOKO settings used
in MFS-PREPAR 3D, which provides a greater sensitivity in roll and
pitch axis due to the longer displacement which the YOKO has, leading a more realism.
4.1 THROUGH THE MFS-PREPAR 3D MENU
• From the main MFS-PREPAR 3D splash screen, choose the “Settings”
option.
• Click on the “Controls” button.
• Check that “Enable controller(s)” option is activated.
Axes assignment
• On the “settings – controls screen” click on the “Control Axes” tab.
• On the drop down list “Controller type”, select “VirtualFly”( or alternatively,
“BUA”).
• In the “Assignment list” scroll down until you find the “Ailerons Axis”.
Double click on the “Ailerons Axis” to open the “Change Assignment
window”. Turn the YOKO left and right, “X Axis” should appear.
• Go Back in the “Assignment list” and scroll down until you find
“Elevator Axis”. Double click on the “Ailerons Axis to open the “Change
Assignment window”. Move the YOKO forward and backward, “Y Axis”
should appear.

YOKO | User’s Manual
Buttons assignment
• On the “settings – controls screen” click on the “Buttons/Keys” tab.
• On the drop down list “Controller type”, select “VirtualFly” (or alter-
natively, “BUA”).
• From the “Assignment List”, double-click the event that you want
to assign.
• Press the button that you want to assign to the event. Click on “OK”.
• Repeat the above steps for each button you want to assign.
• A recommended conguration would be:
• Left control yoke switch (backward): “Elevator trim (up)”.
• Left control yoke switch (forward): “Elevator trim (down)”.
• Right control yoke switch (to the left): “Rudder trim (left)”.
• Right control yoke switch (to the right): “Rudder trim (right)”.
• Right button: “AP main switch (enable/disable)”.
Sensitivity adjustment
• From the “Settings – Controls” window, click on “Calibration” tab.
• On the drop down list “Controller type”, select “VirtualFly” (or alterna-
tively, “BUA”).
• On the screen select “Advanced Controls”.
• In the Axis list you should see: “Ailerons Axis and Elevator Axis”.
• To adjust sensitivity, move the sensitivity slider to the left for less sensi-
tive controls and to the right for more sensitive controls.
• To adjust the null zone, move the null zone slider to the left for smaller null zone and to the right for larger null zone.
Finally click on “OK” to exit and close Microsoft Flight Simulator to
ensure that changes will be saved. Now you can start MFS to check
the YOKO in a flight.
 Loading...