

Page 1
User Guide
IP Multimedia
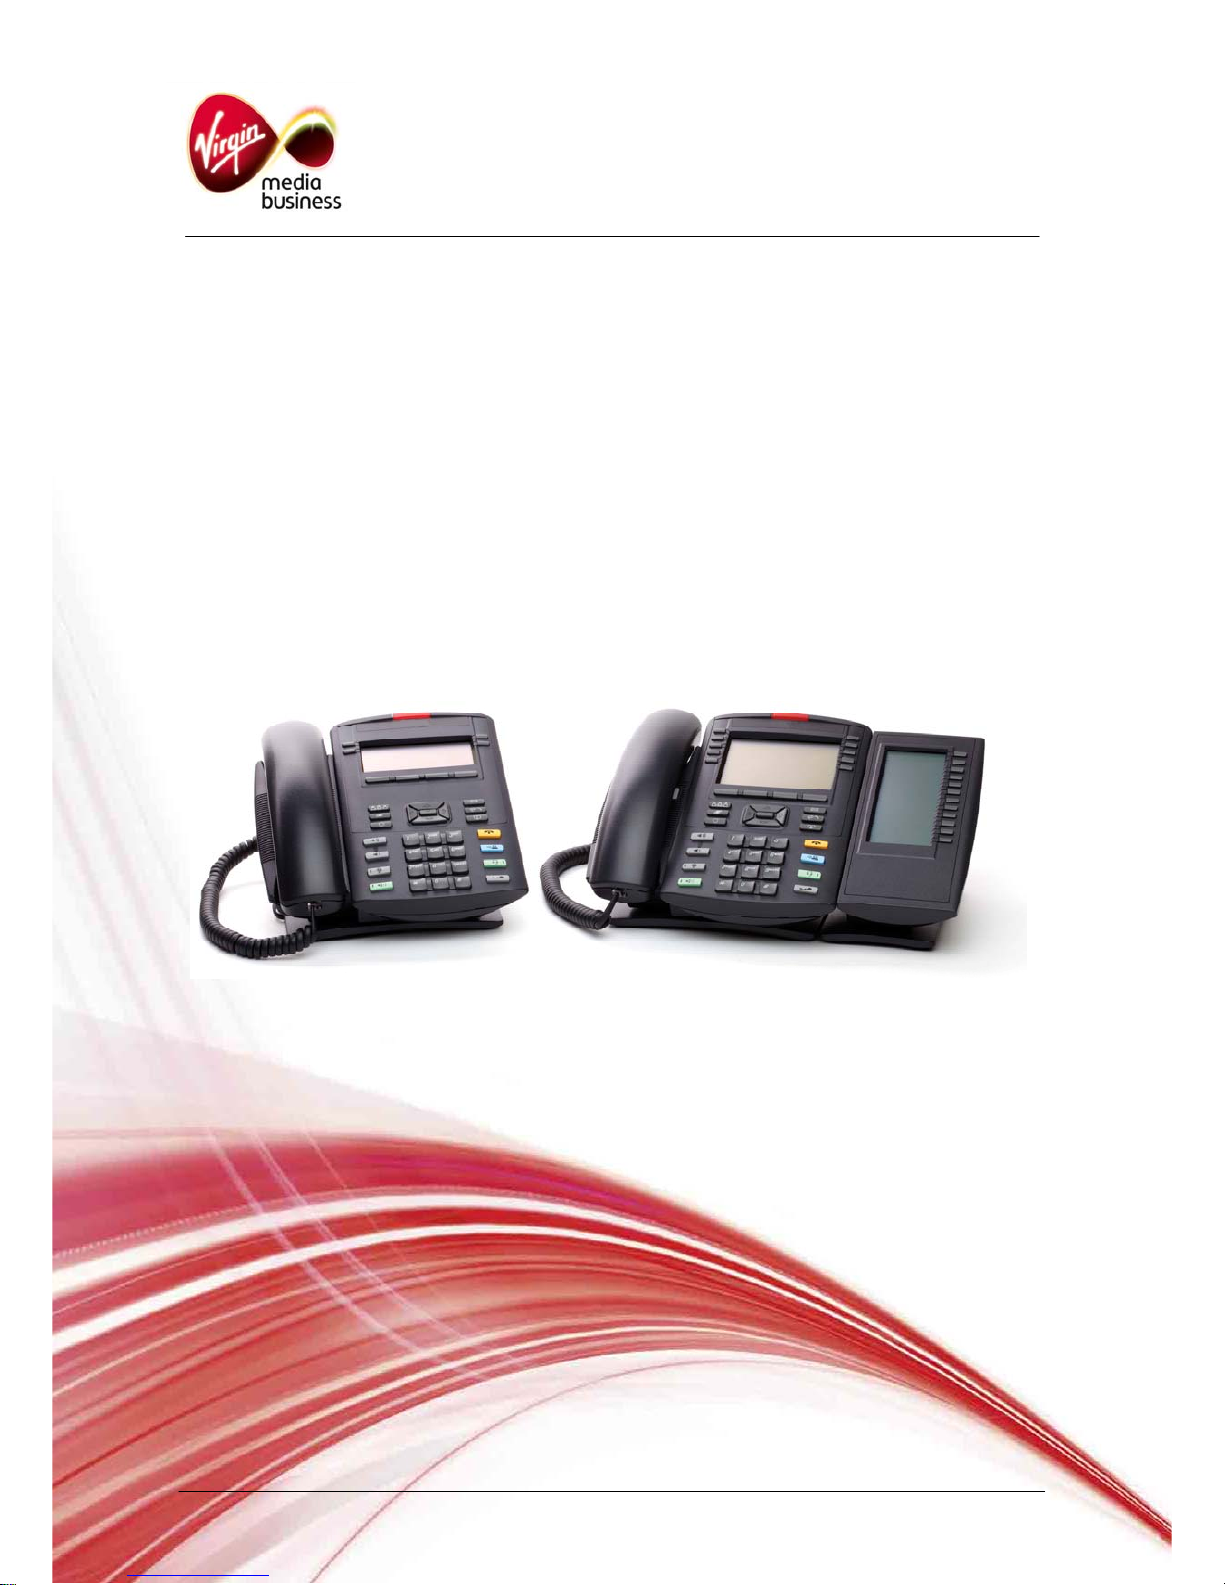
1220 & 1230 phones
Page 2

Content
1. IP Phone buttons & usage
2. Logging on / off your IP Phone
3. Changing your password
4. Making a call
5. Receiving a call
6. Placing a call on hold
7. Transferring a call
8. Making a conference call
9. Ring Again
10. Storing names in your directory
11. Dialling names in your directory
12. Editing your directory
13. Setting auto login
14. Using Autodial feature buttons
15. Call Forward options
16. Leaving a message
17. Setting up & accessing your voicemail
Contacting the Emergency Services
IMPORTANT SAFETY NOTE: When calling 999 the user’s location is based on the Calling Line
Identity (CLI). Hence, the Emergency Bureau will not know a user’s location if they are using their
Internet Protocol (IP) Multimedia Services when away from their normal office location (e.g. working
from home, etc). If IP Multimedia users need Emergency Services, they should use a regular landline
phone. If they are forced to use an IP-based phone then they must explicitly tell the Emergency
Bureau their exact location.
IP Multimedia 1220 and 1230 Phone User Guide Page 2 of 8
Page 3
1. IP Phone buttons & usage
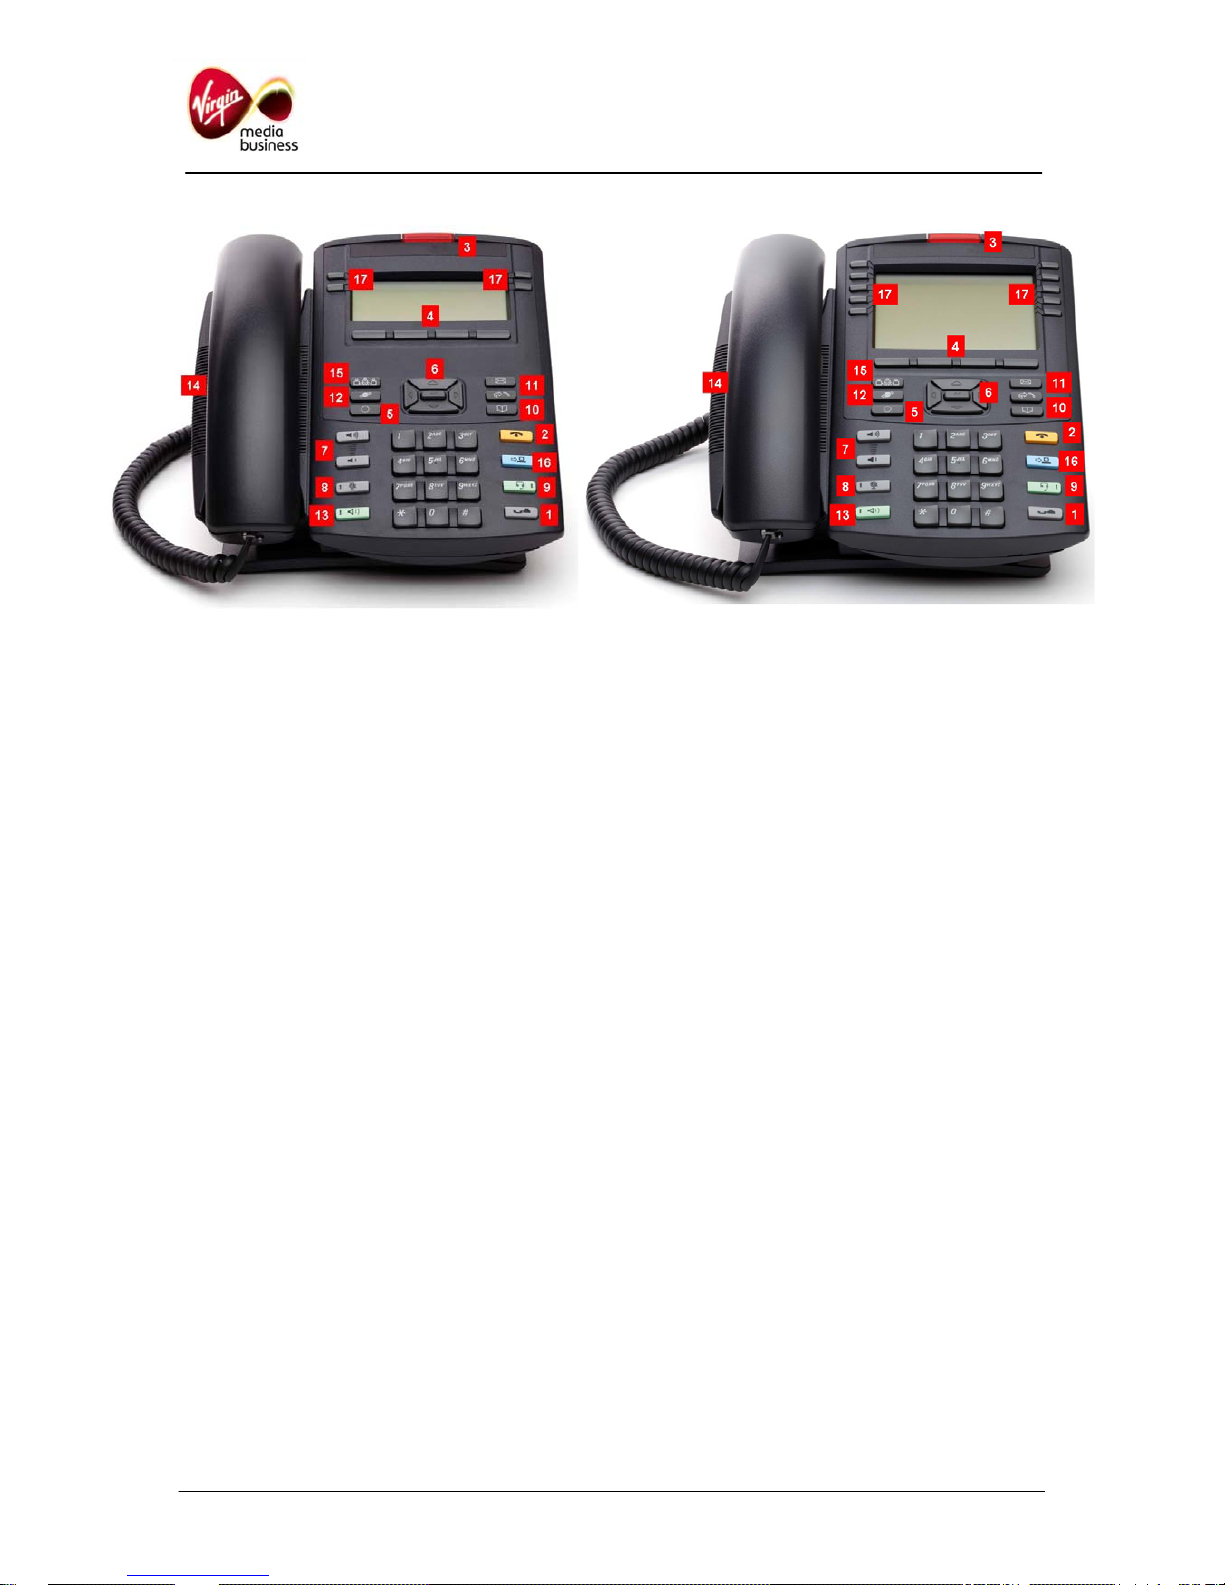
1 Call Hold key
Use to place received calls on hold. Callers
placed on hold will hear music if this has been
requested to be provisioned with your IP
Multimedia Service. Music will also be played
during call transfers.
2 End Call key
Use to end any active call made via the handset,
headset or handsfree facility.
3 Message Waiting / Call Indication lamp
Will stay lit to notify you have a new voicemail
message, or you have not answered a call. It will
also flash to indicate that your telephone is
ringing. To turn the lamp off, retrieve your
voicemail message or identify your missed call via
the call log.
4 Soft Function keys
Use the four pre-labelled soft keys with the Menu
navigation or service keys when prompted to
action, e.g. OK, CLEAR, SPACE, CANCEL.
5. Quit Key
Used to return to normal phone status and cancel
menu navigation.
6 Menu Navigation keys
Use to scroll through the menu services that will
appear on the Liquid Crystal Display (LCD)
screen.
7 Volume Control bar
Use to adjust the volume of the incoming call ring
or 2
nd
party speech volume.
8 Call Mute Key
Use to prevent other parties from hearing you
speak. When muted, lamp is on.
9 Headset key & lamp
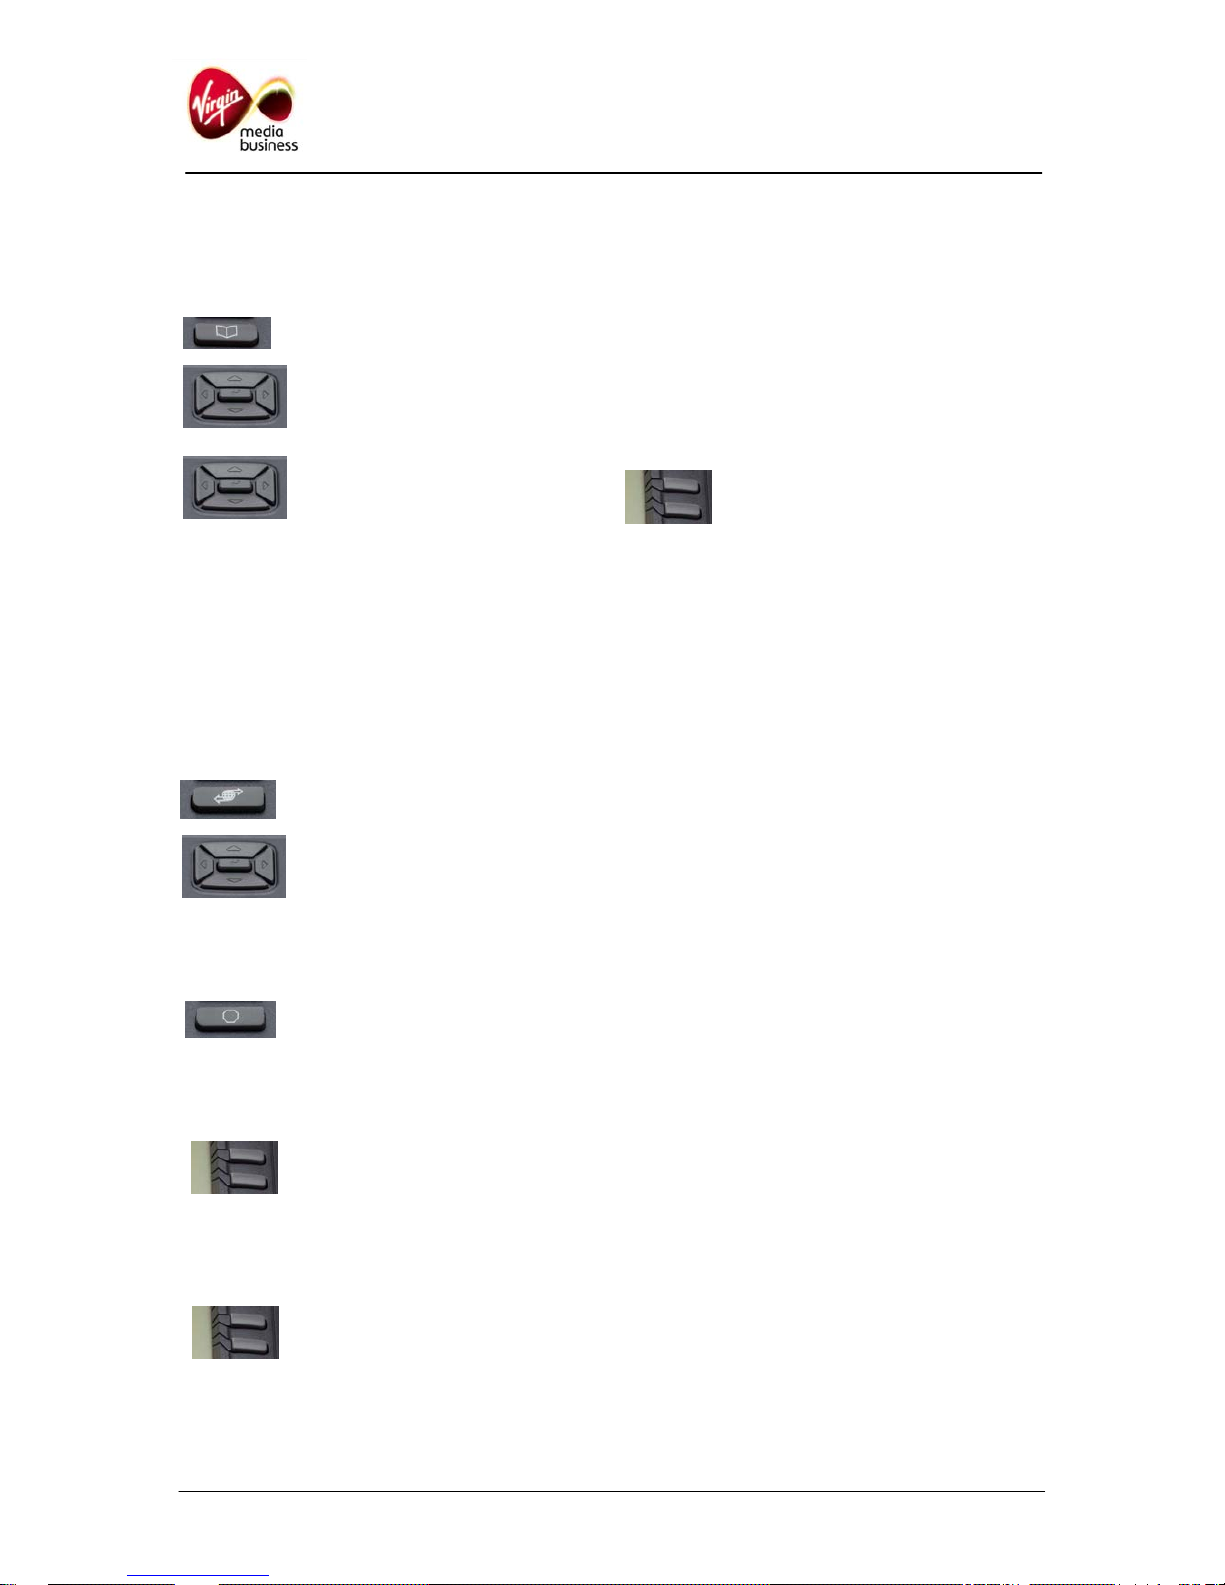
10 Personal Directory key
11 Incoming & Outgoing Call Log keys
Use to access the last 10 numbers for calls
received and dialled.
12 Service key
Used to access the menu.
13 Handsfree key
Press when wishing to make and receive calls via
the built in speakerphone. The lamp next to the
icon will remain lit to indicate handsfree usage in
operation.
14 Speaker
15 / 16 These keys are currently not used
17 Line & Feature keys
IP Multimedia 1220 and 1230 Phone User Guide Page 3 of 8
Page 4
2. Logging on / off your IP Phone
Log on:
Using the specific username and password
provided to you by Virgin Media Business:
• Enter the username. Press OK
• Enter the password. Press OK.
Log off:
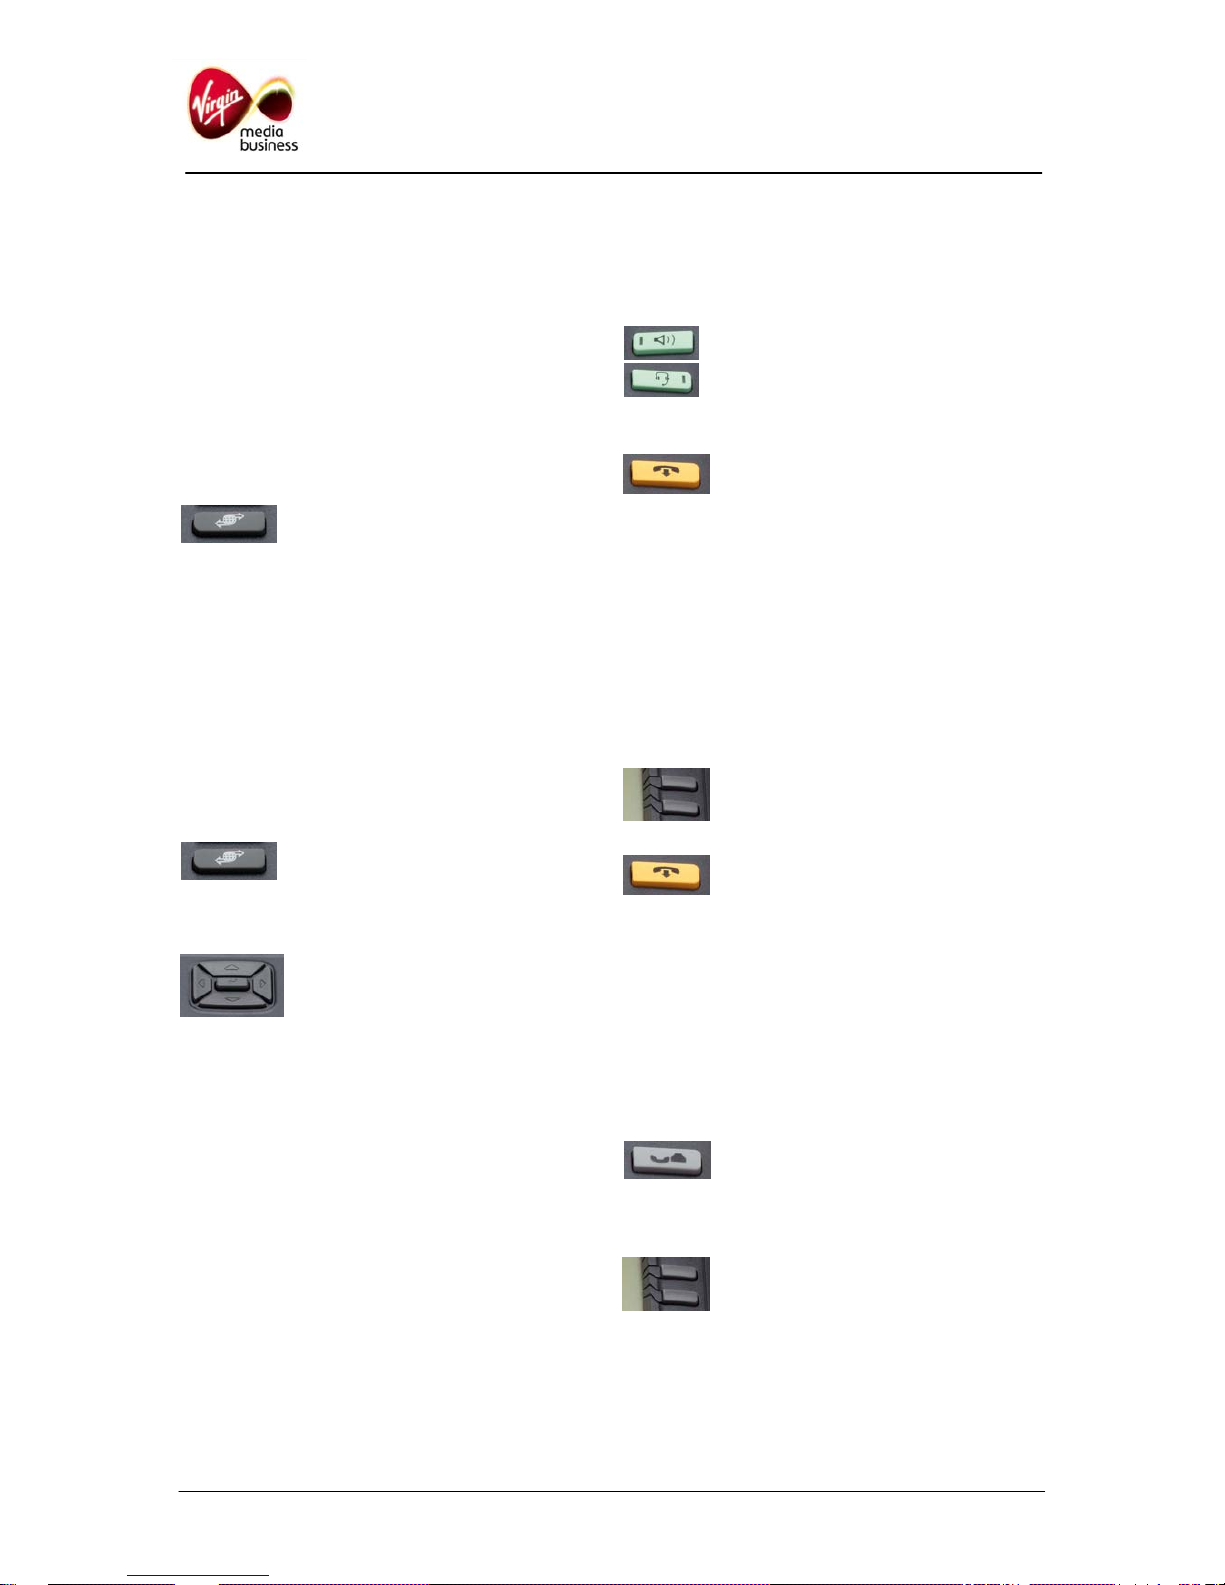
• Press Service key or Menu soft
key
• Press OK and YES.
3. Changing your password
While a default password is supplied to you by
Virgin Media Business, it is recommended that
you change your password when initially
configuring your IP Phone. To change your
password:
• Press the Service key and scroll
down using the bottom Menu
Navigation key until you reach
USER. Press OK
• Again using the Menu
Navigation keys, scroll down the
feature menu until you find
PASSWORD. Press OK
• Enter your old password. Press OK
• Enter your new password. Press OK
• Re-enter password for verification.
• Press OK – your password has been changed.
4. Making a call
In addition to lifting the handset users can use the
handsfree capability to place a call. To do this:
• Lift the handset or press the
Headset or Handsfree key
• Dial the number
• To terminate the call, replace
the handset or press the End
Call key.
Note: Users also may make calls using the
Incoming / Outgoing Call Log keys. The last
number can be redialled by pressing ##
5. Receiving a call
In addition to the handset ringing, your message
indicator lamp will flash* to notify you of an
incoming call. To pick up the call:
• Lift the handset or press the
flashing Line key
• To terminate the call, replace
the handset or press End Call
key.
* Missed calls will also activate the indicator lamp.
6. Placing a call on hold
Placing a received call on hold, allows users to
transfer the call, answer another incoming call, or
to conference in a third party. To place a call on
hold:
• Press the Call Hold key
• Held party will hear music and the LCD
indicator will flash beside the held line.
• To retrieve a held call, press the
Line key beside the flashing
indicator.
IP Multimedia 1220 and 1230 Phone User Guide Page 4 of 8
Page 5
7. Transferring a call
Whilst active on a call, users can use the transfer
feature to redirect the call to an appropriate
person or department.
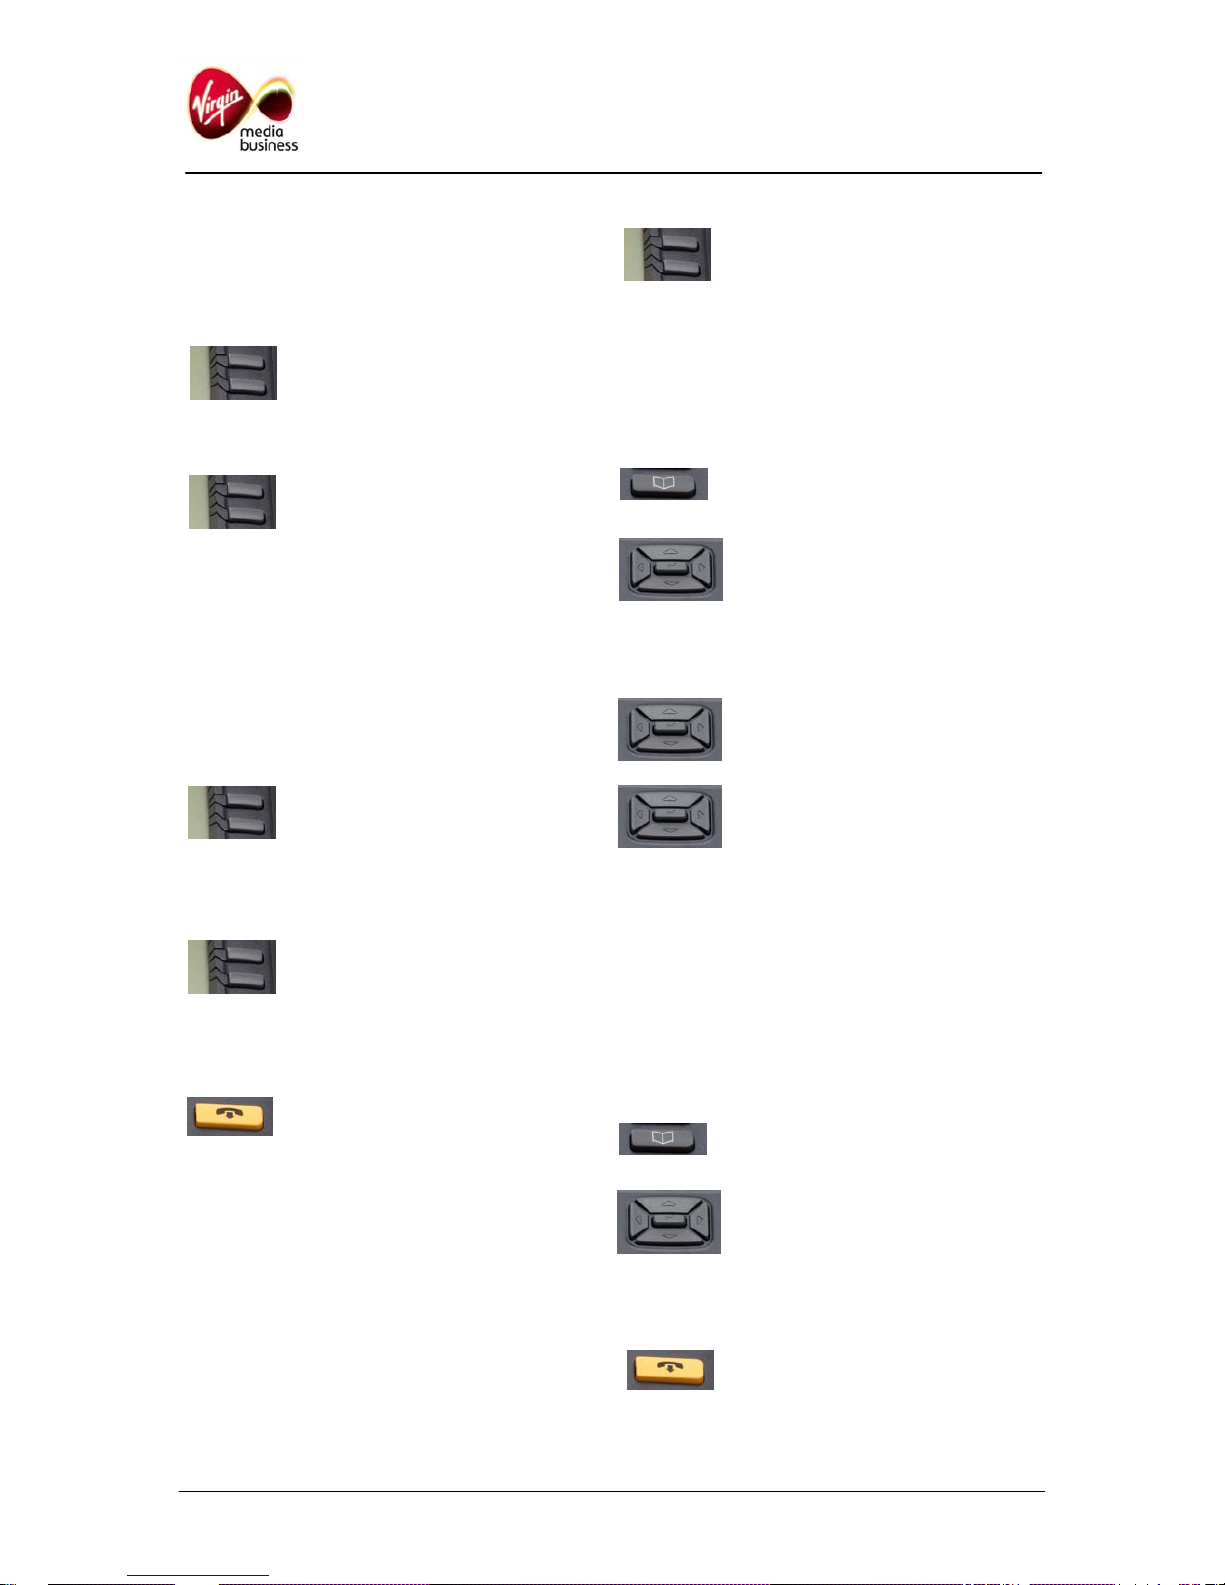
• Press the Transfer key
• Dial the number to where the call is to be
transferred to
• When the number being called
rings, press the Transfer key to
transfer the party, or you can
announce the call prior to
hanging up.
8. Making a conference call
Use the conference feature to set up a
conference call for up to six parties. The number
of parties the conference call feature supports will
depend on your system configuration. To place a
conference call:
• Whilst active on the first call,
press the Conference Call key.
The current call will be
automatically placed on hold
• Dial the number of the party you wish to add
• On answer, press the Conference
Call key to establish the
conference between the parties
• Repeat above steps to join any additional
parties to the conference
• To terminate the conference call,
simply press the End Call key, or
replace the handset.
9. Ring Again
Use the Ring Again feature to automatically notify
you when a number you have called has become
free:
• On hearing busy tone press the feature key
labelled Ring Again. The icon will go solid to
show the feature can be set for the number
called.
• When the number becomes free
the phone will buzz and the icon
will flash. Lift the handset and
press the Ring Again button.
10. Storing names in your directory
Users can store up to 16 names and numbers in
their IP Phone directory. To add a new name to
their directory:
• Press the Personal Directory
Service key. Press OK
• Using the Menu Navigation keys,
scroll down until you reach New
Entry. Press OK
• To add the number, press OK. Then enter the
number. Press OK.
• Using the Menu Navigation keys,
scroll down to SURNAME. Press
OK
• Using the alphanumeric key pad
and Menu Navigation keys, enter
the surname. Press OK
• Using the Menu Navigation keys, scroll down
to FIRST NAME. Press OK
• Enter the first name. Press OK.
• Scroll down to SAVE. Press OK.
11. Dialling names in your directory
To dial a number from your directory:
• Press the Personal Directory
Service key
• Using the Menu Navigation keys,
scroll down to find the name and
number to dial
• To dial the number, press OK. Press OK
again
• Press the End Call key to
terminate the call.
IP Multimedia 1220 and 1230 Phone User Guide Page 5 of 8
Page 6
IP Multimedia 1220 and 1230 Phone User Guide Page 6 of 8
12. Editing your directory
To edit a number in your directory:
• Press the Personal Directory key
• Using the Menu Navigation keys,
scroll down to find the name and
number to edit. Press OK
• Use the Menu Navigation keys
again to scroll down to EDIT.
Press OK
• You will be prompted to edit the NUMBER,
SURNAME, FIRST NAME, and FEATURE
KEY FORMAT. Press OK.
13. Setting auto login
If there is a power failure, or the Local Area
Network (LAN) connection goes off, the phone
will be logged out. You can log back in manually
(see section 2), or you can set auto login:
• Press the Service or Menu key.
• Using the Menu Navigation keys
scroll down until you reach
USER. Press OK
• Scroll down to AUTO LOGIN. Press OK
• Scroll to ENABLED. Press OK.
• Press the Quit key.
14. Using Autodial feature buttons
You can programme and label any Autodial key:
• Press a spare Autodial key.
Enter the phone number and
press the key again.
• To label the key press MENU, FEATURE,
select the key position, then select LABEL.
• To use Autodial, lift the handset,
or press the line key, then press
the Autodial button.
15. Call Forward options
If you don’t have the Multimedia PC client
package (the client that supports Instant
Messaging, Video etc) you will need to use
FORWARD to divert calls when you are not
available. Multimedia package users should use
the ROUTES feature. There are three main types
of call forward – these are Immediate, On Busy
and On No Answer.
• Call Forward Immediate has a
labelled key. Press the key and
enter the destination as normally
dialled e.g. 91571 for voicemail.
Press the key again to make the
lamp go solid. To cancel the
feature press the key again and
the lamp will go out
• Call Forward on Busy does not have a
feature key. When enabled any calls when
you are busy will be redirected to your
chosen destination. To programme this, lift
the handset and dial *76 followed by the
destination number, including a 9 if
applicable. To cancel, lift the handset and dial
#76 Wait for two short beeps as confirmation
it is cancelled.
• Call Forward on No Answer (also known as
Call Forward Don’t Answer, or no reply) does
not have a feature key. When enabled any
calls that you don’t answer will be redirected
to your chosen destination. To programme
this, lift the handset and dial *77 followed by
the destination number e.g. 91571 for
voicemail. To cancel, lift the handset and dial
#77 Wait for two short beeps as confirmation
it is cancelled.
16. Leaving a message
Without logging into your own mailbox, dial:
08451 476245 (08451 IPMAIL), then enter the full
phone number of your colleague.
You can give this information to your caller so that
they can leave a message without disturbing you.
Page 7
IP Multimedia 1220 and 1230 Phone User Guide Page 7 of 8
17. Setting up & accessing your voicemail
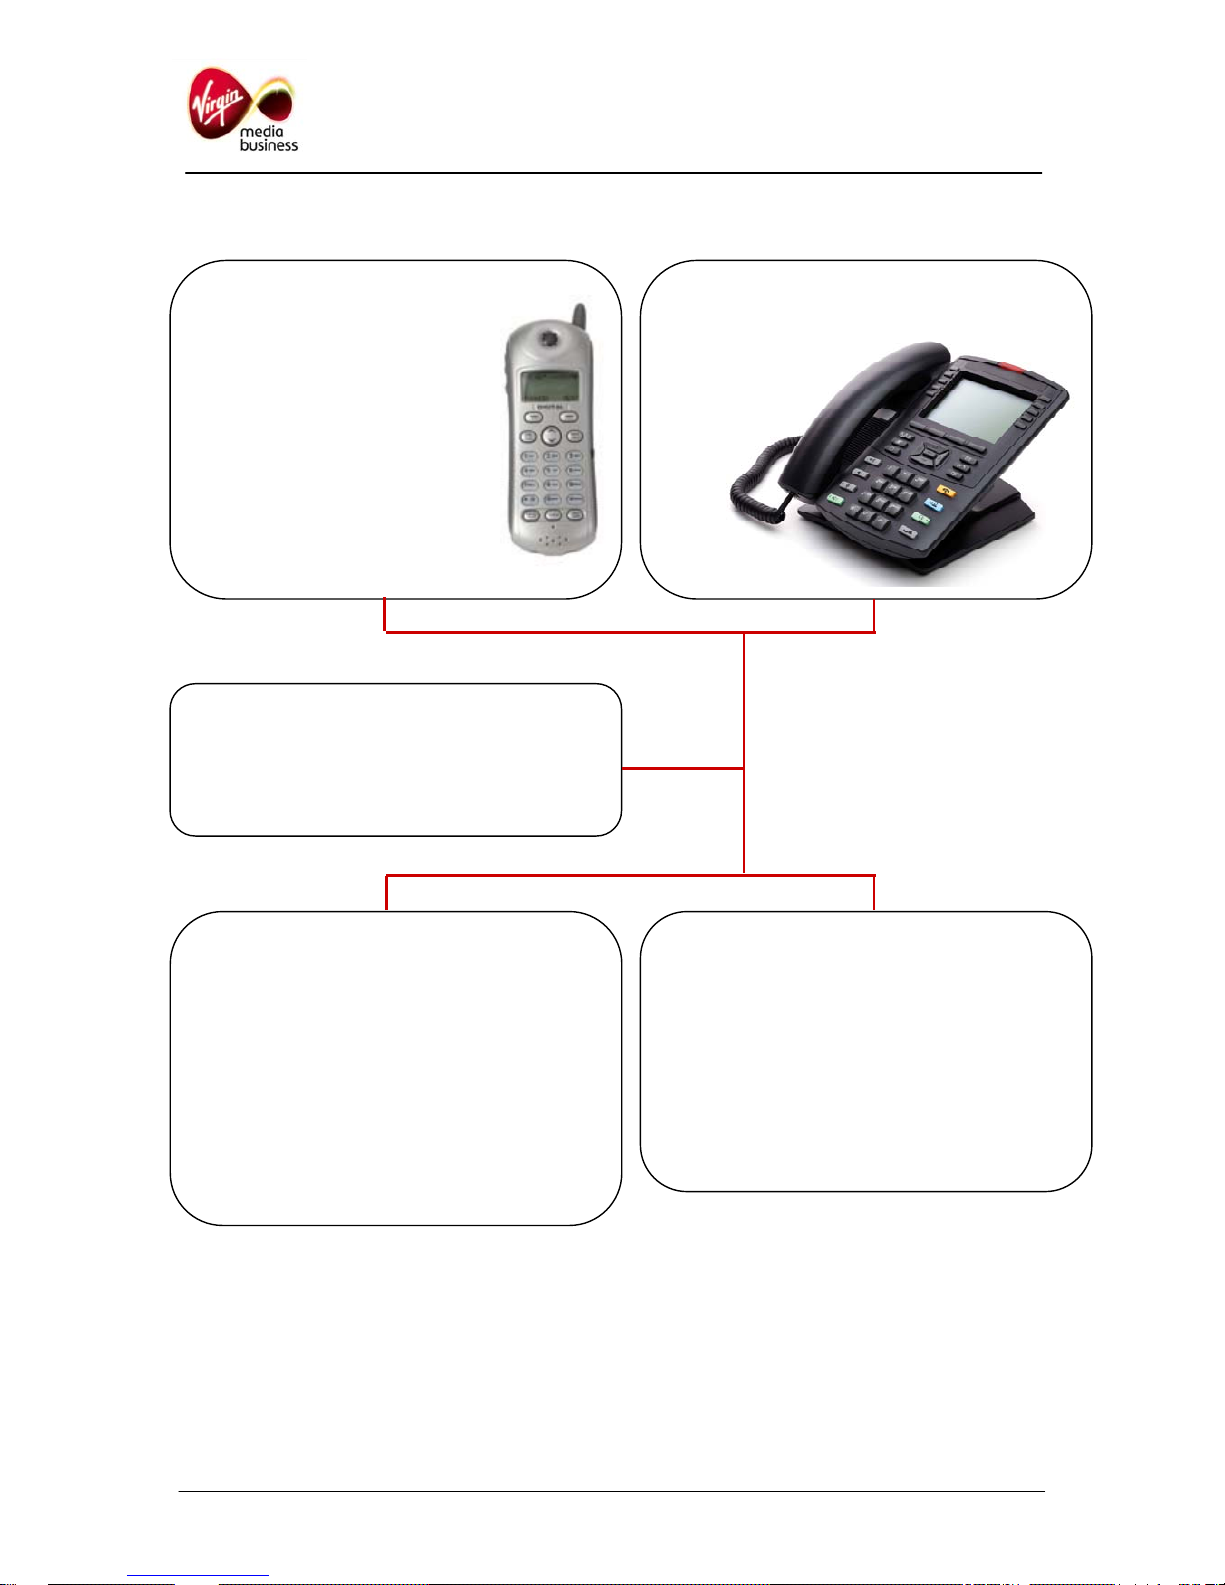
Voicemail can also be accessed via the web portal:
• Unified Messaging (enhanced voicemail) uses a centralised mailbox for voice messages.
Messages can be delivered to your email inbox, where they can be played, replied to, saved or
deleted.
• It is also possible to use a web portal to play voicemails, forward as emails, or change mailbox
settings by entering the following URL in your browser’s address bar https://um.ipmultimedia.co.uk
To check mailbox from a
Public Switched Telephone
Network (PSTN) phone
(e.g. mobile)
• Dial 08451 476647
• Authentication
- Enter your phone
number
- Enter your secret code
Tutorial help message (if first call)
• Configure your new secret code
• Record your welcome message
Message information
– X number of new messages
– Y number of archived messages
– Z number of missed calls
• To delete this message, press 2
• To listen again, press 3
• To go to the previous message press 4
• To go to the next message press 5
• To transfer this messa
ge, p
ress 6
Main menu
• To listen to saved messages, press 1
• To modify welcome messages, press 2
• To configure personal options, press 3
• To record / forward voice message, press 4
• For more mailbox information, press 0
Hang up to log out.
To check mailbox from
an IP Multimedia
phone
• Dial 91571
Page 8

IP Multimedia 1220 and 1230 Phone User Guide Page 8 of 8
To find out more call 0800 052 0845
or visit www.virginmediabusiness.co.uk
We’ve worked hard to ensure that the information in this document is correct and fairly stated. We can’t, however, accept liability
for any error or omission. Our products and services are under continuous development, so the information published here may
not be up to date. It’s important that you check the current position with your local Virgin Media Business office. This document
is not part of a contract or licence unless expressly agreed in writing. Virgin Media Business, Media House, Bartley Wood
Business Park, Hook, Hampshire, RG27 9UP
 Loading...