

Viper SL1610SE Owner's Manual

[866] 418-4737
[866] 41-VIPER
Rev.00(05-06)
VV67149U
SERIAL #
VIPER INDUSTRIAL PRODUCTS
HAMILTON,MI 49419
P.O. BOX 104
VIPER...exceptional
value
MODEL # SL1610SE

CONGRATULATIONS on your purchase of a Viper product,
and welcome to the V.I.P. family. We appreciate your
business and will do everything in our power to keep you
happy with your purchase for many years to come.
As part of the V.I.P. family, you are entitled to the best
protection by one of the most comprehensive warranties in the
industry.
Thank-you for purchasing Viper products!
Tom Vander Bie, CEO
TABLE OF CONTENTS
Machine Components 3
Safety Precautions 4
Machine Set Up 5
Machine Operation 5-6
Machine Maintenance & Storage 6-7
Troubleshooting 8
Parts Lists 9-16
Wiring Diagram 17

1
3
4
6
7
8
9
10
11
5
2
M
ACHINE COM
P
ONENTS
1) Vacuum / pump on/off switch
7) Spray jets
2) Brush circuit breaker
8) Brush assembly
3) Brush / spray on/off button
9) Pickup head
4) Drain hose
10) Solution tank fill port
5) Accessory tool solution hookup
11) Recovery tank lid
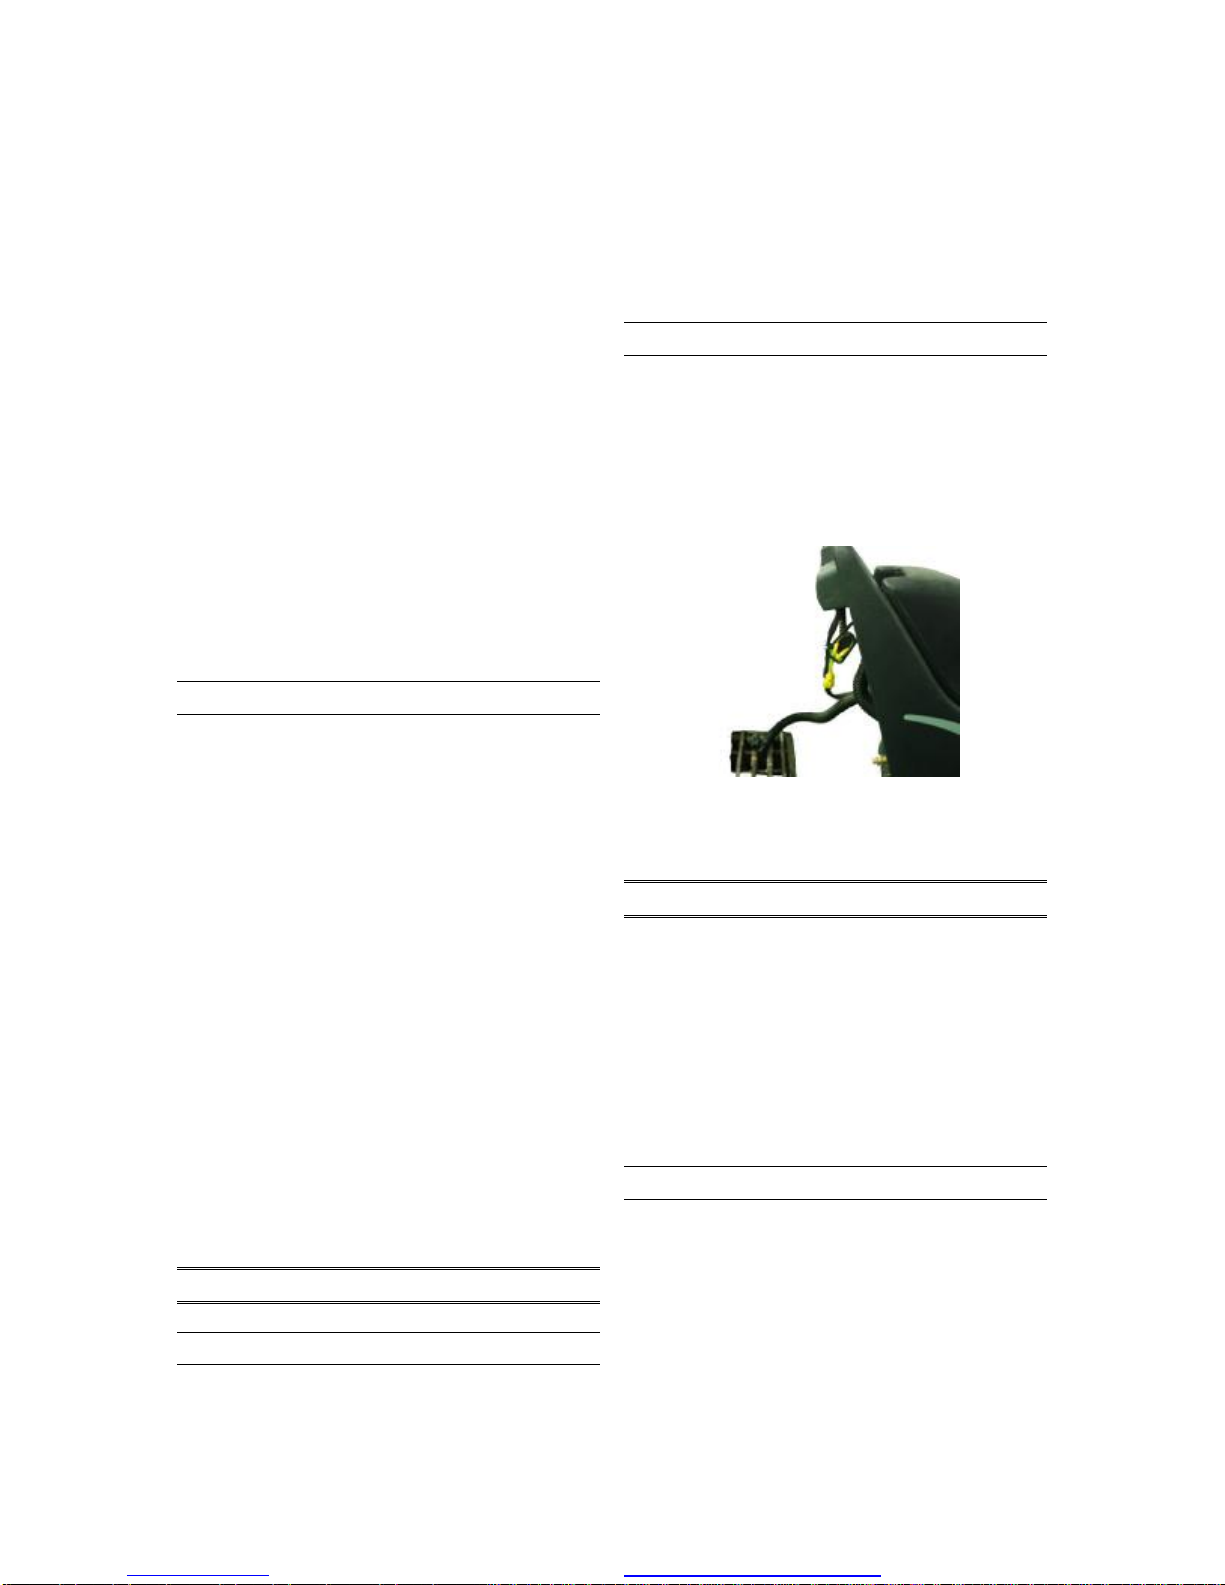
6) Br ush raise and lower foot pedal
4
SAFETY PRECAUTIONS
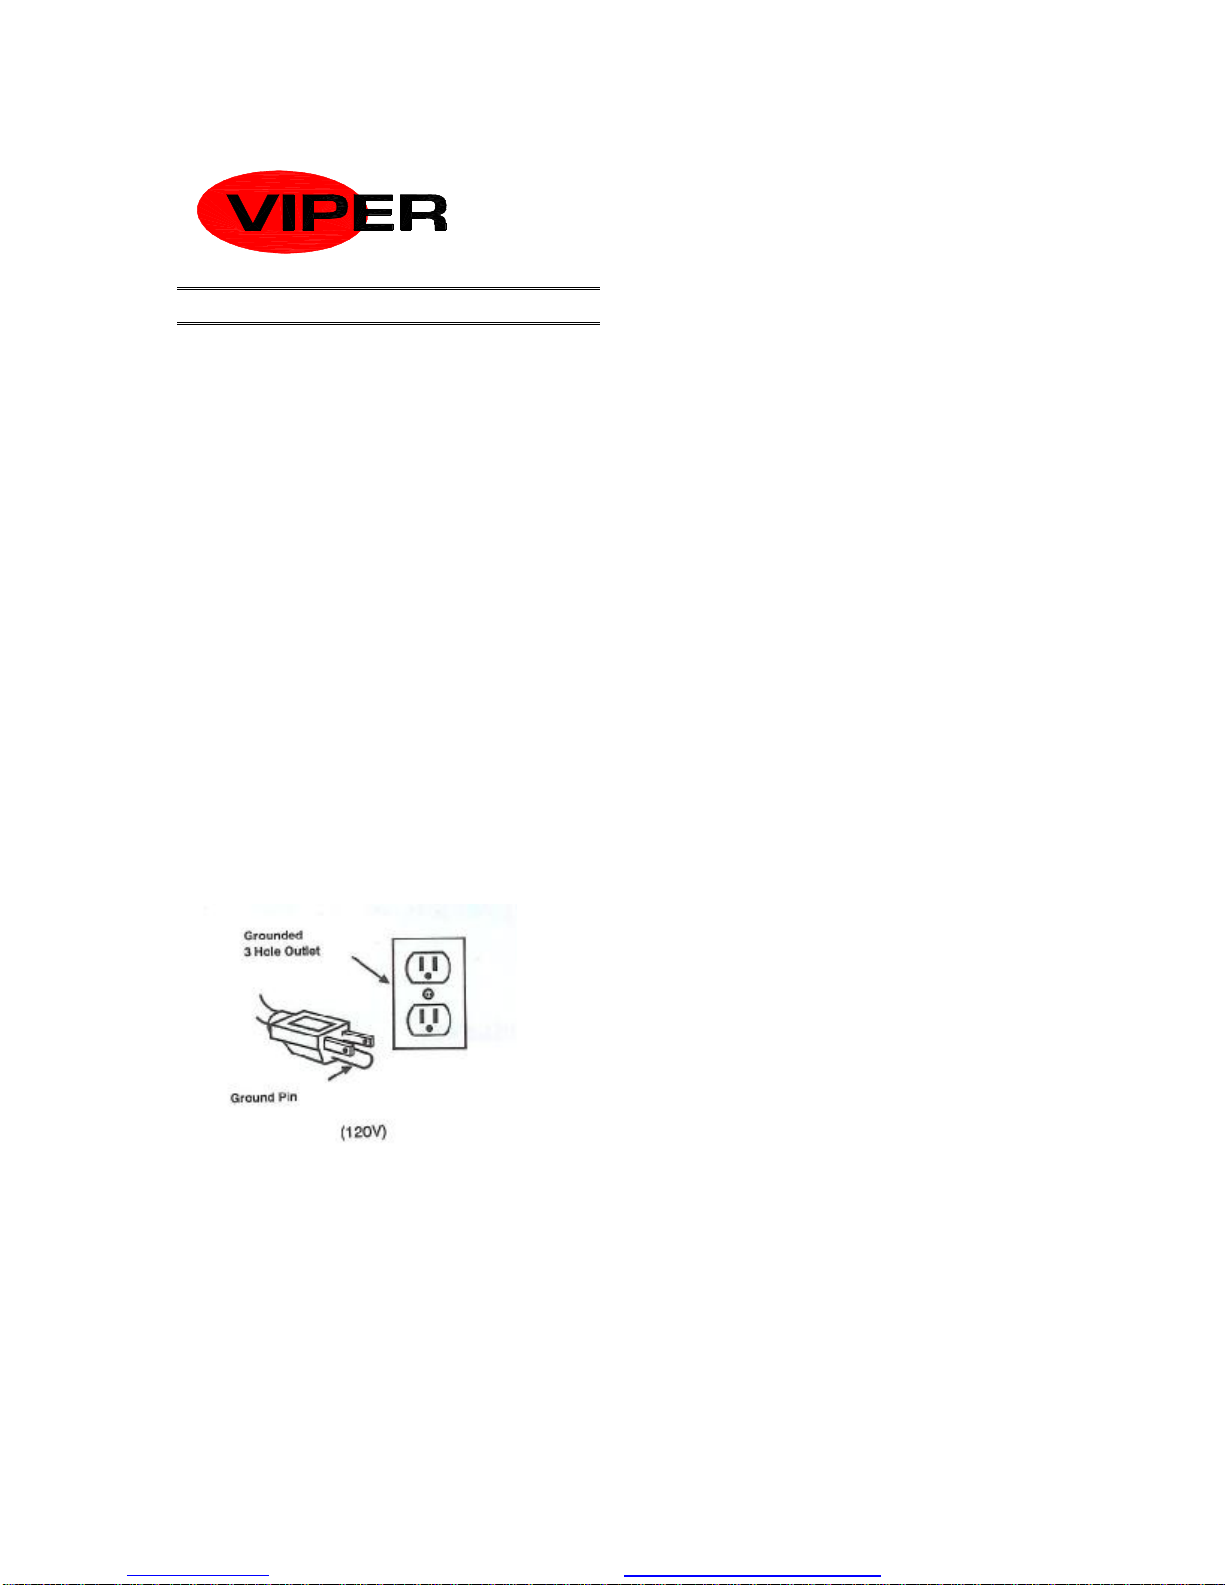
GROUNDING INSTRUCTIONS
General – This carped extraction machine
shall be grounded while in use to protect
the operator from electric shock. The
machine is provided with a three-contact
grounding type attachment plug to fit the
proper grounding type receptacle. The
green (or green & yellow) conductor in the
cord is the grounding wire. Never connect
this wire to other than the grounding pin of
the attachment plug.
This machine is for use on a nominal 120volt circuit and has a grounding plug that
resembles the plug illustrated in figure
below. Make sure that the machine is
connected to an outlet having the same
configuration as the plug. No adapter
should be used with this machine.
This machine is intended for commercial
use. It is constructed for use in an indoor
environment and is not intended for any
other use. Use only recommended
accessories.
All operators shall read, understand and
exercise the following safety precautions:
1) Do not operate machine:
- Unless trained and authorized
- Unless you have read and
understand operators manual
- In flammable or explosive areas.
- With damaged or modified cord or
plug.
- If not in proper operating condition.
- In outdoor areas.
- In standing water.
- Without filters in place.
- With the use of unapproved extension
cords.
2) Before operating machine:
- Make sure all safety devices are in
place and operate properly.
3) When using machine:
- Mix and handle any chemicals
according to manufacturer’s
recommendations
- Do not run machine over cord.
- Do not pull machine by cord or plug.
- Do not pull cord around sharp edges
or corners.
- Do not unplug by pulling on the cord.
- Do not stretch cord.
- Do not handle plug with wet hands.
- Keep cord away from heated
surfaces.
- Do not pick up flammable materials
or reactive metals.
- Report machine damage or faulty
operation immediately.
4) Before leaving or servicing machine:
- Turn off machine.
- Unplug power cord from outlet.
5) When servicing machine:
- Unplug cord from outlet.
- Use manufacturer supplied or
approved replacement parts.
- Avoid moving parts. Don’t wear
loose clothing.

5
SLIDER EXTRACTOR SETUP
!!! Read operators manual thoroughly
prior to operating or servicing this
machine!!!
Carefully check the shipping carton for
signs of damage. Report any carton
damage to carrier immediately.
Check carton contents to ensure carton is
complete. Contact your Viper distributor if
anything is missing.
Contents:
• Carpet Extractor
• Short “bleeder” vacuum hose
• 50’ extension power cable
!!! Read operators manual
thoroughly prior to operating or
servicing this machine!!!
1) Using a hose or bucket, fill tank with a
maximum of 10 gallons of hot water.
2) Add distributor recommended cleaning
solution
!!! Do not use flammable liquids or
operate machine in or near
flammable liquids or vapors!!!
3) Connect the supplied extension power
cable to the machine. Plug cord into a
grounded wall outlet. (see grounding
instructions)
4) Drop the brush head to the floor with
the foot release pedal on the back of
the machine.
MACHINE OPERATION
PRIOR TO EXTRACTING CARPETS
1) Inspect power cable and extension
cable for damage. Replace cable if
damage is found.
2) Vacuum carpet to remove debris prior
to extracting carpet.
CARPET EXTRACTING
1) Turn on vacuum / pump switch.
NOTE: Solution will only spray when
the brush / spray button is pushed.
2) To start cleaning, push the brush /
spray button and begin to pull the
machine backwards.
NOTE: For best cleaning results, pull
back on the machine at a pace of
approx. 10 feet in 15 seconds.
3) Release brush / spray button at the end
of the path, and continue to pull
machine back for another 12 inches to
pick up excess solution.
4) Tip machine back onto the transport
wheels and push forward to begin next
path.
OPERATING HINTS
1) Overlap cleaning path by approx. 2
inches
2) Work away from power outlet and
power cable in order to avoid damage
to the power cable.
6
3) Continually check for foam buildup in
recovery tank. Use a distributor
recommended foam control solution.
NOTE: Excessive foam buildup will not
activate the float shut-off and may cause
damage to the vacuum motor.
4) Repeat extraction path on heavily
soiled areas.
5) If brush stops spinning, there may be
an obstruction in the brush. Unplug the
power cable, raise the brush off the
floor and check for an obstruction.
Check & reset the brush circuit breaker
located on the control housing.
6) When recover of the dirty solution ends,
or the solution tank is empty, you must
drain the recovery tank. (see TANK
DRAINING)
USE OF ACCESSORY TOOLS
NOTE: Prior to cleaning upholstery, be
sure to read cleaning instructions provided
by the manufacturer.
1) Disconnect black vacuum hose off the
back right side of the machine.
Connect (optional) accessory vacuum
hose to area where the standard
vacuum hose was removed.
2) Connect (optional) accessory solution
hose to brass quick connect coupler
located on the back of the machine.
3) Connect (optional) accessory tool to
solution and vacuum hoses.
4) Turn on vacuum / pump switch.
5) Operate accessory tools as needed.
6) When cleaning is completed, relieve
water pressure from solution lines by
turning off vacuum / pump switch and
then squeeze trigger for 4 seconds.
DRAINING TANKS
DRAINING SOLUTION TANK
1) Disconnect vacuum hose from back of
machine and connect the “bleeder”
vacuum hose (included with machine)
to the machine back.
2) Remove the solution tank filter at the
fill area and place end of “bleeder”
hose into the bottom of the tank.
3) Turn on vacuum / pump switch &
vacuum out the remaining solution.
DRAINING RECOVERY TANK
1) Turn off machine, unplug and remove
power cable.
2) Unhook drain hose off the back of the
machine and remove drain hose
stopper.
3) Drain dirty solution into floor drain.
4) Replace drain hose stopper and
reattach hose to back of machine.
MACHINE MAINTENANCE
To keep the machine performing well
for many years, please follow the
following maintenance procedures.
!!! Always confirm that the machine
is unplugged prior to performing
any maintenance or repairs!!!
DAILY MAINTENANCE
1) When cleaning operation is complete
for the day, drain and rinse the
recovery tank thoroughly with clean
water.
2) Remove remaining solution from
solution tank.
3) Remove float shut-off (ping pong ball
in cage) from recovery tank and clean
with water.
 Loading...