

Page 1

504S Indoor Siren
Quick Reference Guide
Congratulations on the purchase of your Viper
Home Security Accessory. This guide walks you
through the process of adding this accessory to your
system and for mounting your accessory.
Note: Make sure you already have a Viper Home
Starter kit or Viper Home Hub installed. Please refer
to the quick reference guides found in these systems, or visit: www.viper.com/home/support.
1. Log into your Viper Home account at:
home.viper.com
2. To pair the siren to your system:
Click on the “Devices” tab
Click “Add New Device”
Click “Add Siren”
3. You are then prompted to insert the batteries
provided within three
minutes. First, remove
the mounting piece/battery cover on the back of
the siren, and install the
AA batteries provided.
4. Once the batteries are
inserted the system automatically connects and
confi rms the siren is paired with your system.
5. After the siren is paired, you can give it a
Page 2
© 2013 Directed. All rights reserved.2
unique name (i.e. “Hallway”)
6. Once completed, click the “Finish” button.
The siren is now ready for mounting.
Mounting instructions:
1. Mount the siren in a location where it will
be heard and act as a deterrent to potential
intruders.
2. A good location to mount the siren is near your
doorbell ringer or near an area that is considered a potential access point by an intruder.
3. Once you have chosen the desired mounting
location, remove the backing from the tape
on the battery cover and mount the device.
Alternatively, you can also mount the device
with standard dry wall screws by screwing the
mounting piece directly to the wall through the
circular dimples on the mounting piece.
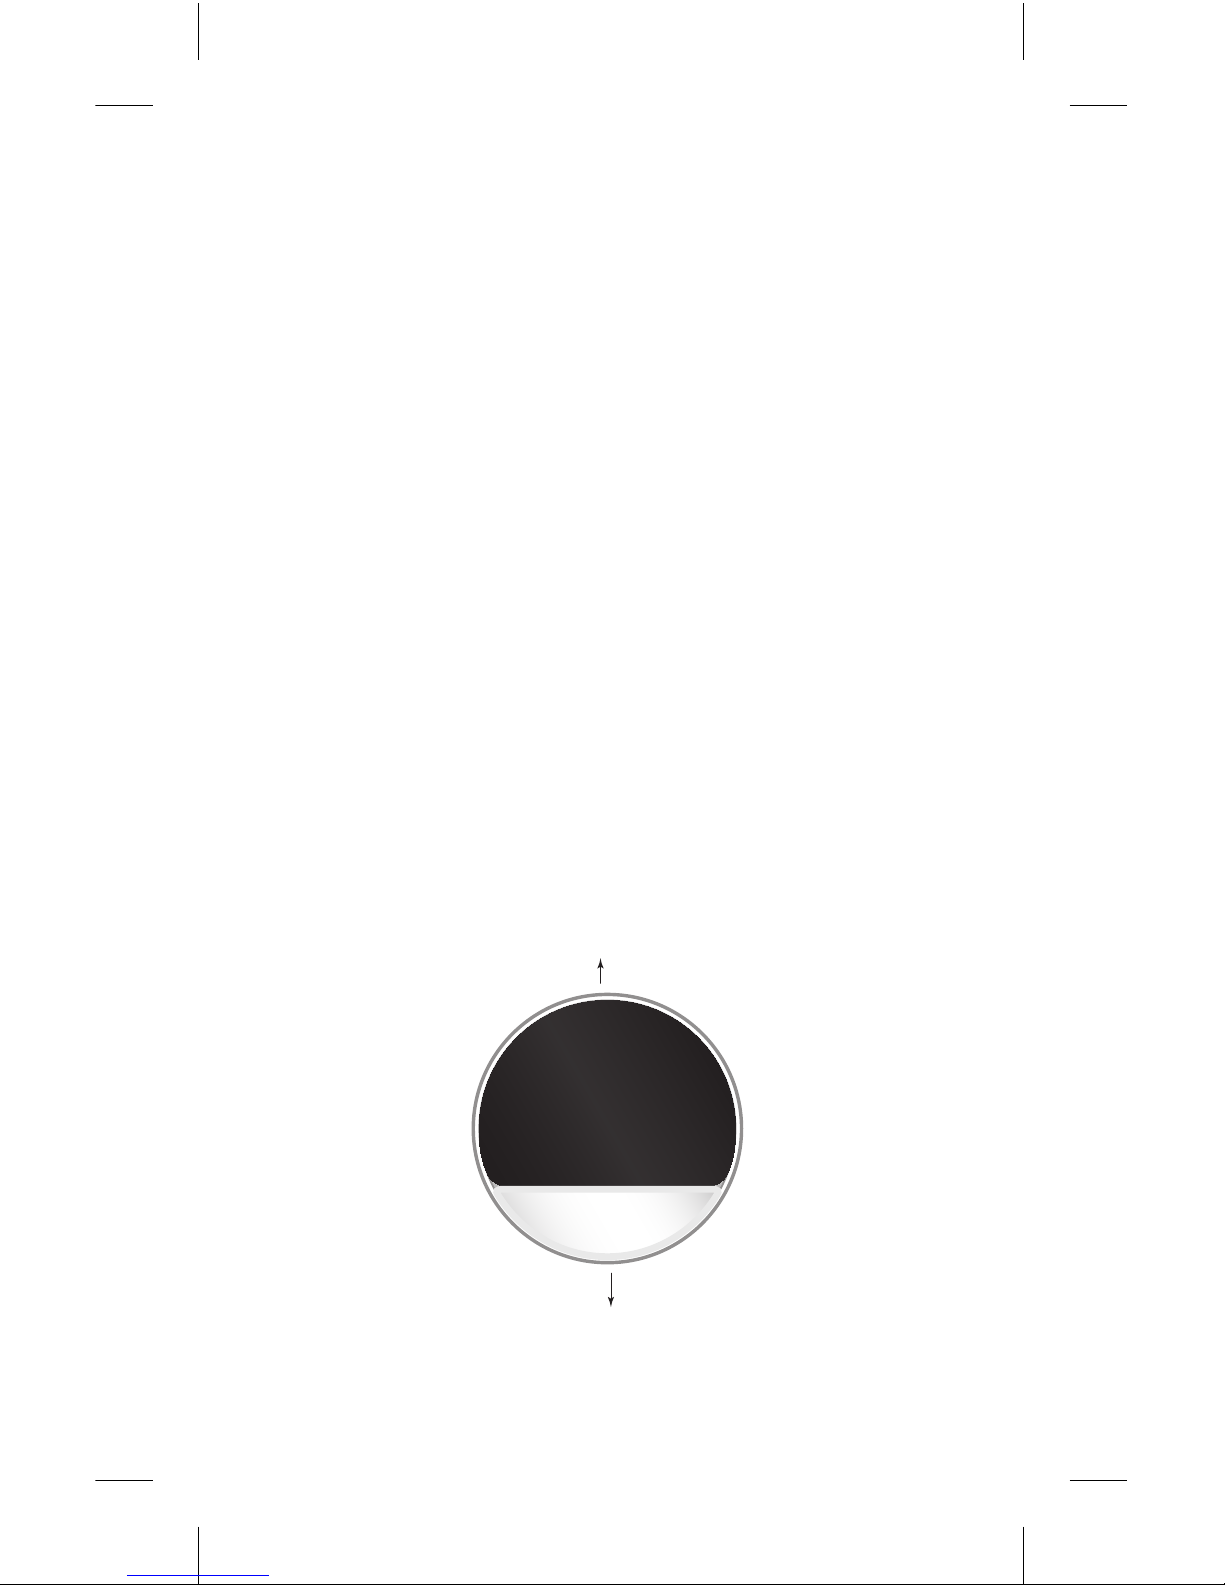
Ceiling
Floor
Page 3

© 2013 Directed. All rights reserved. 3
Additional Information
Further information – For additional support,
including additional information videos and installation tips, visit: www.viper.com/home/support
Warranty Information - Your system comes with
a one year warranty. For complete warranty details
visit: www.viper.com/home/support
This device is intended for indoor use only
and should not be mounted in any outside areas.
Mounting the device outside will void the warranty.
FCC/ID Notice: This device complies with Part 15
of FCC rules. Operation is subject to the following
conditions: (1) This device may not cause harmful
interference, and (2) This device must accept any
interference received, including interference that
may cause undesired operation.
CAUTION! Changes or modifications not expressly
approved by the party responsible for compliance
could void the user’s authority to operate this device.
Page 4

Directed is committed to delivering
world class quality products and services
that excite and delight our customers.
Vista, CA 92081
www.viper.com
IG504S 2013-09
© 2013 Directed. All rights reserved.
 Loading...