

Viper 3100 Owner's Manual

®
OWNER’S GUIDE
MODEL
3100
©
2011 Directed Electronics. All rights reserved.
The company behind Viper® Auto Security Systems
is Directed Electronics.
Since its inception, Directed Electronics has had one
purpose, to provide consumers with the finest vehicle
security and car stereo products and accessories
available. The recipient of nearly 100 patents and
Innovations Awards in the field of advanced electronic
technology, Directed Electronics is ISO 9001 registered.
Quality Directed Electronics products are sold and
serviced throughout North America and around
the world.
Vista, CA 92081
www.viper.com
Directed Electronics is an
ISO 9001 registered company.
Directed Electronics is committed to delivering
world class quality products and services that
excite and delight our customers.
NO ONE DARES COME CLOSE
G3100V BL 2011-03

i
© 2011 Directed Electronics. All rights reserved.
Congratulations
Congratulations on the purchase of your state-of-the-art security system.
Reading this Owner’s Guide prior to using your system will help maximize the use of your system and its many features. For more information please visit us online at: www.viper.com
For additional questions please contact your authorized Directed dealer. Additional support is also available at: http://support.directed.
com
What you get
s A control module (installed)
s Two 3-button remote controls
s A registration card
s This owner’s guide
AUX AUX
Registration
Card
Owner’s
Guide
Replacement remote controls
If additional remote controls (P/N 473V) are desired, please see your
authorized dealer or visit us at www.directedstore.com to order.
G3100V BL 2011-03

1
© 2011 Directed Electronics. All rights reserved.
Contents
Congratulations ................................................................................................... i
What you get ....................................................................................................... i
Getting Started .................................................................................................... 2
Keys to using this manual ...................................................................... 2
System Maintenance ............................................................................ 2
Battery Disposal .................................................................................. 2
Remote Control ................................................................................................... 3
Using your System ............................................................................................... 4
Arm ................................................................................................... 4
Disarm ............................................................................................... 4
AUX Channel 2 ................................................................................... 4
Panic .................................................................................................. 5
Silent Arm/Disarm ............................................................................... 5
AUX Channel 3 ................................................................................... 5
Alarm Features ...................................................................................................6
Armed Protection ................................................................................. 6
Emergency Override ............................................................................ 7
Trigger Zone Fault Report...................................................................... 7
Alarm Report ....................................................................................... 7
Nuisance Prevention Circuitry (NPC) ...................................................... 8
Remote and System Operations ............................................................................ 9
Passive Arming .................................................................................... 9
Valet Mode ......................................................................................... 9
Comfort Closure ................................................................................ 10
Code Hopping Technology ................................................................. 10
Glossary of Terms .............................................................................................. 10
Government Regulations .................................................................................... 11
Additional Information ....................................................................................... 12
Interference ....................................................................................... 12
Upgrades ......................................................................................... 12
Water/Heat Resistance ...................................................................... 12
Español ............................................................................................................ 13

2
© 2011 Directed Electronics. All rights reserved.
Getting Started
Keys to using this manual
Specific actions (in bold type) and style conventions are used consistently throughout this manual, they are as follows:
s Press: implies pushing in and releasing a button.
s Hold: is used when a button needs to be held in position for an
extended period of time, typically several seconds.
s Italicized words denote section/sub headings in this guide and
can be located through the table of contents.
s An asterisk (*) when used after a word or phrase denotes that
additional details can be found in related sections usually noted
at the bottom of the page or end of the section.
System Maintenance
Your vehicle security system has no specific maintenance requirements. The remote control is powered by a 3-volt lithium battery (P/N
CR2032) that will last approximately one year under normal use.
When the battery begins to weaken, the LED on the remote control
will dim and you will notice reduced operating range when using the
remote control.
Battery replacement: Locate the small slot on the side of the remote
control. Insert a small slotted screwdriver or equivalent tool into slot
and pry the case apart. Replace battery while verifying the correct
polarity and then snap case together
Battery Disposal
Directed Electronics cares about the environment. If you
need to dispose of the battery, please do so in accordance
with your municipal requirements for battery disposal.
3
© 2011 Directed Electronics. All rights reserved.
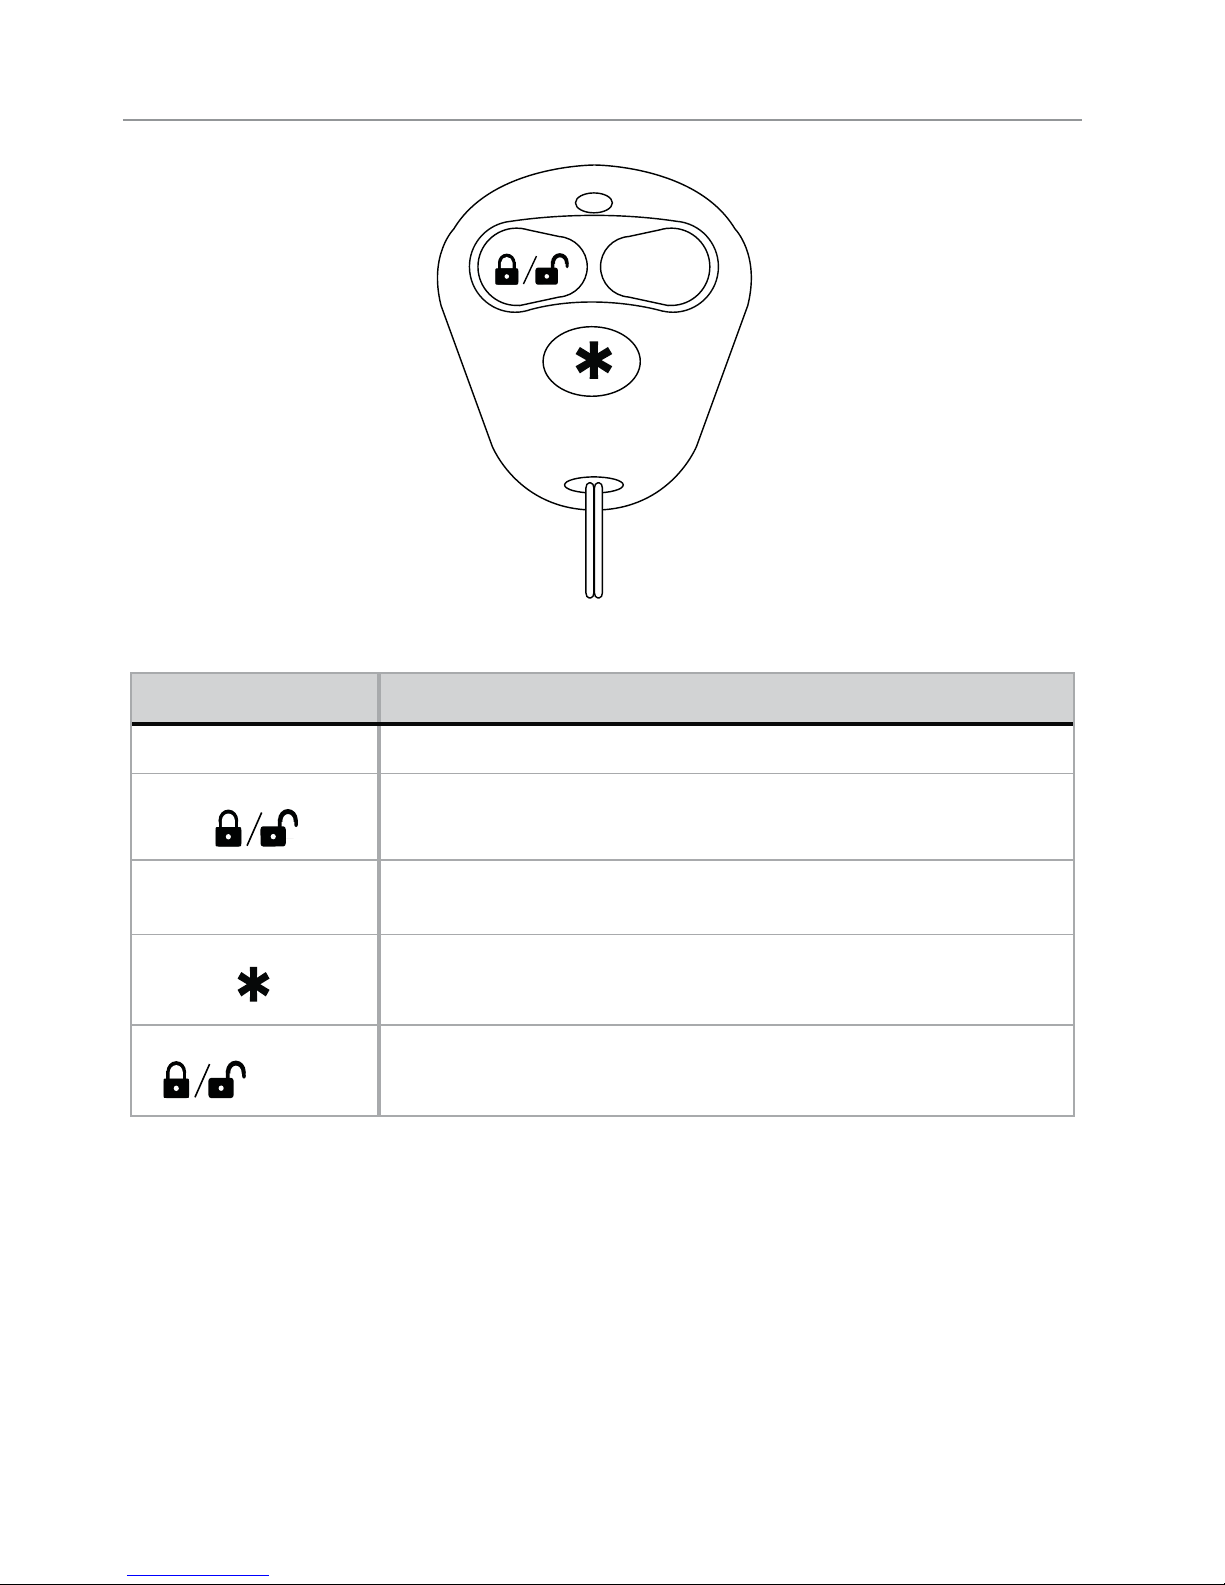
Remote Control
AUX
Feature Description
Transmit LED Active when transmitting information
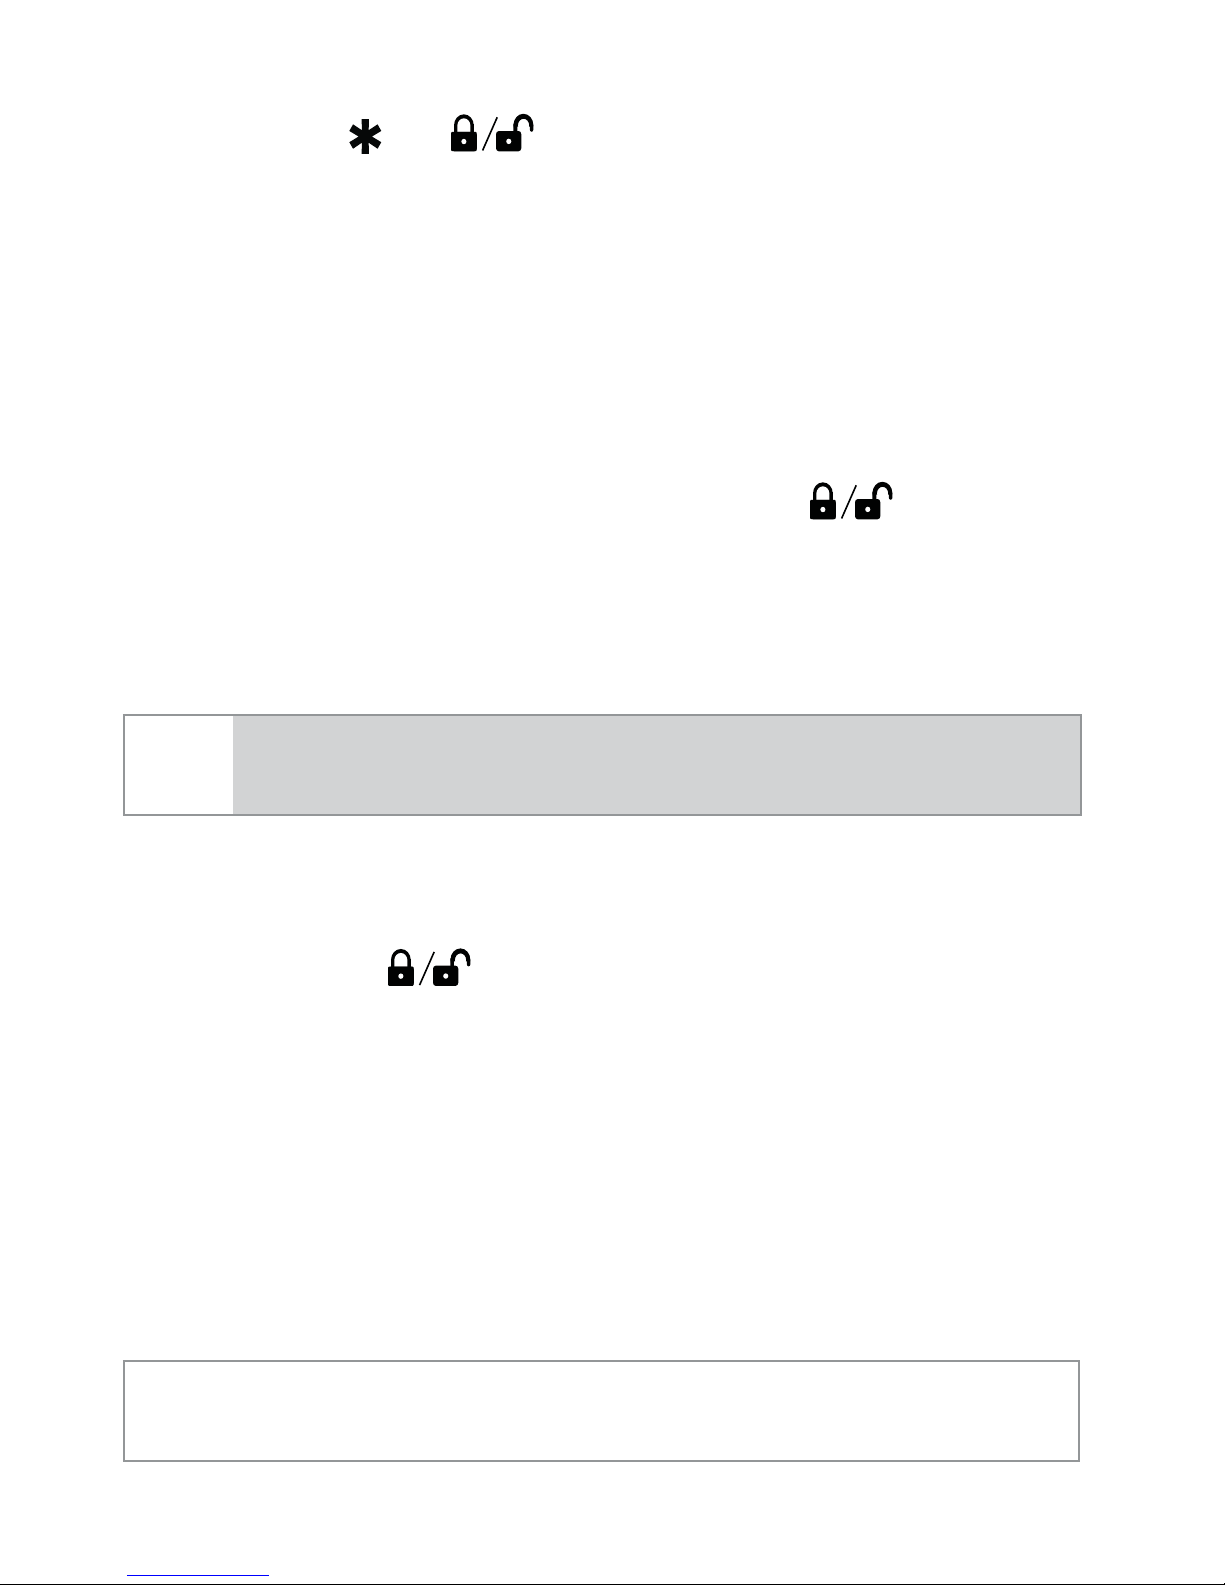
Activates the Arm/Disarm function and Panic On/Off
AUX
Activates Auxiliary Channel 2 output
Activates Panic
+
AUX
Activates Auxiliary Channel 3 output

4
© 2011 Directed Electronics. All rights reserved.
Using your System
Arm
Press and release .
The alarm arms, doors lock (if connected), and the siren chirps and
parking lights flash once.
If Valet mode* is On, the doors lock without siren chirps, the alarm is
disabled. Exit Valet mode to arm the alarm normally.
If a trigger zone fault is detected the siren chirps once again and the
Status LED generates a Trigger Zone Fault report**.
Disarm
When the system is already armed, Press and release .
The alarm disarms, doors unlock (if connected), and the siren chirps
and parking lights flash twice.
An Alarm Report** alert of 4 or 5 siren chirps will replace the normal
disarm chirps if the alarm was triggered.
AUX Channel 2
Press and hold AUX .
The Trunk opens (if connected) when this button is pressed for 2 seconds.
5
© 2011 Directed Electronics. All rights reserved.
Panic
Press and hold
or .
If you are threatened in or near your vehicle, you can trigger Panic
output on your security system to attract attention. The siren will sound
and the parking lights will flash for 30 seconds. Press and release
again to stop the output.
Silent Arm/Disarm
Press and release AUX, then press and release .
The system arms or disarms without chirping the siren. To permanently
turn off the arm and disarm chirps, contact your installation dealer.
Note
Silent Arming also bypass the Sensor Warn-away
output**.
AUX Channel 3
Press and release + AUX.
The Channel 3 output will pulse to activate connected accessory modules. Press and hold the button, the output remains active until the
button is released (for a maximum of 30 seconds).
* See Remote and System Operations for details.
** See Alarm Features for details.

6
© 2011 Directed Electronics. All rights reserved.
Alarm Features
Armed Protection
Status LED: The Status LED flashes as a visual indicator that your vehicle’s security system is active.
Starter Kill: The Failsafe starter kill relay prevents the engine from
starting.
Note
May require additional parts and installation
Sensor triggers: The onboard shock sensor can distinguish minor impacts from major impacts to the vehicle exterior. Minor impacts causes
the system to emit a Warn-away output. Major impacts caused for
example by a forcible entry attempt, results in a Full Trigger output.
Point of entry triggers: Opening the hood or trunk causes a Full Trigger output, while opening a Door or turning on the Ignition causes
the siren to chirp 3 seconds before beginning the Full Trigger output.
This 3 second delay allows time to disarm and silence the siren in
case of accidental trigger.
Sensor Warn-away output: When the system sensors detect a Warnaway, it triggers the siren chirps and the parking lights flash for 3
seconds.
Full Trigger output: An alarm Full Trigger sounds the siren and flashes
the parking lights for 30 seconds.

7
© 2011 Directed Electronics. All rights reserved.
Emergency Override
The following procedure disarms the system when a programmed remote is not available.
1. Turn the ignition On.
2. Press and release the Valet button once.
3. The siren output ceases and the system is disarmed.
Note
As a precaution, if programmed for Passive Arming the system should be placed into Valet Mode until a remote is
available.
Trigger Zone Fault Report
When armed by remote command the system runs a status check of
the alarm trigger zones (see Table of Zones on next page). Open
zones (usually caused by dome light delay or open trunk) are bypassed and reported via the status LED, while all other trigger zones
remain active and are monitored to protect the vehicle. Should an
open zone self correct (such as dome light turns off), it becomes active
and is then monitored normally.
The siren chirps once again a few seconds following the arming chirps
as an audible alert, and the status LED flashes in groups to indicate
the zone number.
Alarm Report
If the alarm was triggered while armed, it will be reported when the
alarm is disarmed via siren chirps, parking light and status LED flashes.
The siren chirps 4 times (or 5 times if NPC On, See Nuisance Preven-
tion (NPC) on next page), the parking lights flash 3 times, and the
status LED flashes in groups to indicate the last two zones that were
triggered (see Table of Zones on next page). The report output will
repeat for each disarm operation until the ignition is turned on.
 Loading...