

Vip2 VK2-1080(720)BIR3V9F Installation Manual
VK2-1080(720)BIR3V9F
Installation Guide

VK2-1080(720)BIR3V9F installation guide V2.1
2
VK2-1080(720)BIR3V9F installation guide V2.1
3
WARNING
TO REDUCE THE RISK OF FIRE OR ELECTRIC SHOCK, DO NOT EXPOSE THIS PROCUCT TO RAIN OR
MOISTURE. DO NOT INSERT ANY METALLIC OBJECT THROUGH THE VENTILATION GRILLS OR OTHER
OPENNINGS ON THE EQUIPMENT.
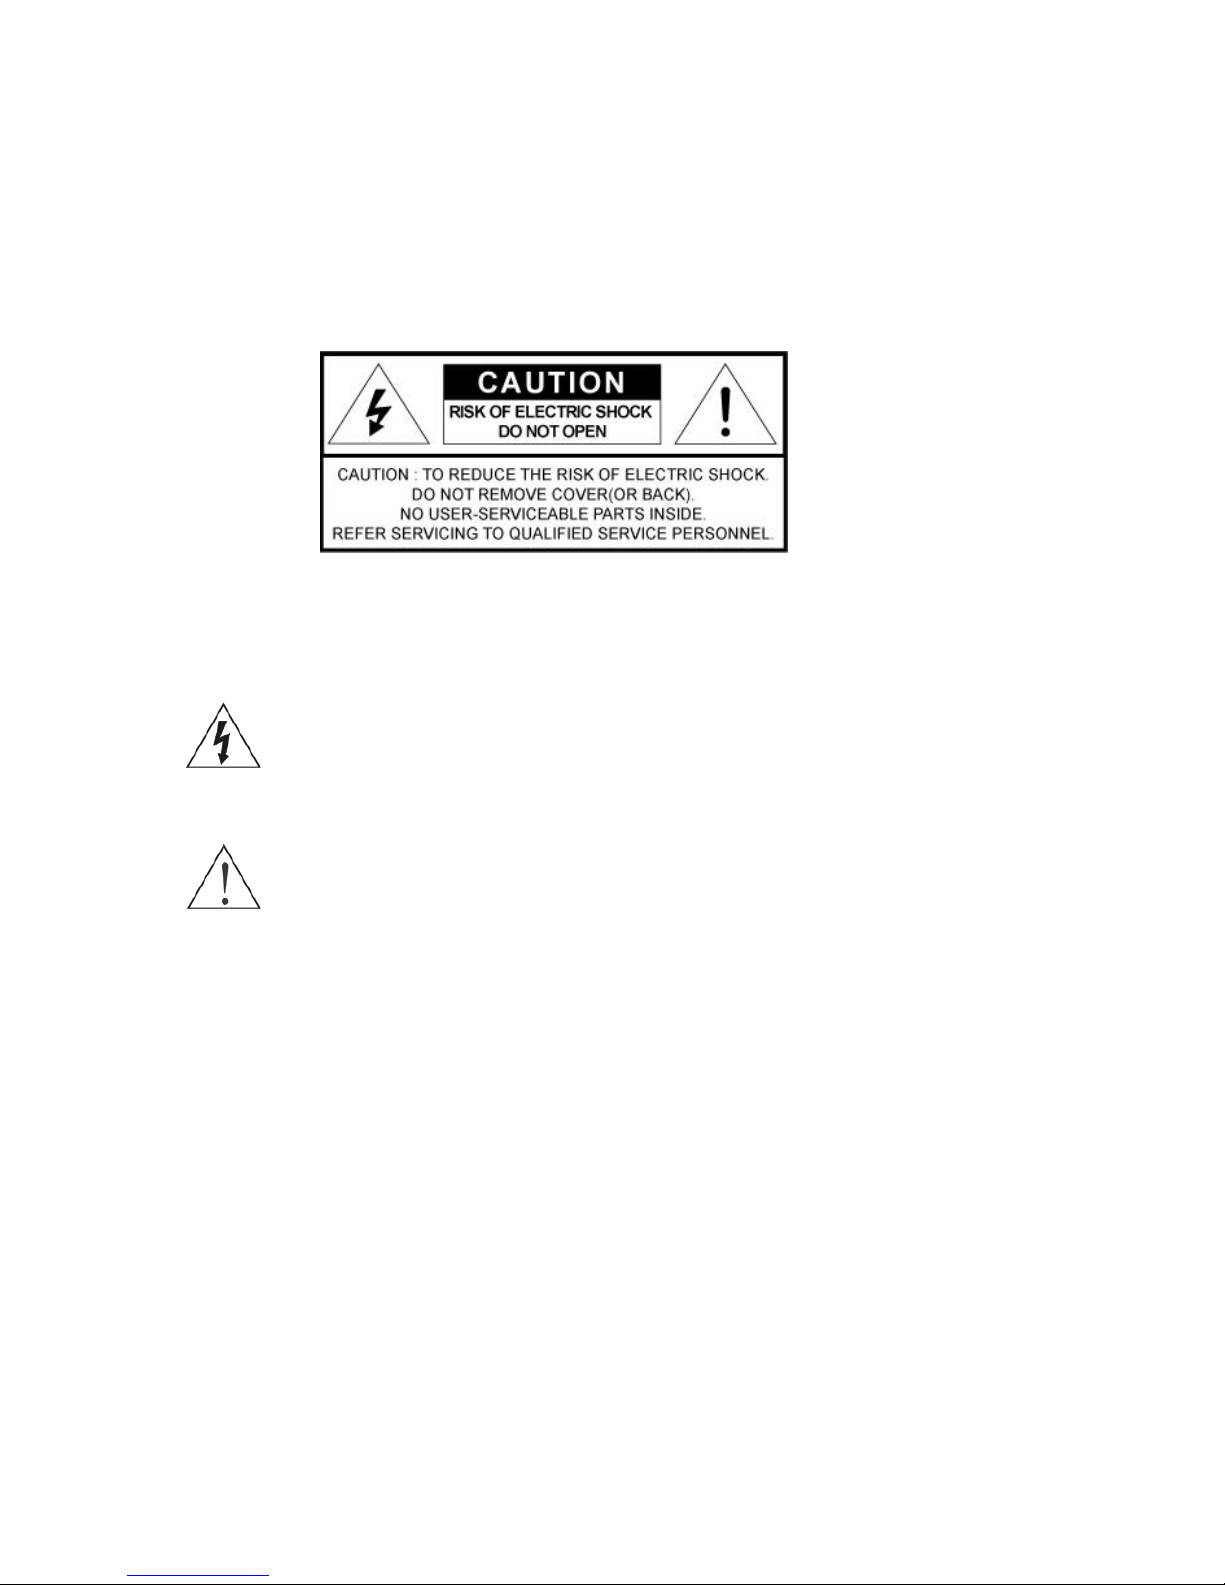
CAUTION
EXPLANATION OF GRAPHICAL SYMBOLS
The lightning flash with arrowhead symbol, within an equilateral triangle, is intended to alert the user to
the presence of un-insulated "dangerous voltage" within the product’s enclosure that may be of
sufficient magnitude to constitute a risk of electric shock.
The exclamation point within an equilateral triangle is intended to alert the user to the presence of
important operating and maintenance (servicing) instructions in the literature accompanying the
appliance.
PRECAUTIONS
Safety Installation
Should any liquid or solid object fall into the cabinet,
unplug the unit and have it checked by the qualified
personnel before operating it any further.
Unplug the unit from the wall outlet if it is not going to
be used for several days or more. To disconnect the
cord, pull it out by the plug. Never pull the cord itself.
Allow adequate air circulation to prevent internal heat
build-up.
Do not install the unit in an extremely hot or humid
place or in a place subject to excessive dust,
mechanical vibration.
The unit is not designed to be waterproof.
Exposure to rain or water may damage the unit.

VK2-1080(720)BIR3V9F installation guide V2.1
4
CAUTION: CHANGES OR MODIFICATIONS NOT EXPRESSLY
APPROVED BY THE PARTY RESPONSIBLE FOR COMPLIANCE
COULD VOID THE USER'S AUTHORITY TO OPERATE THE
EQUIPMENT.
CE COMPLIANCE STATEMENT
WARNING: This is a Class A product. In a domestic environment
this product may cause radio interference in which case the user
may be required to take adequate measures.
VK2-1080(720)BIR3V9F installation guide V2.1
5
1. Description
This manual applies to the VK2-1080BIR3V9F VK2-720BIR3V9F bullet cameras.
The VK2-1080(720)BIR3V9F are fully featured day/night IP bullet cameras with in built IR LEDs to
provide 24/7 full HD images, with a remote zoom and focus set up function
• Installation Steps
Follow these steps to install the VK2-1080(720)BIR3V9F on your local network (LAN):
1. Check the package contents against the list below.
2. Connect the Network Camera. See page 3.
3. Set an IP address. See page 6.
4. Set the password. See page 8.
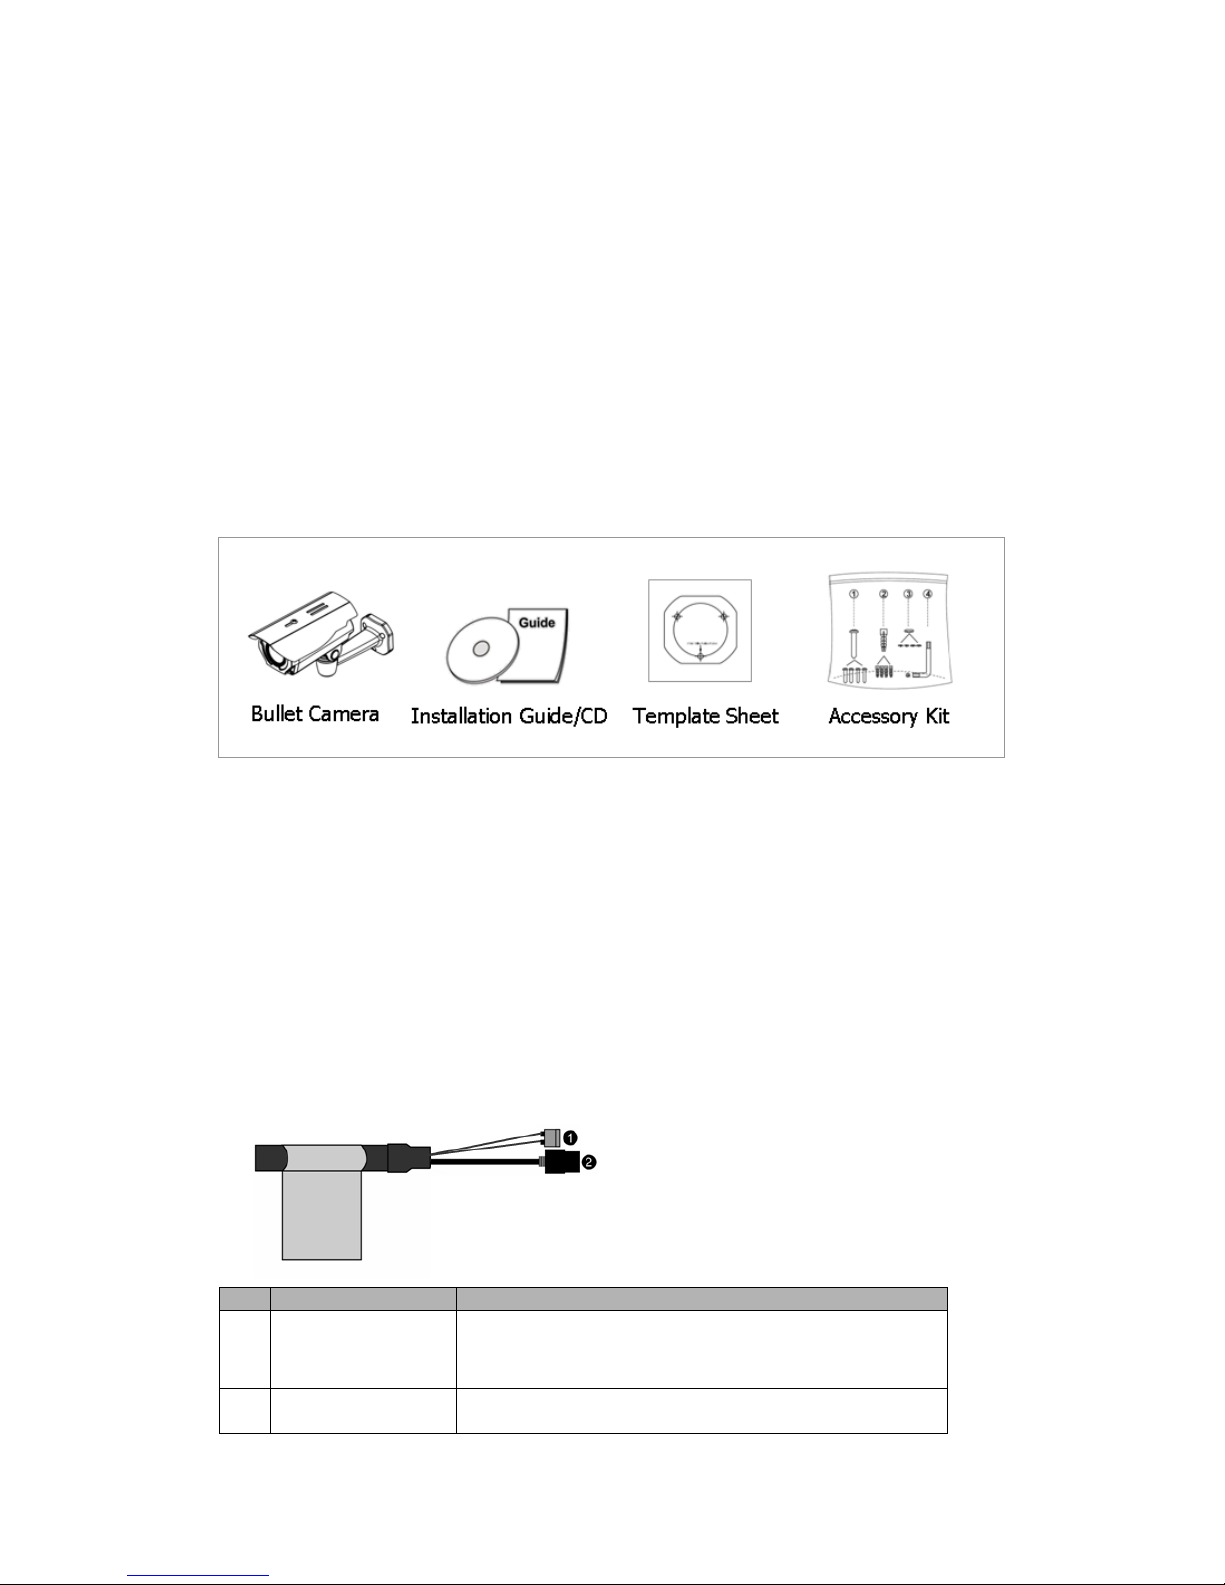
• Package Component
The system comes with the following components:
• Contents in the installation CD
1. The VK2-1080(720)BIR3V9F User’s Manual
2. The SmartManager User’s Manual
3. The VIP2 User’s Manual
4. The SmartManager Installation software
5. The VIP2 Installation software
Note: Check your package to make sure that you received the complete system, including all
components shown above.
• Connection Cable
NO
Wire Colour
Description
1
Red: DC12V
White: GND
Main Power, 2pin terminal, DC12V 700mA(8.4W), Note:
internal heater does not operate when using PoE, the
camera needs to be powered by external 12Vdc for heater
to operate.
2
Black
Ethernet, RJ-45 port compatible with 10/100Mbps having PoE
functionality. Modular Jack
 Loading...