

Vintage Cellars U-48x36 User Manual
ARCHLAT-U-48X36 ASSEMBLY 4/16/2013
ARCHLAT-U-48x36
Lattice Arch
Left
Upright
(1) 14"
X
35 18/2"
Right
Upright
(1) 14"
X
35 1/2"
Top Panel
(1) 115/8"
X 36"
Hardware
1
Wall
Securement
Hardware
Assembly
Manual
ARCHLAT-U-48x36
Assembly
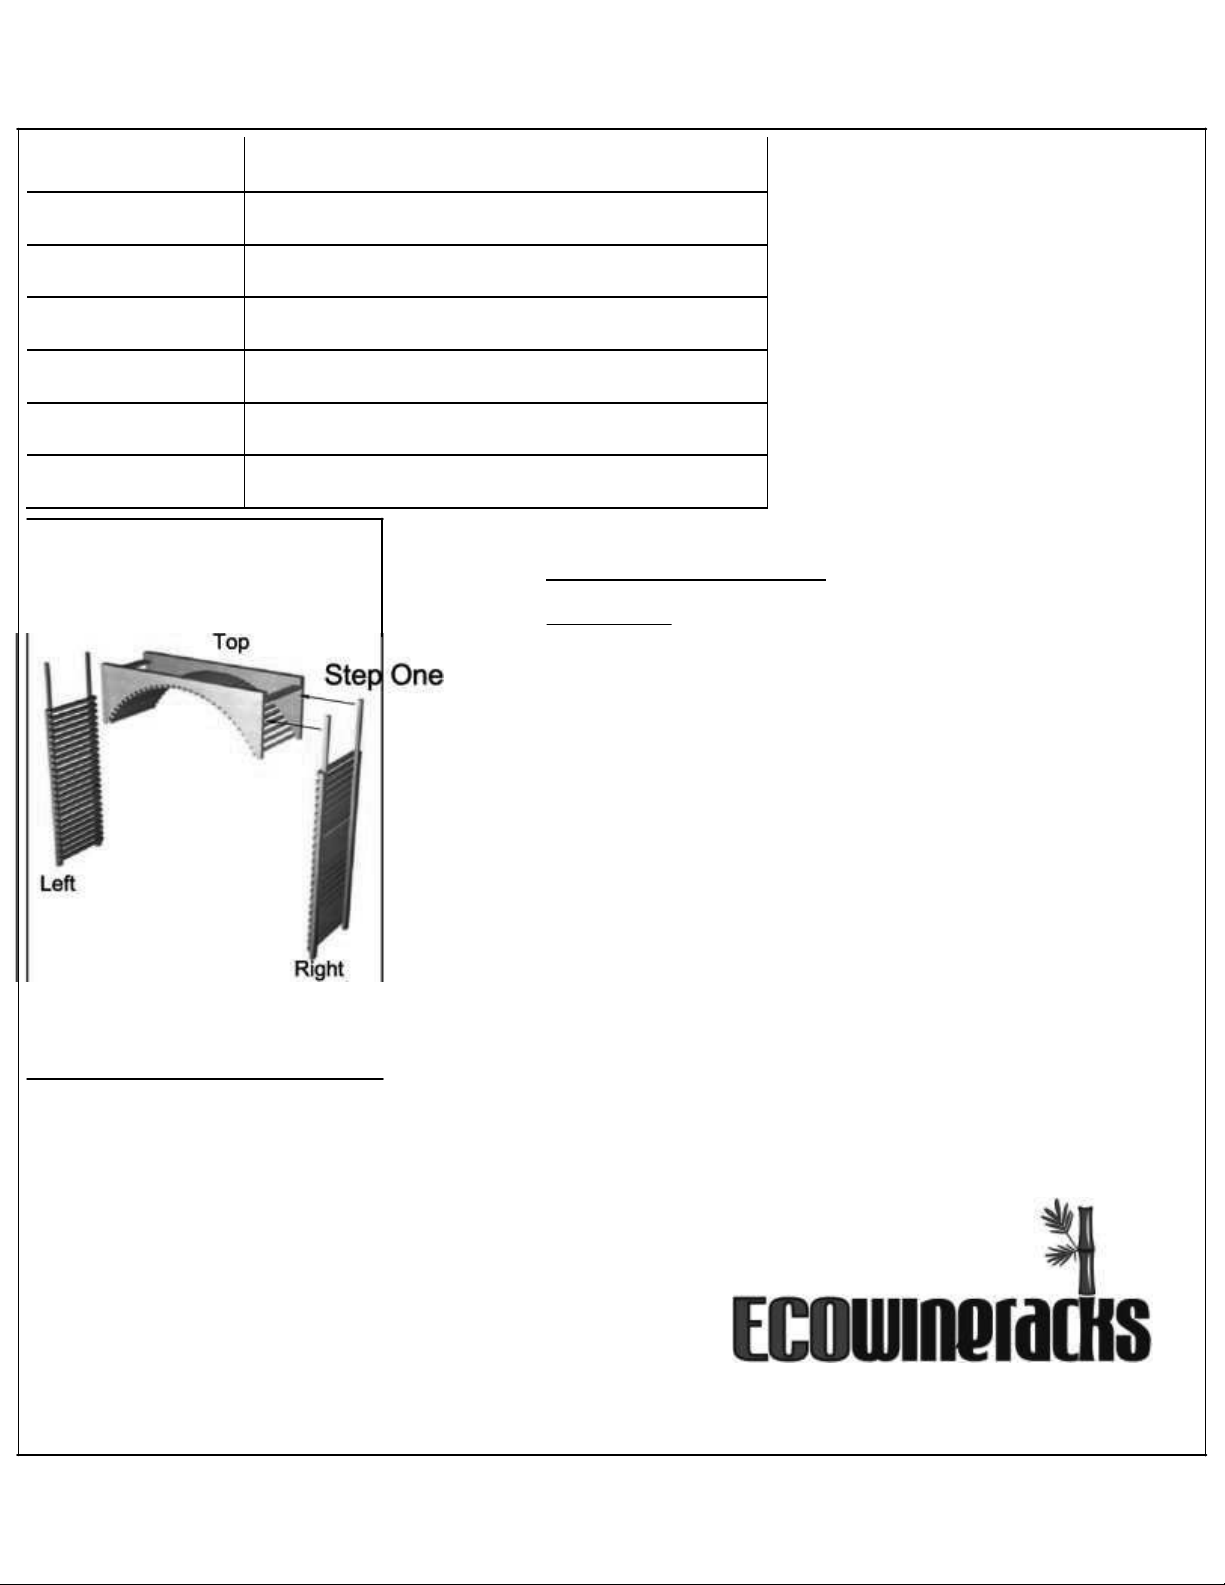
Step
Lie the Top on the floor. Use packaging
to lie on floor beneath pieces to avoid
scratches. Beveled rail side is the
Instructions:
One.
material
finish
front.
Gently slide to Right and Left sides into the
space on the Top as
Line up the predrilled holes on the Right and
sides that mate with the Top and insert
#8 x 1 1/4" screws. (four in each
Please set torque on cordless devices on
to avoid penetrating the visible arch
shown.
eight
side)
low
surfaces.
mating
Left
ARCHLAT-U-48X38 ASSEMBLY 411612013
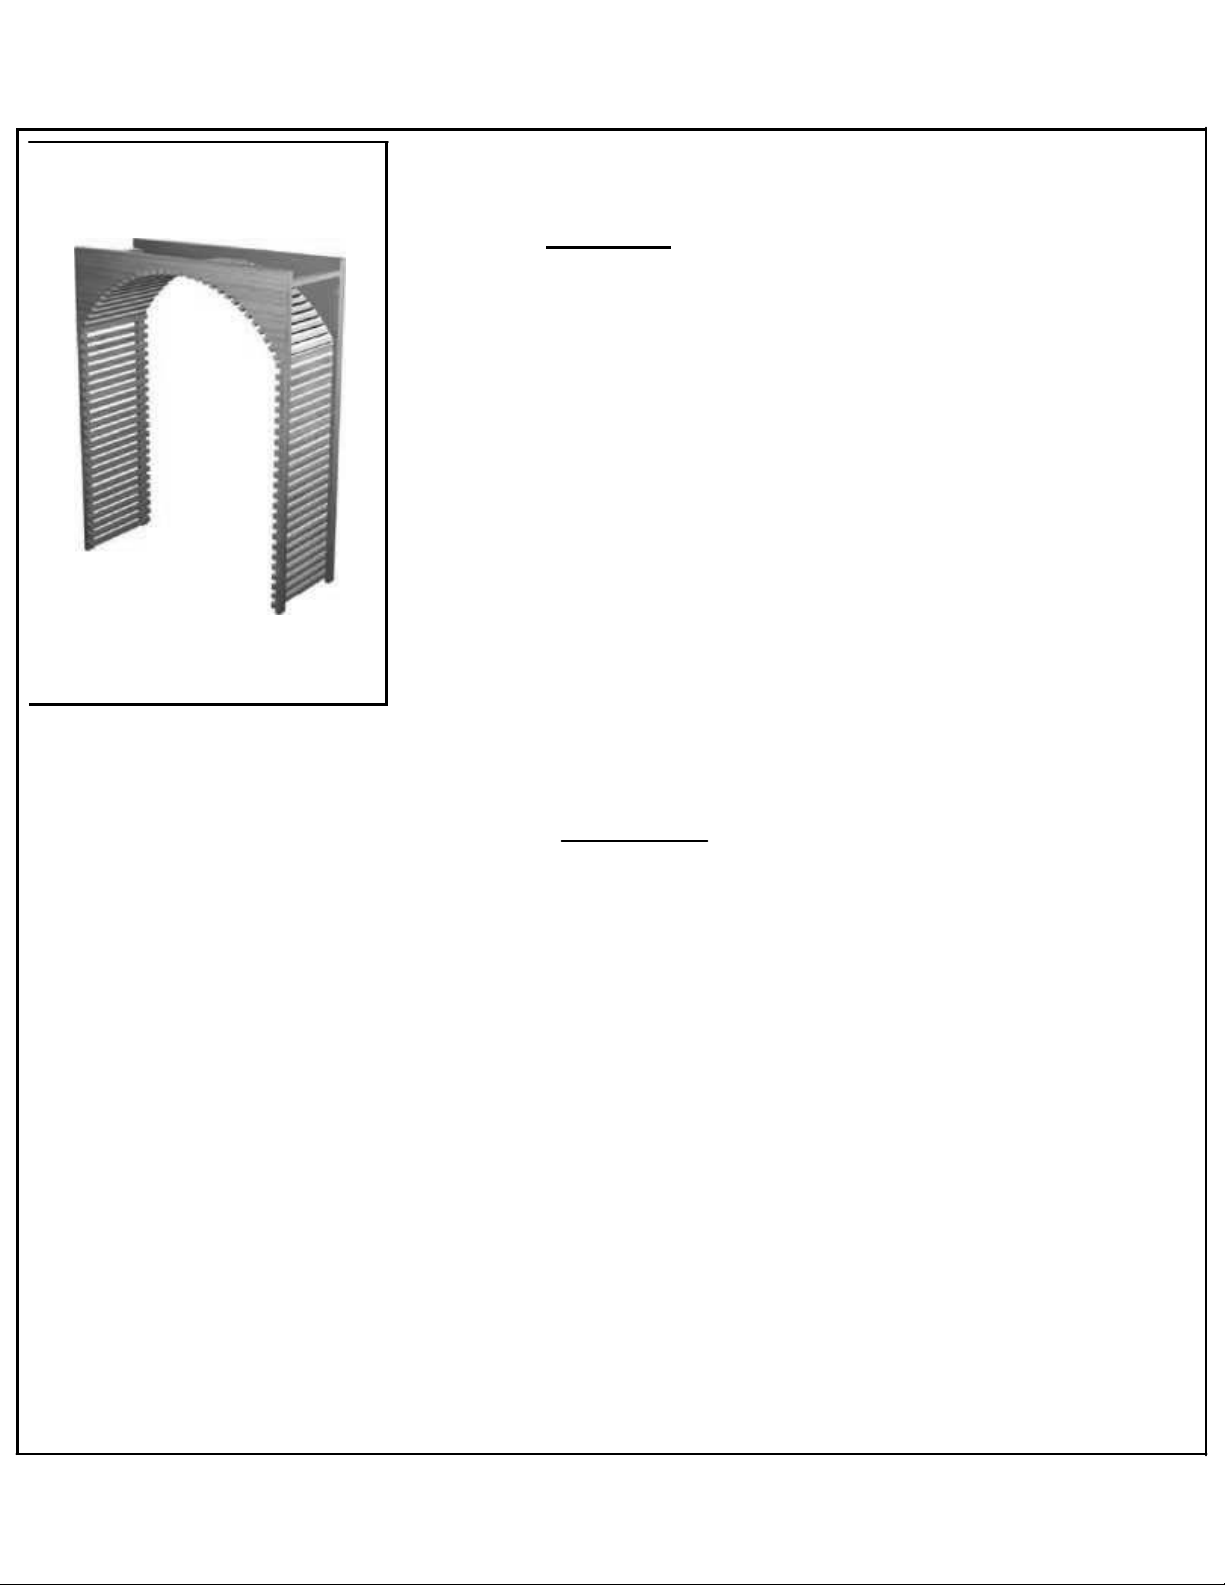
Step
Two.
Gently tilt assembled arch upright and lift
position. For best results handle the Top
and not the sides when setting in
To attach to flanking racks either blind
or predrill holes and use 1 1/4" wood
not
included.Material
Step
Secure to wall with (2) L-Brackets
If
wall framing cannot be located, use
anchors provided and go through
Three.
into
section
place.
nail
screws
will split if not
predrilled.
included.
screw
drywall.
 Loading...