

Page 1
Assembly Reference Table
REC-L-36x09 1 1 8 6 1
REC-L-36x18 1 1 8 6 1
REC-L-36x36 1 1 8 6 1
Additional items you will need to supply for assembly include Wood Glue, a soft rubber mallet and a power drill.
For more information or to view our assembly video visit us at
www.sustainablewinecellars.com
222
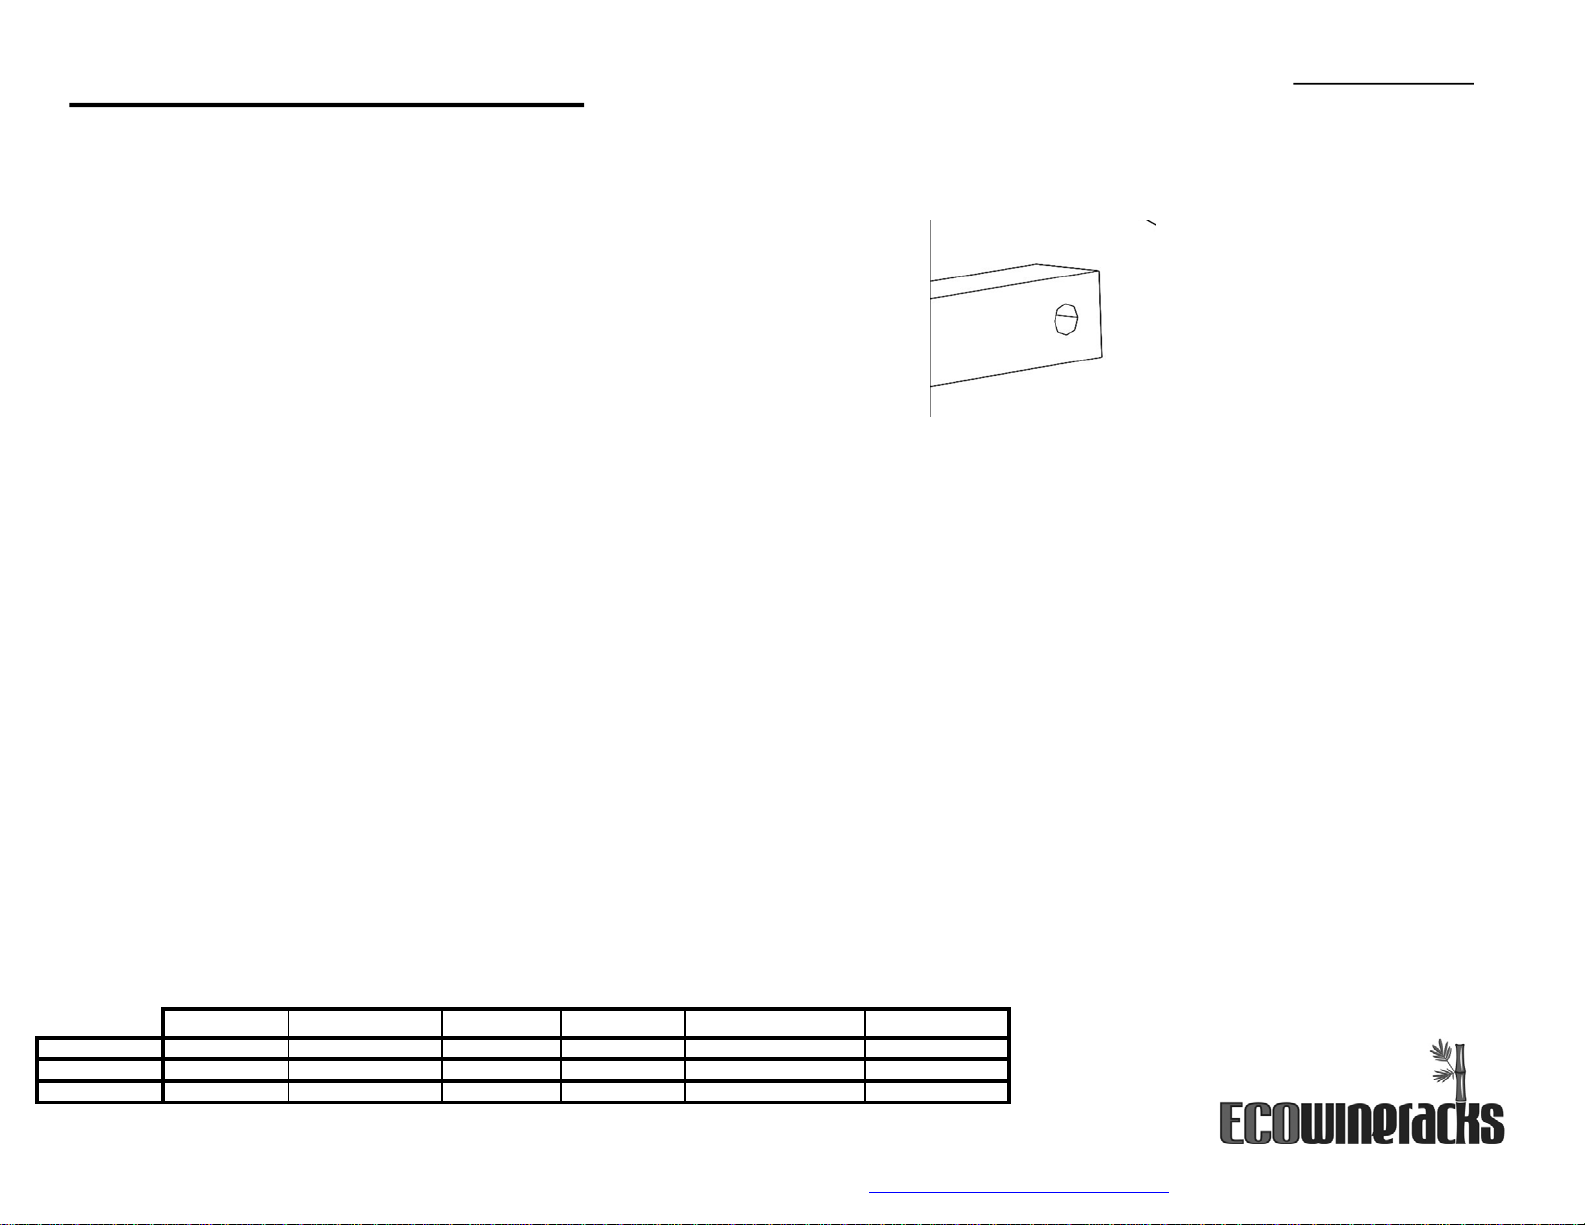
#5 Floor Spacer Bar
Lower Rectangular Bin
Reference Models
REC-L-36x09
Spacer Bar Hole.
Connectors are pre-installed.
#1 Left Ladder # 2 Right Ladder #3 Rec-L Slat #4 Spacer Bar #6 Hardware Kit
REC-L-36x18
REC-L-36x36
Page 2
For more information or to view our assembly video visit us at
www.sustainablewinecellars.com
Lower Rectangular Bin
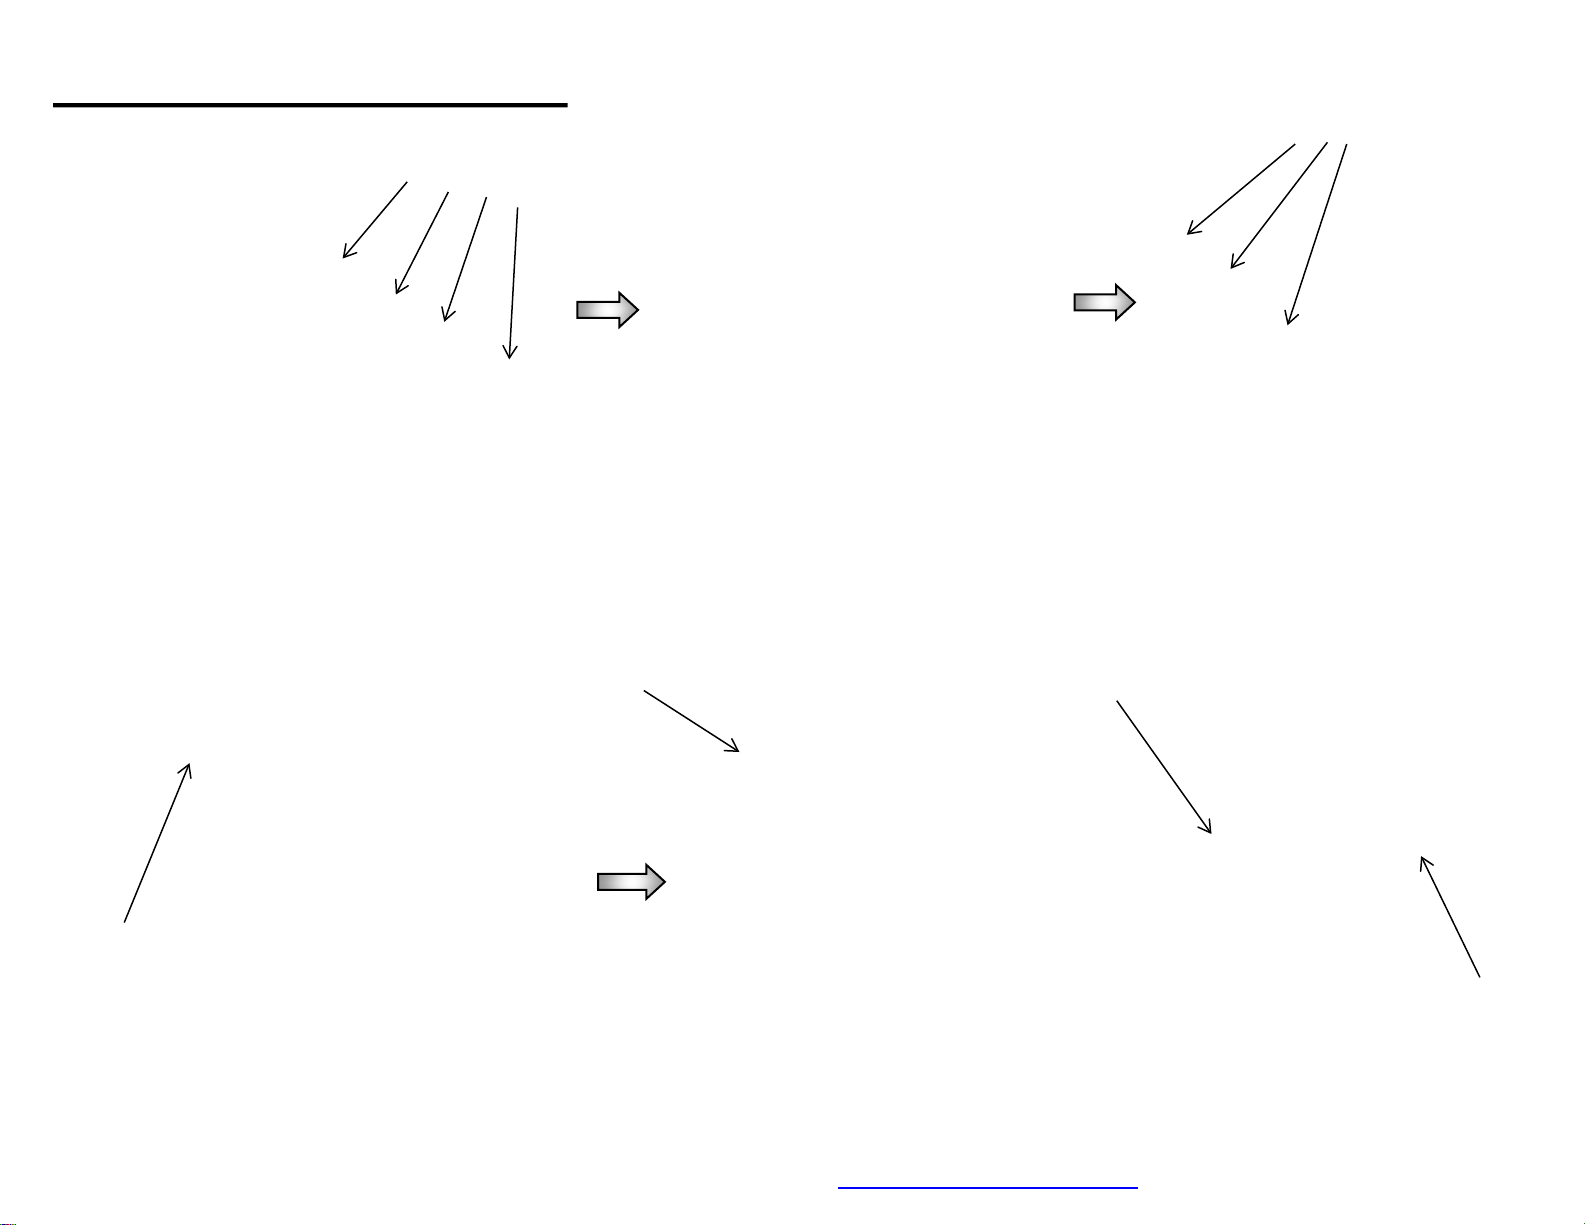
Attach Rec-L Slats
OR
Drops of glue in each
Connector hole
Drops of glue in each
Connector hole
Attach Left End Ladder to Support Bars
DO NOT attach a
top spacer bar to
this position at this
time.
Step 1
Step 4
Attach Right End Ladder
For stand-alone rack, attach
Final Assembly for stand alone unit.
Step 2
Step 5
Step 3
Attach Spacers
Second, secure the rear
spacer bars of both racks
using small finish nails.
Pre-drill nail holes to
prevent splitting.
First apply pre-glued Join strip to the
lower rack, then slide the top rack
forward to engage pins.
Step 6
Final Assembly for joining Upper and
Lower Wine Racks
 Loading...