

Page 1
Assembly Reference Table
#1 Left Ladder # 2 Center Ladder #3 Right Ladder #4 Spacer Bar #5 Floor Spacer Bar #6 Hardware Kit
1 1 1 6 2 1
Additional items you will need to supply for assembly include Wood Glue, a soft rubber mallet and a power drill.
For more information or to view our assembly video visit us at
www.sustainablewinecellars.com
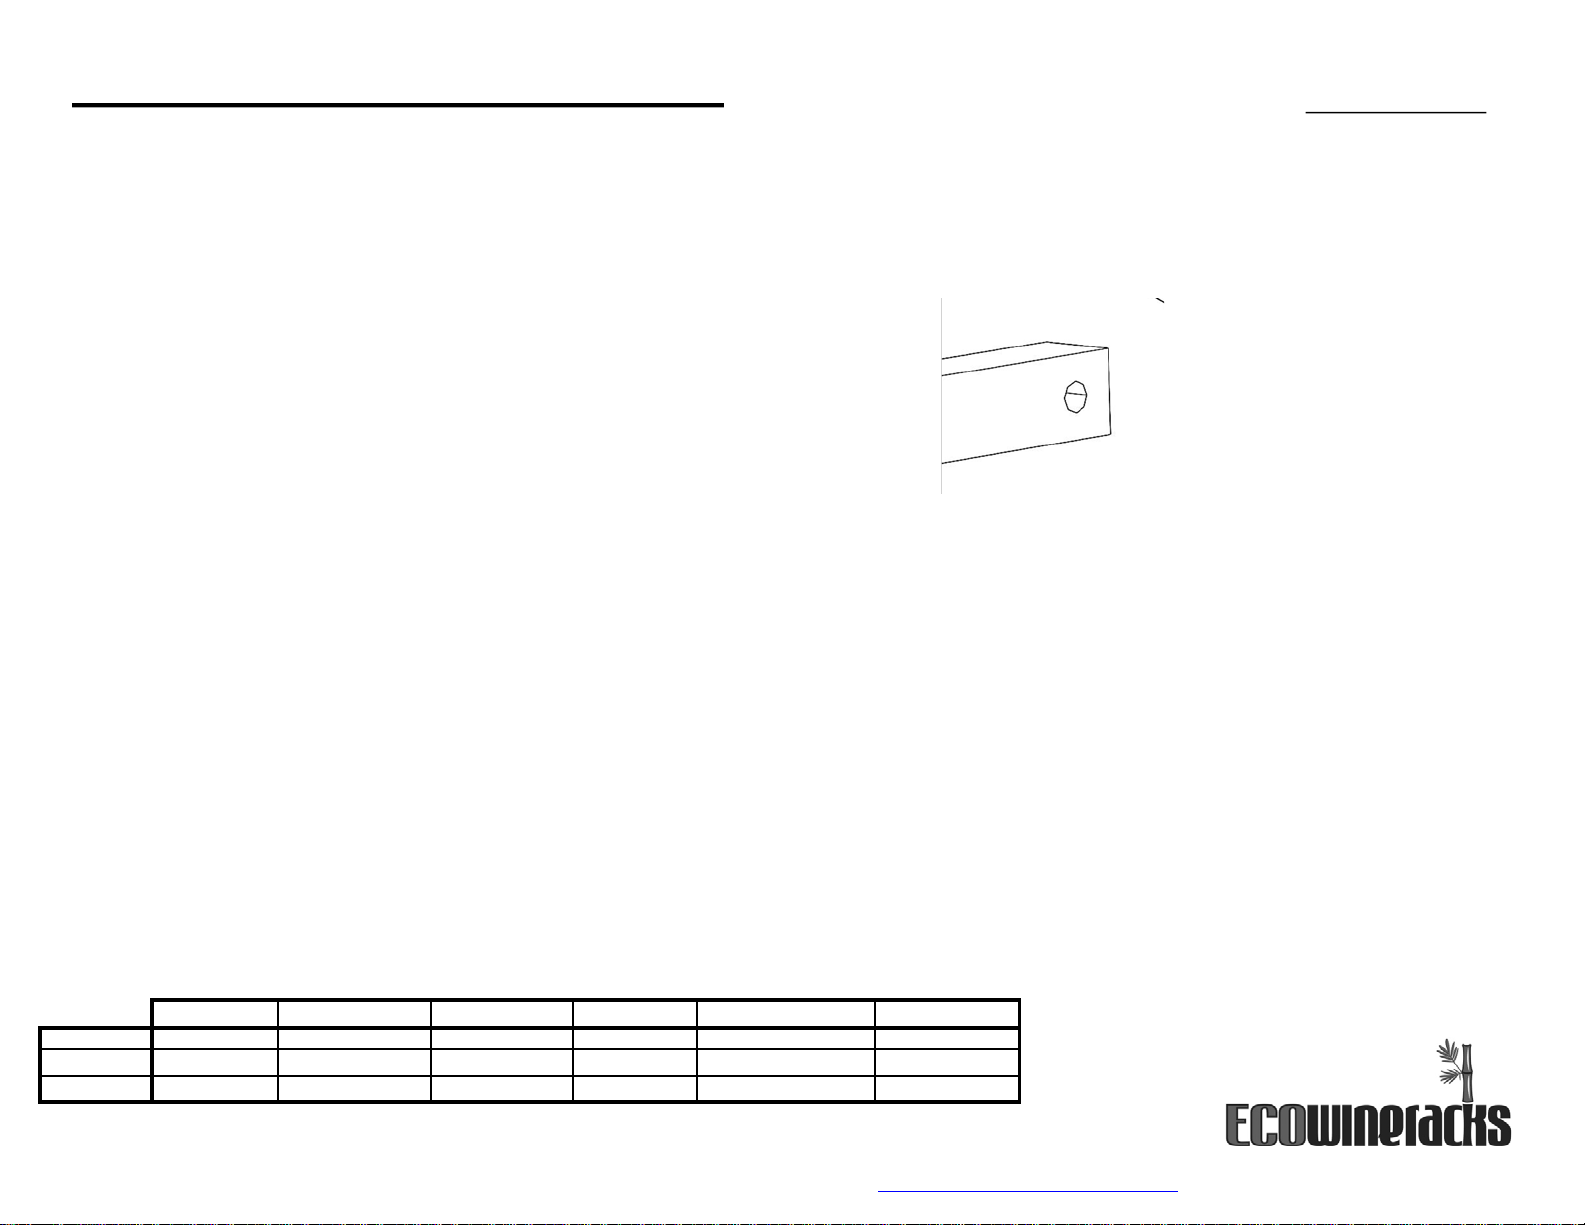
Lower Individual Bottle Rack
Reference Models
IBR-L-3H-2C
Spacer Bar Hole.
IBR-L-3H-4C
Connectors are pre-installed.
IBR-L-3H-2C
IBR-L-3H-4C 1 3 1 6 2 1
IBR-L-3H-8C 1 7 1 6 2 1
IBR-L-3H-8C
Page 2
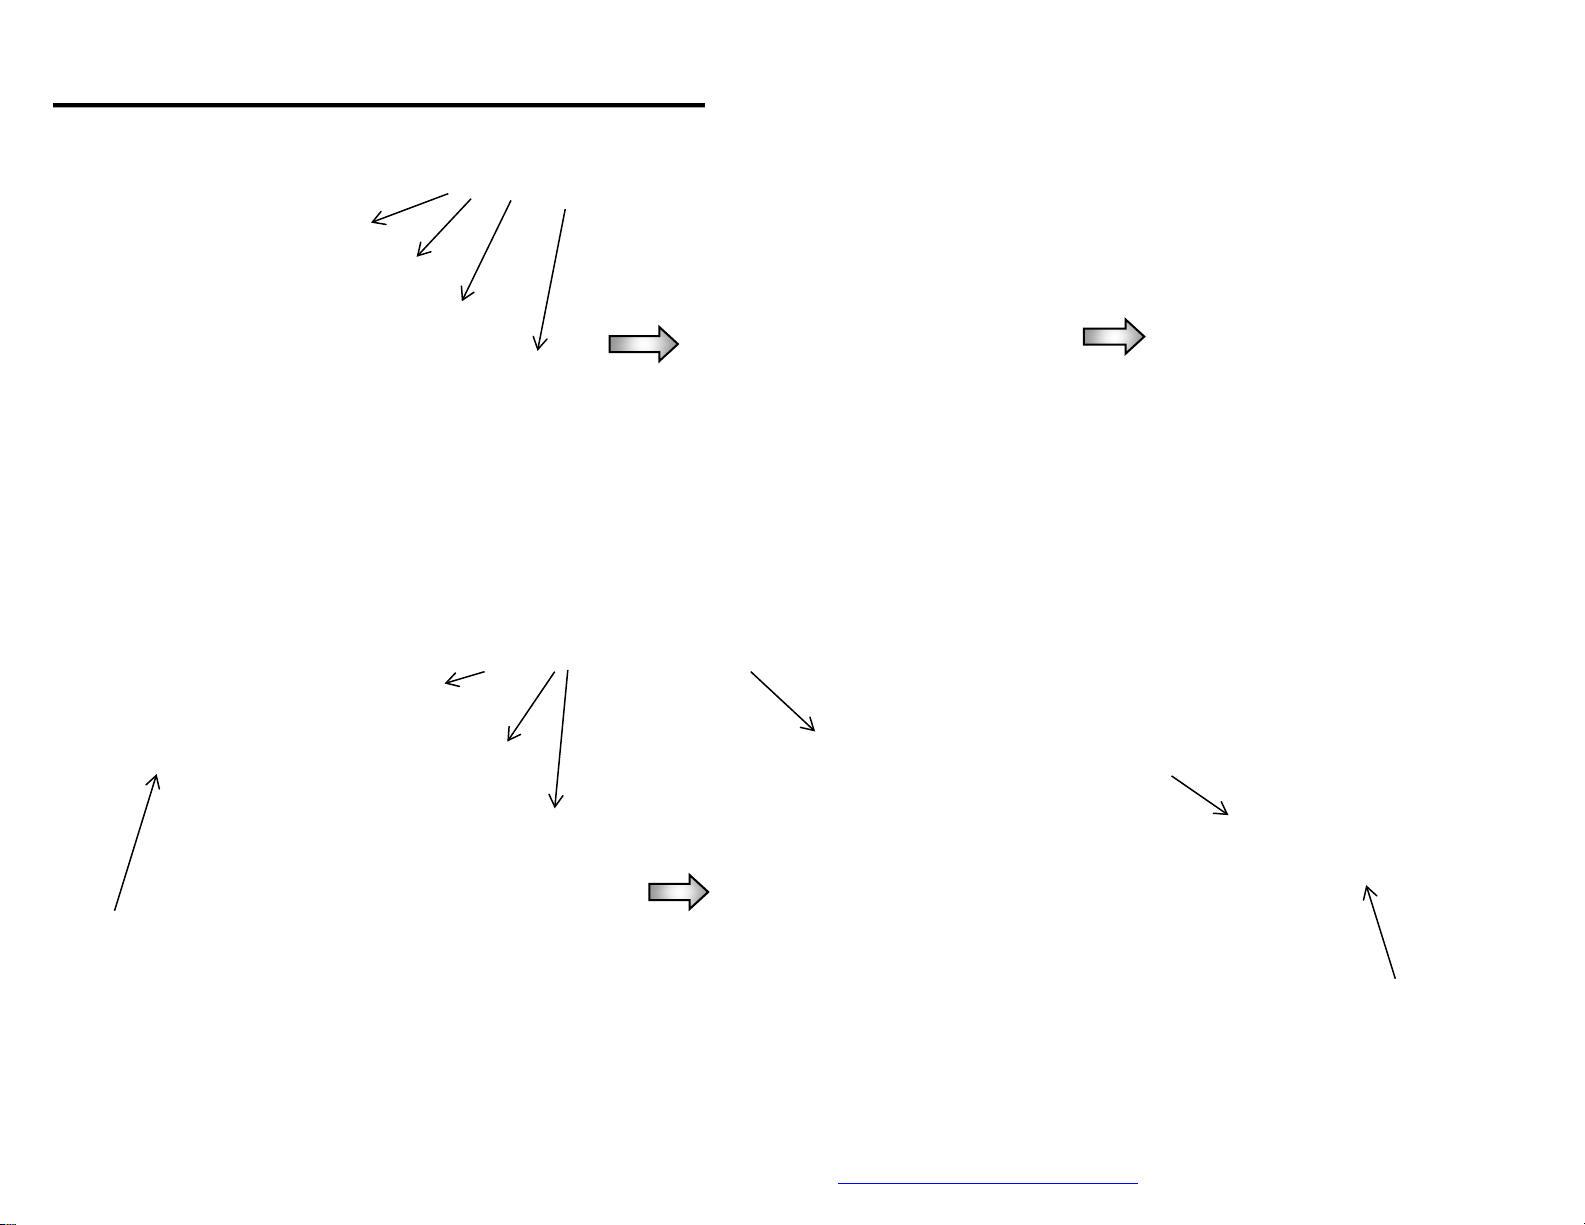
Final Assembly for stand alone unit.
For more information or to view our assembly video visit us at
Lower Individual Bottle Rack
Drops of glue in each
Connector hole
DO NOT attach a
top spacer bar to
this position at this
time.
Step 1
Attach Left End Ladder to Support Bars
Drops of glue in each
Connector hole.
Step 4 Step 5
Attach all but 1 Spacer Bar
Step 2
Attach Center Ladders
For stand-alone rack, attach
pre-glued spacer bar here.
Step 3
Attach Right End Ladder
Second, secure the
rear spacer bars of
both racks using
small finish nails.
Pre-drill nail holes
to prevent splitting.
OR
First apply pre-glued Join
strip to the lower rack,
then slide the top rack
forward to engage pins.
Step 6
Final Assembly for joining Upper and
Lower Wine Racks.
www.sustainablewinecellars.com
 Loading...