

Page 1

Extreme Insulation Box Installation
1. Insulate the duct kits completely by spraying one side of Reflectix (or equivalent) with spray
adhesive and applying directly to the metal making sure there are no air pockets where
moisture can be trapped. Cover the insulation with foil tape to completely seal all seams and
around the edge leaving extra to extend over onto the metal housing when attached, then seal
with 10/10 duct sealant.
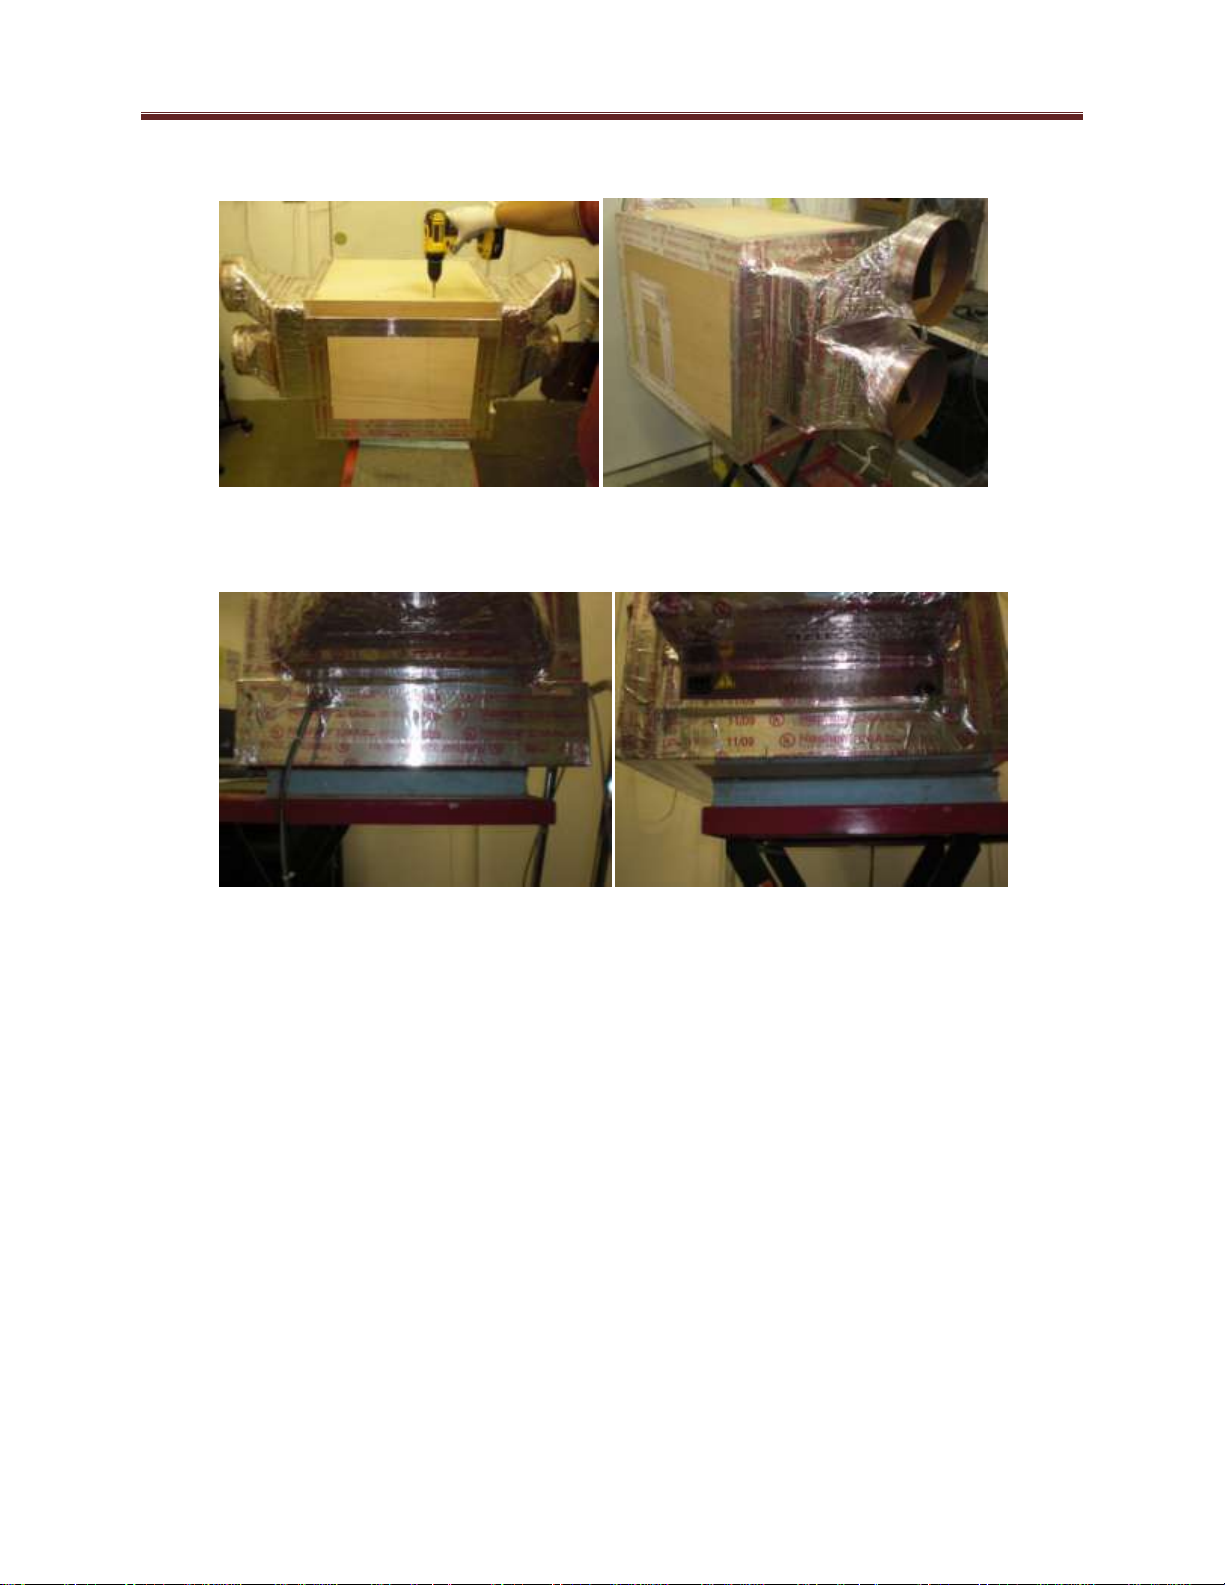
2. Remove the screws and grille covers from both ends of the cooling unit. Peel back the excess
insulation on each side and attach the duct to the unit using the same screws that were
previously removed. Seal the insulation and foil tape over the screws and onto the housing of
the unit.
3. Place the unit on to the section that has the bottom and side panels connected, for units that
have the probe/remote controller cable coming out of the bottom there is a cut out. Once the
insulation box is assembled the area around the opening for the cables needs to be sealed with
silicone.
4. Place the top/side panel over the unit with the access opening on the side of the unit where the
access panel is.
Page 2
Extreme Insulation Box Installation
5. Secure the sections together with screws
6. Completely seal all seams, top, bottom, front back and both sides with foil tape. Do not cover
the drain line or the electrical outlet on the condenser side.
 Loading...