

Page 1
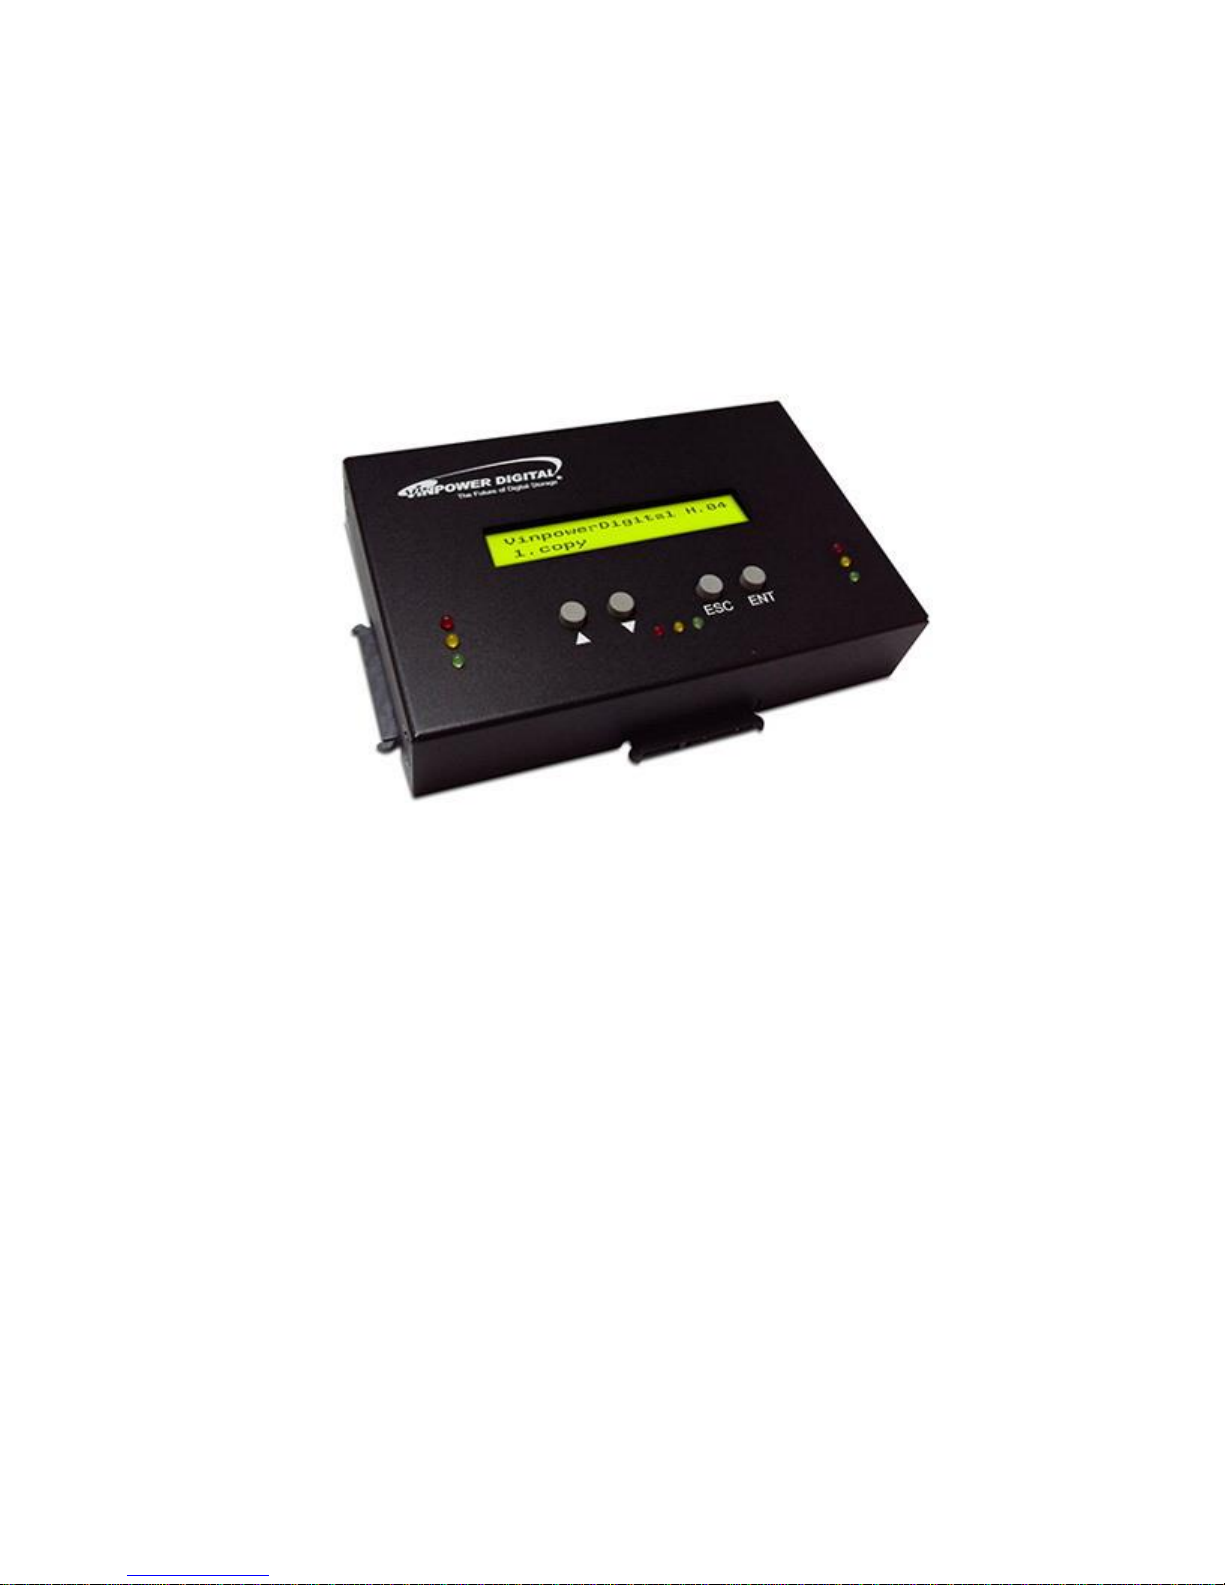
Reference Manual for HDDMINI
Hard Drive Duplicator
V 1.0
Page 2

1
Device Menu Overview
This system comes with many features that can be accessed/adjusted by various functions and
settings within the operation menu. Please see the detailed descriptions below:
1. Copy
This process will copy the source hard drive, which is inserted into the Source Port, onto
one or multiple target hard drives simultaneously.
2. Copy+Compare
This function performs the Copy process, after which, it will perform a Compare process
automatically to ensure data accuracy.
3. Erase
This function erases the hard drives(s) connected to any port other than the Source Port.
There are three options for this function:
Quick Erase: It will erase only the beginning section of the hard drive, which is just
enough to make it look empty.
Full Erase: It will erase the entire hard drive by writing 0’s throughout. The erase
timeframe varies depending on the data capacity of the hard drive.
DOD Erase: It will erase the hard drive thoroughly to avoid any possible chances
of recovery. User will be prompted for # of passes to perform, the more pass rounds
selected, the lower the risk of data contents being recovered, but also the longer
the time the process will take.
4. Copy Mode
This setting will allow for the selection of a Copy Mode. There are 3 options:
Smart: This mode is the recommended and fastest approach to making copies
since it will analyze the source hard drive on supported file systems (FAT16/32,
NTFS, exFAT, ext2/3/4) and copy only the area that contains data. If the file system
on the source hard drive is NOT being supported, the system will automatically
shifts to RAW mode.
RAW: This mode is the safest and slowest approach to making copies since it will
copy the entire source hard drive bit by bit.
5. Setup
1) Language
This setting will allow you to choose the display language of the system.
2) Buzzer
This setting will allow the choice to hear a beep sound when a button is pressed
or when a task has been completed.
Page 3

2
3) Screen Saver
This setting will allow the choice to enable the Screen Saver feature or not. By
enabling this feature, a screen saver will be displayed when the system has been
idle for an extended period.
4) Read Error Skip*
This setting will allow for the change to the number of times the system will skip
ahead when it encounters a reading error, while reading the source hard drive.
By default, the system does not skip any reading error, which would result in an
immediate job failure if any read error occurred during the duplication process.
*Enable this setting will not fix any discovered error(s); it will merely skip it and read
the remaining data of the source hard drive.
5) Write Error Skip*
This setting will allow for the change to the number of times the system will skip
ahead when it encounters a writing error, while writing to the target hard drive.
By default, the system does not skip any writing error, which would result in an
immediate failure for such target hard drive if any write error occurred during the
duplication process.
*Enable this setting will not fix any discovered error(s); it will merely skip it and
continue write to the next data block of the target hard drive.
6) Partition Layout
This setting will allow user to adjust various partition layout options for the target
hard drive during the duplication process under “SMART”/”Partition” mode.
There are two options for this setting:
Auto Ratio: The system will automatically adjust the partition layout under the
same ratio as the source hard drive.
As It: The system will set the partition layout exactly same as the source hard
drive regardless the capacity differences.
7) Size Tolerance
Normally, the capacity of the target hard drive is required to be greater than the
source hard drive so that all of the data can be copied without loss.
However, not all hard drives have identical storage capacity, even when they are
all labeled identically in terms of GB size. Thus, by enabling the size tolerance, the
system will allow the target hard drive’s capacity to be less than the original hard
drive by the percentage specified at the risk of less data loss/corruption.
8) Startup Menu
This setting will allow you to choose which menu you would like to see first when
you turn on the system.
Page 4

3
6. Utilities
9) Partition Mode
This setting will allow you to copy only the valid partitions of the source hard drive
(along with MBR/GPT table) bit by bit.
1) Compare
This function will perform the data comparison process between the source and
target hard drive to ensure data accuracy.
2) Verify Disk
This function will scan all target hard drives for readability.
3) Measure Speed
This function will perform read and write testes to report the read speed for the
source hard drive and write speed of all target hard drives.
4) Device Info
This function will show information regarding the hard drive connected to the
system.
5) System Info
This function will show the system’s hardware & software information.
6) Load Default
This function will reset all of the options back to the manufacture’s default settings.
Perform this function if the system is acting abnormal. Perform the “Shutdown”
operation and restart the system in order for these changes to take effect.
7) Update Firmware
This function will update the software for the system. The update file needs to be
transferred to a Hard Drive pre-formatted as “FAT32” file system on a PC.
There are two options for this function:
Format Update HDD: This function will prepare a hard drive to be eligible for
firmware-update by format such hard drive in the source port as FAT16/32 File
System.
Update: This function will perform firmware-update with the firmware-update
hard drive that contains the firmware update file.
General Firmware Update Procedure:
a. Pre-format a SATA Hard Drive using “Format Update HDD” function.
b. Copy the manufacture certified update file onto such pre-formatted hard
drive via a PC/Mac.
c. Insert such hard drive into the Source Port of the system.
d. Execute the “Update” function.
e. Restart the system when asked to do so.
It is strongly suggested that an upgrade to the system’s firmware not be performed,
unless the system is getting unstable and instructed to do so by a technician.
Page 5

4
8) Save
This function will save all the settings modified since the last time the system was
booted-up.
7. Manage Accounts
This menu will allow the Administrator to perform the following user administrative tasks.
This feature is disabled by default. Prior to activating this feature, the duplicator recognizes
all users as the only activated user defined as the administrator. The pre-defined password
for this menu is “0000”.
1) View User
This menu allows for the viewing of the existing user accounts.
2) Create User
This menu allows for the creation of additional user accounts. Each user has
individual settings. During this process, there are prompts to enter a new user
name (up to 8 alphanumeric letters or numbers) and user password (consisting of
a 4-digit number) for a new account.
3) Delete User
This menu allows for the deletion of an existing user account. During this process,
there is a prompt to select the existing account to be removed.
*User “Admin” is the administrative account; this account CANNOT be deleted.
4) Password on Bootup
This menu allows for the enabling/disabling pf the user administrative feature
prompt; user login upon boot up.
8. Shutdown
This function saves any system settings that have be modified since powering on the
system, to makes sure it is safe to turn off the system without any loss of settings. Once
the Ready to Power OFF message appears, then the system can be safely turned off via
the machine Power Switch. Turning off the system without performing this function will
increase the risk of damaging the system.
 Loading...