

vinmetrica SC-100A, SC100A-1 User Manual
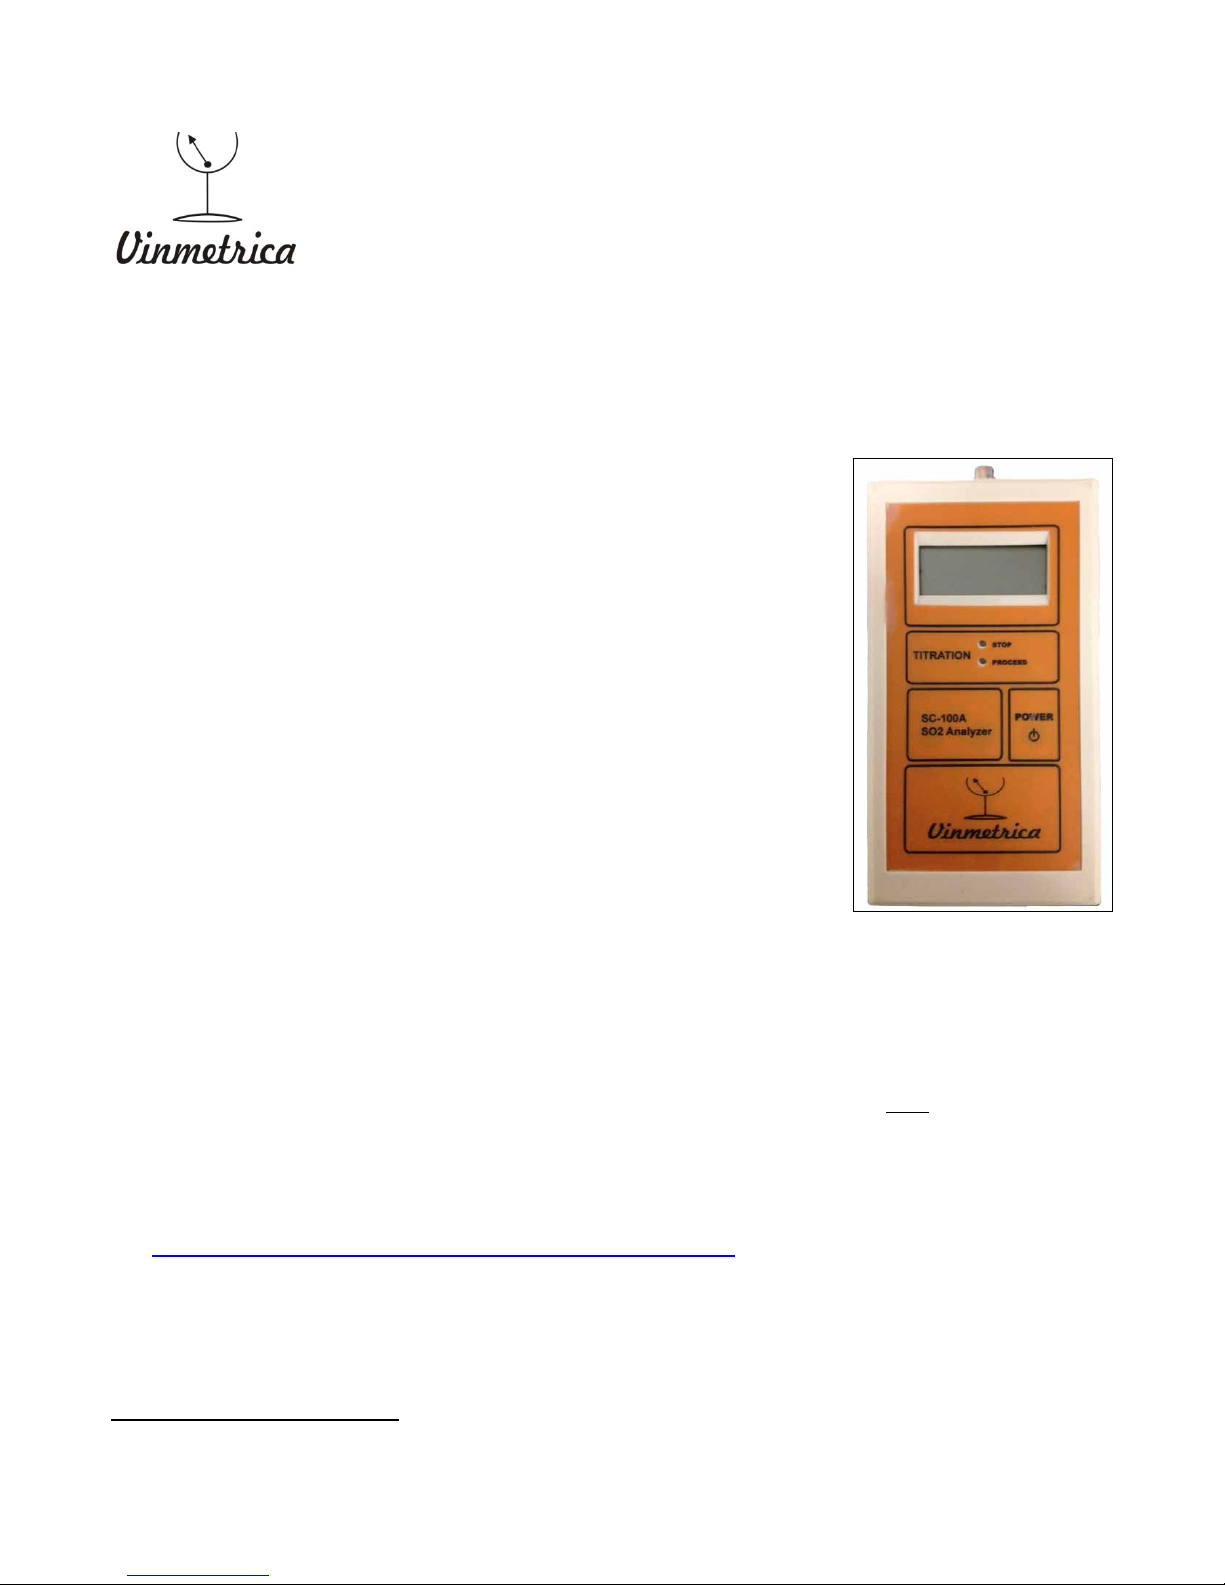
Figure 1. The SC-100A instrument
Vinmetrica SC-100A™
User Manual
The Vinmetrica SC-100A* is a simple and robust device that provides high accuracy in determination
of sulfite (SO2) levels in wine. These are essential parameters to control in the effort to make high
quality wines.
Materials provided in the kit:
1. Vinmetrica SC-100A SO2 controller unit (Part number SC100A-1)
2. SO2 Electrode (Part number SC-100-3), blue polycarbonate housing
3. SO2 Reagent set (Part number SC-100-2):
SO2 Titrant solution (0.0156N)
Acid Reagent
Reactant solution
4. One 5 mL syringe
5. Two 3 mL polyethylene transfer pipettes
6. One 25 mL serological pipette
7. One 100 mL polypropylene beaker
Things you will need:
1. Two standard AA batteries (alkaline type).
2. Distilled water, which usually can be found at your local grocery store. Its handy to have a wash
bottle for rinsing. Rinse bottle available from Vinmetrica (Part number SC-100-17)
3. (Optional) Sodium Hydroxide solution, 1N concentration (if you want to do total SO2). Available
from Vinmetrica (Part number SC-100-7, http://vinmetrica.com/wine-analysis-products/ )
4. (Optional) Deluxe Lab Accessory Kit which includes: magnetic stirrer, burette (10mL or 25mL),
lab support stand and electrode holder. Available from Vinmetrica (Part Number SC-300-9,
https://vinmetrica.com/product/the-deluxe-lab-accessory-kit/ )
*
US and international patents pending
SC-100A manual 1 Version 2.1

Free SO2 (ppm)
13
16
21
26
32
40
50
63
79
99
125
pH
3.0
3.1
3.2
3.3
3.4
3.5
3.6
3.7
3.8
3.9
4.0
Why Test for SO2?
Testing for sulfite (SO2) is crucially important for making sure your wine does not spoil by
oxidation or from microbial growth. Having the proper SO2 level in your wine gives you this protection.
By monitoring your SO2 levels, you can make adjustments when needed, especially before starting
primary fermentation, after malolactic fermentation has completed, after racking or when ready to
bottle. To correctly adjust sulfite, you need values for your current "Free SO2" level and your wine's pH,
both of which can be measured with the Vinmetrica SC-100A analyzer.
The key parameter in protecting your wine is "Molecular SO2" which for most wines should be
at 0.8 ppm (mg/L) following primary fermentation. This in turn depends on the "Free SO2" (it can also
be referred to as "unbound" SO2) and the pH. Overall, you can reach your target Molecular SO2 by
measuring and adjusting your free SO2 levels and considering your wine's particular pH. See Table 1.
Table 1. Free SO2 concentrations necessary to attain 0.8 mg/L Molecular SO
We recommend using a sulfite calculator for determining how much sulfite to add to your wines
after taking a sulfite measurement with the SC-100A SO2 Analyzer. Winemaker Magazine's Sulfite
Calculator at http://winemakermag.com/guide/sulfite can walk you through the process. See Appendix
B for more information on how to adjust your wine for sulfite.
at a designated pH.
2
Theory of operation:
Sulfite (SO2): The SC-100A, with the SO2 electrode and reagents provided, can be used to determine
sulfite (or SO2) levels in wine, musts, and other samples. It relies on the Ripper titration based on the
quantitative reaction of the SO2 with iodine (generated during the titration) which oxidizes the SO2 in
the sample under acid conditions.
-
IO
+ 5I- + 6H+ 3I2 + 3H2O generation of iodine from iodate
SO2 + I2 + H2O 2I- + SO3 + 2H
3
+
reaction of SO2 and iodine
When all the SO2 is titrated at the endpoint, excess iodine appears in solution. This is detected as
current with the SO2 electrode and signaled by audible and visual indicators. The endpoint is much
more sensitive than the starch color change commonly employed for Ripper titration, and it is sharp
and clear, even when titrating red wines and musts. From the known concentration of the titrant and its
volume required to reach the endpoint, the free SO2 is simply calculated.
SC-100A manual 2 Version 2.1
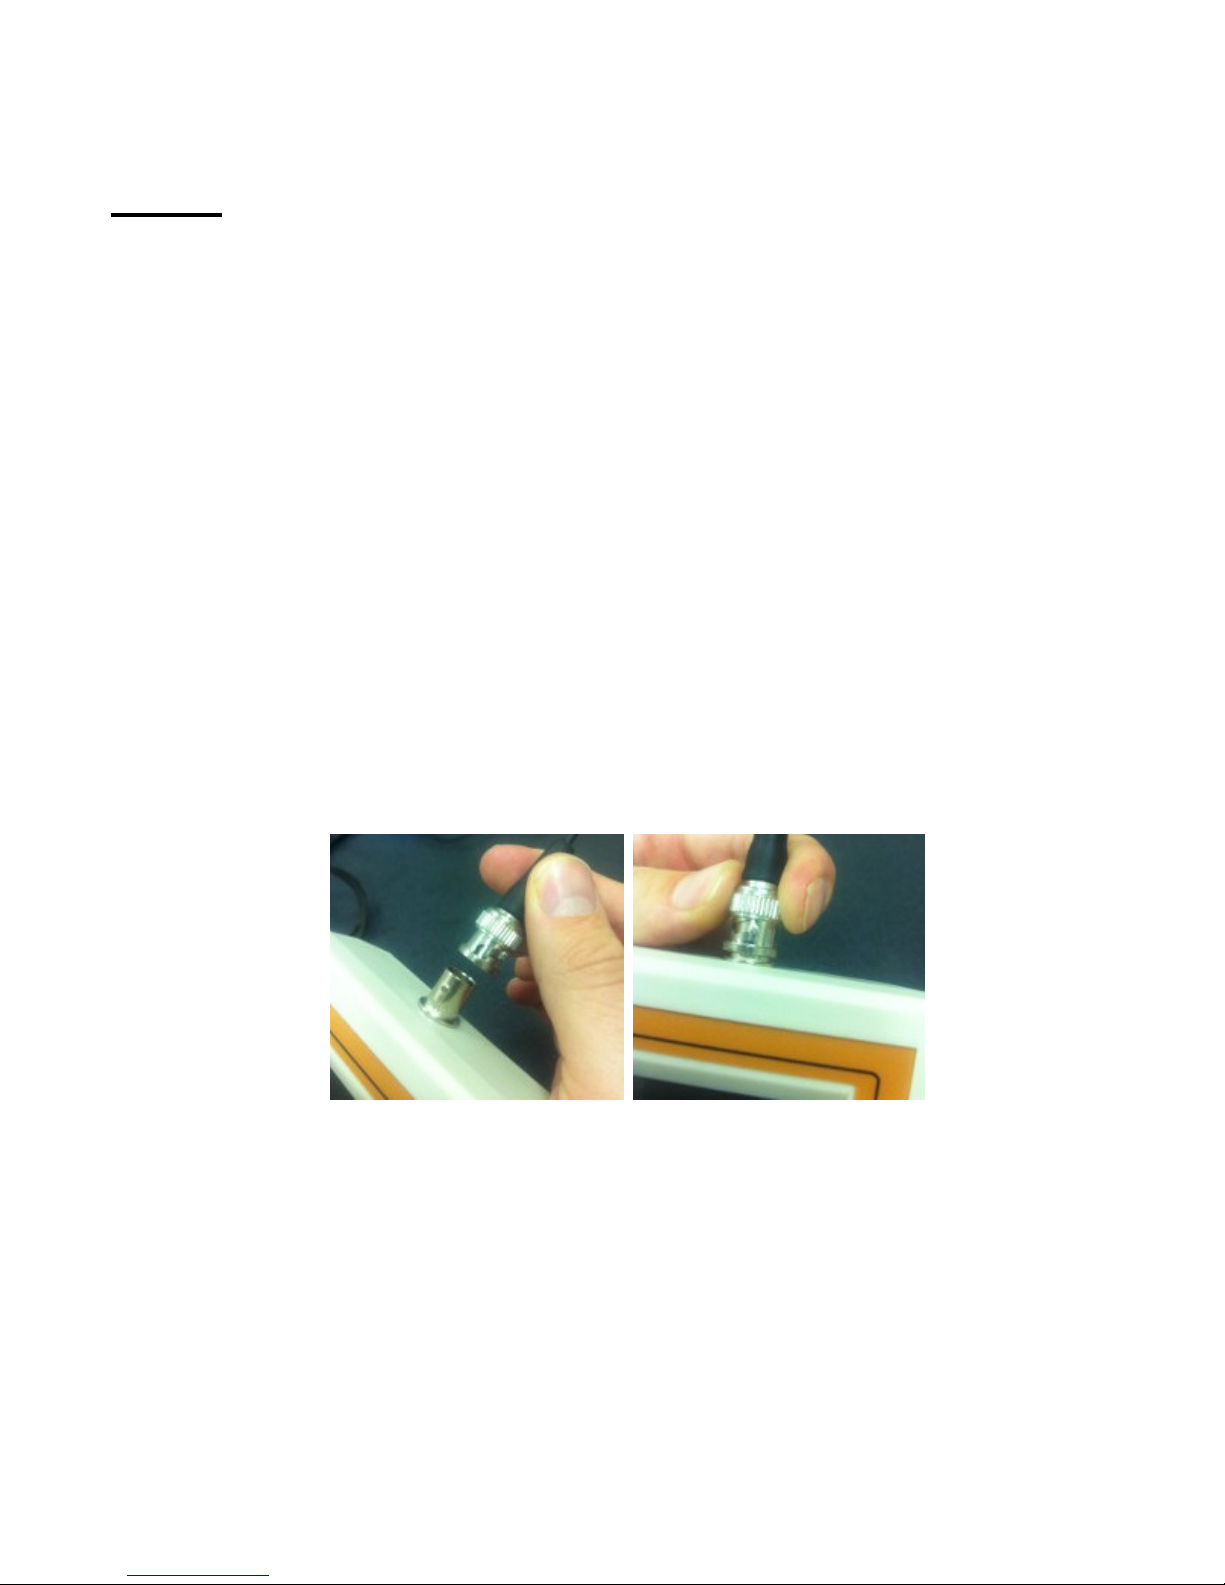
Figure 2. Attach the Electrode
to the BNC connector on the
SC-100A
Figure 3. Be sure the Electrode
attachment is screwed into place
on the BNC connector.
Setup:
Setting up the SC-100A for the first time:
1. The SC-100A (Figure 1) runs on two standard AA batteries (alkaline cells recommended). To
insert the batteries, open the battery housing on the bottom of the back of the unit by removing the
two screws and gently prying off the lid. Install the batteries (the springs are the (-) terminals and
the metal contacts are the (+) terminals), then close the housing. If desired, you can prop the unit
up using its folding stand.
2. Low Battery Detection: When the battery level is getting low, the instrument shows a low battery
icon on the upper left side of the display but continues to operate without impairment to any
function. Replace the batteries as soon as practicable. When the battery level drops too far, the
instrument does not operate. It rapidly flashes the low battery icon for 3.0 seconds, beeps and
shuts itself off.
3. Auto Shut-off: The SC-100A shuts off after 30 minutes. If this happens unexpectedly, just press
the POWER button to resume from where you were.
4. Attach the SO2 electrode via the BNC connector protruding from the top. Be sure to secure the
electrode plug to the BNC connector to insure proper function. (Figures 2 & 3).
5. Remove any protective cover from the electrode tip (some electrodes are shipped without one).
This cover is for shipping protection and need not be used routinely. Put the electrode on its side,
or hang it from an electrode stand if you have one. The SO
housing, but do take care not to let things touch or strike the platinum wires; they are somewhat
fragile and will break if bent and straightened repeatedly. Electrode care: When done, always rinse
with DI water and let air dry. There is no need to store the electrode in any kind of solution, and
the protective cap should not be replaced.
SC-100A manual 3 Version 2.1
electrode is sturdy with its plastic
2
Instrument Operation:
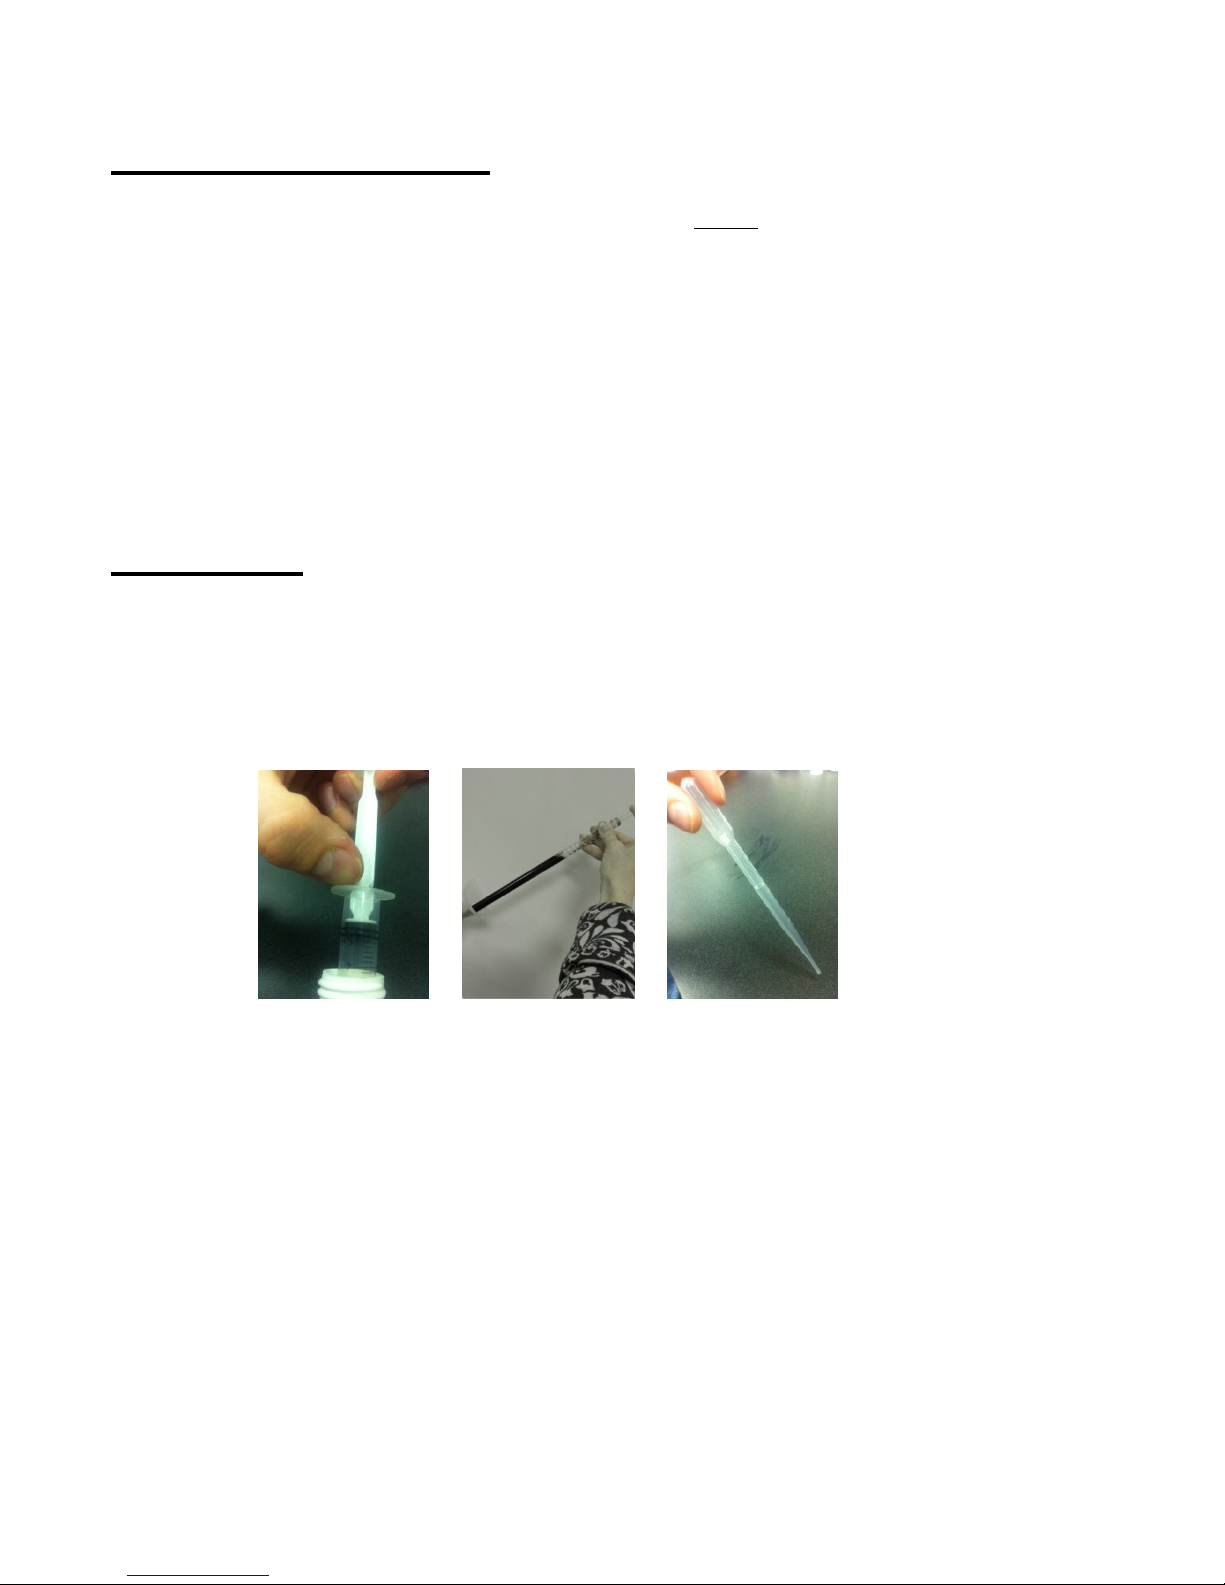
Figure 4. Withdraw
the titrant from its
bottle using a clean 5
mL syringe.
Figure 5. Dispense 25
mL of your wine into the
titration beaker using the
25 mL sampling pipette.
Make sure this is clean
before putting the pipette
into your wine container!
Figure 6. The transfer
pipette. One full
squeeze of the transfer
pipette in either the
Acid solution or
Reactant should be
1. Turn on the instrument by pressing the POWER button briefly. (Note: depressing the POWER
button longer than two seconds at start-up will cause the instrument to enter Test Mode; see
Appendix A) The instrument will go through a power-up sequence. After a few seconds the
display will show a value less than 50 (usually 0.0) and the green (Proceed) LED should be on.
2. [Optional] Pre-condition the SO2 Electrode: *All SO2 electrodes are pre-conditioned at
Vinmetrica before shipment. Therefore normally you should skip this step. If you think your
electrode is not functioning properly you may try pre-conditioning the electrode. See Appendix
C2 for more information on preconditioning the SO2 electrode.
Procedures:
Measuring Free SO2 by Titration:
1. With the electrode disconnected, turn on the instrument. The display should show a value less than
20, usually 0.0. Now attach the SO2 electrode.
2. Fill the syringe by drawing up the SO2 Titrant (the bottle with the blue label) (Figure 4). Expel
bubbles and set the plunger on the syringe to a readable point, preferably the 5.0 mL point. Make
sure the outside of the syringe is dry to minimize inaccuracies. [Note: the 5.0 mL setting allows
determination of up to 100 ppm SO
instead, fill it now.
3. Place 25 mL wine or must in the titration vessel (Figure 5). We recommend using the 25 mL
pipette provided in the kit: draw sample up to the 0 mL mark, then dispense the sample into your
SC-100A manual 4 Version 2.1
in a standard 25 mL wine sample.] If you are using a buret
2
 Loading...