

VINE TJ - 225 User manual
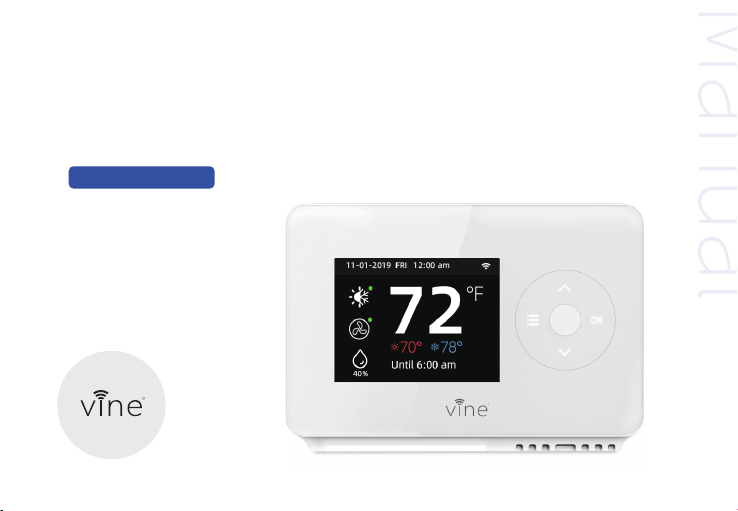
TJ - 225
Smart Wi-Fi Thermostat
with Nightlight
User Manual
R
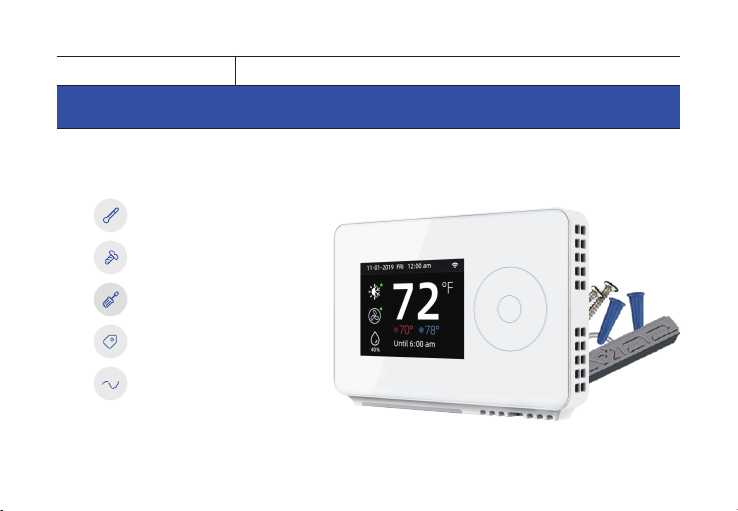
TJ-225 Smart Wi-Fi Thermostat with NightlightInstallation Guide
First things first. Here ’s what you ’ll find in the box
Wi-Fi Thermostat
Two screws and anchors
Flathead screwdriver
Wire labels
Jumper wire
01
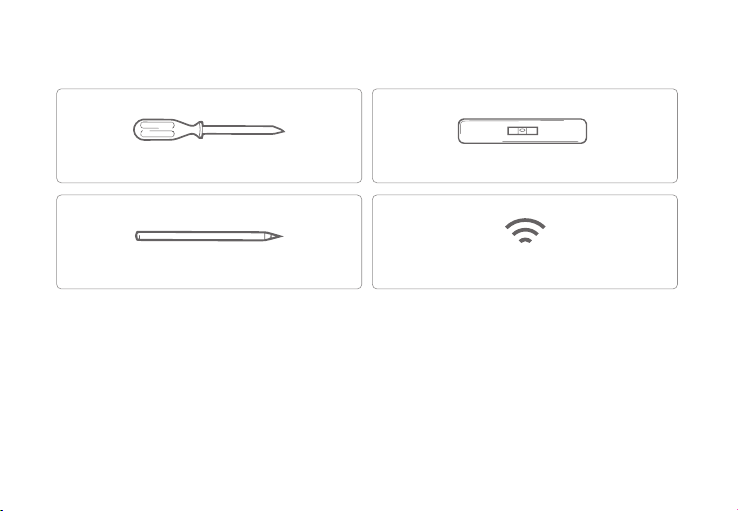
You may also need these tools:
Phillips screwdriver
Pencil
Level
Home Wi-Fi Password
Compatibility Section
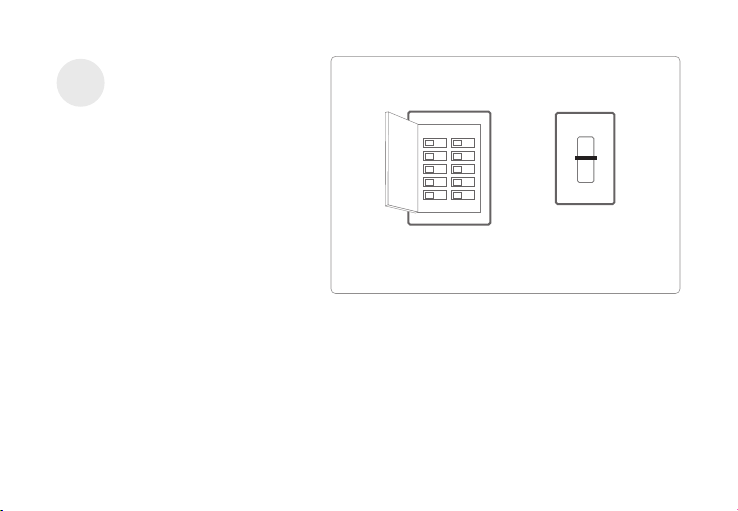
For conventional ( gas / oil / propane / electric ) heat-pump and dual fuel systems.
> 2-Heat & 2-Cool > 1-Heat & 1Cool > Heat Only > Cool Only
> Heat Pump W W/O Emerg. Heating or Aux. Heating
C-Wire required to power the thermostat
Note: If you’re uncertain about your wiring, get Professional help please!
02
Incompatible wiring and voltage
Please check your old thermostat’s wall plate have any below indicators?
• Does not work with electric baseboard heat ( 110VAC~240VAC )
• Does not work with millivolt systems
• Does not support S terminals for indoors and outdoors sensors.
110 VAC
or
120 VAC
or
L1 L2
NOTE : If you are unsure, please contact a professional or double check at www.VINECONNECTED.com
03
240 VAC

Download the App
There are three ways to download the
Vine App for your smart device:
1. Search Vine Smart Control in the App Store or Google Play
Store,then download;
2. Use your smart device to scan the QR code on the left for an
automatic download;
3. Go to www.vineconnected.com, click App from the menu to
download.
iOS/Android
App Download
04

Create an account
When you download the Vine Smart Control app, you will be prompted to
create an account. This is required to access your thermostat remotely and use
all the features Vine offers. Use a valid email address and a password of your
choosing to create an account. Remember this email address and password.
Your Vine thermostat will be linked to this email address once it is registered.
Installation
This TJ-225 thermostat is designed to work on most 24V-AC low voltage heating and cooling systems
such as gas and oil furnaces, heat pumps, and single or dual-stage systems.
Step 1
Switch off power
This protects you and avoids blowing a fuse in your
equipment. To make sure the power is off, change the
temperature with your current thermostat and wait at least
five minutes to be sure that your system doesn’t turn on.
05
Breaker Box
ON
or
OFF
Switch
Step 2
Switch off power
This protects you and avoids
blowing a fuse in your
equipment. To make sure the
power is off, change the
temperature with your current
thermostat and wait at least
five minutes to be sure that
your system doesn’t turn on.
OFF
or
ON
Switch
Breaker Box
06
Step 3
Check that your system is off
Confirm your system is off by turning on your heat ( during winter ) or your AC ( during
summer ). Wait a few minutes—you should not feel air coming from your vents.
NOTE : If you have a digital
thermostat that has a
blank display, skip this
step.
Step 4
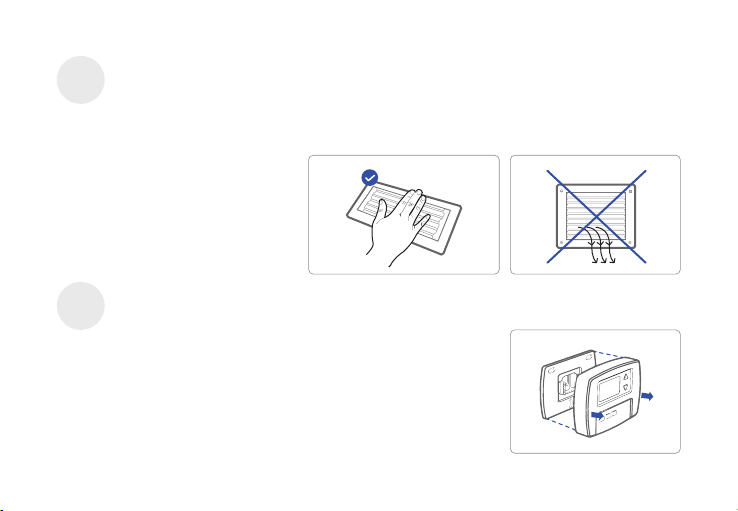
Remove your old thermostat from the wall plate
Most thermostats allow you to remove the main unit and provide
access to a wall plate which holds the wiring terminals, you can
take off the thermostat by grasping and gently pulling. Some
thermostats may have screws, buttons, or clasps.
NOTE : Do not remove any wires from your thermostat at
this time!
07
Step 5
G
C
Y
R
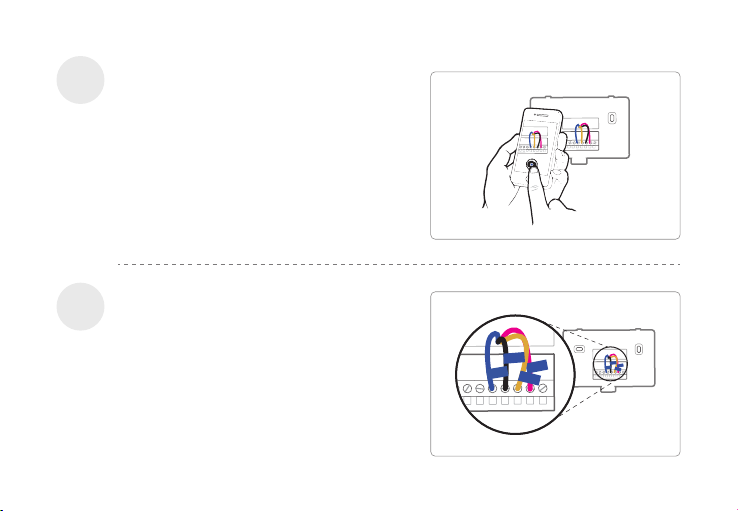
Take a picture of the wires
Take a picture of your existing wall plate’s
wiring and save it for reference. Make sure
you can read the wire terminal labels.
Step 6
Label the wires
Use the wire label provided with your new
thermostat to label each wire on your old wall
plate.
C
R
G
Y
NOTE : If you have an Rc or Rh wire, put the R
label on it.
08
Step 7
Disconnect the wires and remove the old wall plate
Disconnect the wires from the old thermostat
one by one, you may need a screwdriver to
release wires from terminals.
NOTE : Wrap the wires around a pen or
pencil so they don’t fall back into the hole in
the wall.
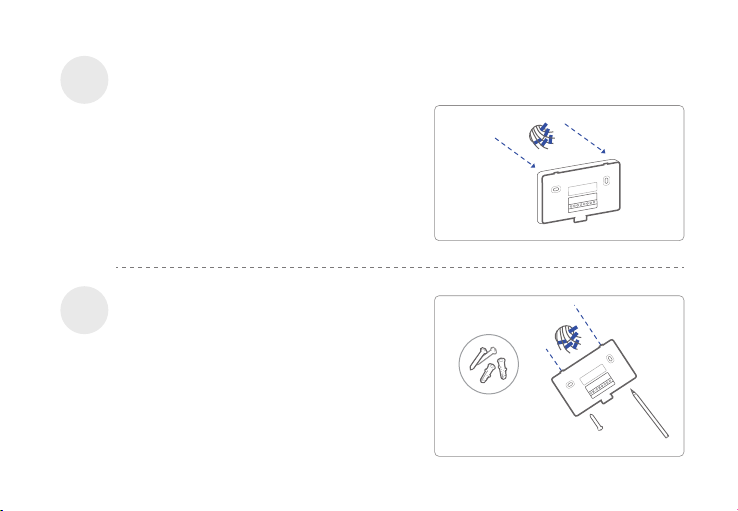
Step 8
Mount the New Wall Plate
Use the enclosed screws and anchors to
mount the new wall plate. In most cases, you
can utilize the same mounting position of
your old thermostat. Be sure to check the
alignment of your wall plate pre and post
installation of the thermostat unit.
09
Compatibility
Checker

Look at the thermostat wiring photo you took. The following are wiring diagrams for common
systems, please confirm you have a C connected to your old thermostat.
Terminal
RC
RH
C
G
Y
Y2
W/E
O/B/W2
Conventional System
Power for cooling, 24V
Power for heating, 24V
Common wire, 24V
Fan
1st Stage Cool
2nd Stage Cool
1st Stage Heat
2nd Stage Heat
Heat Pump System
Power for cooling, 24V
Power for heating, 24V
Common wire, 24V
Fan
1st outdoor Stage Heat
2nd outdoor Stage Heat
1st Stage Auxiliary/Emergency Heat
Changeover (reversing valve)
connection for heat pump
10
Single Stage Heat / Two Stage Heat- Furnace / Boiler with C wire
RC RH
G W/ E
1st Stage Heat 2nd Stage Heat
Y C Y2 O/B/W2
Thermostat
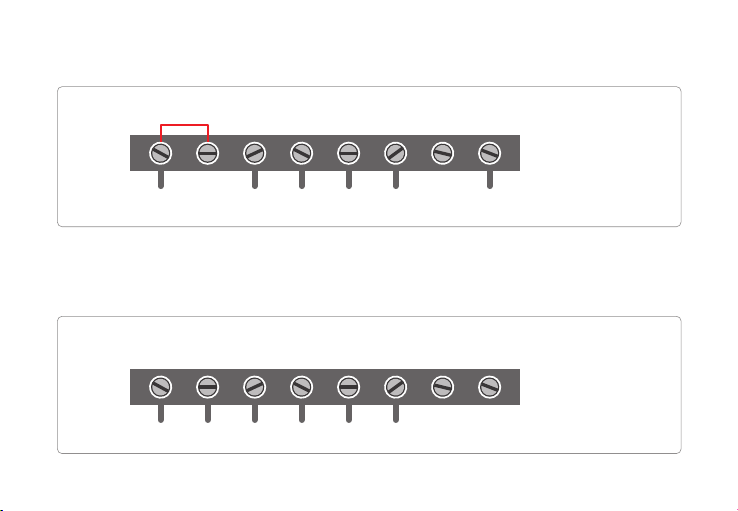
Combined Single Stage Heat and Single Cool Stage with C wire
( Remove Pre-installed Jumper )
Cool Furnace and Air Conditioner
RC RH G W/ E Y C Y2 O/B/W2
Thermostat
11
Single Stage / Two Stage Heat Pump with Emergency Heat and Auxiliary
Heat with C wire
RC RH
G W/E
Emerg./AUX
Y C Y2 O/B/W2
1st Stage
Heat
Heating
2nd Stage
Heat
Single Stage Cool / Two Stage Cool‒Air conditioner
RC RH
G W/E Y C Y2 O/B/W2
1st Stage Cool
2nd Stage Cool
Thermostat
Thermostat
12
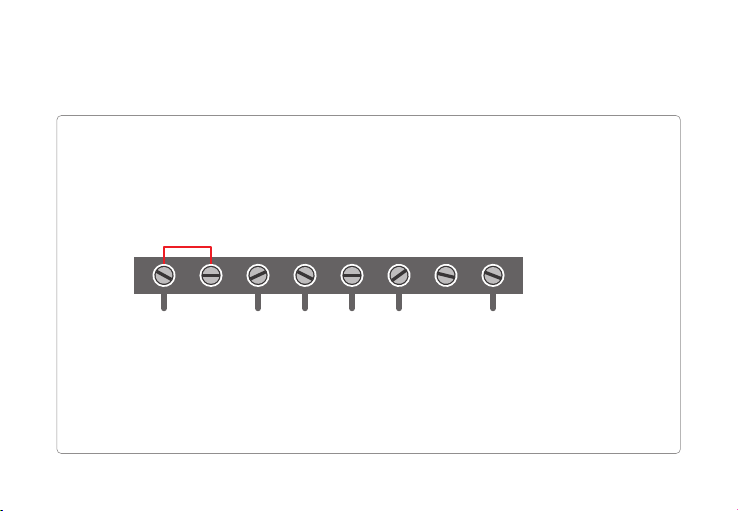
Dual Fuel System-Combined Single Stage Heat Pump and Single Stage
Furnace with C wire
RC RH
13
G W/E Y C Y2 O/B/W2
Thermostat
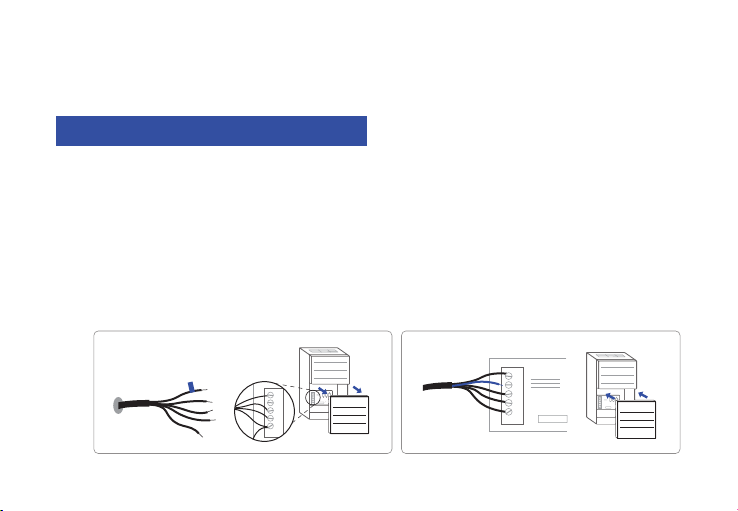
If you do not have a C-wire connected to your old thermostat, please
G
C
R
W/E
Y
check below wiring diagram.
Do you have a spare wire? Yes.
Check for spare wire behind your wall plate or old thermostat, if you have a spare wire, connect
1 .
it to the C terminal on the new wall plate.
2 .
Remove cover from furnace or heating system, open the heating and cooling system’s cover to
find the control board. You should see the same terminal labels that are on your thermostat.
3 .
Find the other end of the unused wire, locate the bundle of wire that are the same as the ones
at your thermostat.
4 .
Connect the unused wire to the C-terminal.
5 .
Close the cover to the furnace or heating system.
c
G
C
R
W/E
Y
14
 Loading...