

Page 1
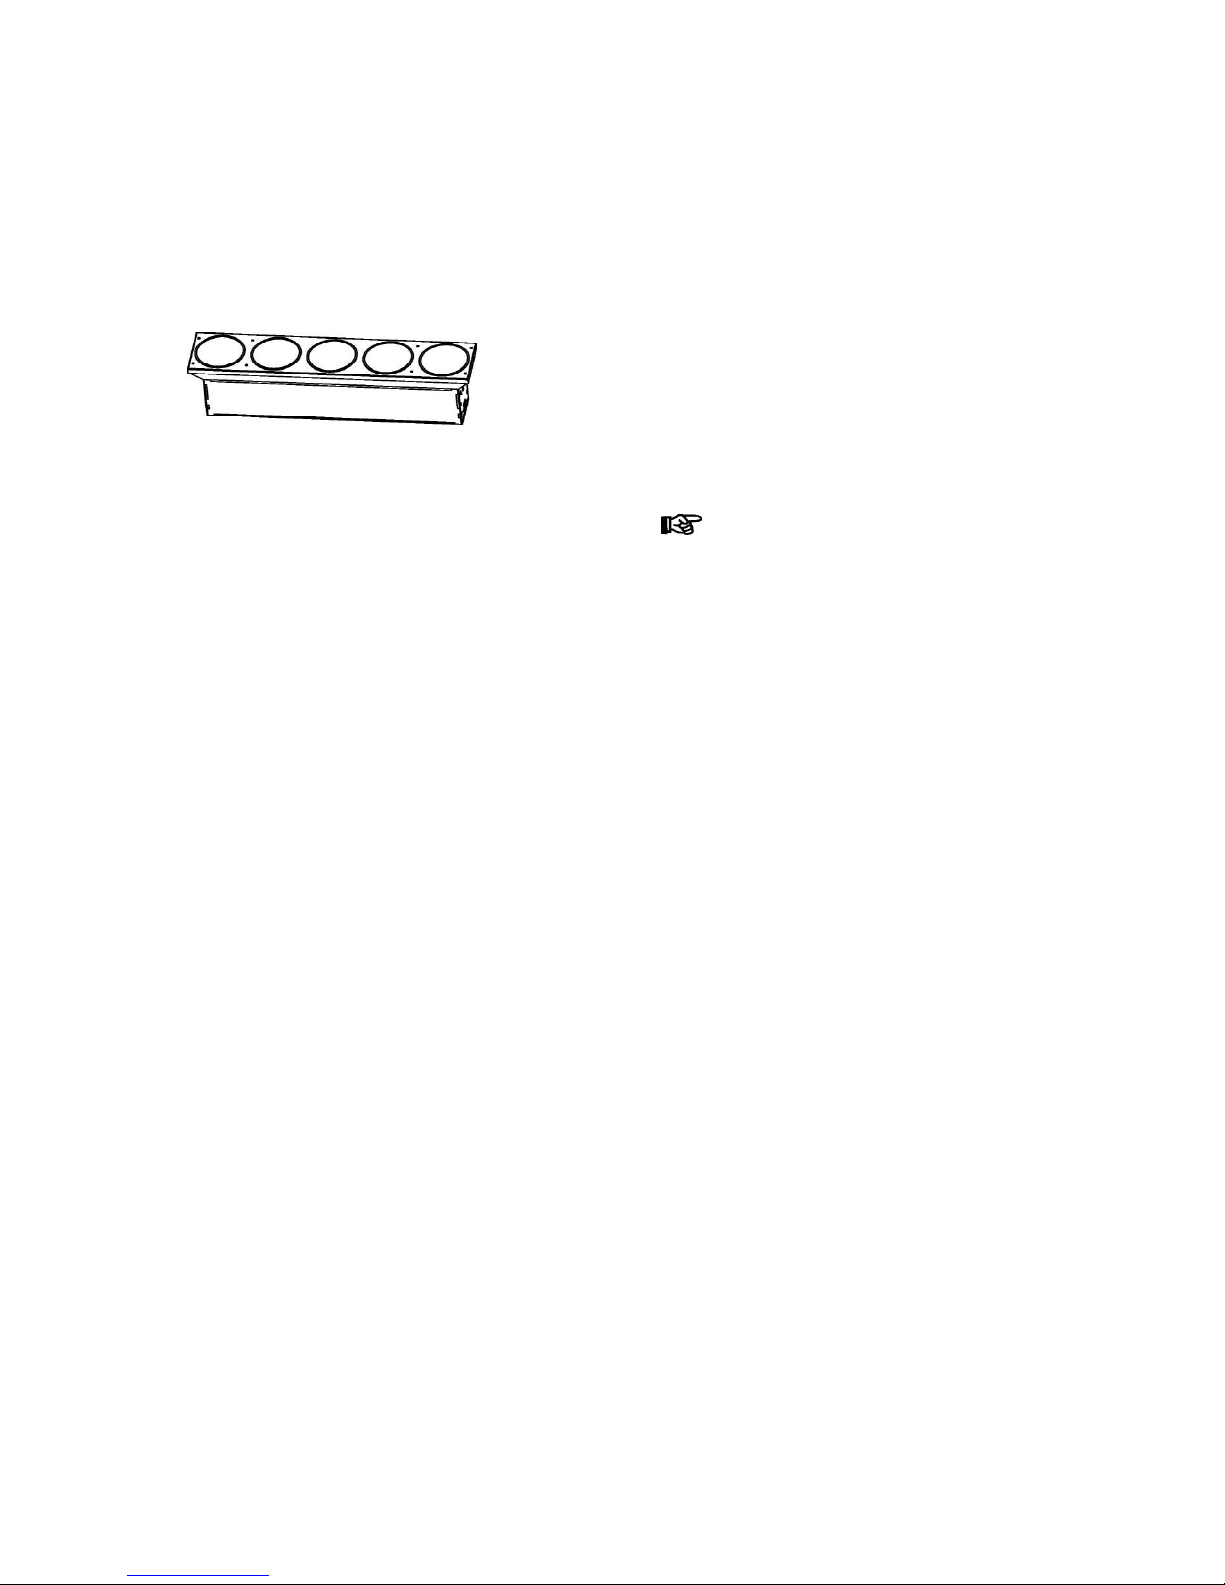
LED Matrix light
User manual
ST-005
please read the manual before installing and using this lighting
Keep it for future reference
Thank you for purchasing our product!Upon receiving the lighting,please
Carefully check that there has been no damage caused in transportation. If
The lighting has been damage, do not use the lighting and contact your
Dealer or manufacturer.
This product complies with the following standards:
IEC60598-1:2003
IEC60598-2-17:1984+A2:1990
Main features
5 independent LEDs
Built-in programs
0~100% dimmer
Four digital LED display control board
Easy to set up lamp arrays
Safety information
Important
Al operation and maintenance must be carried out in accordance with this
User manual
Manufacturer will not with responsibility for that operation not according
To this Instruction:
- 1 -
Page 2

Verify that the voltage matches the rated voltage.
Make sure power socket is connected with earth cable well. The earth
Cable of this unit is Yellow/Green one.
always disconnect the power before attempting to open the equipment
Housing or carrying out any maintenance.
do not connect power cable of other electric products with this unit.
Make sure power socket is connected with earth cable well. The earth
Cable of this unit is Yellow/Green one.
do not expose the fixture to rain or moisture.
Verify that the feed cables are undamaged and rated for the current
Make sure all devices are connected before use.
Keep all combustible materials (for example fabric, wood, paper) at
least 0.3 meter away from the light. Keep flammable materials well
away from the fixture.
Avoid looking directly into the light source (especially those who suffer
from epileptic fits)
When it is thunderstorm, don’t use the light and disconnect the power
Dimensions
Power connection
Al dimensions are in millimeter
Supply, high voltage will destroy light.
The highest ambient temperature is 40 °C
When suspending the fixture above ground level, verify that the
Structure can hold at least 10 times the weight of al installed devices.
Verify that all external covers and rigging hardware are securely
Fastened and use an approved means of secondary attachment such
as a safety cable .
Verify that all screws are tightly fastened.
- 2 -
Verify that the voltage matches the rated voltage.
Make sure power socket is connected with earth cable well.
Installing a Neutrik connector on a power cable
- 3 -
Page 3
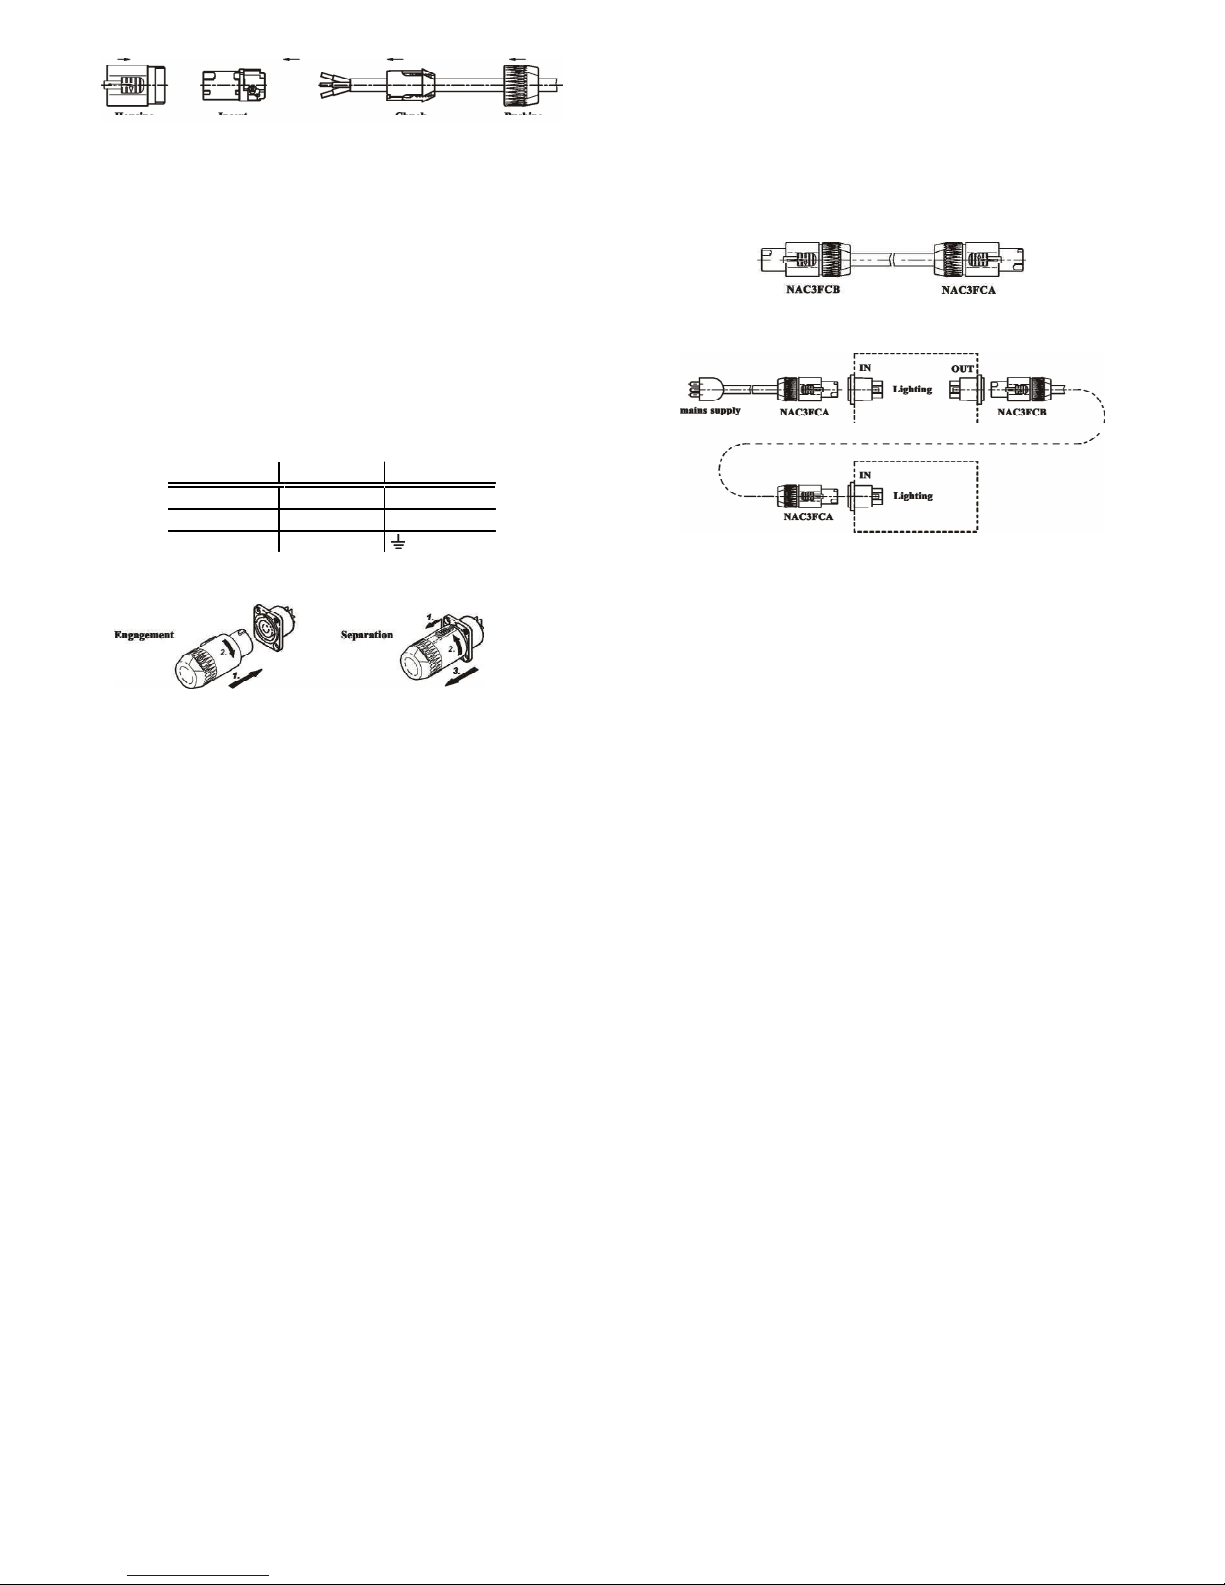
Put bushing and chuck onto the cable.
Prepare cable as shown above. The power cable must is a
three-conductor 2.5mm2cable.
Insert the wire into the terminals and fasten the clamping device by a
flat screw driver.
Push insert and chuck into housing (pay attention to the guiding
keyway.)
Fasten bushing.
the color-coding schemes and some possible pin identification
Schemes; if pins are not clearly identified, or if you have any doubts
About proper installation, consult a qualified electrician
Relaying power to other devices
The lightings can be linked in a chain by power cables which installed a
blue and light-gray connectors on the two ends. The light-gray connector
Connects to the power out socket of the first lighting, and the blue
connector connects to the power in socket of the subsequent lighting, and
so on.
Handling
Wire color
Brown
Blue
Yellow/green
Conductor
Live
Neutral
Ground
- 4 -
Symbol
L
N
The power cable must is a three-conductor 2.5mm2cable.
Do not connect more than 40 lightings in total to AC mains power in one
interconnected daisy chain
- 5 -
Page 4

Operation mode
Stand-alone mode
In Stand-alone mode, the lighting out of control of any exterior
signal, run
solely. Enter SET menu to set the lighting to Stand-alone mode.
Master/slave mode
Set one lighting to master-device,others to slave-device,so al
lightings run
synchronously flow the master-device. There must be only one
master-device in a chain. You can set the lighting to master-device
in the
SET menu. Press the menu to the DMX mode position, the lighting
will run
in slave mode. If the master lighting is pressed to DMX mode
position,
it will be reset again.
DMX mode
Menu
Menu Navigation
SET Menu←ESC←A001→ENT→DMX Menu
UP↑↓DN
SET Menu←ESC←CUSE→ENT→Adjustment
menu
UP↑↓DN
SET Menu←ESC←SCEN→ENT→Scenes menu
UP↑↓DN
SET Menu←ESC←PROG→ENT→Bult-in
program menu
UP↑↓DN
SET Menu
SET
When the lighting is displaying the DMX address, it runs in DMX mode, and
the lighting can be control by DMX512 signal.
Control panel
Buttons
├RELD
│ ├ ON
│ └ OFF
├MAAL
│ ├ MAST
│ └ ALON
; Reload default
; Master/stand-alone setting
; Master mode
; Stand-alone mode
SET/ESC
UP
DOWN
ENTER
Call the main menu, or escape the current menu (i.e. return to
The upper menu and give up the selected item or parameter)
Browse the menu item forward or increase the parameter
Browse the menu item backward or decrease the parameter
Confirm the selected item or parameter (i.e. enter the next
Menu, or escape the current menu and save the selected item
Or parameter)
-
6
-
Page 5

├AUSO
│ ├ AUTO
│ └ SOUD
├MIC
│ └ M20
└SOFE
; Run mode when run built-in program
; Auto
; Sound active
; Sound active sensitivity
; Default=20
; Safe information
- 7 -
Page 6
DMX menu
ADDR:
Static scene menu
SCEN
; Static scenes
├ADDR
│ └A001
└CHS
├5CH
├1CH
; DMX address
;
; Selecting channels mode
; 5 channels mode (default)
; 1 channels mode
├
NOM:
│ └0-027
└GDIM
└000-255
; Select scenes
; Global dimmer
├2CH
├4CH
└8CH
; 2 channels mode
; 4 channels mode
; 8 channels mode
Built-in program menu
PROG ; Built-in program
├PNU ; Select built-in program
│ └001-020 ;
Adjustment menu
ADJ:
├SPED
│ └0-255
; Program speed
;0=fastest,255=slowest
├GDIM:
│ └0-255
├LP01 :
│ └0-255
; Gobal dimmer
; 0-255 grayscale
; LED 1 brightness
; 0-255 grayscale
└GDIM
└000-255
DMX protocol
;Gobal dimmer
├LP02 :
│ └0-255
├LP03 :
│ └0-255
├LP04 :
│ └0-255
└LP05:
└0-255
; LED 2 brightness
; 0-255 grayscale
; LED 3 brightness
; 0-255 grayscale
; LED 4 brightness
; 0-255 grayscale
; LED 5 brightness
; 0-255 grayscale
- 8 -
This lighting has 3 channel modes: 1 channels mode, 2 channels mode, 4
Channels mode, 5 channels mode, 8 channels mode
The default mode is 5 Channels Mode. If you want to alter it, enter DMX
Menu.
5 channels mode
Channel Value Function
CH1 000~255 LED 1 brightness
CH2 000~255 LED 2 brightness
CH3 000~255 LED 3 brightness
- 9 -
Page 7
CH4
CH5
000~255
000~255
LED 4 brightness
LED 5 brightness
CH6
CH7
CH8
000~255
000~255
000~255
LED 3 brightness
LED 4 brightness
LED 5 brightness
1 channels mode
Channel Value
CH1 000~255
2 channels mode
Channel Value
CH1 000~255
CH2 000~255
Function
Strobe adjust
Function
Global dimmer
Adjust the bright time during strobe
Speciation
Voltage 230V AC, 50/60Hz
Power 70W
Light source 5pcs 10Wwhite LEDs
Dimmer 0~100%
DMX control 1/2/4/5/8 selected by menu
4 channels mode
Channel Value
CH1 000~255
CH2 000~255
CH3 000~255
CH4 000~255
8 channels mode
Channel Value
CH1: 000~255
CH2 000~055
CH3 000~255
CH4 000~255
CH5 000~255
Function
Global dimmer
Adjust the bright time during strobe
Adjust the blackout time during strobe
Built-in programs and scenes
Function
Global dimmer
Strobe adjust
Built-in programs and scenes
LED 1 brightness
LED 2 brightness
- 10 -
Working environment temperature -20℃~ +40℃
Net weight 2.5kg
- 11 -
 Loading...