

Viking Components CF-ADAPT, RCF4M, RCF-ADAPT, CF4M, CF8M Installation Manual
...
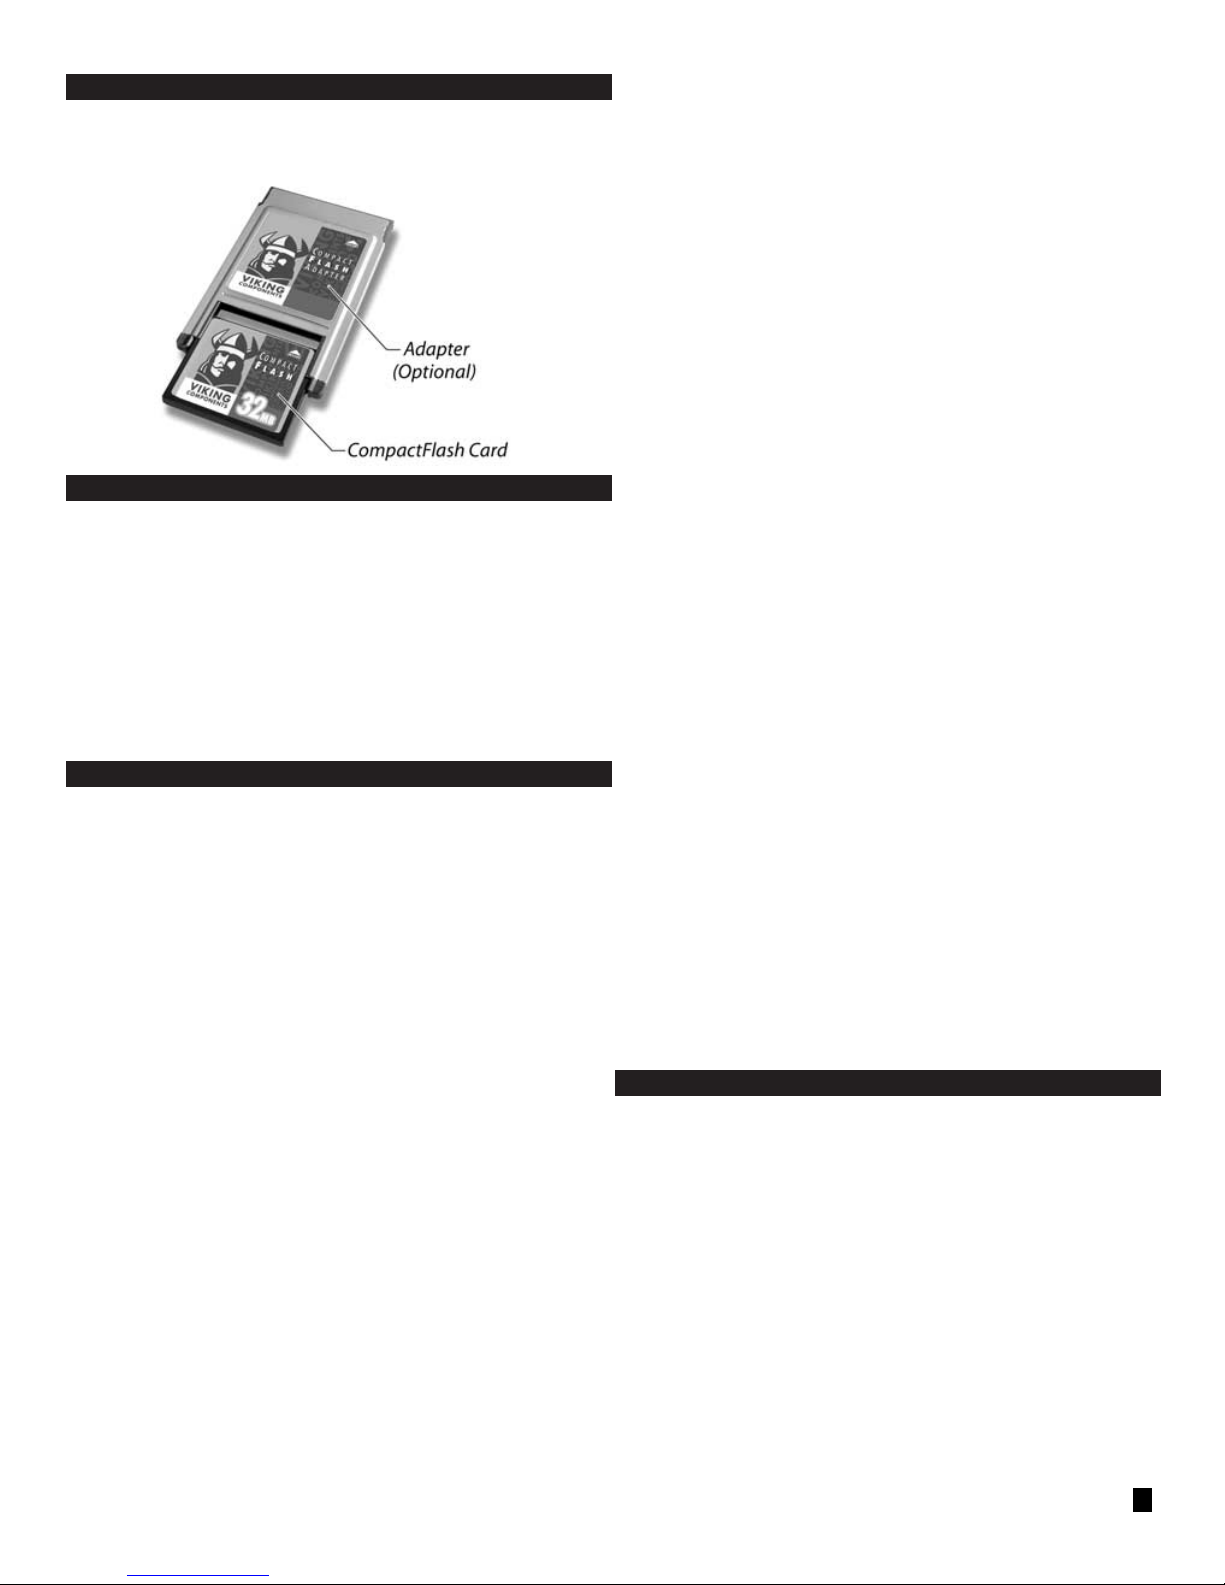
MEMORY INSTALLATION GUIDE:
CompactFlash™ Memory Card
This guide will cover the installation and care of Viking’s CompactFlash Memory and
optional adapter.
Description Viking P/N
CompactFlash Adapter CF-ADAPT,RCF-ADAPT
4MB CompactFlash CF4M, RCF4M
8MB CompactFlash CF8M, RCF8M
12MB CompactFlash CF12M, RCF12M
16MB CompactFlash CF16M, RCF16M
24MB CompactFlash CF24M, RCF24M
32MB CompactFlash CF32M, RCF32M
48MB CompactFlash CF48M, RCF48M
64MB CompactFlash CF64M, RCF64M
80MB CompactFlash CF80M, RCF80M
Caution:
Electro Static Discharge (ESD) can damage electronic components. Before touching
the memory module, ensure that you are discharged of static electricity by touching a grounded metal object.
BASIC HANDLING INSTRUCTIONS:
• Do not bend or flex the card or the adapter.
• Do not drop the card or the adapter.
• Keep the card and adapter away from moisture.
• Keep the card and adapter out of direct sun light.
DIGITAL CAMERA INSTALLATION INSTRUCTIONS:
1. The CompactFlash memory card can be inserted into numerous digital cameras to
store pictures. The card can then be used to transfer the pictures into a laptop or a handheld PC. The installation of a CompactFlash card into a laptop or a handheld PC may
require an optional CompactFlash adapter. Please refer to the section “CompactFlash
Adapter Installation Instructions” for more information.
To install a memory card into a digital camera, align the notches on the card with those
of the CompactFlash socket in the camera. Then firmly insert the card into the socket
until it is completely seated.
If you are not familiar
with the procedure of
installing and removing
a CompactFlash memory card into your digital
camera, please refer to
the camera’s “Owner’s
Guide.”
MP3 PLAYER INSTALLATION INSTRUCTIONS:
1.The CompactFlash memory card can be inserted into numerous MP3 Players. The card
can then be used to store music in MP3 format for play on your MP3 player. The card can
also be used to transfer MP3 music files from your MP3 player to your laptop or handheld
PC. The installation of a CompactFlash card into a laptop or a handheld PC may require
an optional CompactFlash adapter. Please refer to the section “CompactFlash Adapter
Installation Instructions” for more information.
To install a memory card into a MP3 player, align the notches on the card with those of
the CompactFlash socket in the player. Then firmly insert the card into the socket until it
is completely seated.
If you are not familiar
with the procedure of
installing and removing
a CompactFlash memory
card into your digital
camera, please refer to
the camera’s “Owner’s
Guide.”
Note: The MP3 player
may require the latest
software from the player’s manufacturer to initialize or use the card.
LAPTOP/ HANDHELD PC INSTALLATION INSTRUCTIONS:
1. The CompactFlash memory card can be inserted into numerous laptops or handheld
PCs to store information. The card can then be used to transfer files from your laptop or
handheld PC to other laptops, handheld PCs, digital cameras or MP3 players. The installation of a CompactFlash card into a laptop or a handheld PC may require an optional
CompactFlash adapter. Please refer to the section “CompactFlash Adapter Installation
Instructions” for more information.
To install a memory card into a laptop or handheld PC,align the notches on the card with
those of the CompactFlash socket in the system. Then firmly insert the card into the
socket until it is completely seated.
If you are not familiar with the procedure of installing and removing a CompactFlash
memory card into your digital camera, please refer to the camera’s “Owner’s Guide.”
VIKING COMPONENTS
MEMORY INSTALLATION GUIDE
COMPACTFLASH™
Memory Card
Manual No. 1005237
•
Release 01/2000, Rev. D
1
COMPACTFLASH ADAPTER INSTALLATION INSTRUCTIONS:
To install a memory card into an adapter, align the notches on the card with those on the
adapter. The Viking logo on the card and on the adapter should both be face up. Then
firmly insert the card into the adapter until it is completely seated.
TRANSFERRING FILES INSTRUCTIONS:
In most systems the CompactFlash card is seen as a hard drive.
Windows Based Systems:
In Windows 95 and Windows NT 4.0 based systems,go to the icon “My Computer” on your
systems desktop and double-click on it. You should see the card listed.
Mac OS Based Systems:
For Apples with Mac OS 7.53 or later (with Macintosh PC Exchange loaded),the card will
appear on the desktop.
Note: Do not format or initialize the card in a Mac OS based system. This can only be
done in a Windows based system.
Simply double-click on the card to open it. Information can then be placed on it or
retrieved from it like any other storage device.
TROUBLESHOOTING:
General:
1. If the CompactFlash card and adapter are not seen by your computer.
• Some systems may have all of their IRQs occupied by built-in devices. A built-in device
may need to be disabled.
Windows:
1. I have one of your Compact Flash memory cards and when I put it in my laptop,
Windows tries to install a new hard drive. Is this correct?
• Windows will see the CompactFlash card as a hard drive and will install the Standard
IDE/ESDI Hard Disk Controller. This is correct and Windows should be allowed to proceed.
After rebooting, you should see a new drive letter in “My Computer” or in “Windows
Explorer” assigned to the Viking flash card.
2. Windows installed the Standard IDE/ESDI Hard Disk Controller, but on rebooting, I
do not have an extra drive letter and do not see the Flash card in My Computer or
Windows Explorer. Now what do I do?
• Click on “Start”, and then on “Settings”, and then on “Control Panel.” Double-click on
“System” and select the “Device Manager” tab. Expand the Hard Disk Controller branch.
You should see a Dual IDE Controller. If not, select the “Properties” of each controller until
you find the one that has a “Settings” tab (only one will have it). On the “Settings”tab,
change the setting Default to “Both IDE Channels Enabled.” Back out saving the settings
by clicking on “OK”or “Close.” Reboot the system and insert the flash card. Allow
Windows to correctly install the Standard IDE/ESDI Hard Disk Controller, as it will suggest
doing. Reboot the system and you should see a drive letter for the flash card. If it is still
not seen, give us a call.
Windows NT 4.0:
Though Windows NT may detect your CompactFlash card,it may not be accessible under
NT. You may be able to correctly configure a drive letter for your card by using Disk
Administrator and reassigning drive letters. To simplify the installation you should install
CardWizard. With CardWizard by SystemSoft installed your CompactFlash will be recognized and work much like it would under Windows 95/98. CardWizard by Systemsoft is
not available from Viking Components. To purchase a copy of CardWizard,contact:
SystemSoft Corporation
2 Vision Drive Voice: 508.651.0088
Natick, MA 01760 Fax: 508.641.8188
• Check in your “Control Panel”for PC Card (PCMCIA) to be sure that it has been installed.
• Check your CMOS settings to be sure that your PCMCIA/PC Card option is NOT set to
disabled.
• Check with your system manufacturer or their Web site for any BIOS, PCMCIA or Hard
Disk Controller updates. This is especially true if you have or are planning to upgrade to
Windows 98 or Windows 2000.
Problem: Your computer does not see your CompactFlash card and adapter.
1. First check your Device Manager to be sure that you have an available IRQ. If you do
not, you may have to disable a built in device.
Problem: When installing the CompactFlash and adapter,and the system gives a "bad
beep" indicated by a solid beep and locks up the computer.
1. Go to “Device Manager/Hard Disk Controllers”and double click on “Dual IDE Controller.”
2. Select Settings, if it shows as "Default", change to "Both IDE Channels Enabled."
3. Click “OK.”
4. If you have a yellow "!" next to "Standard IDE/ESDI Hard Disk Controller," click once on it
to highlight it, then click “Remove.”
5. Remove the CompactFlash card and adapter from your computer and reboot.
6. Reinstall your CompactFlash card.
NOTE: During installation it may appear that the system is locked up, be patient as
it could take a few minutes for the card to be installed.
Problem: Computer beeps, indicating that the PCMICA card is recognized, but there is
no disk drive assigned. I/O ports 170-177 may be used by another device in your system.
1. Check the computer setting in “Device Manager.” If the PCMCIA disk controller is using
ports 170-177 try the following procedure.
2. Open “Control Panel” and double click the “System” icon.
3. On the “Device Manager”tab, click Properties.
4. On the “Reserve Resources” tab, click the “Input/Output (I/O)” option button, and then
click “Add.”
5. In the “Start Value”box, enter 170.
6. In the “End Value”box, enter 177.
7. Click “OK” until you return to “Control Panel.”
8. Restart your computer.
• Windows will not configure any device to use I/O ports 170-177 if it can avoid doing so.
• Another option is to try disabling any secondary disk controller that uses I/O ports 170177 in the computer's CMOS settings.
Problem: System or other device reports card is corrupt.
This can happen if power is removed from the CompactFlash card while data is being
written to the card or if the device has a low power indication.If this is the case you can:
WARNING: The following procedure will erase any information you may have on
your card:
1. First try to reformat the card.
2. FDISK the card then format it.
If you are unsure of how to perform an FDISK please refer to your system documentation.
If this does not recover the card,please contact Technical Support.
COMPACTFLASH™ SPECIFICATIONS:
Interface
• PCMCIA PC Card ATA and True IDE mode system performance.
Start Up Time
• Sleep to write 2.5 msec max.
• Sleep to read 2.0 msec max.
• Reset to ready 50 msec typical, 400 msec max.
• Data transfer rate to/from Flash 4.0 MB/sec burst.
• Data transfer rate to/from Host 6.0 MB/sec burst.
• Delay active to sleep Programmable.
• Controller overhead command to DRQ <1.25 msec.
Power Requirements
• DC input voltage.
• Commercial 5V +/- 10%, 3.3V +/- 5%.
• Industrial 5V +/- 5%
Typical Power Dissipation
• Sleep: 200 uA (3.3V), 500uA (5V).
• Read: 32-45mA (3.3V), 46-75mA (5V).
• Write:32-60mA (3.3V), 46-90mA (5V).
Reliability
• MTBF 1,000,000 hours.
• Data Reliability: < 1 error in 1014 bits read.
Environmental Specs
• Storage Temperature: -25˚ C to +85˚ C.
• Operating Temperature: -50˚ C to +100˚ C.
• Humidity: 8-95% non-condensing.
• Vibration: 15 G maximum.
• Shock: 2,000 G maximum.
Size
• Width: 36.4 mm.
• Length: 42.8 mm.
• Weight:11.4 grams (maximum).
2
 Loading...