

Page 1
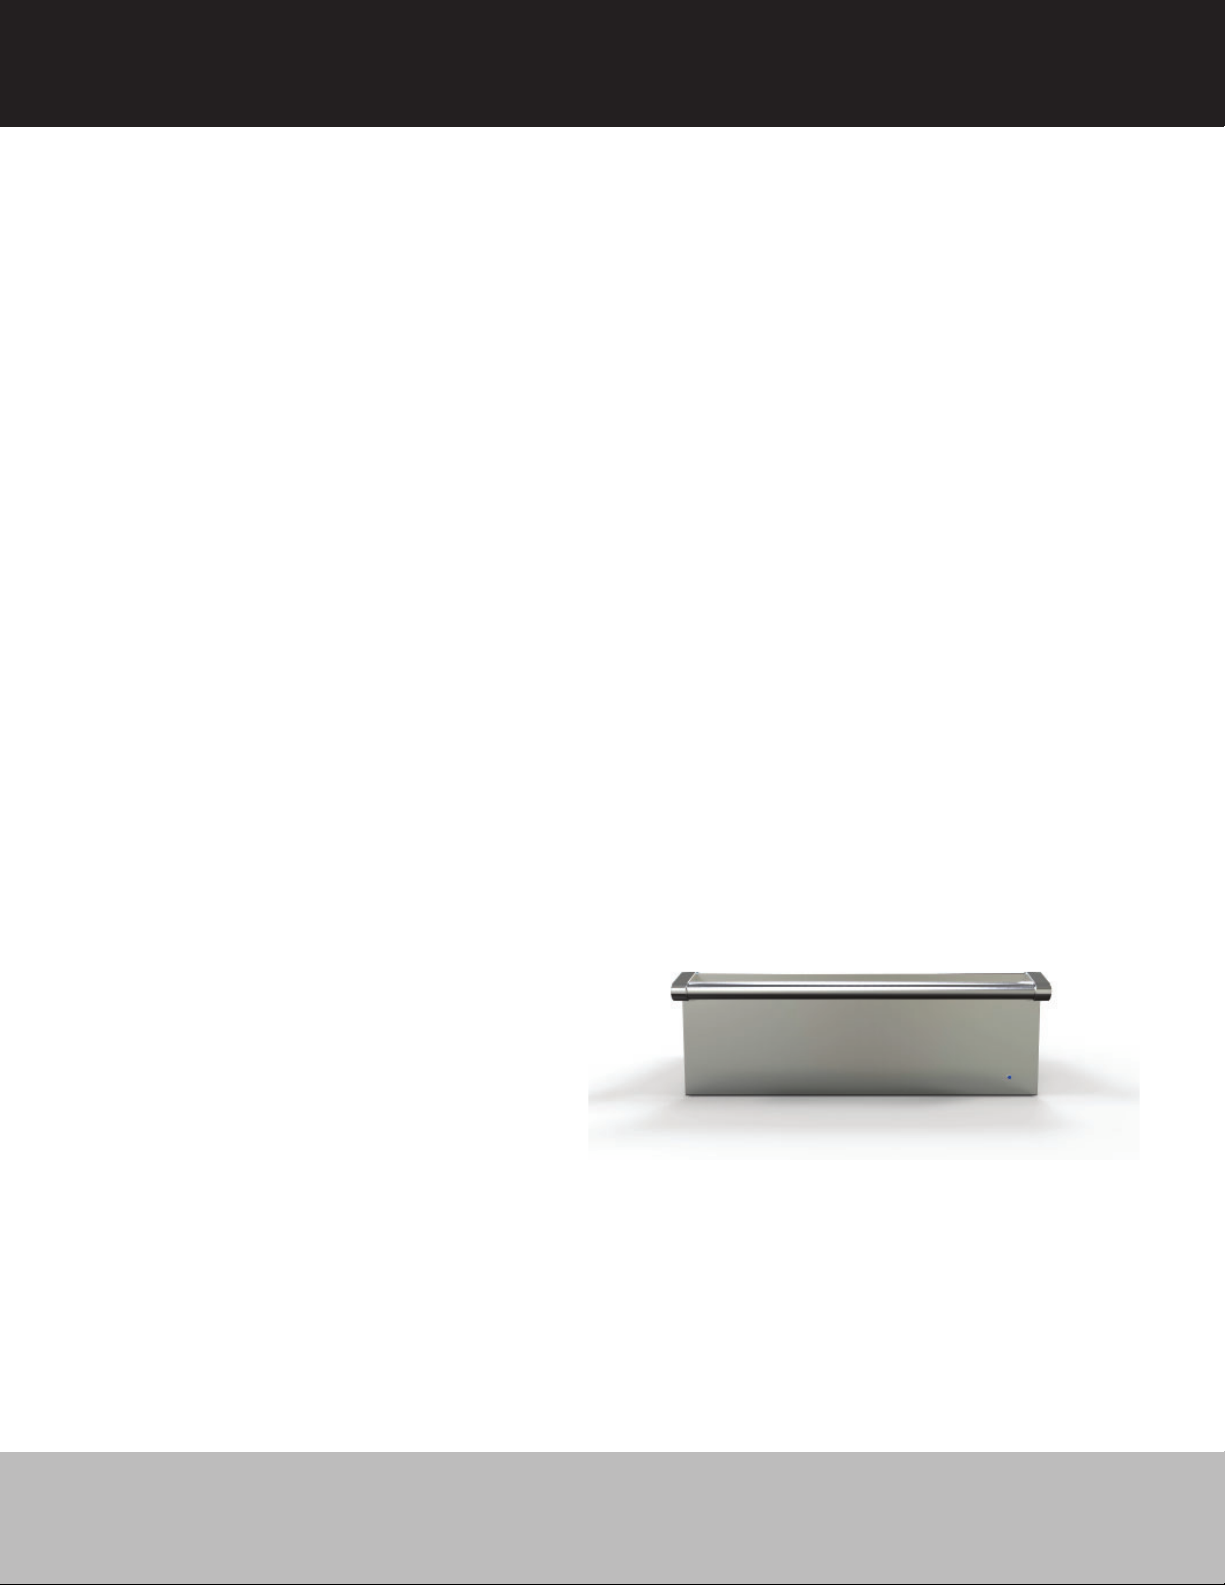
Use & Care
MANUAL
5 SERIES
Warming Drawer
VWD527
VWD530
Page 2

Congratulations
Congratulations and welcome to an elite world of ownership. We hope you will enjoy and appreciate the care and attention we
have put into every detail of your warming drawer.
Your appliance is designed to o er years of reliable service. This Use and Care Manual will provide you with the information you
need to become familiar with your drawer’s care and operation.
Your complete satisfaction is our ultimate goal. If you have any questions or comments about this product, please contact the
dealer from whom you purchased it, or contact our Consumer Support Center at 1-888-845-4641.
We appreciate your choice of our product and hope that you will again select our products for your other major appliance needs.
For more information about the complete and growing selection of products, visit us online at vikingrange.com
Table of Contents
Getting Started
Warnings and Important Safety Information ______________________________________________________________ 3
Before Using Your Warming Drawer _____________________________________________________________________ 5
Product Controls
Drawer Features _____________________________________________________________________________________ 6
Control Panel Settings ________________________________________________________________________________ 6
Operation
Preheating the Warming Drawer ________________________________________________________________________ 7
Warming Food ______________________________________________________________________________________ 7
Proo ng ___________________________________________________________________________________________ 7
Crisping Stale Items __________________________________________________________________________________ 7
Suggested Heat Settings ______________________________________________________________________________ 8
Product Care
Cleaning and Maintenance ____________________________________________________________________________ 9
Service Information _________________________________________________________________________________ 10
Warranty __________________________________________________________________________________________ 11
2
Page 3
Warnings
Warning and Important Safety Instructions appearing in this manual are not meant to cover all possible conditions and situations
that may occur. Common sense, caution, and care must be exercised when installing, maintaining, or operating the appliance.
ALWAYS contact the manufacturer about problems or conditions you do not understand.
Recognize Safety Symbols, Words, Labels
DANGER
Hazards or unsafe practices which WILL result in
severe personal injury or death
WARNING
Hazards or unsafe practices which COULD result in death or
severe personal injury
CAUTION
Hazards or unsafe practices which COULD result in minor
personal injury.
All safety messages will identify the hazard, tell you how
to reduce the chance of injury, and tell you what can happen if
the instructions are not followed.
Read and follow all instructions before using this appliance to prevent the potential risk of re, electric shock, personal injury or
damage to the appliance as a result of improper usage of the appliance. Use appliance only for its intended purpose as described
in this manual.
To ensure proper and safe operation: Appliance must be properly installed and grounded by a quali ed technician. DO NOT
attempt to adjust, repair, service, or replace any part of your appliance unless it is speci cally recommended in this manual. All
other servicing should be referred to a quali ed servicer.
WARNING
To avoid risk of property damage, personal injury
or death; follow information in this manual exactly
to prevent a re or explosion. DO NOT store or use
gasoline or other ammable vapors and liquids in the
vicinity of this or any appliance.
3
Page 4
Warnings
WARNING WARNING
NEVER use this appliance as a space heater to heat or
warm the room. Doing so may result in carbon monoxide
poisoning and overheating of the drawer.
WARNING
DO NOT use plastic wrap to cover foods placed in the
drawer, nor to keep foods warm that are wrapped or
placed in plastic containers for heating. Plastics can melt
onto the drawer if they are in direct contact. If melted
onto the drawer, they can be very di cult to remove.
CAUTION
DO NOT use any cleaning agent with chlorine or
chlorine compounds on stainless steel nish. Chlorine
and chlorine compounds are corrosive to stainless steel.
WARNING
To avoid sickness and food waste, do not allow
defrosted food to remain in the drawer for more than
two hours.
BURN OR ELECTRICAL SHOCK HAZARD
Make sure all controls are OFF and drawer is
COOL before cleaning. Failure to do so can
result in burns or electrical shock.
WARNING
NEVER cover any slots, holes or passages in the drawer or
cover an entire rack with materials such as aluminum foil.
Doing so blocks air ow through the oven and may cause
carbon monoxide poisoning. Aluminum foil linings may
also trap heat, causing a re hazard.
WARNING
Make sure that incoming voltage is the same as unit
rating. An electric rating plate specifying voltage, hertz,
wattage, amps, and phase is attached to the product.
Wiring the warming drawer with more voltage than it is
rated for may cause severe damage to the thermostat,
element, and other components. Wiring the warming
drawer with less voltage than it is rated for may cause
signi cant decrease in performance.
WARNING
FIRE AND ELECTRICAL SHOCK HAZARD
To reduce the risk of electric shock and
re, DO NOT use a exible power-supply
cord with this appliance.
WARNING
To reduce the risk of re, electric shock, or injury to
persons, installation work and electrical wiring must
be done by quali ed people in accordance with all
applicable codes and standards, including re-rated
conditions.
WARNING
To prevent possible damage to cabinets and
cabinet fi nishes, use only materials and fi nishes that
will not discolor or delaminate and will withstand
temperatures up to 194°F (90°C). Heat resistant
adhesive must be used if the product is to be installed
in laminated cabinetry. Check with your builder or
cabinet supplier to make sure that the materials meet
these requirements.
4
Page 5

Warnings
WARNING
If the information in this manual is not followed exactly, a re or
explosion may result causing property damage, personal injury
or death.
About your Appliance
•Do not touch the heating elements or interior surface of the drawer while it is in use. Use handles or knobs.
•Do not store ammable materials in drawer.
To Prevent Fire or Smoke Damage
•Be sure all packing materials are removed from the appliance before operating it.
•Keep area around appliance clear and free from combustible materials, gasoline, and other ammable vapors and materials.
• Many aerosol-type spray cans are EXPLOSIVE when exposed to heat and may be highly ammable. Avoid their use or storage near
an appliance.
• Many plastics are vulnerable to heat. Keep plastics away from parts of the appliance that may become warm or hot. DO NOT leave
plastic items in the drawer as they may melt or soften if left too close to a heating element.
• Combustible items (paper, plastic, etc.) may ignite and metallic items may become hot and cause burns. DO NOT pour spirits over
hot foods.
• Do not use aluminum foil or protective liners to cover any part of the drawer especially the bottom. Aluminium foil and liners are
heat insulators and could trap heat underneath them resulting in electric shock or re. This will also upset the performance and
can damage the interior nish.
• Do not place items exposed to cooking oils in your warming drawer. Items contaminated with cooking oils may contribute to a
chemical reaction that could cause a load to catch re.
Heating Elements
• Use only dry potholders. If moist or damp potholders are used, steam from potholders could cause a steam burn. Do not let
potholders touch hot heating elements located under the drawer. Do not use a towel or bulky cloths in place of potholders.
•Use care when opening the drawer. Let hot air or steam escape (open vent) before removing or replacing food.
•Do not place food in unopened containers in the drawer. Pressure could build up and cause the container to burst.
•Never use the appliance for other than intended use.
•Do not use water on grease res. Smother re or ame or use dry chemical or foam-type extinguisher.
•Always place warming racks in desired position while drawer is cool.
•Keep drawer closed when not in use.
•Do not install or store indoor models where they will be exposed to the weather.
Child Safety
• Do not allow children to use this appliance unless closely supervised by an adult. Children and pets should not be left alone or
unattended in the area when the appliance is being used.
• Do not allow anyone to climb, stand, lean, sit or hang on any part of the appliance, especially the door. this can damage the
appliance and the unit may tip over, potentially causing severe injury.
• Do not store items of interest to children in cabinets above an appliance. Children climbing on an appliance to reach items could
be seriously injured.
Before Using Your Warming Drawer
All products are wiped clean with solvents at the factory to remove
any visible signs of dirt, oil, and grease which may have remained from the manufacturing process. Before using, clean the drawer
thoroughly with hot, soapy water. There may be some burn o and odors on rst use of the appliance—this is normal.
5
Page 6

Warming Drawer Features
Moisture Selector
When facing unit:
Slide left to close
Slide right to open
1. Digital control
2. On/O Indicator Light
3. Drawer indicator Light
1
2
3
Warming Drawer Control Panel
Display
12
3
ON/OFF
Power
Button
Operating
Modes
Adjustment
Time/Temp
Toggle Button
Default Temperature Settings
Preset Approximate
Operating Mode Temperature of Drawer
1 (Low) 120ºF (49ºC)
2 (Med) 185ºF (85ºC)
3 (High) 250 ºF (121ºC)
(Proof) 90ºF (32º)
6
Page 7

Operation
The warming drawer will keep hot, cooked foods at serving termperature. Always start with hot food. DO NOT use to heat cold
food other than proo ng yeast dough, crisping crackers, chips, dry cereal or warming dishes or plates. NOTE: Use heat-safe dishes
only.
Preheating the Warming Drawer
Preheating is the time before the warming drawer reaches the set point. Once a warming mode has been started, it will
immediately start preheating. Some warming modes do not have to preheat like proof. In this case the warming drawer enters the
mode until the temperature limit is reached. If the set point temperature has decreased due to a mode change or power loss, the
unit will immediately enter the preheat phase until set point has been reached.
Warming Food
- When the “ON/OFF” power button is pressed, the display will show “SEL” and all operating mode buttons will ash for 10 seconds
or until an operating mode is selected. To change the default temperature, press the “+” or “-” until desired temp is reached. If an
operating mode is not selected in 10 seconds, the unit will shut o .
- When the desired mode has been pressed, the button will remain lit until the unit has reached the set temperature. The display
will show the actual temperature through preheating.
-When the temperature has been reached, the beeper will sound 4 times and the button will remain lit.
- If a timer has been set, the display will start the countdown once the set point for the desired operating mode has been reached.
When the timer reaches the last 10 seconds, the display will ash. Once the timer has expired, the unit will sound 3 consecutive
beeps 3 times and then shut o . The power button and desired mode will have to be initiated to start another heating cycle.
Setting the Timer
-The timer can be set before or during a preset mode.
-Press the “Time/Temp/Probe” toggle botton to display timer mode. The display will show “0:00”.
-The preset button will ash during the adjustment. Press the “+” or “-” buttons to select the desired time.
- When the desired time has been set, press the desired operating mode. If an operating mode is not selected after 5 seconds then
the timer will begin countdown.
-To cancel the timer - press and hold the “Time/Temp/Probe” button for 3 seconds.
Adjusting the Temperature
- To manually set the temperature, press the power button. With “SEL” in the display, press the “+” or “-” button to raise or lower the
temperature. The default temperature is 140ºF (60ºC).
- If a preset operating mode was selected and you want to adjust the temperature, press the “+” or “-” button to desired
temperature.
- A preset operating mode can also be programmed to a di erent temperature. After setting the desired temperature, press and
hold the desired operating mode for 3 seconds. The preset operating mode button will light up and a long 2 second beep will be
heard. Pht will show in the display to let the user know the unit is in preheat mode.
To Change From ºF to ºC
Can only be changed when there are no cooking or timer functions in process.
- With the control o - press and hold “Time/Temp/Probe ” button for approximately 10 seconds until “unt” appears in the display.
- Press “Time/Temp/Probe ” and either F or C will appear in display. Using the “+” or “-” button , toggle until desired unit of F or C
appears in the display.
-Press the “Time/Temp/Probe” button to save the setting or “ON/OFF” power button to cancel.
-Press the power button to completely exit the menu.
Sabbath Mode
- Press the power button to turn on the control.
-Press and hold the “2” button for 5 seconds to begin Sabbath mode
- Once Sabbath mode has been initiated, the display will show “SAb” and will operate for 74 hours at 185F (C). All keys will be
inoperable at this time and shall not emit any sound if pressed. Once the time passes, the warming drawer will automatically turn
off. The display will not blink to indicate that this mode is complete. Sabbath mode can only be canceled by pressing the power
button. If the Sabbath mode is canceled, the control will not emit any sounds or blink the display to indicate that this mode has
been canceled.
7
Page 8

Operation
Using the Meat Probe
The meat probe monitors the internal temperature of foods
placed in the warming drawer
- During any preset operating mode, the internal temperature of
the meat can be checked.
- Insert the probe end completely into the meat. It should not
touch the bone, fat, or gristle. Place meat in warming drawer.
- Before preheating and while the drawer is open, insert the plug
end into the meat probe jack located on the inside right upper
wall. NOTE: The meat probe option will not be selectable if not plugged into control.
- Press the “Time/Temp/Probe” toggle button until the display shows “Prb”. After 2 seconds,
the display will change to the probe temperature.
- At any time, the “Time/Temp/Probe” toggle button can be pressed to toggle between
time (if timer is set), drawer temperature, or meat probe temperature.
Moisture Selector
For moist heat, slide the moisture selector to the left to close the vents which captures the heat and moisture.
For dry heat, slide the moisture selector to the right to open the vents which allows the moist heat to escape.
Plug
Cable
Probe
Handles
Suggested Heat Settings
Food Setting Moisture
Setting
Proo ng yeat dough Moist
Bacon 3 Dry
Beef, Med - well done 2 Moist
Beef, Med rare 1 Moist
Bread, hard rolls 3 Dry
Bread, soft rolls, danish 2 Moist
Biscuits 2 Moist
Casseroles 2 Moist
Eggs 2 Moist
Fish, seafood (grilled) 2 Moist
Fried foods 3 Dry
Gravy, cream sauces 2 Moist
Ham 2 Moist
Pancakes 3 Moist
Pies, one crust 2 Moist
Pies, two crusts 2 Dry
Pizza 3 Dry
Pork 2 Moist
Potatoes, baked 3 Moist
Potatoes, mashed 2 Moist
Vegetables 2 Moist
Plates 1 Dry
Condensation
The warming drawer is supplied with a system which provides
a natural circulation of air. In most cases, this natural circulation
will eliminate any observed condensation. However, there will be
instances where condensation is observed. This is NOT a sign that
the unit is not working properly.
Condensation can occur depending on the following factors:
• Type of food being cooked
- Steam and condensation is a natural by product of
cooking any food with high water content, such as
frozen food, chicken, etc.
- Use a covered container, where practical, when cooking
to reduce the amount of condensation that forms.
• Length of cooking time
- If the unit is going to be used for prolonged periods of
time, then additional ventilation may be required.
- Do not leave food in the drawer to cool after it has been
cooked and has been switched o .
- To reduce condensation, ensure the drawer is well
heated before placing food in the drawer.
• Proper installation ventilation
- The drawer needs good ventilation within the installed
cabinets to perform per speci cation.
• Type of cabinetry the oven is installed in
- Cabinets need to meet speci c temperature
requirements.
• Ambient conditions in the kitchen including humidity and
temperature can increase the amount of condensation that
forms.
Meat
Probe Jack
Plate of Food 2 Moist
8
Page 9

Cleaning and Maintenance
2
Any piece of equipment works better and lasts longer when maintained properly and kept clean. Cooking equipment is no
exception. Your warming drawer must be kept clean and maintained
properly. Make sure all controls are in the “OFF” position.
1. Allow warming drawer to cool completely.
2. It is important to keep the slide rails clear and free from debris. Periodic cleaning of slide rails and other adjoining parts is
necessary to assure smooth drawer operation.
3. If needed, the warming drawer pan support can be removed for cleaning. Pull the warming drawer out until fully extended.
Slide nger along right and left side rail until you reach hand latches (located at the front of rails). Pull up on on the left side
latch and press down on the right latch at the same time and pull out the drawer pan.
Removing / Replacing the Drawer
WARNING
WARNING
To prevent burns, do not remove drawer while hot.
Be sure drawer is empty before removing.
Ensure the ball bearing retainers are fully extended forward
pror to installing the drawer slides into the cabinet slide
receptacle. Failure to bring them forward and smoothly
inserted into the drawer will result in physical damage to the
drawer slide assemblies. NOTE: It is important to ensure
that the drawer mounted rail(s) are lined up correctly into the
rail guide(s) of the cabinet mounted receiver in order to avoid
misalignment that will cause slide assembly damage
1
Cabinet mounted
receiver
Drawer mounted
rail
Ball bearing
assembly fully
extended forward
Rail guide on
cabinet mounted
receiver
2
Pull out warming drawer pan until fully
extended
1
Slide nger along right and left side until you reach the hand
latches (located approximately in the center of the rail). Pull up on
on the left side latch and press down on the right latch at the same
time and pull out the drawer pan.
9
Page 10

Cleaning Chart
Material Recommendations
Drawer interior (stainless steel) Use dish detergent. Wash, rinse well and dry. For hard water spots or scales, use white
vinegar. Apply with a sponge or cloth, rinse, and dry.
Heat Discoloration / Corrosion:
Clean with BarKeeper’s Friend® sprinked on a wet sponge or wet cloth. Apply to stainless
steel surface. Rub gently and evenly in the direction of the grain. Rinse and dry.
Painted Surfaces Use hot soapy water or mild non-abrasive cleaners. Wash, rinse well and dry. Avoid using
abrasive cleaning agents, steel wool pads and oven cleaners. These could damage the
painted surface.
Drawer exterior (stainless steel) Always wipe or rub in the direction of the grain. Clean with a soapy sponge, then rinse and
dry or use mild non-abrasive cleaners on a paper towel. Protect and polish with stainless
steel cleaner and a soft cloth. Remove water spots a cloth dampened with white vinegar.
Control Panel Clean with hot soapy water or mild non-abrasive cleaner on a clean sponge. Wipe clean.
Avoid usng abrasive cleaners and scrubbing pads.
Glass Surfaces Use hot soapy water or mild non-abrasive glass cleaners with a soft cloth. Wash, rinse well
and dry. Avoid using abrasive cleaning agents and scrubbing pads. This could scratch the
glass surface.
Service Information
If service is required, call your authorized service agency.
Have the following information readily available.
• Model number
• Serial number
• Date purchased
• Name of dealer from whom purchased
Clearly describe the problem that you are having. If you are unable to obtain the name of an authorized service agency, or if you
continue to have service problems, contact Viking Range, LLC at1-888-845-4641, or write to:
Viking Range, LLC
PREFERRED SERVICE
111 Front Street
Greenwood, Mississippi 38930 USA
Record the information indicated below. You will need it if service is ever required. The model and serial number for your warming
drawer Rating/Serial plate is located on the left, rear side.
Model no. _________________________________________Serial no. __________________________________________
Date of purchase ___________________________________Date Installed ______________________________________
Dealer’s name ________________________________________________________________________________________
Address _____________________________________________________________________________________________
____________________________________________________________________________________________________
If service requires installation of parts, use only authorized parts to insure protection under the warranty.
10
Page 11

Warranty
BUILT-IN ELECTRIC WARMING DRAWER WARRANTY
Built-in warming drawers and all of their component parts, except as detailed below*, are warranted to be free from defective materials
or workmanship in residential housed hold use for a period of two (2) years from the date of original retail purchase. Viking Range,
warrantor, agrees to repair or replace at its option, any part which fails or is found to be defective during the warranty period. Warranty
service must be performed by a Viking Range LLC authorized service agency or representative.
*90 Day Cosmetic Warranty: Products are warranted to be free from cosmetic defects in material or workmanship for a period of
90 days from the date of original retail purchase. This warranty covers manufacturing based defects only and does not cover issues
resulting from handling or installation. Inspection of the product should be made at time of delivery. Any defects must be reported
to the selling dealer within the 90 day period. Viking Range LLC uses the most up to date processes and the best materials available
to produce all color nishes. However, slight color variation may be noticed because of the inherent di erences in painted parts and
porcelain parts as well as di erences in product location and natural or arti cial lighting. Warranty service must be performed by a
Viking Range LLC authorized service agency or representative.
*90 Day Residential Plus: Viking products are designed and certi ed for residential use only. They are not intended for use in
commercial applications. Viking products should only be used in accordance to national and local codes. Viking is not responsible
for property damage or injury resulting from use in a commercial application. To support the manufacturing quality of its appliance’s
Viking will provide a full 90 day warranty for products used in “Residential Plus “applications. This “Residential Plus” warranty applies
to applications where use of the product extends beyond residential use but is in compliance with national and local code. In some
jurisdictions these applications are zoned as residential. Examples of, but not limited to, such applications covered by this warranty
are bed and breakfasts, re stations, private clubs, churches, condominium/apartment common areas etc. Under this “Residential
Plus” warranty, the product, its components and accessories are warranted to be free from defective material or workmanship for
a period of ninety (90) days from the date of original retail purchase. Viking Range, LLC, warrantor, agrees to repair or replace, at
its option, any part which fails or is found to be defective during the warranty period. This warranty covers parts and labor. This
warranty excludes use of the product in all commercial locations such as restaurants, food service locations and institutional food
service locations.
Any element which fails due to defective materials or workmanship in normal residential use during the third thru the fth year from
the date of original retail purchase will be repaired or replaced free of charge for the part itself, with the owner paying all other costs,
shipping, handling and labor. Aesthetic conditions such as corrosion, scratching, discoloration, carbon/food build up or similar blemishes
due to normal wear and tear or improper use or lack of maintenance is excluded from this warranty.
TWO YEAR FULL WARRANTY
FIVE YEAR LIMITED WARRANTY
This warranty extends to the original retail purchaser of the product warranted hereunder and to each transferee owner of the product
during the term of the original purchaser’s warranty. The warranty is transferable by the original retail purchaser via home sale only. If a
transferee owner is unable to provide proof of purchase from the original purchaser and the product has not been previously registered,
the production date of the product, located in the serial number on the product, will serve as the e ective warranty start date.
The activation date of the warranty begins from the date of original retail purchase. In the case of new product purchase via building
development sales, activation begins from the earlier date of either certi cate of occupancy or 24 months from date of manufacture.
Note date of manufacture is identi ed by serial tag on product.
This warranty does not cover units purchased as b-stock, liquidation, salvage, seconds, refurbished, as-is, used products.
This warranty shall apply to products purchased in the United States and Canada. Products must be purchased in the country
where service is requested. Warranty service must be performed by a Viking Range LLC authorized service agency or representative.
Warranty shall not apply to damage resulting from abuse, accident, natural disaster, loss of electrical power to the product for any
reason, alteration, improper installation, improper operation, or repair service of the product by anyone other than a Viking Range
LLC authorized service agency or representative. This warranty does not apply to commercial usage. Warrantor is not responsible for
consequential or incidental damage whether arising out of breach of warranty, breach of contract or otherwise. Some jurisdictions do
not allow the exclusion or limitation of incidental or consequential damages, so the above limitations do not apply to you.
Owner shall be responsible for proper installation, providing normal care and maintenance, providing proof of purchase upon request,
and making the product reasonably accessible for service. If the product or one of its component parts contains a defect or malfunction
during the warranty period, after a reasonable number of attempts by the warrantor to remedy the defects or malfunctions, the owner is
entitled to either a refund or replacement, at the warrantor’s discretion of the product or its component part or parts. Warrantor’s liability
on any claim of any kind, with respect to the goods or services covered hereunder, shall in no case exceed the price of the goods or
service or part thereof which gives rise to the claim.
Under the terms of this warranty, service must be performed by a Viking Range LLC authorized service agent or representative. Service
will be provided during normal business hours Labor performed at overtime or premium rates shall not be covered by the warranty. To
obtain warranty service contact Viking Range LLC Customer Care at 1-888-845-4641. Please have model number, serial number, and date
of original purchase available when calling. IMPORTANT: retain proof of original purchase to establish warranty period.
The return of the owner registration card is not a condition of warranty coverage. You should, however, return the owner registration card
so Viking Range LLC can contact you should any question of safety arise which could a ect you.
Any implied warranties of merchantability and tness applicable to the above described burner assemblies, infrared rotisserie burners,
grill grates, and stainless steel parts are limited in duration to the period of coverage of the applicable express written limited warranties
set forth above. Some jurisdictions do not allow limitations on how long an implied warranty lasts, so the above limitations may not
apply to you. This warranty gives you speci c legal rights, and you may also have other rights which may vary from jurisdiction to
jurisdiction.
Speci cations subject to change without notice.
WARRANTY TERMS
WARRANTY SERVICE
11
Page 12

Viking Range, LLC
111 Front Street
Greenwood, Mississippi 38930 USA
(662) 455-1200
For product information, call 1-888-845-4641
or visit our web site at vikingrange.com
062389-000C EN (022820)
 Loading...