

Built-in French Door
Bottom-Freezer Refrigerator
Use & Care Manual

We hope you will enjoy and appreciate the care and attention we have
put into every detail of your new, state-of-the-art refrigerator.
Your appliance is designed to offer years of reliable service. This Use
and Care Guide will provide you with the information you need to
become familiar with your refrigerator’s care and operation.
Your complete satisfaction is our ultimate goal. If you have any
questions or comments about this product, please contact the dealer
from whom you purchased it, or contact our Consumer Support Center
at 1-888-845-4641.
We appreciate your choice of our refrigerator and hope that you will
again select our products for your other major appliance needs.
For more information about the complete and growing selection
of products, contact your dealer or visit us online at vikingrange.com in
the US or at brigade.ca in Canada
Congratulations
2

Getting Started
Refrigerator Safety ____________________________________________4
Important Safety Instructions ___________________________________5
Proper Disposal (of old refrigerator)_____________________________6
Water Supply Requirements____________________________________8
Water System Preparation _____________________________________9
Product Controls
Using the Controls___________________________________________10
Temperature Controls ________________________________________12
Water Filter Indicator ________________________________________13
Rest Mode__________________________________________________14
Alarm Functions _____________________________________________15
Operation
Ice Maker___________________________________________________17
Water Filtration System_______________________________________18
Water Filter Certifications_____________________________________20
Refrigerator Features_________________________________________22
Freezer Features_____________________________________________24
Product Care
Cleaning ___________________________________________________25
Changing the Light Bulb _____________________________________26
Troubleshooting _____________________________________________28
Service Information __________________________________________33
Warranty ___________________________________________________34
Table of Contents
3
4
Refrigerator Safety
Getting Started
WARNING
DANGER
CAUTION
WARNING
You can be killed or seriously injured if you don’t
immediately
follow instructions.
You can be killed or seriously injured if you don’t follow
instructions.
Hazards or unsafe practices which COULD result in minor
personal injury.
All safety messages will identify the hazard, tell you how
to reduce the chance of injury, and tell you what can happen if
instructions are not followed.
Recognize Safety Symbols, Words, Labels
Warning and Important Safety Instructions appearing in this manual
are not meant to cover all possible conditions and situations that may
occur. Common sense, caution, and care must be exercised when
installing, maintaining, or operating the appliance.
ALWAYS contact the manufacturer about problems or conditions you do not
understand.
Your safety is important to us.
This use and care manual contains
safety symbols and statements. Always read and obey all safety
messages.
This symbol alerts you to hazards such as fire, electrical
shock or other injuries.
WARNING
State of California Proposition 65 Warning
• This product contains one or more chemicals known to the State of
California to cause cancer.
• This product contains one or more chemicals known to the State of
California to cause birth defects or other reproductive harm.
5
Getting Started
To reduce the risk of fire, electric shock, or injury when using your
refrigerator, follow these basic precautions:
• Plug into a grounded 3-prong outlet.
• DO NOT remove ground prong.
• DO NOT use an adapter.
• DO NOT use an extension cord.
• Disconnect power before servicing.
• Replace all parts and panels before operating.
• Remove doors from your old refrigerator.
• Use nonflammable cleaner.
• Keep flammable materials and vapors, such as gasoline, away from
refrigerator.
• Use two or more people to move and install refrigerator.
• Disconnect power before installing ice maker (on ice maker kit
ready models only).
• Use a sturdy glass when dispensing ice (on some models).
SAVE THESE INSTRUCTIONS
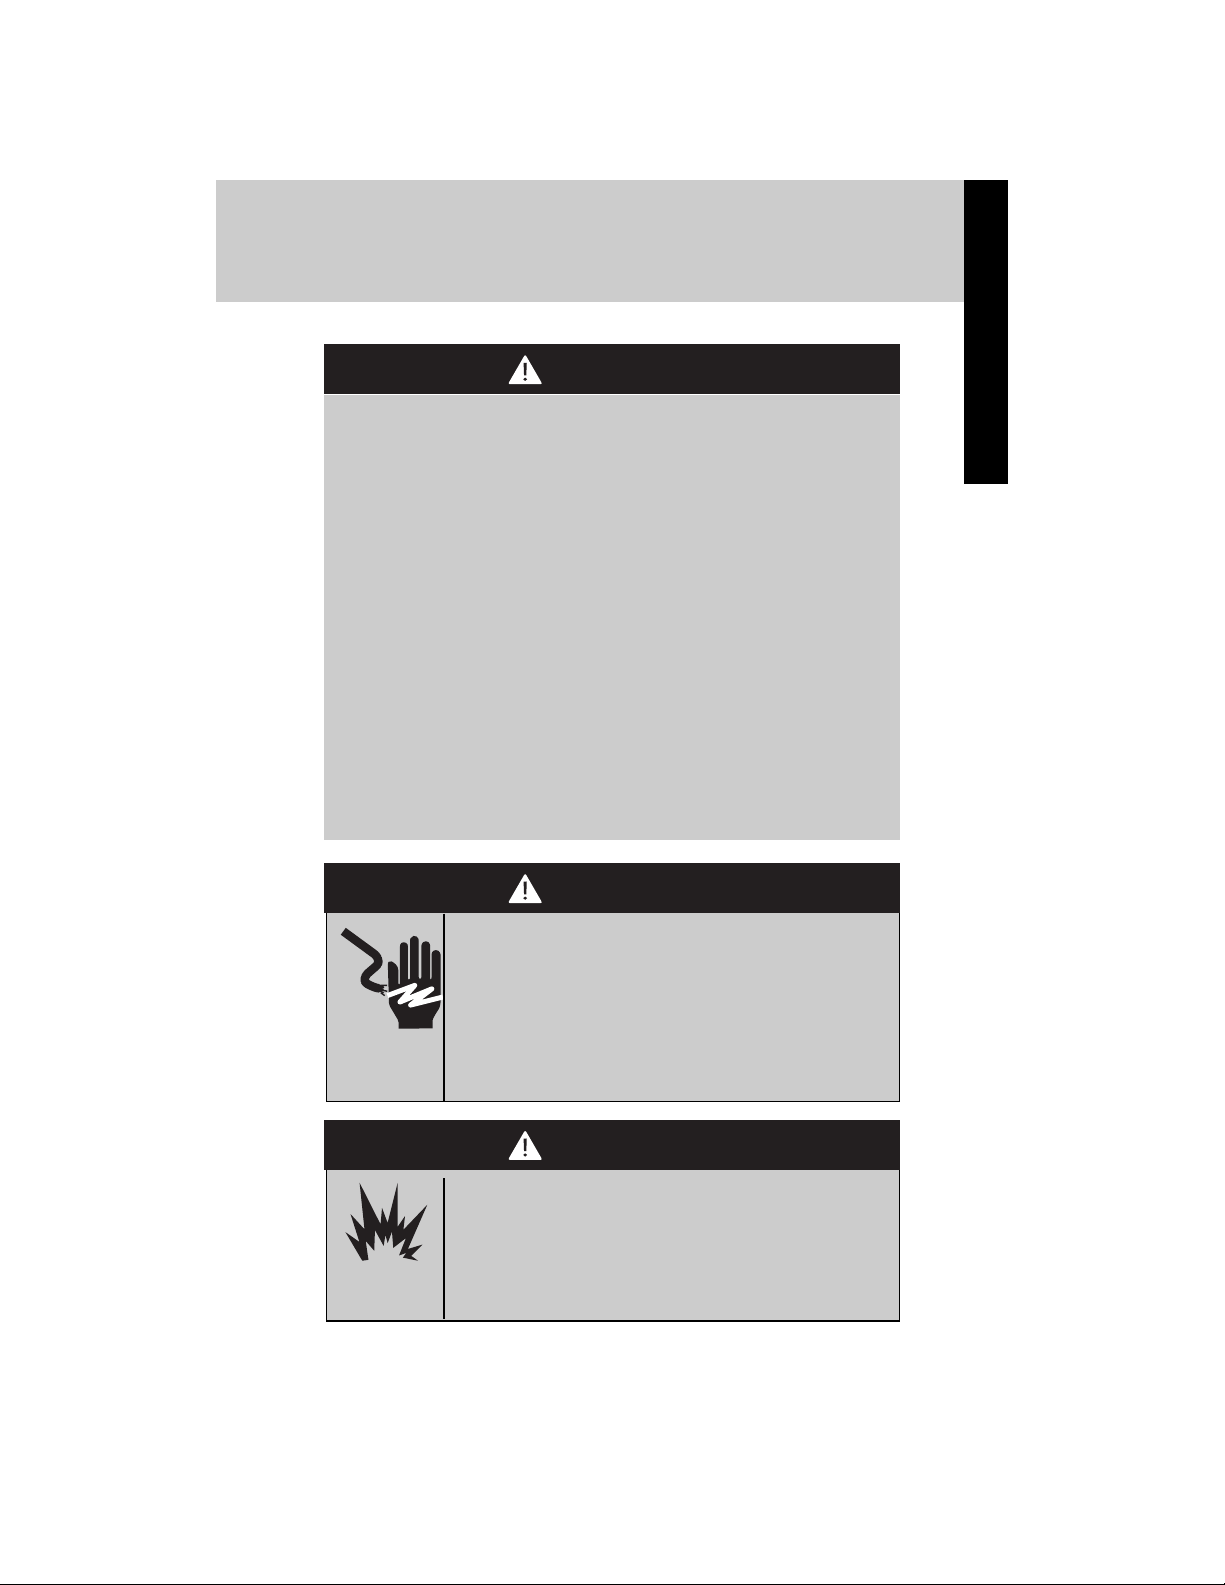
Important Safety Instructions
Electrical Shock Hazard
Plug into a grounded 3 prong outlet.
Do not remove ground prong.
Do not use an adapter.
Do not use an extension cord.
Failure to follow these instructions can result in
death, fire, or electrical shock.
Explosion Hazard
Keep flammable materials and vapors, such as
gasoline, away from refrigerator.
Failure to do so can result in death, explosion,
or fire.
WARNING
WARNING
WARNING
WARNING
WARNING
WARNING
6
Proper Disposal (of old refrigerator)
Getting Started
IMPORTANT:
Child entrapment and suffocation are not problems of the past. Junked
or abandoned refrigerators are still dangerous—even if they will sit for
“just a few days”. If you are getting rid of your old refrigerator, please
follow these instructions to help avoid accidents.
Before You Throw Away Your Old Refrigerator or Freezer:
• Take off the doors.
• Leave the shelves in place so that children may not easily climb
inside.
Suffocation Hazard
Remove doors from your old refrigerator.
Failure to do so can result in death or brain damage.
WARNING
WARNING
7
Remove the Packaging
■ Remove tape and glue residue from surfaces before turning on the
refrigerator. Rub a small amount of liquid dish soap over the
adhesive with your fingers. Wipe with warm water and dry.
■ Do not use sharp instruments, rubbing alcohol, flammable fluids, or
abrasive cleaners to remove tape or glue. These products can
damage the surface of your refrigerator. For more information, see
“Refrigerator Safety.”
■ Dispose of/recycle all packaging materials.
Clean Before Using
After you remove all of the packaging materials, clean the inside of
your refrigerator before using it. See the cleaning instructions in
“Refrigerator Care.”
Before Using your Refrigerator
Important information to know about glass shelves and
covers:
Do not clean glass shelves or covers with warm water when
they are cold. Shelves and covers may break if exposed to
sudden temperature changes or impact, such as bumping.
Tempered glass is designed to shatter into many small,
pebble-size pieces. This is normal. Glass shelves and covers
are heavy. Use both hands when removing them to avoid
dropping.
CAUTION
Getting Started
Broken Glass Hazard
Do not hit refrigerator glass doors
Protect glass surface and edges during installation or
removal of doors.
Failure to do so can result in serious eye injury or minor
cuts.
WARNING
WARNING

8
Read all directions before you begin.
IMPORTANT:
■ When your refrigerator was installed, the water connection from
the water source should have been connected to your
refrigerator. If your refrigerator is not connected to a water
source, see “Connect to Water Line” in the Installation
Instructions. If you have any questions about your water
connection, see “Troubleshooting” or call a licensed, qualified
plumber.
■ If you turn the refrigerator on before the water line is connected,
turn the ice maker OFF. See “Ice Maker and Storage Bin.”
■ All installations must meet local plumbing code requirements.
A cold water supply with water pressure between 30 and 120 psi (207
and 827 kPa) is required to operate the water dispenser and ice maker.
If you have questions about your water pressure, see
“Troubleshooting” or call a licensed, qualified plumber.
Reverse Osmosis Water Supply
IMPORTANT: The pressure of the water supply coming out of a reverse
osmosis system going to the water inlet valve of the refrigerator needs
to be between 30 and 120 psi (207 and
827 kPa). If a reverse osmosis water filtration system is connected to
your cold water supply, the water pressure to the reverse osmosis
system needs to be a minimum of 40 psi (276 kPa).
If the water pressure to the reverse osmosis system is less than
40 psi (276 kPa):
■ Check to see whether the sediment filter in the reverse osmosis
system is blocked. Replace the filter if necessary.
■ Allow the storage tank on the reverse osmosis system to refill
after heavy usage.
■ If your refrigerator has a water filter, it may further reduce the
water pressure when used in conjunction with a reverse osmosis
system. Remove the water filter. See “Water Filtration System.”
If you have questions about your water pressure, call a licensed,
qualified plumber.
Water Supply Requirements
Getting Started
9
Please read before using the water system.
IMPORTANT
:
After connecting the refrigerator to a water source or replacing the
water filter, fill and discard two full containers of ice to prepare the
water filter for use, before using the ice.
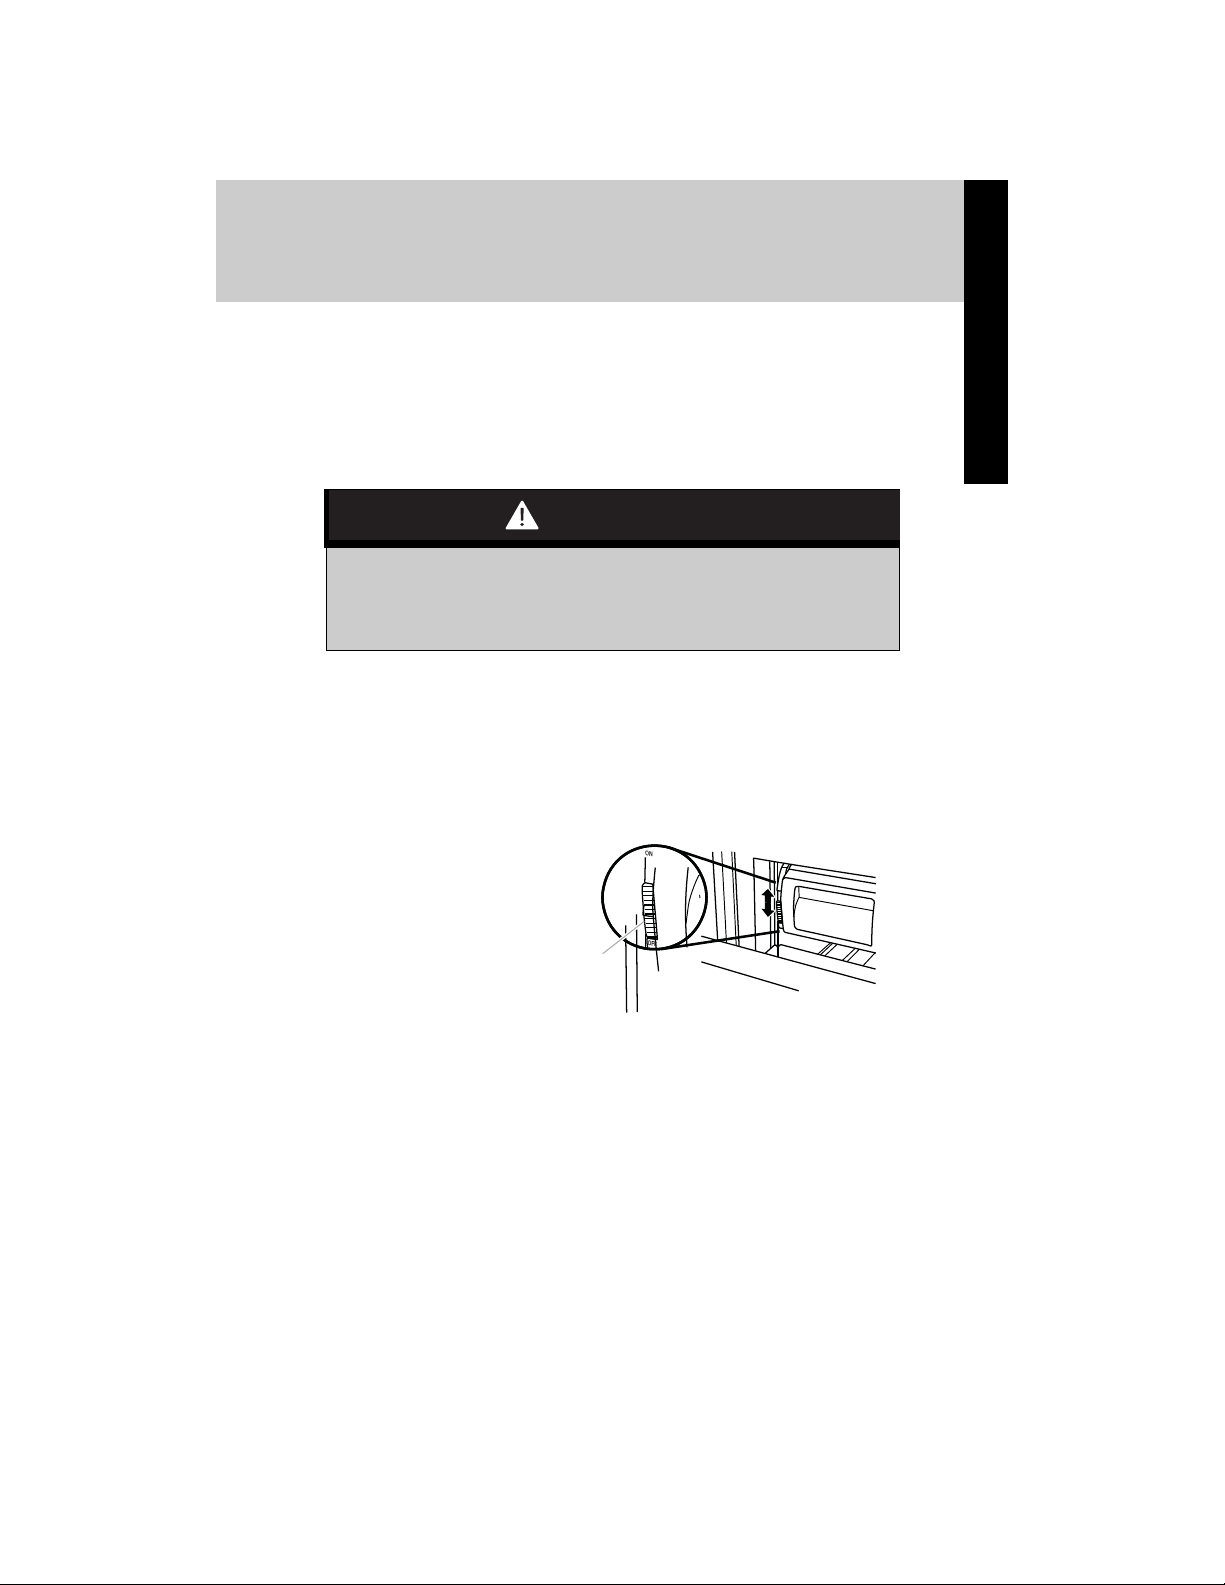
1. Turn on the ice maker. Slide the ice maker On/Off control, located
on the left-hand side of the ice bin, to the ON (up) position. Please
refer to “Ice Maker and Storage Bin” for further instructions on the
operation of your ice maker.
NOTE: Allow 24 hours to produce the first batch of ice.
NOTE: If your model has a base grille water filter, make sure the water
filter is properly installed so that the Eject button is out. See “Water
Filtration System.”
Water System Preparation
Do not use with water that is microbiologically unsafe or of
unknown quality without adequate disinfection before or
after the system.
CAUTION
Getting Started
On/O Control
10
Product Controls
Using the Controls
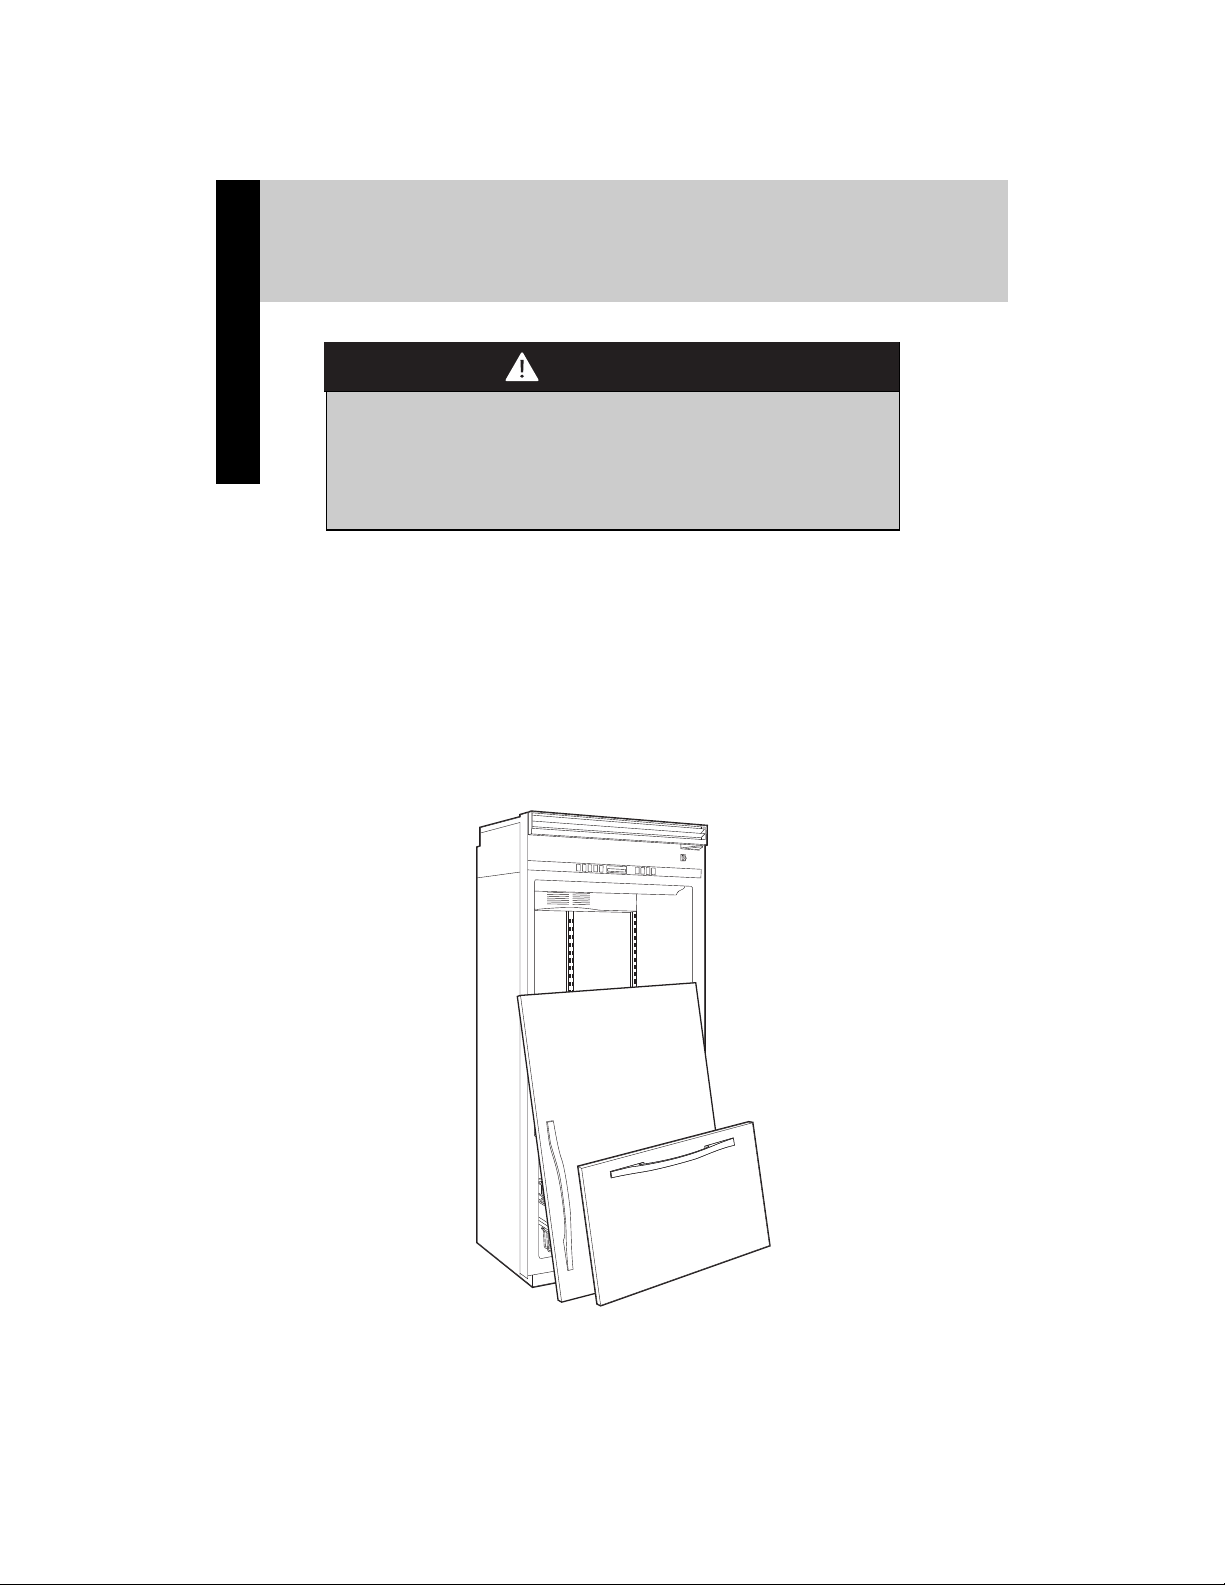
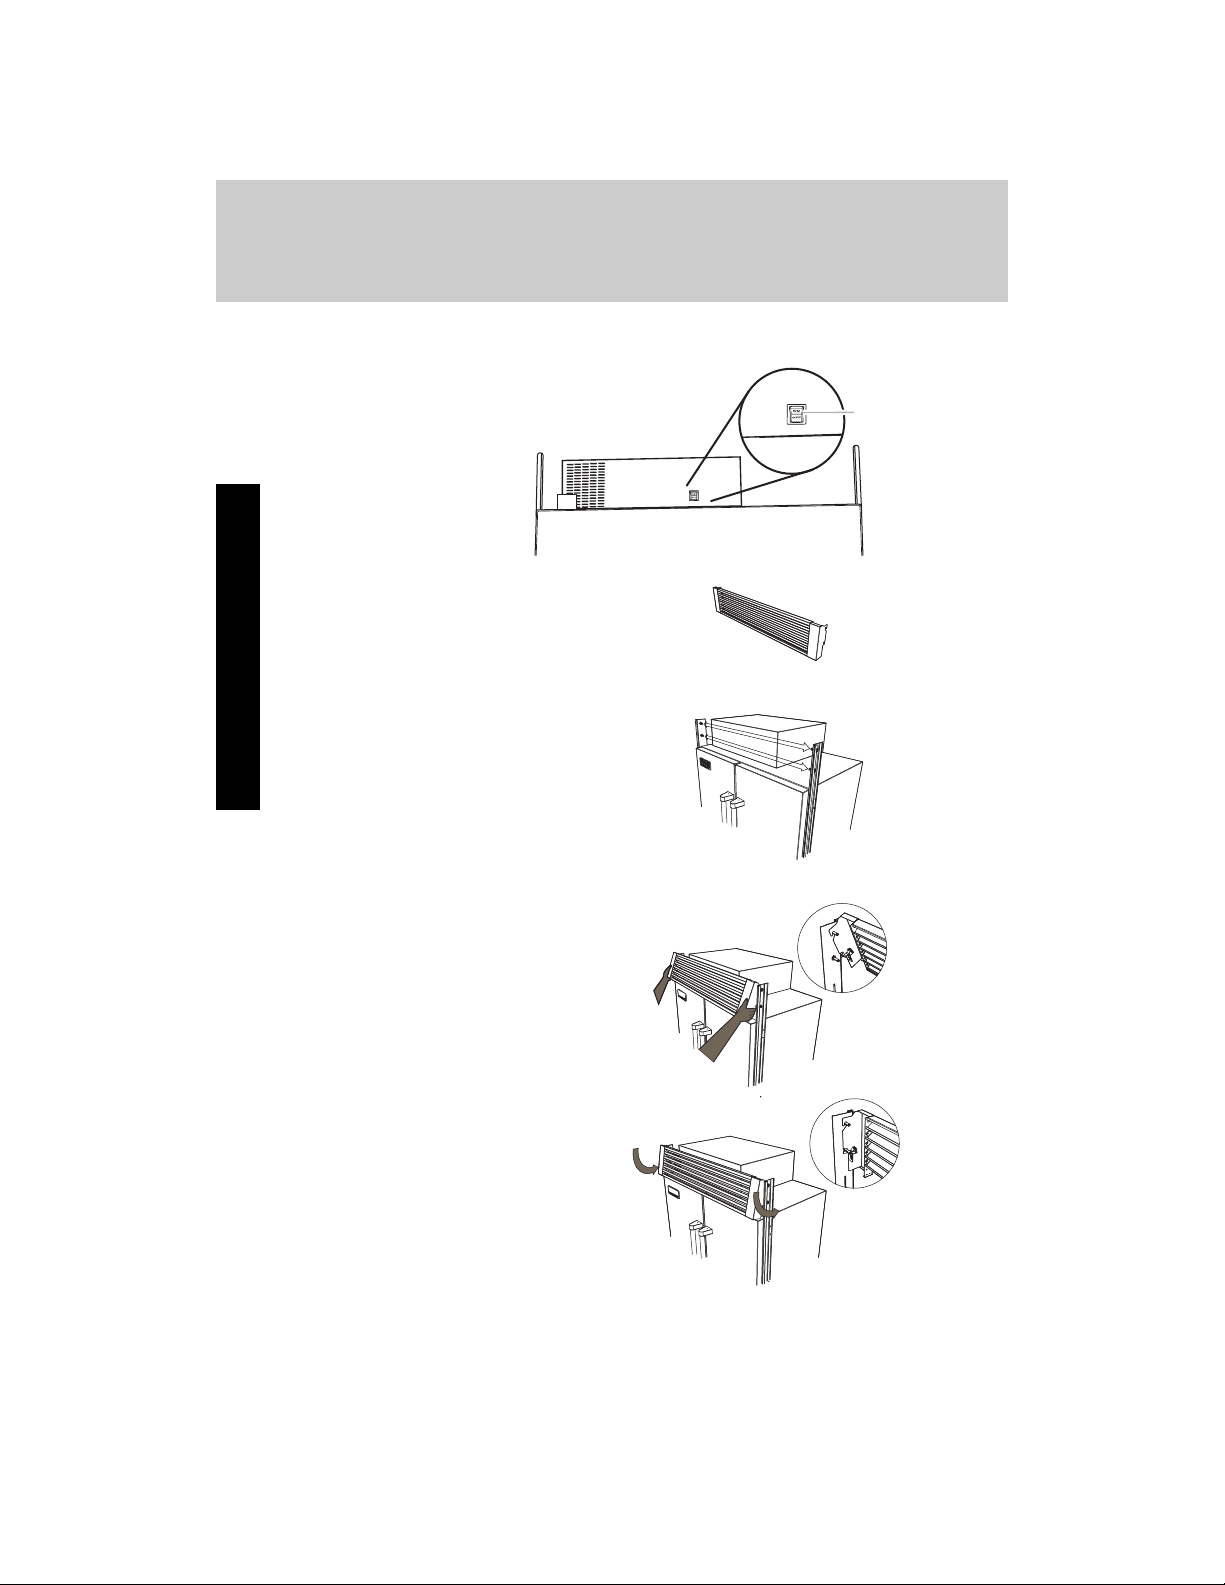
Power ON/Off Switch
To install the Top Grille:
1. Remove the grille from the
packaging.
2. Locate pins above refrigerator..
3. Place grille on top pins.
4. Rotate grille downward. Grille
will snap in place once it is
secure on the bottom pins.
BACK
BACK
Before installing the top
grille, turn the power
switch to ON.
Power
Switch

11
Product Controls
If you need to turn the power to your refrigerator Off after installation,
you must remove the top grille assembly to access the power switch.
Turn the power to the refrigerator Off when cleaning your refrigerator
or changing light bulbs.
To Remove Top Grille, reverse steps listed for installing the grille.
1. Grasp the grille at the bottom. Pull up slightly to unsnap from
bottom pins.
2. Lift upward to remove grille from top pins.
IMPORTANT: Be sure the power switch is set to the ON position after
cleaning refrigerator or changing the light bulbs.
Using the Controls
■ The refrigerator control adjusts the refrigerator compartment
temperature. The freezer control adjusts the freezer compartment
temperature.
■ Wait 24 hours after you turn on the refrigerator before you put food
into it. If you add food before the refrigerator has cooled
completely, your food may spoil.
NOTE: Adjusting the refrigerator and freezer controls to a lower
(colder) setting will not cool the compartments any faster.
■ If the temperature is too warm or too cold in the refrigerator or
freezer, first check the air vents to be sure they are not blocked
before adjusting the controls.
■ The preset settings should be correct for normal household usage.
The controls are set correctly when milk or juice is as cold as you
like and when ice cream is firm.
■ The actual temperature may differ from the display when a door is
open for an extended period of time.
NOTE: The factory recommended set points are 0°F (-18°C) for the
freezer and 37°F (3°C) for the refrigerator.
12
Operation
Using the Controls
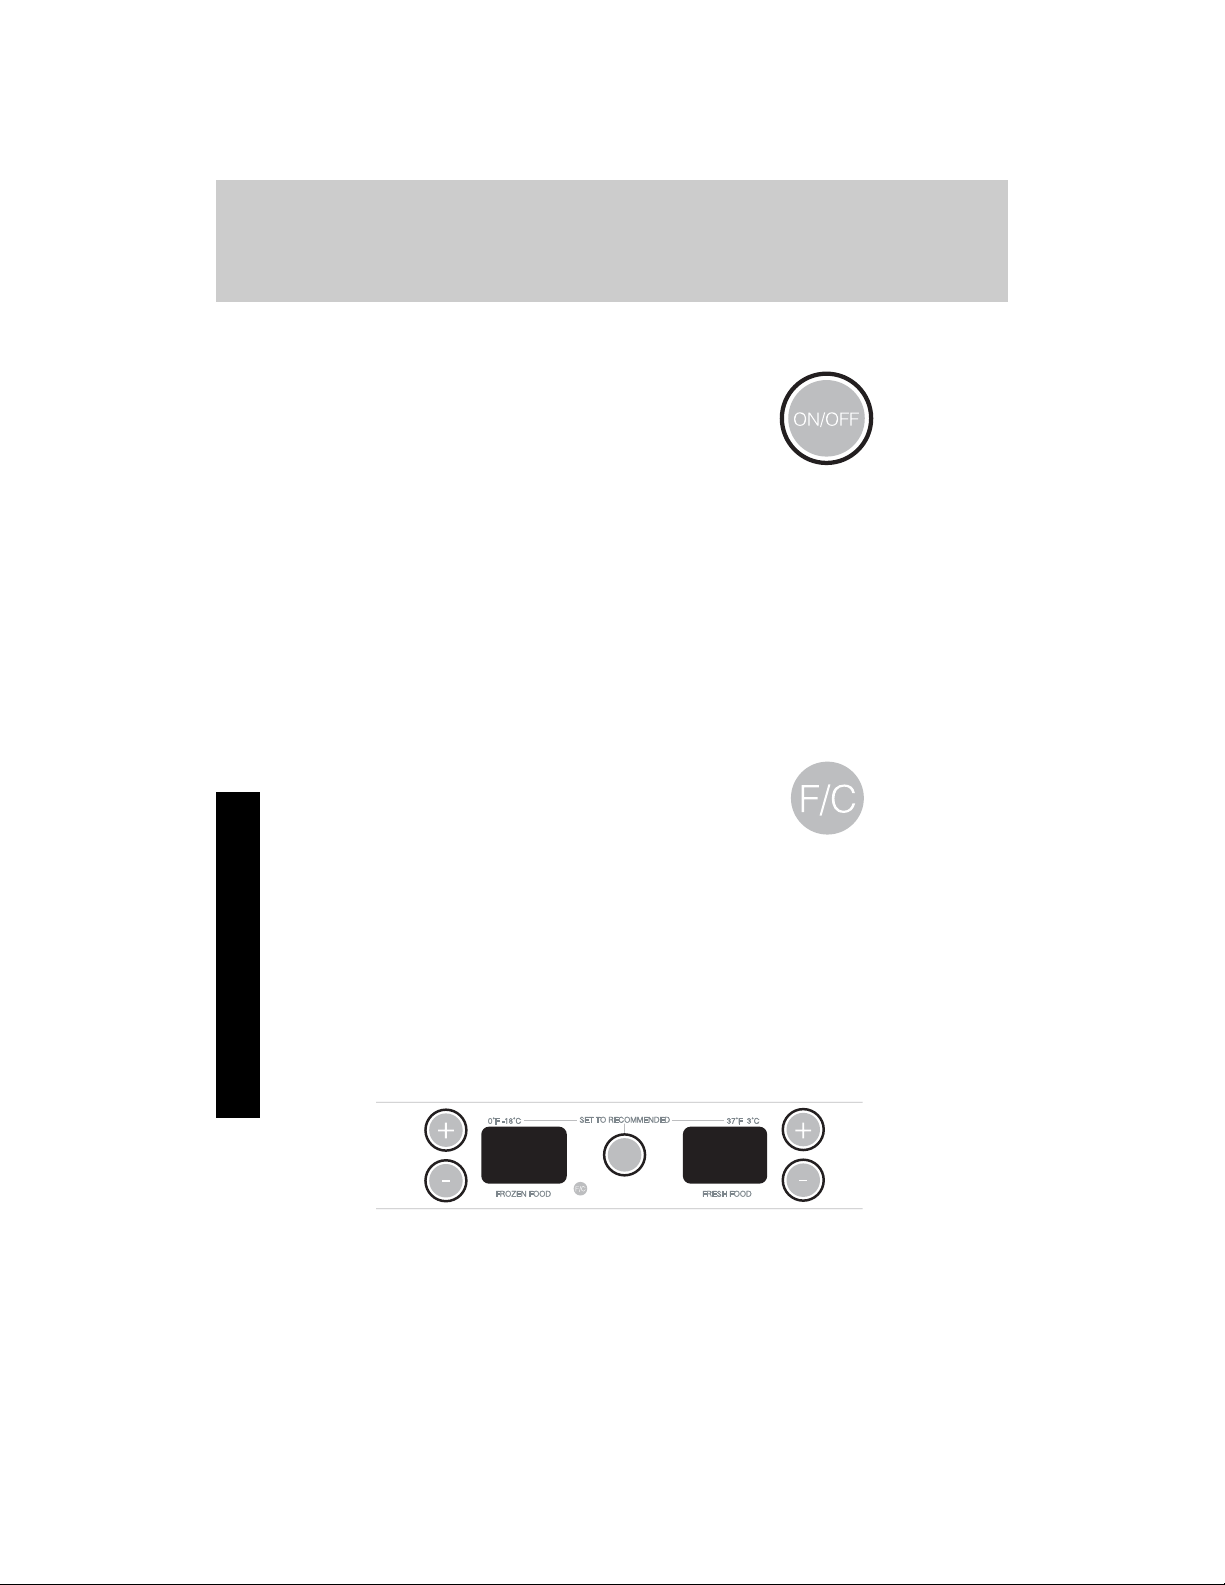
Turning Refrigerator On and Viewing Set Points
■ Press the ON/OFF touch pad.
NOTE:
■ After the refrigerator is turned on, the Over
Temperature audio alarm and indicator light may activate every 1¹⁄₂
hours until the refrigerator and freezer temperatures are below
48°F (9°C) and 15°F (-9°C), respectively, or until the alarm is turned
off. To turn off the audio alarm and indicator light, see “Master
Alarm Reset.”
■ The ON/OFF touch pad on the control panel shuts down
refrigerator functions such as cooling, lighting, fans and
compressors. To turn the power off completely, use the power
ON/OFF switch located behind the top grille. See “Power On/ Off
Switch.”
Viewing the Celsius Temperatures
■ Press °C touch pad. To redisplay degrees
Fahrenheit, press °C again.
NOTE: If the freezer temperature is below zero, the
negative sign next to the freezer display will light up.
This is normal.
Adjusting Controls
NOTE: Wait at least 24 hours between adjustments. Recheck the
temperatures before other adjustments are made.
To Adjust Set Point Temperatures:
■ Press the refrigerator or freezer PLUS (+) or MINUS (-) touch pad
until the desired temperature is reached.
■ Press the Set To Recommended touch pad to reset the set points
to the factory recommended temperatures.
NOTE: The set point range for the freezer is -5°F to 5°F (-21°C to 15°C). The set point range for the refrigerator is 33°F to 45°F (0°C
to 7°C).
037
 Loading...