

Viking VBI7360WRPG, VBI7360WLRE, VBI7360WLPG, VBI7360WLVC, VBI7360WLAB Maintance Manual
...
Use & Care
MANUAL
Integrated Refrigerator / Freezer
7 SERIES
VBI7360 / CVBI7360
FBI7360 / CFBI7360
MVBI7360 / CMVBI7360
MFBI7360 / CMFBI7360

Congratulations
We hope you will enjoy and appreciate the care and attention we have put into every detail of your new, state-of-the-art refrigerator.
Your appliance is designed to o er years of reliable service. This Use and Care Guide will provide you with the information you need to
become familiar with your refrigerator’s care and operation. For additional information and user videos, visit our website at vikingrange.
com
Your complete satisfaction is our ultimate goal. If you have any questions or comments about this product, contact our Consumer
Support Center at 1-888-845-4641.
We appreciate your choice of our refrigerator and hope that you will again select our products for your other major appliance needs.
For more information about the complete and growing selection of our products, visit us online at vikingrange.com
Table of Contents
Getting Started
Warnings _______________________________________________________________________________________ 3
Important Information ____________________________________________________________________________ 4
Proper Disposal (of old refrigerator) __________________________________________________________________ 4
Features ________________________________________________________________________________________ 5
Product Controls
Settings and Functions ____________________________________________________________________________ 6
Operation
Refrigerator _____________________________________________________________________________________ 8
Freezer ________________________________________________________________________________________ 10
Automatic Ice Maker _____________________________________________________________________________ 10
Food Storage Guide ______________________________________________________________________________ 11
Product Care
Cleaning and Maintenance ________________________________________________________________________ 12
Troubleshooting ________________________________________________________________________________ 15
Service Information ______________________________________________________________________________ 16
Warranty ______________________________________________________________________________________ 17
2
Warnings
and between the doors and cabinets
Your safety is important to us. This use and care manual contains safety symbols and statements. Please pay special
attention to these symbols and follow any instructions given. This symbol alerts you to hazards such as re, electrical shock
or other injuries.
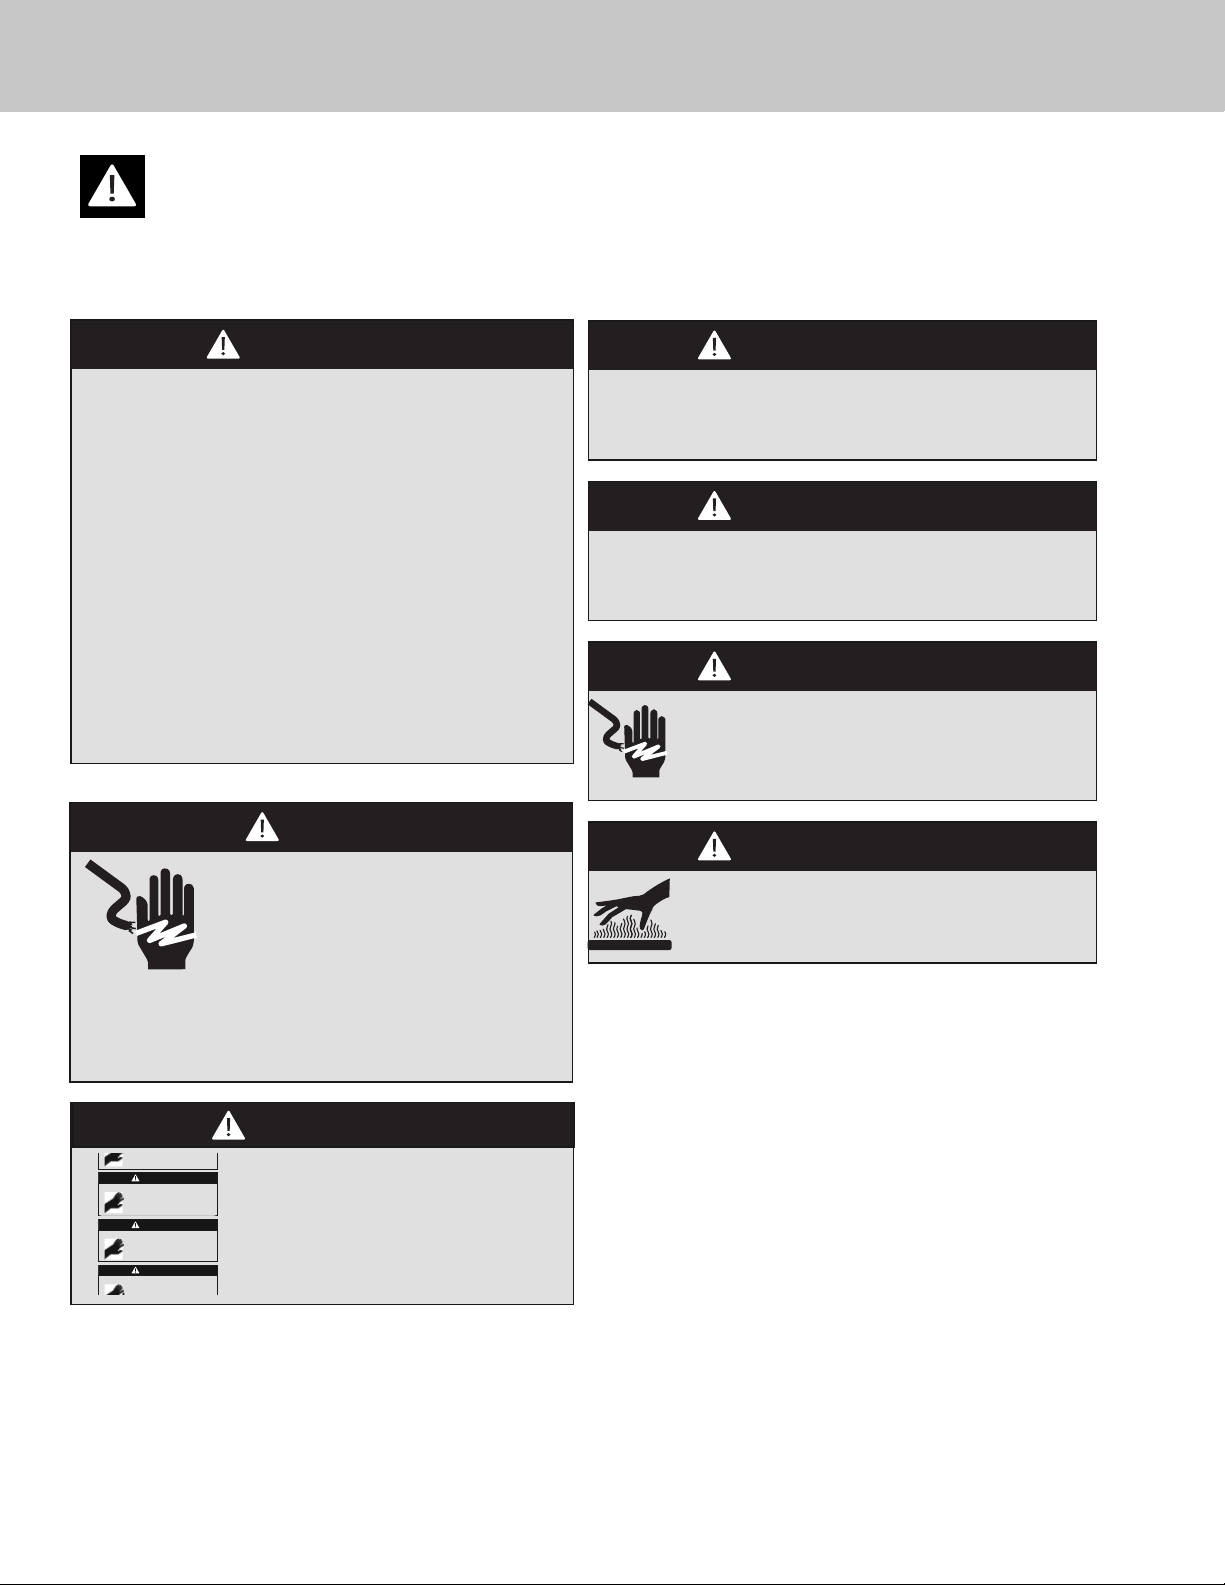
WARNING
To reduce the risk of re, electric shock, or injury when using
your unit, follow these basic precautions:
• Read all instructions before using the unit.
• NEVER allow children to operate, play with, or crawl inside the
unit.
• NEVER clean unit parts with ammable uids. The fumes can
create a re hazard or explosion.
• ALWAYS turn the power on/o switch (located to the left of
the center behind the access panel) to the OFF position before
attempting to clean or service the unit.
FOR YOUR SAFETY
DO NOT STORE OR USE GASOLINE OR OTHER FLAMMABLE
VAPORS AND LIQUIDS IN THE VICINITY OF THIS OR ANY OTHER
APPLIANCE. THE FUMES CAN CREATE A FIRE HAZARD OR
EXPLOSION.
WARNING
ELECTRICAL SHOCK HAZARD
• Plug into a grounded 3-prong outlet.
• If a 2-prong wall receptacle is encountered,
contact a quali ed electrician.
• DO NOT remove ground prong.
• Unit must be grounded at all times.
• DO NOT use an adapter.
• DO NOT use an extension cord.
• Failure to follow these instructions can result in
death, re, or electrical shock.-
WARNING
To avoid serious illness or death, do not use unit where water
is unsafe or of unknown quality without adequate disinfection
before or after use of lter.
WARNING
To avoid electrical shock which can cause severe personal injury
or death, turn power disconnect switch to OFF before cleaning.
After cleaning, return power disconnect switch to ON position.
WARNING
ELECTRICAL SHOCK HAZARD
Disconnect power or turn power disconnect switch to
OFF position before removing top grille. Failure to do
so can result in death or electrical shock.
WARNING
BURN HAZARD
DO NOT touch condenser coils near defrost pan.
Doing so can result in burns.
are necessarily small. Be careful closing
doors when children are in the area.
CAUTION
Keep ngers out of the “pinch point”
areas. Clearances between the doors
and between the doors and cabinets
are necessarily small. Be careful closing
doors when children are in the area.
CAUTION
Keep ngers out of the “pinch point”
areas. Clearances between the doors
and between the doors and cabinets
are necessarily small. Be careful closing
doors when children are in the area.
CAUTION
Keep ngers out of the “pinch point”
areas. Clearances between the doors
CAUTION
Keep ngers out of the “pinch point”
areas. Clearances between the doors
and between the doors and cabinets
are necessarily small. Be careful closing
doors when children are in the area.
3
Getting Started
Important Safety Instructions
• Install and level your refrigerator on a oor that will hold its weight,plus food weight (approximately 1200 pounds [540kg]) and in an
area suitable for its size and use.
• DO NOT install a refrigeration unit near a heat source, nor in a location where the surrounding temperature will fall below 60°F (16° C).
• DO NOT allow your refrigerator to be exposed to the weather or outdoor elements.
• Connect your refrigerator only to the appropriate kind of electrical outlet, with the correct power supply and grounding. (Refer to the
Electrical Requirements section of the Installation Instructions.)
• Use the refrigerator only for the uses described in this manual.
• Properly maintain the refrigerator.
• Be sure the refrigerator is not used by anyone unable to operate it properly.
Proper Disposal (of old refrigerator)
IMPORTANT:
Now that you have a new refrigerator, it is extremely important that you dispose of your old appliance in a way that minimizes the
possibility that children will nd it. There have been many cases in years past of children crawling inside junked and abandoned
refrigerators and becoming trapped or su ocated.
Contact your municipal waste disposal authority to nd out the best and safest way to dispose of your old refrigerator.
WARNING
RISK OF CHILD ENTRAPMENT
Before You Throw Away Your Old Refrigerator or Freezer:
• Take o the doors.
• Leave the shelves in place so that children may not easily climb
inside.
4
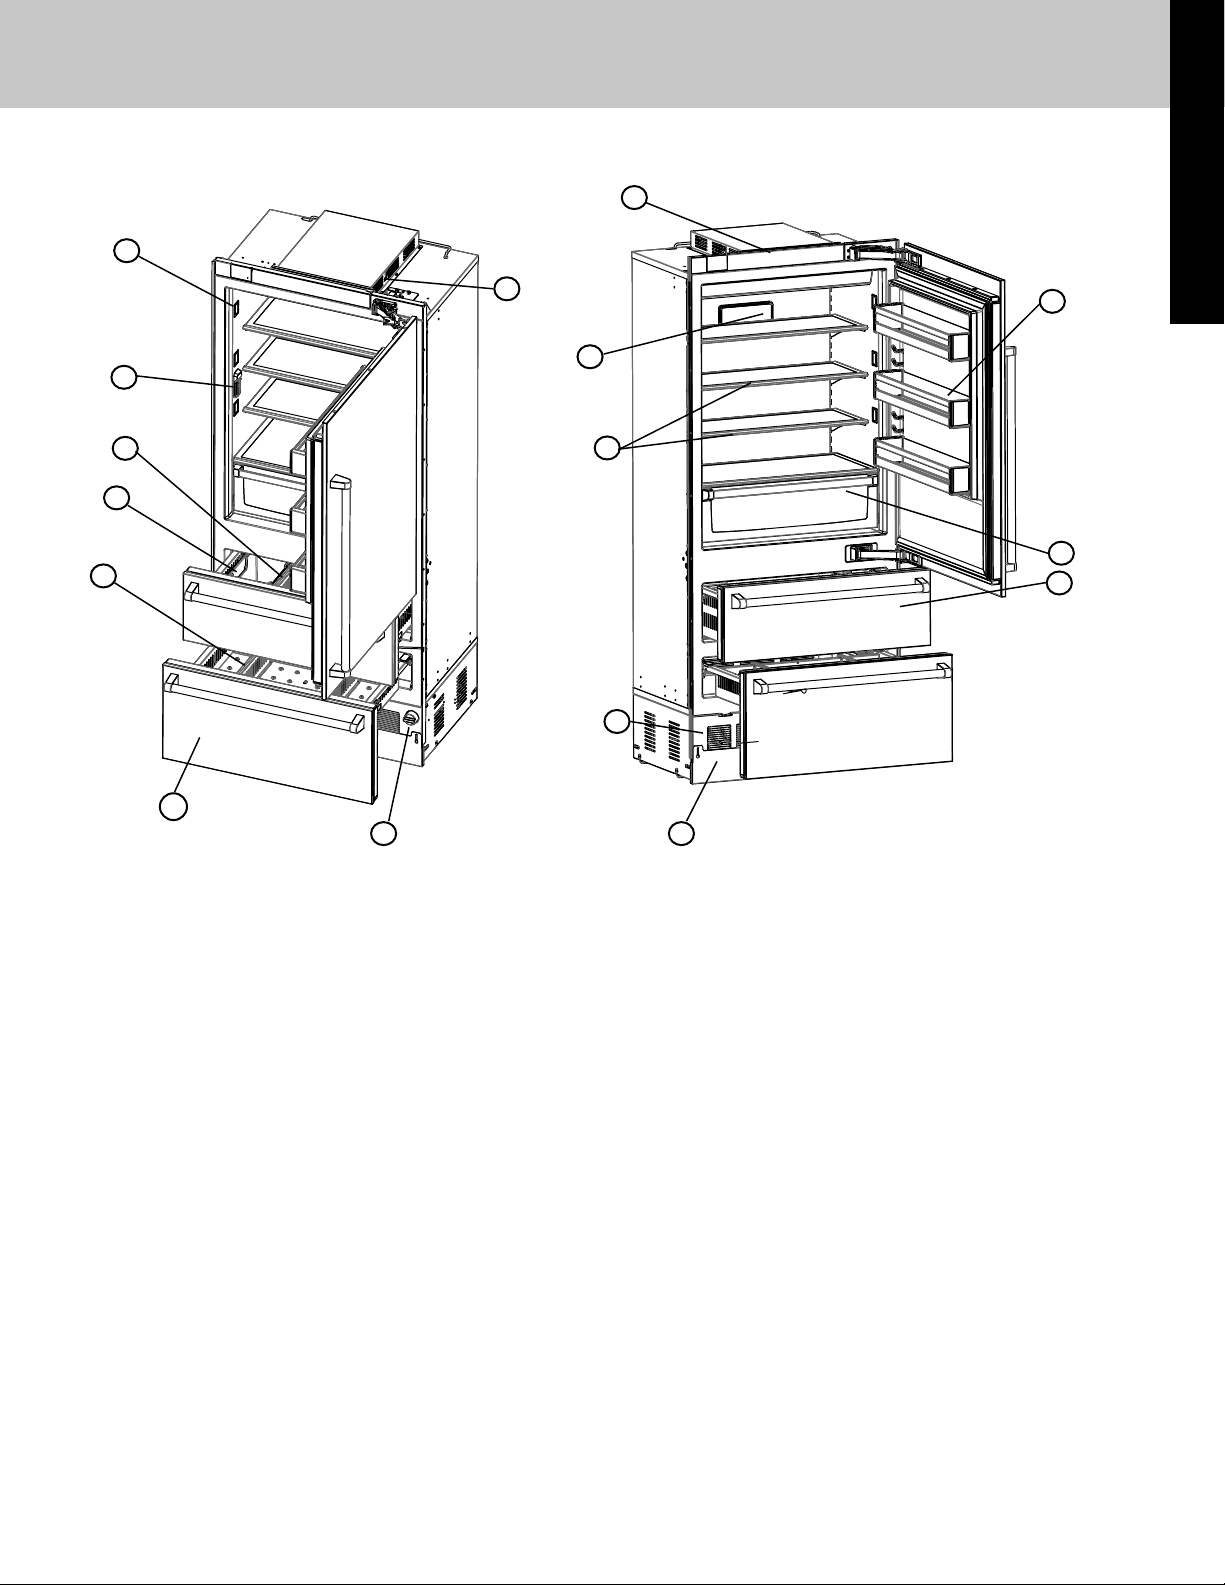
Features
2
Getting Started
1
11
10
16
3
5
9
12
13
6
14
15
4
7
8
1 Control Panel
2 Theater ramp-on LED Lighting
3 Bluezone® Fresh Preservation Technology* (Rear Inside Wall)
4 Door Bins (3)
5 Internal Water dispenser
6 Spillproof Shelves with Nano Technology (3)
7 Crisper Drawer
8 Removable Upper Freezer Drawer
9 Upper Freezer Drawer Dividers (Non-Adjustable)
10 Ice Bin
11 Removable Lower Freezer Drawer
12 Lower Freezer Drawer Dividers (Adjustable)
13 Water Filter
14 Access panel
15 Kickplate
16 Door Stop
*Bluezone is a registered trademark of Primaira, LLC
5
Settings and Functions
Product Controls
I n order for your new refrigerator to work properly, it is important that you
understand its various features, controls, and how to use them.
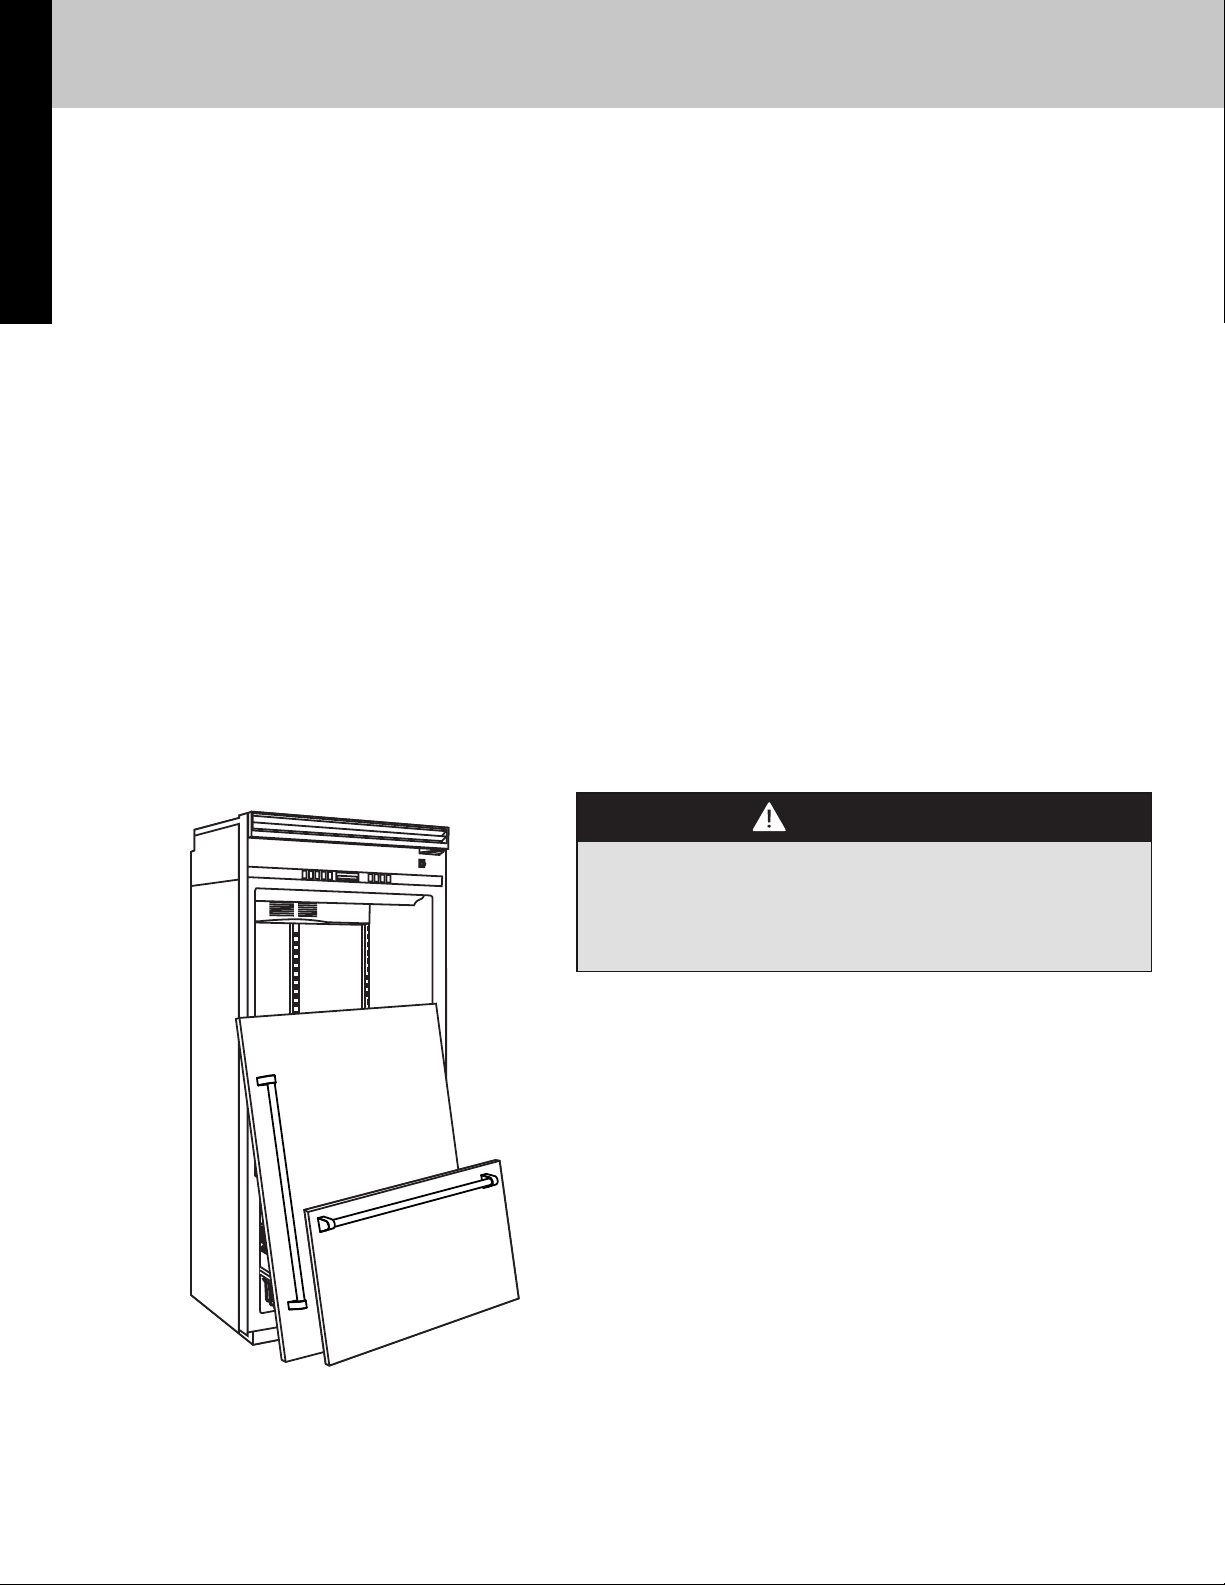
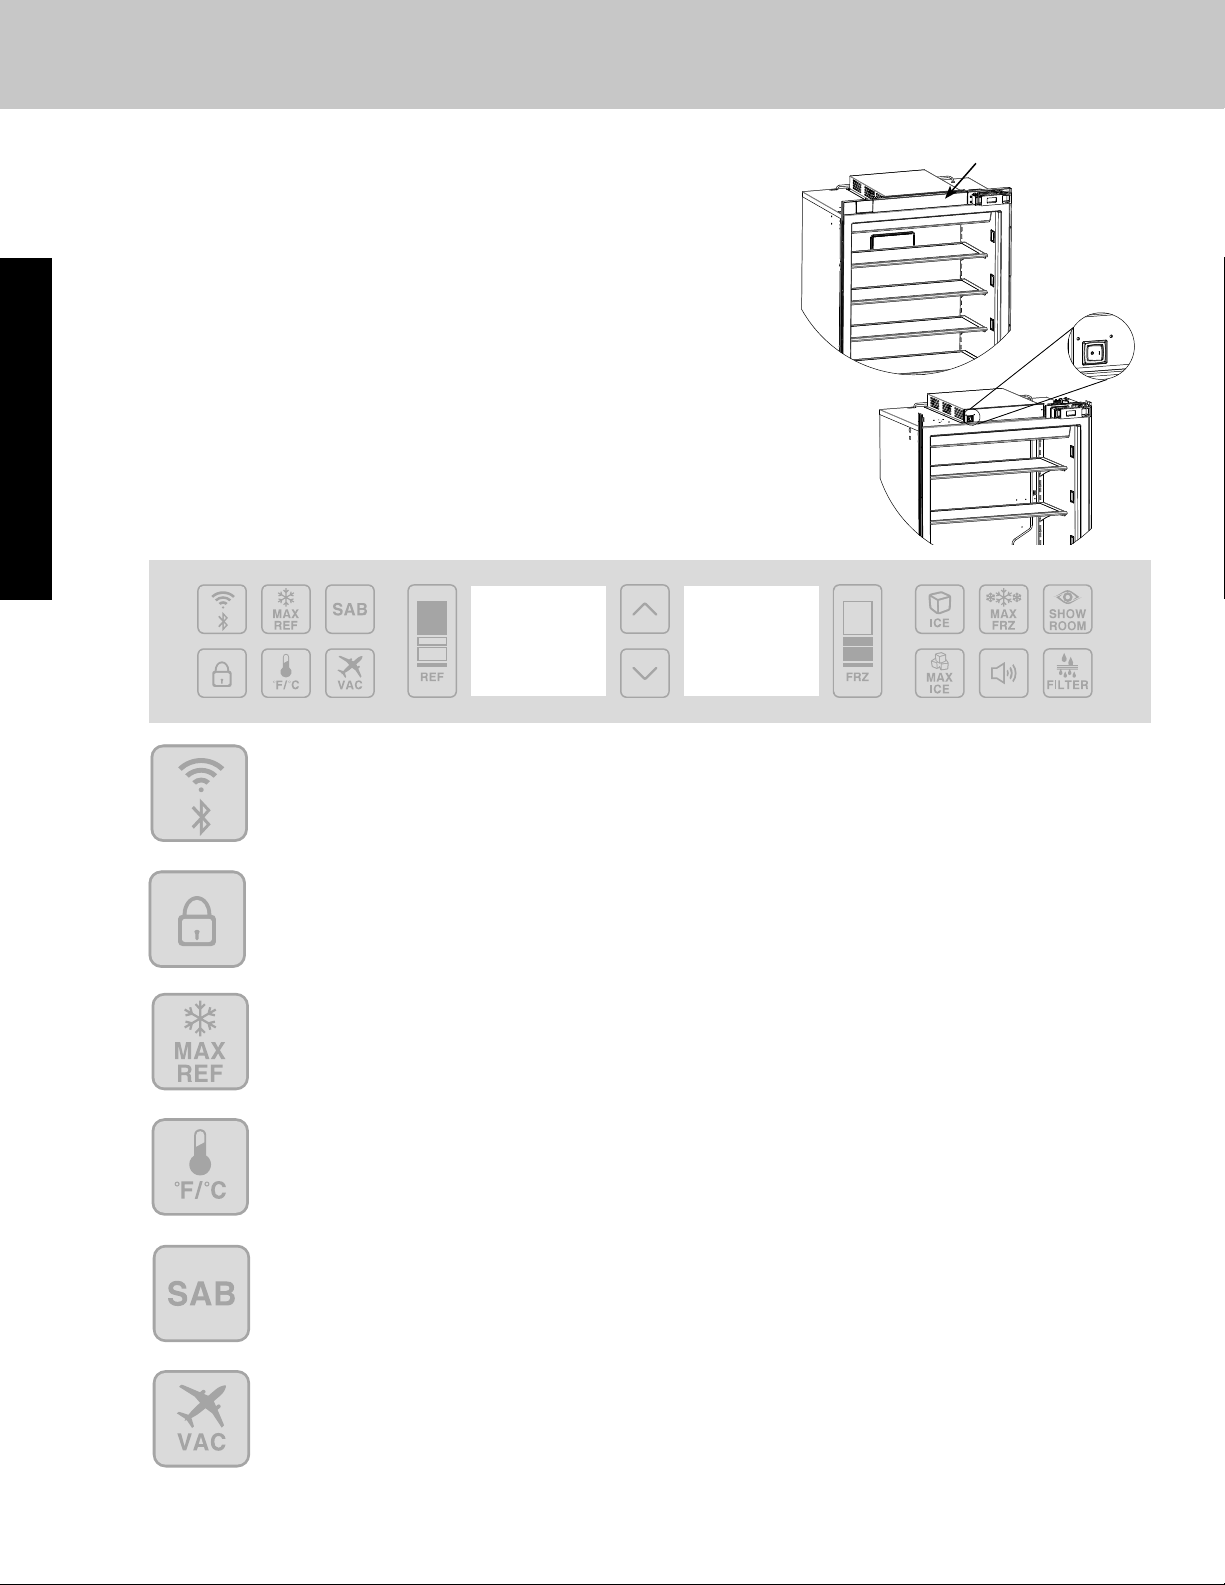
Power On/O Switch
Your unit is shipped with the power switch on. When rst plugged in, the display will
ash. Push any button to initiate display.
The power on/o switch is located to the left of the center behind the access panel. It
is used to turn the power o when cleaning or servicing the refrigerator.
To turn power o , remove the access panel. Press the power on/o switch to the o
position.
To turn power on, press power on/o switch to the on position. Replace access
panel.
IMPORTANT: Be sure the power on/o switch is in the on position after cleaning or
servicing.
access panel
B
(Select Models only) Viking Range, LLC Connect App enables connectivity from a mobile phone to monitor
temperatures, settings, and allows for various alerts to be sent to the phone. If the NIC Enabled is set to on, the icon
will illuminate blue. If not enabled, the icon will remain white.
Enabling the lock feature will prevent the use of any other keypad operation. When the lock is enabled, the lock
keypad will illuminate blue. The enabled status of the lock is not retained after power loss. To disable the lock
feature press the lock keypad again. When the lock is disabled, the icon will illuminate white.
Max refrigerator mode adjusts the refrigerator temperature to the coldest setting for four hours, at the end of which the
refrigerator’s temperature automatically returns to its previous setting. To activate the max refrigerator mode, simply
press the “MAX REF” button. The “MAX REF” light will glow to let you know you’ve turned on the max refrigerator mode.
To deactivate the max refrigerator mode before the end of the four hour cycle, press the “MAX REF” button and the blue
illumination will go out.
Temperature Change Button. When you rst plug your new refrigerator in, you will nd that the refrigerator is factory
set at 38° F in the refrigerator and 0° F in the freezer. Wait 24 hours after plug-in for the cabinets to reach this setting.
After 24 hours, you may adjust controls as desired. To change from °F to °C, press the “°F/ °C” button, To change back,
press the °F/ °C button again.
Sabbath mode is used to disable interior lights and alarms for observance of the Sabbath. To enter Sabbath mode, press
the ”SAB” button. Button will illuminate blue to indicate “SAB” mode is active. When your refrigerator is in Sabbath
mode, interior lights, display (excluding SAB indicator, temperature, and compartment indicator), and alarms are
disabled. The “SAB” button will illuminate blue. If your refrigerator loses power while in Sabbath mode, it will return to
the Sabbath mode when power is reestablished. To exit the Sabbath mode, press the ”SAB” button.
Vacation mode will optimize refrigerator energy consumption during periods of non-use. Press the “VAC” button to
activate. Press again to return refrigerator to normal operation.
6
 Loading...