

Settings and Functions
ALWAYS turn on your hood before you
begin cooking to establish airflow in the
kitchen. Also let the blower run for a few
minutes to clear the air after you turn off
your cooking appliance. This will help
keep the kitchen air cleaner.
ON/OFF switch—Starts and stops the
blower. When turned on, the blower will
operate at the previous setting of the
speed control.
Blower speed knob—Turn
counterclockwise to decrease the blower
speed and clockwise to increase the
speed. The type of cooking you are
doing will dictate the speed of the
blower you use.
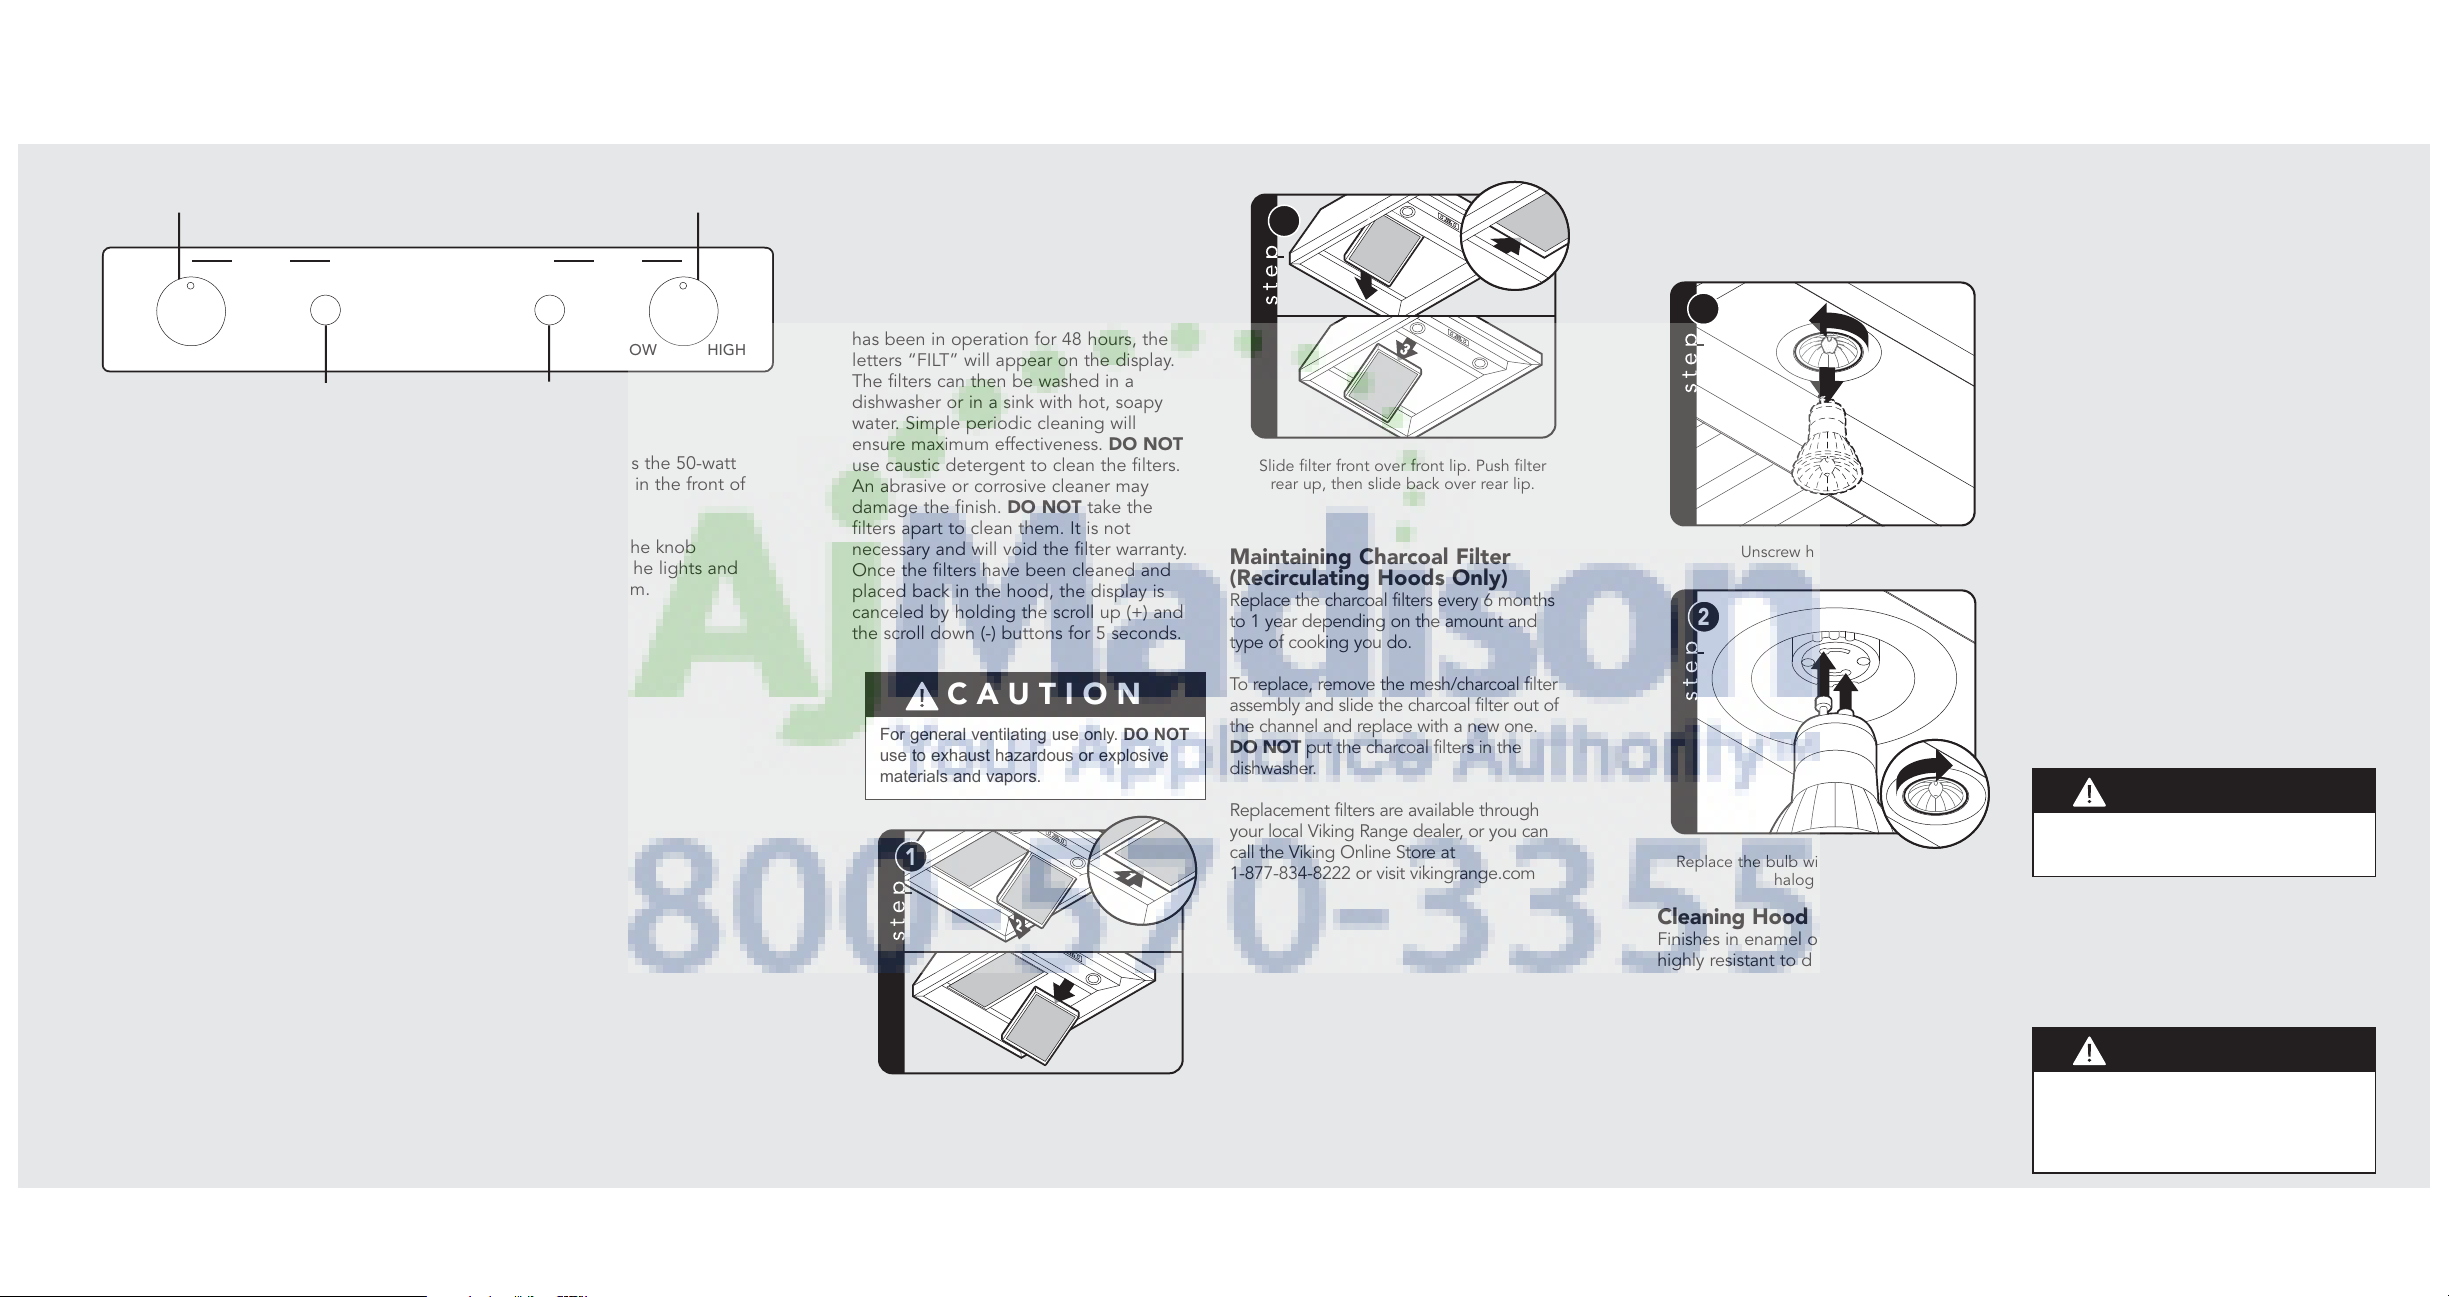
Light switch—Controls the 50-watt
halogen lights located in the front of
the hood.
Dimmer knob—Turn the knob
clockwise to brighten the lights and
counterclockwise to dim.
Cleaning and Maintenance
Cleaning Mesh Filters
As air passes through the filter, grease
particles collect on the stainless steel
screen inside the filter. The filters should
be examined periodically to assure that
all surfaces and parts are clean. This unit
is equipped with an alarm. Once the unit
has been in operation for 48 hours, the
letters “FILT” will appear on the display.
The filters can then be washed in a
dishwasher or in a sink with hot, soapy
water. Simple periodic cleaning will
ensure maximum effectiveness. DO NOT
use caustic detergent to clean the filters.
An abrasive or corrosive cleaner may
damage the finish. DO NOT take the
filters apart to clean them. It is not
necessary and will void the filter warranty.
Once the filters have been cleaned and
placed back in the hood, the display is
canceled by holding the scroll up (+) and
the scroll down (-) buttons for 5 seconds.
Maintaining Charcoal Filter
(Recirculating Hoods Only)
Replace the charcoal filters every 6 months
to 1 year depending on the amount and
type of cooking you do.
To replace, remove the mesh/charcoal filter
assembly and slide the charcoal filter out of
the channel and replace with a new one.
DO NOT put the charcoal filters in the
dishwasher.
Replacement filters are available through
your local Viking Range dealer, or you can
call the Viking Online Store at
1-877-834-8222 or visit vikingrange.com
CAUTION
For general ventilating use only. DO NOT
use to exhaust hazardous or explosive
materials and vapors.
3
2
1
3
2
1
Slide filter front over front lip. Push filter
rear up, then slide back over rear lip.
Slide filter front over front lip. Push filter
rear up, then slide back over rear lip.
Replacing the Light Bulbs
When removing bulbs, use an oven mitt
to protect your hand in case the bulb
breaks.
Cleaning Hood Canopy
Finishes in enamel or stainless steel are
highly resistant to damage or discoloration
due to grease, steam, and heat—provided
that reasonable care is given to the
equipment. The following suggestions will
help keep your hood looking new.
1. DO NOT allow an excessive
accumulation of grease. For best results,
you should wipe your hood clean with a
cloth dipped in warm, soapy water.
DO NOT USE ABRASIVE CLEANSERS,
STEEL WOOL PADS, OR ABRASIVE
CLOTHS. DO NOT use cleansers that
contain chlorides; the chlorides in the
cleaner could damage the stainless steel
finish. If you need to scrape stainless
steel to remove encrusted materials, first
soak the area with hot towels to loosen
the material, then use a wooden or
nylon spatula or scraper. DO NOT use a
metal knife, spatula, or any other metal
tool to scrape stainless steel.
2. Every 3 months give your hood a
thorough cleaning. On painted surfaces,
use a new coat of wax. A good wax
cleaner—available at either a grocery or
hardware store—will do both jobs at
once. On stainless steel surfaces, use a
good stainless steel cleaner and polish.
Renewing Enamel Finish
If discoloration occurs, you should
thoroughly polish the finish on your hood
to renew its gloss and luster and to
remove any grease residue which may
have a yellowing effect. Use any good
enamel polish, refrigerator polish, or
automotive polish.
Renewing Stainless Steel Finish
Regular cleaning is the best way to assure
that your stainless steel finish stays bright
and unscratched. Use lemon oil or stainless
steel polish to coat and protect stainless
steel.
1
1
2
Unscrew halogen bulb.
Replace the bulb with a 120 volt, 50-watt
halogen bulb.
CAUTION
DO NOT use a porcelain cleaner or
rough abrasive cleaner.
CAUTION
All brass special ordered parts are
coated with an epoxy coating. DO NOT
use brass cleaners or abrasive
cleansers on the brass option parts.
Dimmer knob Blower speed knob
LIGHTS FAN
PUSH ON/OFF PUSH ON/OFF
HIGHLOW HIGHLOW
Light switch
ON/OFF switch
1
2
1
1
2
2
F21206 EN (051513)
VIKING RANGE, LLC
111 Front Street • Greenwood, Mississippi
38930 USA • (662) 455-1200
Hoods
IMPORTANT– Please Read and Follow (cont.)
IMPORTANT– Please Read and Follow
QuickReference
Warning and Important Safety Instructions
appearing in this guide are not meant to cover all
possible conditions and situations that may occur.
Common sense, caution, and care must be exercised
when installing, maintaining, or operating the
appliance.
ALWAYS contact the manufacturer about problems or
conditions you do not understand.
Recognize Safety Symbols, Words, Labels
Read and follow all instructions before using this
appliance to prevent the potential risk of fire, electric
shock, personal injury or damage to the appliance as
a result of improper usage of the appliance. Use
appliance only for its intended purpose as described
DANGER
Hazards or unsafe practices which WILL result
in
WARNING
Hazards or unsafe practices which COULD
result in death severe personal injury or death.
CAUTION
Hazards or unsafe practices which COULD
result in minor personal injury.
All safety messages will identify the hazard, tell you
how to reduce the chance of injury, and tell you what
can happen if the instructions are not followed.
WARNING
To reduce the risk of fire, electric shock, or
injury to persons, observe the following:
• Use this unit only in the manner for which it is
intended. If you have any questions, contact the
manufacturer.
• Before servicing or cleaning unit, switch power off
at service panel and lock service panel to prevent
power from being switched on accidentally. When
the service disconnecting means cannot be
locked, securely fasten a prominent warning
device, such as a tag, to the service panel.
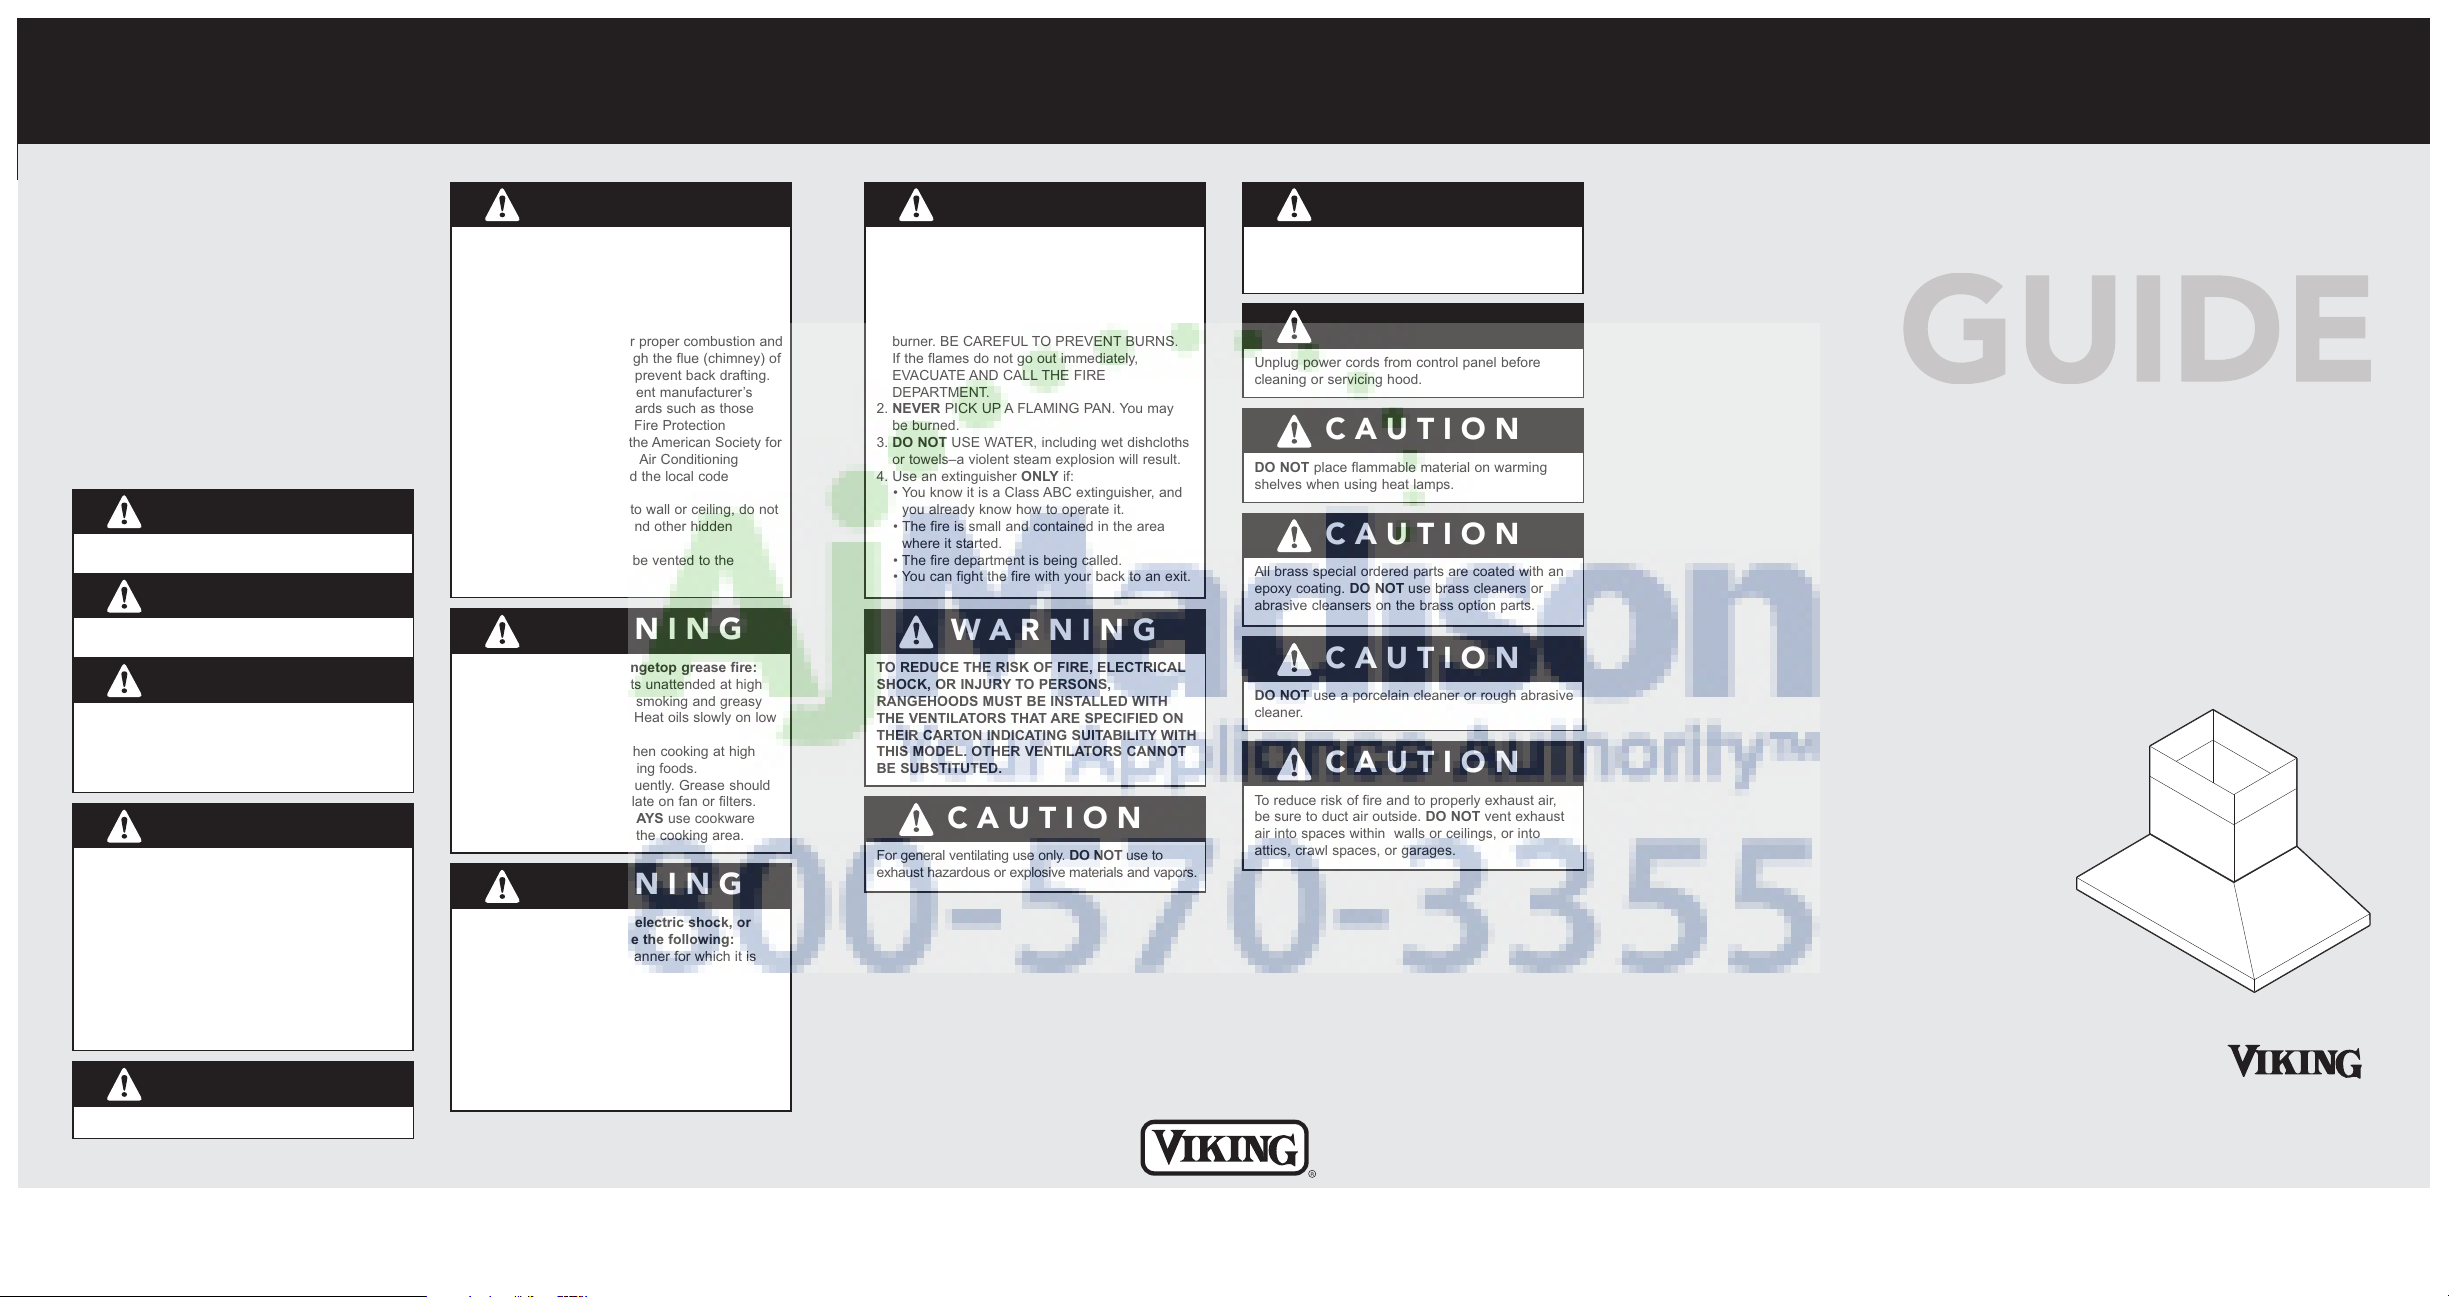
WARNING
TO REDUCE THE RISK OF FIRE, ELECTRICAL
SHOCK, OR INJURY TO PERSONS,
RANGEHOODS MUST BE INSTALLED WITH
THE VENTILATORS THAT ARE SPECIFIED ON
THEIR CARTON INDICATING SUITABILITY WITH
THIS MODEL. OTHER VENTILATORS CANNOT
BE SUBSTITUTED.
WARNING
To reduce the risk of fire, electric shock, or injury
when using your unit, observe the following:
• Installation work and electrical wiring must be
done by qualified person(s) in accordance with all
applicable codes and standards, including firerated construction.
• Sufficient air is needed for proper combustion and
exhausting of gases through the flue (chimney) of
fuel burning equipment to prevent back drafting.
Follow the heating equipment manufacturer’s
guideline and safety standards such as those
published by the National Fire Protection
Association (NFPA), and the American Society for
Heating, Refrigeration and Air Conditioning
Engineers (ASHRAE), and the local code
authorities.
• When cutting or drilling into wall or ceiling, do not
damage electrical wiring and other hidden
utilities.
• Ducted fans must always be vented to the
outdoors.
WARNING
To reduce the risk of fire, use only metal ductwork.
CAUTION
To reduce risk of fire and to properly exhaust air,
be sure to duct air outside. DO NOT vent exhaust
air into spaces within walls or ceilings, or into
attics, crawl spaces, or garages.
CAUTION
For general ventilating use only. DO NOT use to
exhaust hazardous or explosive materials and vapors.
CAUTION
If the power to the hood is not disconnected during
cleaning, the heat sensor thermostat can cause the
blower to turn on.
WARNING
To reduce the risk of fire, electric shock, or
injury to persons, observe the following:
• Use this unit only in the manner for which it is
intended. If you have any questions, contact the
manufacturer.
• Before servicing or cleaning unit, switch power off
at service panel and lock service panel to prevent
power from being switched on accidentally. When
the service disconnecting means cannot be
locked, securely fasten a prominent warning
device, such as a tag, to the service panel.
WARNING
To reduce the risk of a rangetop grease fire:
• NEVER leave surface units unattended at high
settings. Boil-overs cause smoking and greasy
spillovers that may ignite. Heat oils slowly on low
or medium settings.
• ALWAYS turn hood ON when cooking at high
heat or when cooking flaming foods.
• Clean ventilating fans frequently. Grease should
not be allowed to accumulate on fan or filters.
• Use proper pan size. ALWAYS use cookware
appropriate for the size of the cooking area.
WARNING
To reduce the risk of injury to persons in the
event of a rangetop grease fire, observe the
following: (Based on “Kitchen Firesafety Tips,”
published by NFPA.)
1. SMOTHER FLAMES with a close fitted lid,
cookie sheet, or metal tray, then turn off the
burner. BE CAREFUL TO PREVENT BURNS.
If the flames do not go out immediately,
EVACUATE AND CALL THE FIRE
DEPARTMENT.
2. NEVER PICK UP A FLAMING PAN. You may
be burned.
3. DO NOT USE WATER, including wet dishcloths
or towels–a violent steam explosion will result.
4. Use an extinguisher ONLY if:
• You know it is a Class ABC extinguisher, and
you already know how to operate it.
• The fire is small and contained in the area
where it started.
• The fire department is being called.
• You can fight the fire with your back to an exit.
CAUTION
Unplug power cords from control panel before
cleaning or servicing hood.
CAUTION
DO NOT place flammable material on warming
shelves when using heat lamps.
CAUTION
All brass special ordered parts are coated with an
epoxy coating. DO NOT use brass cleaners or
abrasive cleansers on the brass option parts.
CAUTION
DO NOT use a porcelain cleaner or rough abrasive
cleaner.
 Loading...