

F20407J EN
(030810)
Professional & Designer 450 Series
Built-In Dishwashers
Viking Use & Care Manual
Viking Range Corporation
111 Front Street
Greenwood, Mississippi 38930 USA
(662) 455-1200
For product information,
call 1-888-VIKING1 (845-4641)
or visit the Viking Web site at
vikingrange.com
Congratulations
With your purchase of the world’s most powerful and intelligent
dishwasher, you have joined the elite world of Viking
ownership.
Your Viking dishwasher is designed to offer years of reliable
service. This Use & Care Guide will provide you with the
information you need to become familiar with your
dishwasher’s operation and care.
Your complete satisfaction is our ultimate goal. If you have any
questions or comments about this product, please contact the
dealer from whom you purchased it, or contact our Consumer
Support Center at 1-888-VIKING1.
For more information about the complete and growing
selection of Viking products, contact your dealer or visit us
online at vikingrange.com.
This symbol alerts you to hazards such as fire, electrical
shock or other injuries.
2
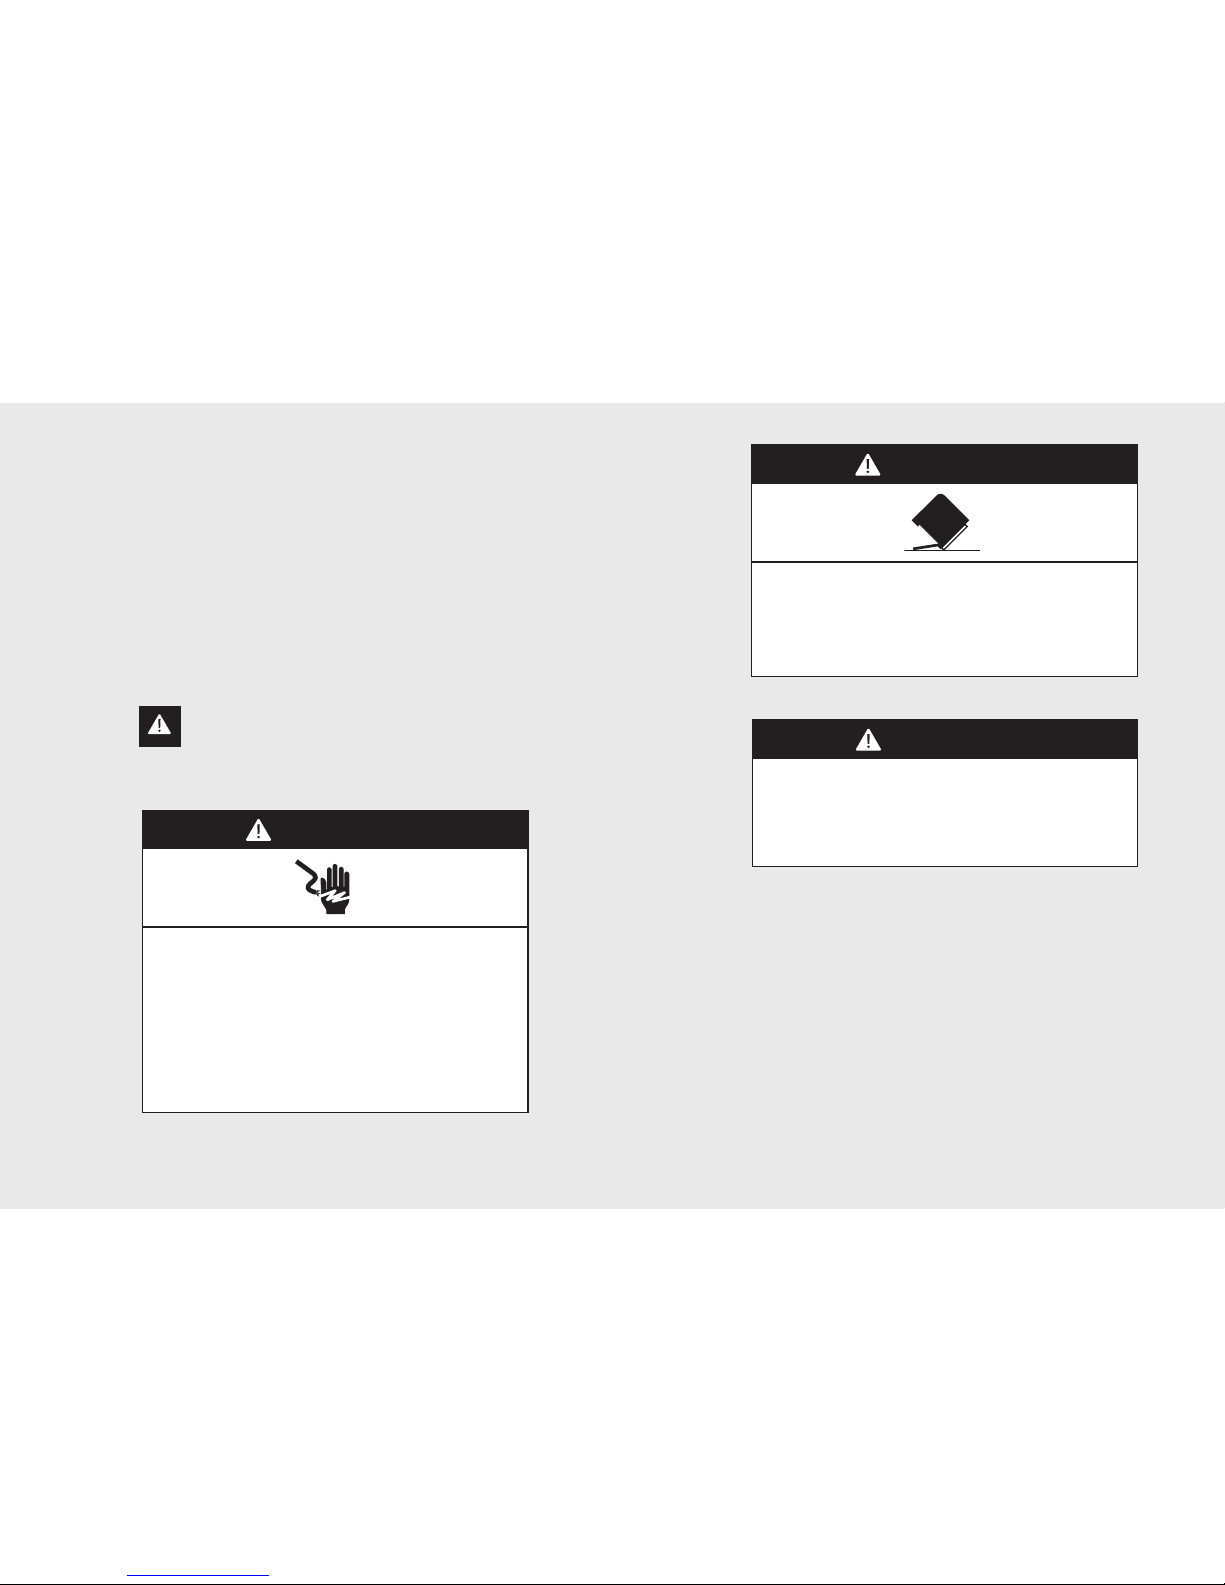
WARNING
Electrical Shock Hazard
Electrically ground dishwasher.
Connect ground wire to green ground connector
in terminal box.
Do not use an extension cord.
Failure to follow these instructions, can result in
death, fire or electrical shock.
WARNING
Tip Over Hazard
Do not use dishwasher until completely installed.
Do not push down on open door.
Doing so can result in serious injury or cuts.
WARNING
Excessive Weight Hazard
Use two or more people to move and install
dishwasher.
Failure to do so can result in back or other injury.
3

Getting Started
5
4
Important Safety Instructions
Read all instructions before using the dishwasher.
• It is your responsibility to be sure your dishwasher
°
Has been installed by a qualified installer.
°
Has been properly grounded.
°
Has been properly connected to an appropriate
electrical supply, water supply and drain.
°
Has been securely mounted to the cabinet.
°
Is properly maintained.
°
Has had all shipping materials, packaging and
temporary labels removed.
• Install dishwasher so that it is protected from the elements.
Protect dishwasher from freezing to avoid possible fill valve
damage.
• DO NOT use an extension cord to connect the dishwasher
to electricity.
• Use the dishwasher only for its intended function.
• To avoid the risk of personal injury due to steam burns,
open door slowly to allow steam to escape before opening
completely.
• Use only detergents and rinse agents recommended for use
in household dishwashers, and store them in a safe and dry
environment away from the access of children.
Table of Contents
Getting Started
Important Safety Instructions ______________________5
Features ___________________________________________8
Product Controls
Cycle Data ________________________________________ 11
General Features: Cycles __________________________ 12
Using the Delay Start Option ______________________13
Operation
Preparing Dishes __________________________________ 14
Washing Recommendations _____________________16
Rack Adjustments _________________________________18
Silverware Basket __________________________________19
Loading Dishwasher _______________________________20
Loading Silverware Basket _________________________21
Loading Racks _____________________________________22
Dishwasher Detergent _____________________________24
Rinse Agent _______________________________________25
Wash Temperature_________________________________26
Energy Saving Tips ________________________________ 26
Water Hardness ___________________________________ 27
Product Care
Maintenance ______________________________________28
Troubleshooting ___________________________________30
Troubleshooting Fault Codes ______________________36
Service Information ________________________________38
Warranty __________________________________________39

Getting Started
7
6
Getting Started
Important Safety Instructions
• When loading items to be washed, place sharp items so that
they are not likely to damage the door seal and load sharp
knives with the handles up to avoid the risk of personal
injury.
• DO NOT wash plastic items unless marked “dishwasher
safe” or the equivalent.
• DO NOT operate the dishwasher without the filters in place.
• DO NOT operate your dishwasher unless all enclosure panels
are properly in place.
• DO NOT abuse, sit on or stand on the door or dish rack of
the dishwasher.
• DO NOT tamper with controls.
• To reduce the risk of injury, do not allow children to play in or
on a dishwasher.
• If hot water has not been used recently (usually two weeks or
longer), hydrogen gases may buildup in the water heater and
the hot water pipes. HYDROGEN GAS IS EXPLOSIVE. To
prevent injury or damage, before using your dishwasher, turn
on all hot water faucets and allow water to run for several
minutes before using your dishwasher. This will allow gases to
escape. Do not smoke or use any open flames near the faucet
while it is open.
• Depending on cycles/options selected, the dishwasher
operates at very high water temperatures 155°F (68°C) on
some models. Use extreme caution when opening unit or
handling dishes.
• DO NOT use door to push racks in. Close the dishwasher
door when not in use.
• DO NOT repair or replace any part of the appliance unless
specifically recommended in the manual. All other servicing
should be referred to a qualified authorized technician.
• When discarding an old dishwasher, always remove the door
to prevent accidental entrapment.
SAVE THESE INSTRUCTIONS!
Important Safety Instructions
Getting Started
8
9
Getting Started
Features
Features
• Vari-Pressure Intelli-Wash™ System
Customizes water volumes and water pressure to
selected cycles and options. The wash system
includes multi-level washing with two high quality
stainless steel wash arms and an exclusive
blockproof Flexible-Fluid™ coupling direct water
feed. The exclusive DishGuard™ Protector
prevents spray arm blockage from lower rack load
while protecting dishes.
• Central Intelligence™ System
Constant communications optimize performance
by measuring water temperature and water volume.
• Five-Stage Filtration and Waste Removal System
Prevents redepositing of food particles by assuring 100%
filtered water is delivered to dishes in all cycles resulting in
clean spot-free dishes. The system includes a removable
coarse strainer, exclusive Triple-Clean™ filtration with
self-cleaning jets, and an exclusive ultra hard food waste
disposer.
• Sure-Temp™ Water Heating
HydroFlo™ water heater automatically heats water to
appropriate/selected temperature, assuring excellent
washing performance.
• AirFlo™ Gentle Drying
Gentle, effective and safe fan-driven system delivers warm,
gentle air over, under and around dishes.
• Quiet Clean™ Performance Packages
Engineered top to bottom for the quietest operation
possible. The combination of a quiet three phase motor,
separate motor and pump for washing and draining, multistage sound absorbing insulation and cushion mounted key
operating components provides a unique Quiet Clean™
sound package.
• “Load-As-You-Like” Sturdi-Bilt™ Racks
Fully extendable and adjustable nylon coated steel racks
accommodate 15 international place settings of china in a
single load.
• Diamond-Brite™ Stainless Steel Tank and Inner Door
Brightly polished surgical stainless steel to maintain
optimum long-term appearance.
Product Controls
11
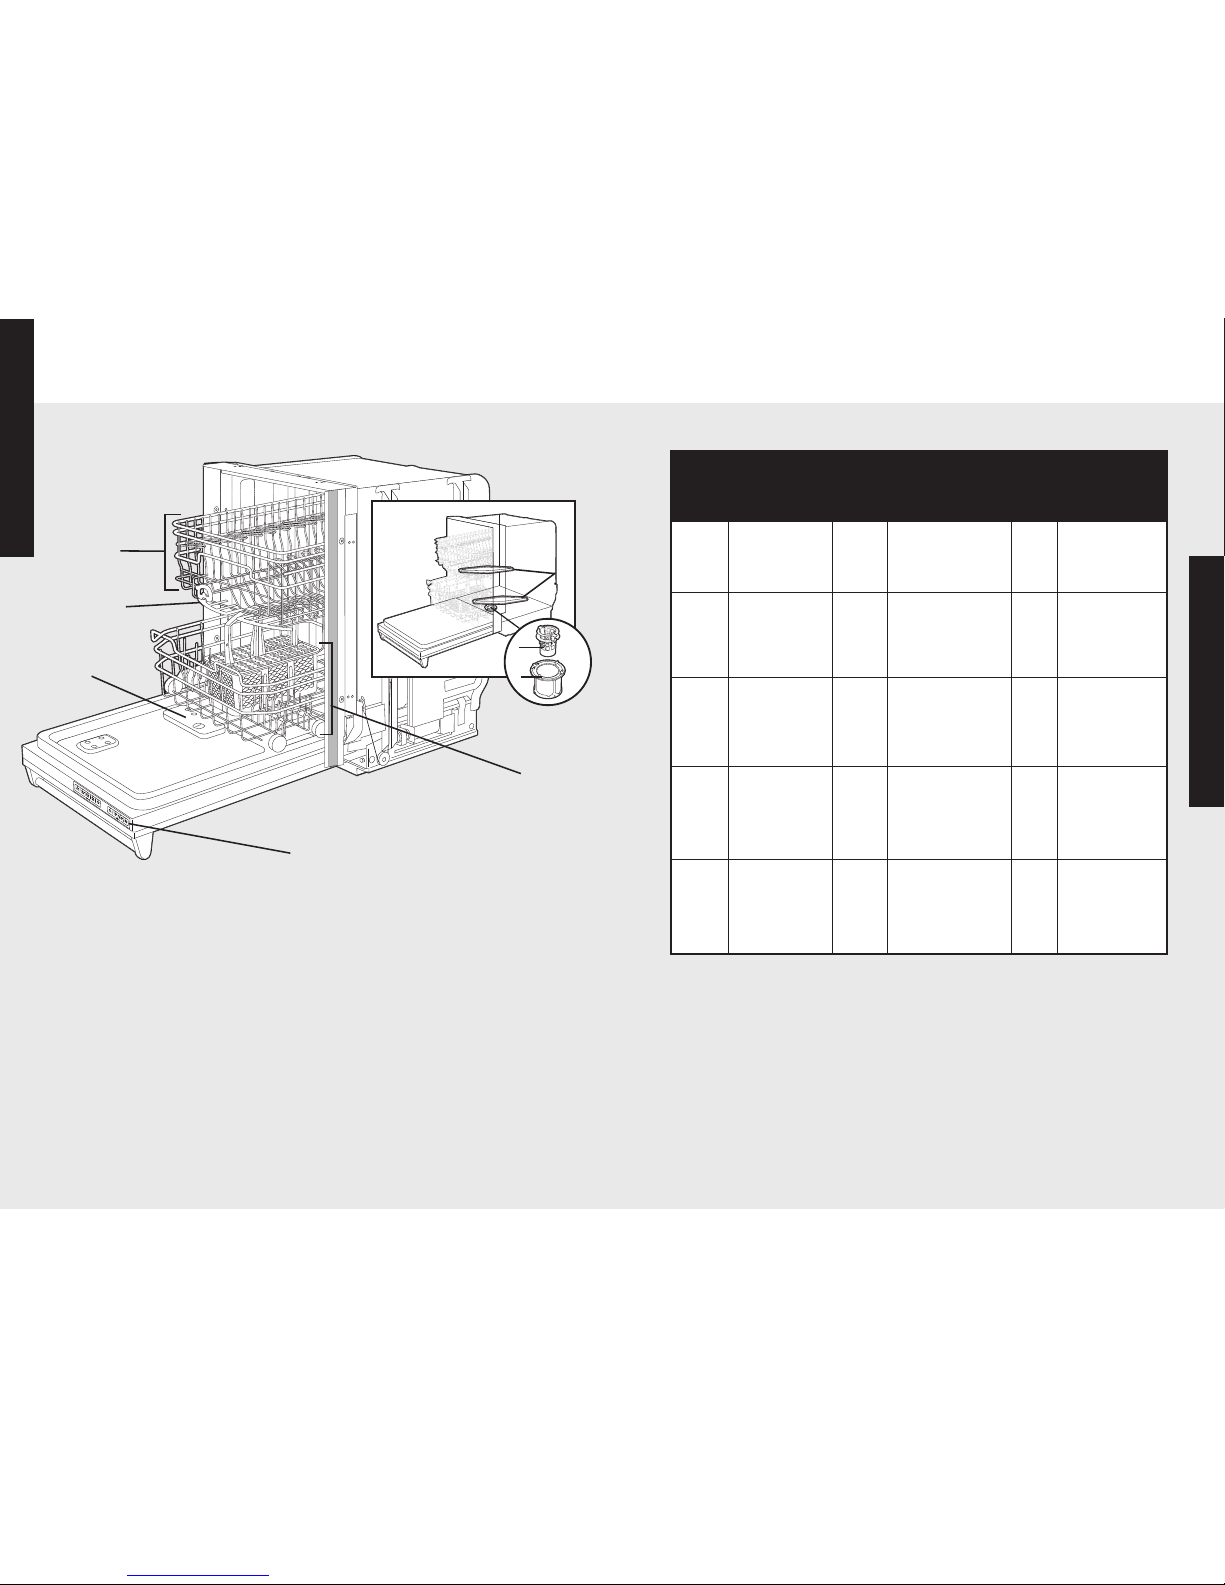
Cycle Data
NOTE: Will perform properly if connected to “cold” water - 50° F (10° C). Cycle
times will be extended.
10
Getting Started
Features
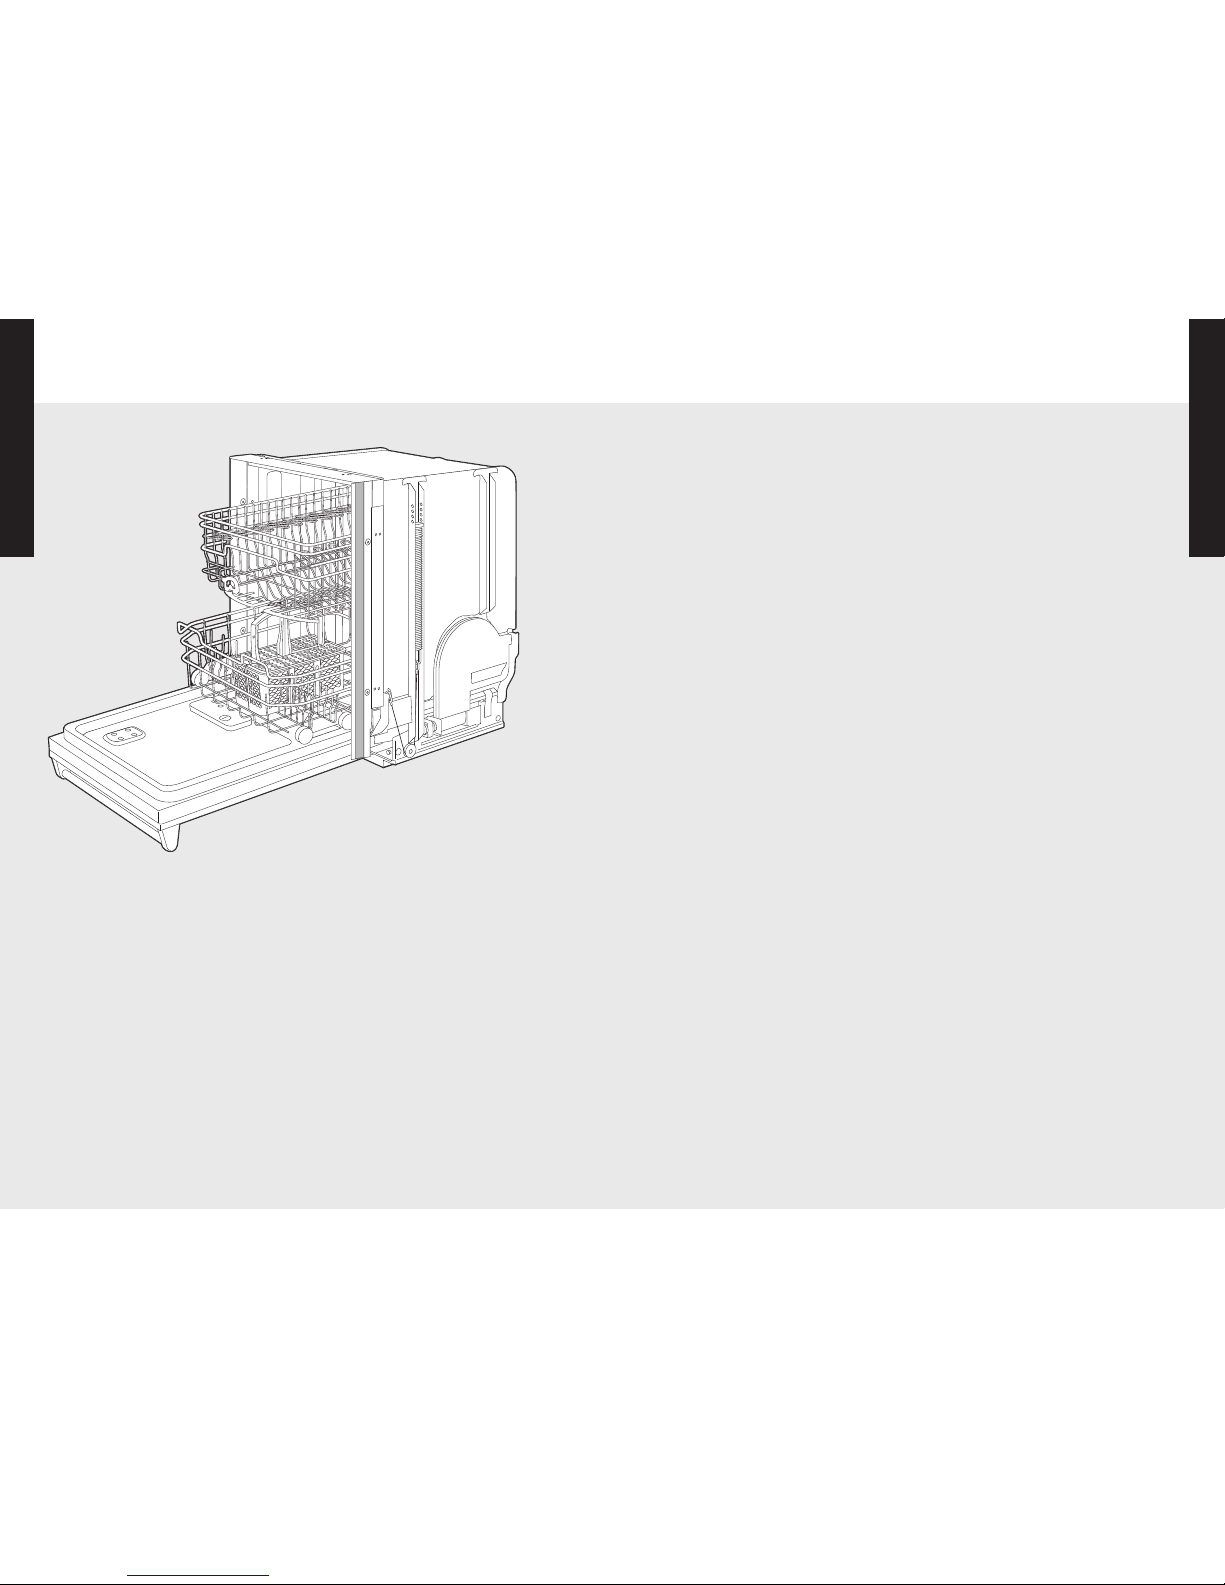
450 Model
1. Roller Bearing™ upper rack
• Hold-Tight™ dividers (3)
• One-piece stemware
Cradle/cup shelf (1 row)
• One-piece cup shelf (1 row)
2. DishGuard™ protector
3. Automatic detergent dispenser
4. Automatic rinse agent
dispenser
5. Top-of-door hidden control
panel
6. Stainless steel
wash arms (2)
7. Removable coarse strainer
8. Fine filter
9. Lower rack
• One-piece fold down
tines (4 rows)
• Two-piece silverware
basket and lids
1
6
2
3/4
7
9
5
8
Cycle
name
Recommended
dish types/
soil level
Pressure
Wash
temp.
Total
water
gal. (L)
Total wash time
(minutes)
120°F
(49°C)
Pots/
Pans
Heavily soiled
pots, pans and
casserole dishes
Intense Prewash- 130° F
(54.4° C)
Main- 150° F (66° C)
Rinse- 150° F (66° C)
8.2 195
(min.)
Normal
Wash
Normally soiled
plates, glasses,
bowls, and
lightly
soiled
pots and pans
Medium Prewash- N/A
Main- 130° F (54.4° C)
Rinse- 145° F (63° C)
4.7 125
(min.)
Econo
Wash
Normally soiled
plates, glasses,
bowls, and
lightly
soiled
pots and
pans
Light/
Medium
Prewash- N/A
Main- 125° F (51.7° C)
Rinse- 130° F (54° C)
3.5 125
(min.)
Light/
China
Lightly soiled
dishes or fine
china and
crystal
Light Prewash-115° F
(46.1° C)
Main- 125° F (51.7° C)
Rinse- 120° F (48.9° C)
5.85 155
(min.)
Rinse/
Hold
All dishware Medium Rinse 1.17 12
(min.)
Features: Cycles
Product Controls
13
Features: Cycles
Product Controls
12
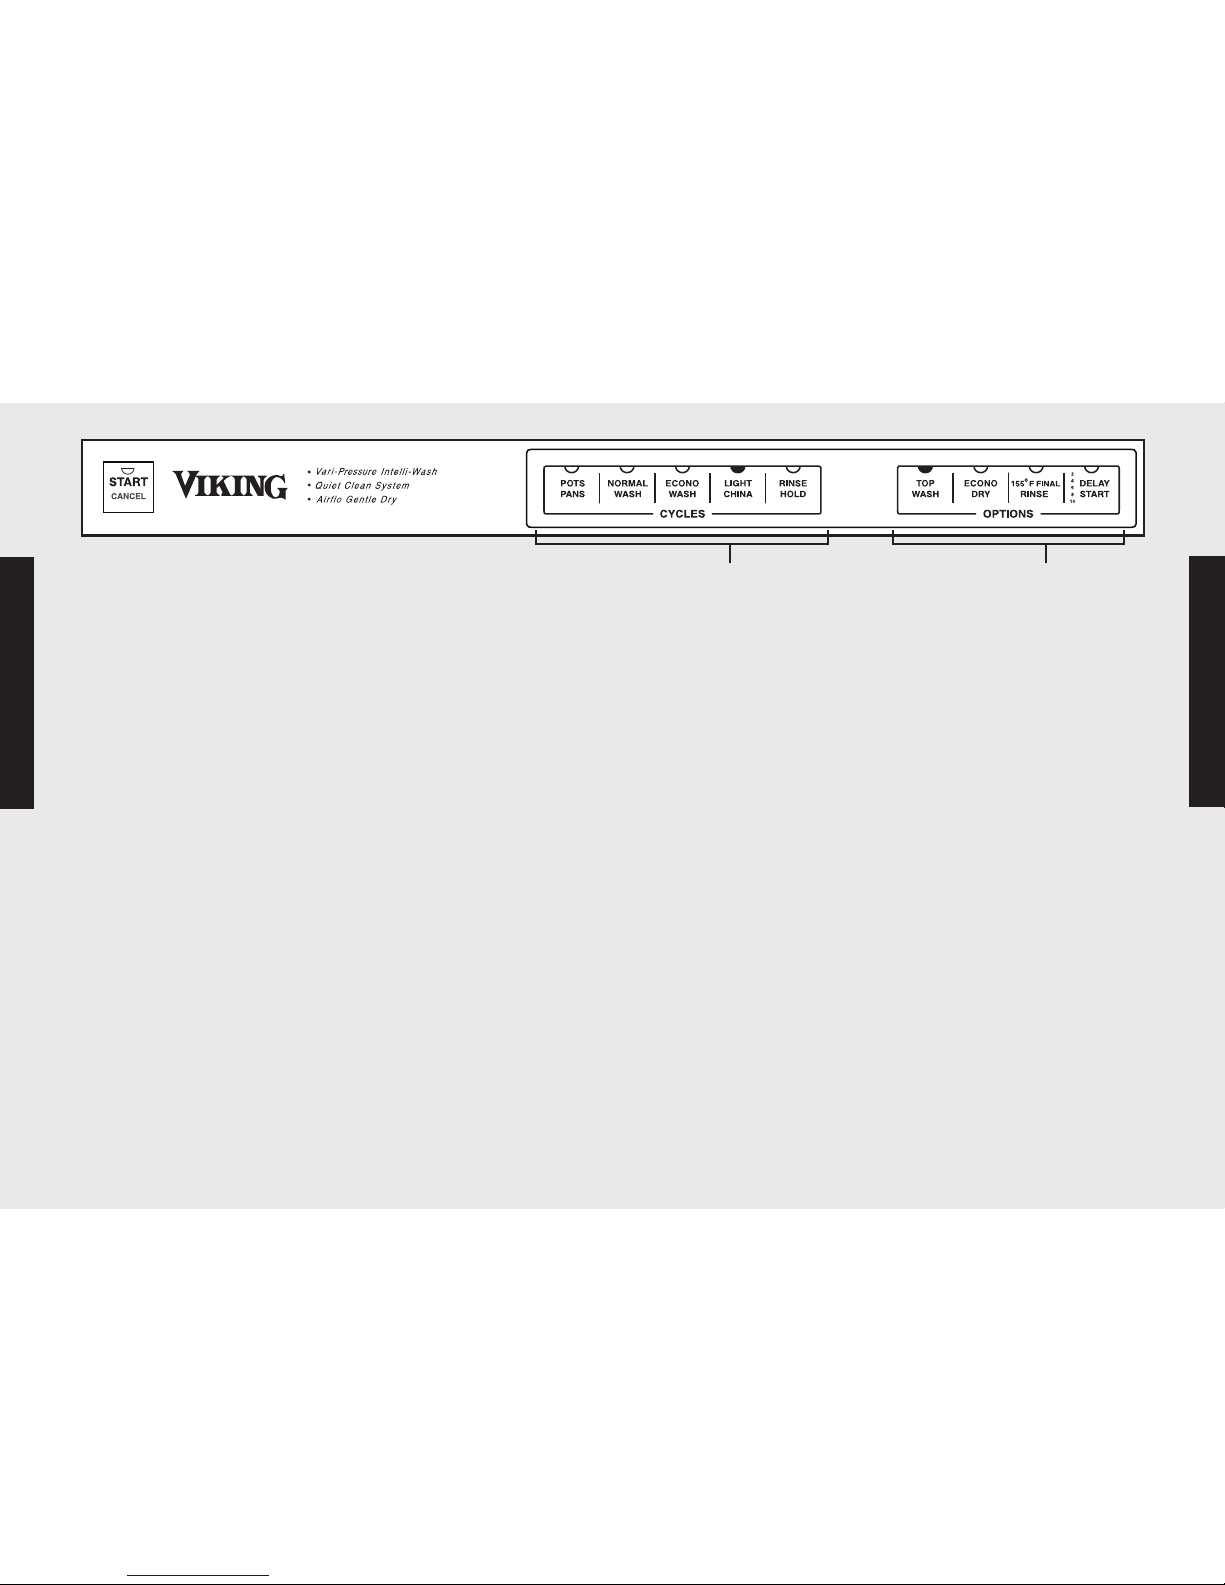
Cycles Options
450
Wash Cycles
Pots/Pans
Heavily soiled pots, pans and casserole dishes. Long heated prewash
loosens up encrusted food. High temperature and intense pressure long
main wash. High temperature rinse.
Normal Wash
Normally soiled plates, glasses, bowls, and lightly soiled pots and pans.
Normal prewash, main wash and rinse. Medium pressure and temperature.
Econo Wash
Normally soiled plates, glasses, bowls, and lightly soiled pots and pans.
Lower temperature main wash and rinse. Longer prewash and main wash to
maximize cleaning performance while using less energy.
Light/China
Lightly soiled dishes or fine china and crystal. Low temperature wash and
rinse. Lightest pressure to protect dishes.
Rinse/Hold
All dishware. Short, medium pressure rinse with no heat.
Options
Top Wash Only
Washes dishes on top rack only. Conserves energy. Available on
Normal Cycle.
Econo Dry
Selects a “no heat” dry. Available on Normal, Econo Wash and Light
China Cycles.
155° F (68° C) Final Rinse
Increases the temperature of final rinse to 155° F (68° C). Available on
Pots and Pans and Normal Cycle.
Delay Start
Lets you delay running the dishwasher for up to 10 hours. To set “Delay
Start”, select the desired wash cycle and option(s). Press the “Delay
Start” button once and the number “2” will light, indicating a two hour
delay. If you desire a longer delay, continue pressing the “Delay Start”
button to a 4, 6, 8 or 10 hour delay. The corresponding number on the
button will light. Once you have set the desired delay time, press the
“START” button and close the door. “Delay Start” is not available with
the Rinse/Hold cycle.
 Loading...