

Viking DCSO, VCSO, DCSO244SS, VCSO244SS Use & Care Manual

Viking Use & Care ManuaJ
[
Built-In Electric
Combi Steam!Convection Oven
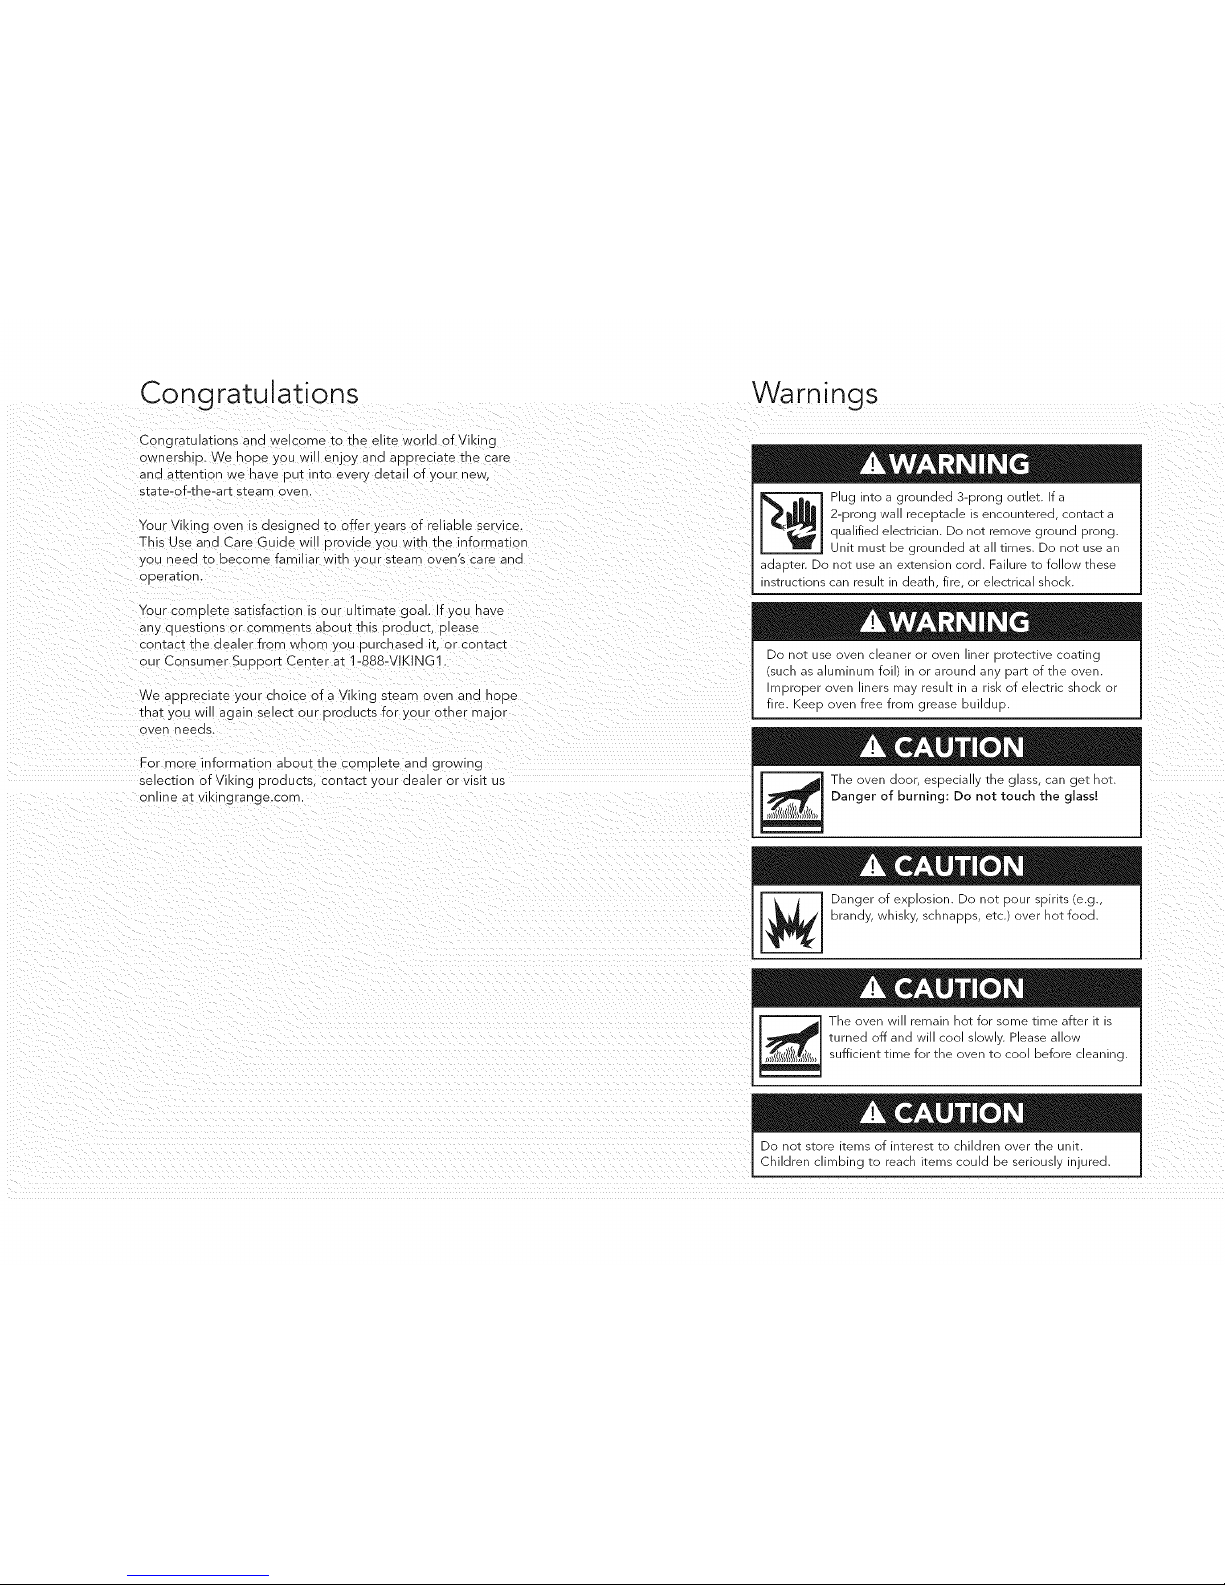
Congratulations Warnings
Congratulations ana welcome _o _ne elite world of Viking
ownership, We hope you will enjoy and appreciate the care
and attention we nave out into every detail of your new.
s_ate-of-the-art s_eam over
Your Viking oven is aeslgned to offer ) ears of reliable ser_ ice.
This Use aqd Care Guide wi provide you with me informatio-
you neea to become farr Jar with your steam oven's care ano
operation.
Your corn3 ete satisfaction is our ultimate goal. 'f you nave
any questions or comments about this Droduct. please
contac_ _ne dealer from wnom you purchased it. or cDr [act
our Consumer Su 3oor_ Center at 1-888-VIKING1.
Ne appreciate your choice of a Viking steam oven ano ncoe
tna_ _ou will again select our 3roducts for _our otner ma 3r
oven neeos.
For more information about the com,alete ano growing
selection of Viking orouucts, contact your dealer or visit us
online at vikinjrange.com.
[_ lug into a grounded 3-Drong OUTlet. _a
2-Prong wa ecedTacle is encountered conTacTa
d Jalified electrician. Do nOTremove ground prong.
Unit must be 9rounded aTall times. Do nOTuse an
adapter Do not use an extension cord. Failure to follow these
instructions can "esulT ;_ deaTn fire, or electrica snocl<
Do nOT use oven cleaner or oven iner protective coatino
sucn as aluminum foil/ a or around an_ [)art of _ne oven
mDroDer oven hers ma, "esult in a risk of electric shock or
fire. /eeD )ven free from grease builduo.
.Children :limbing TO eacn Tems :OU,d De serious y injured.
Warnings
Table of Contents
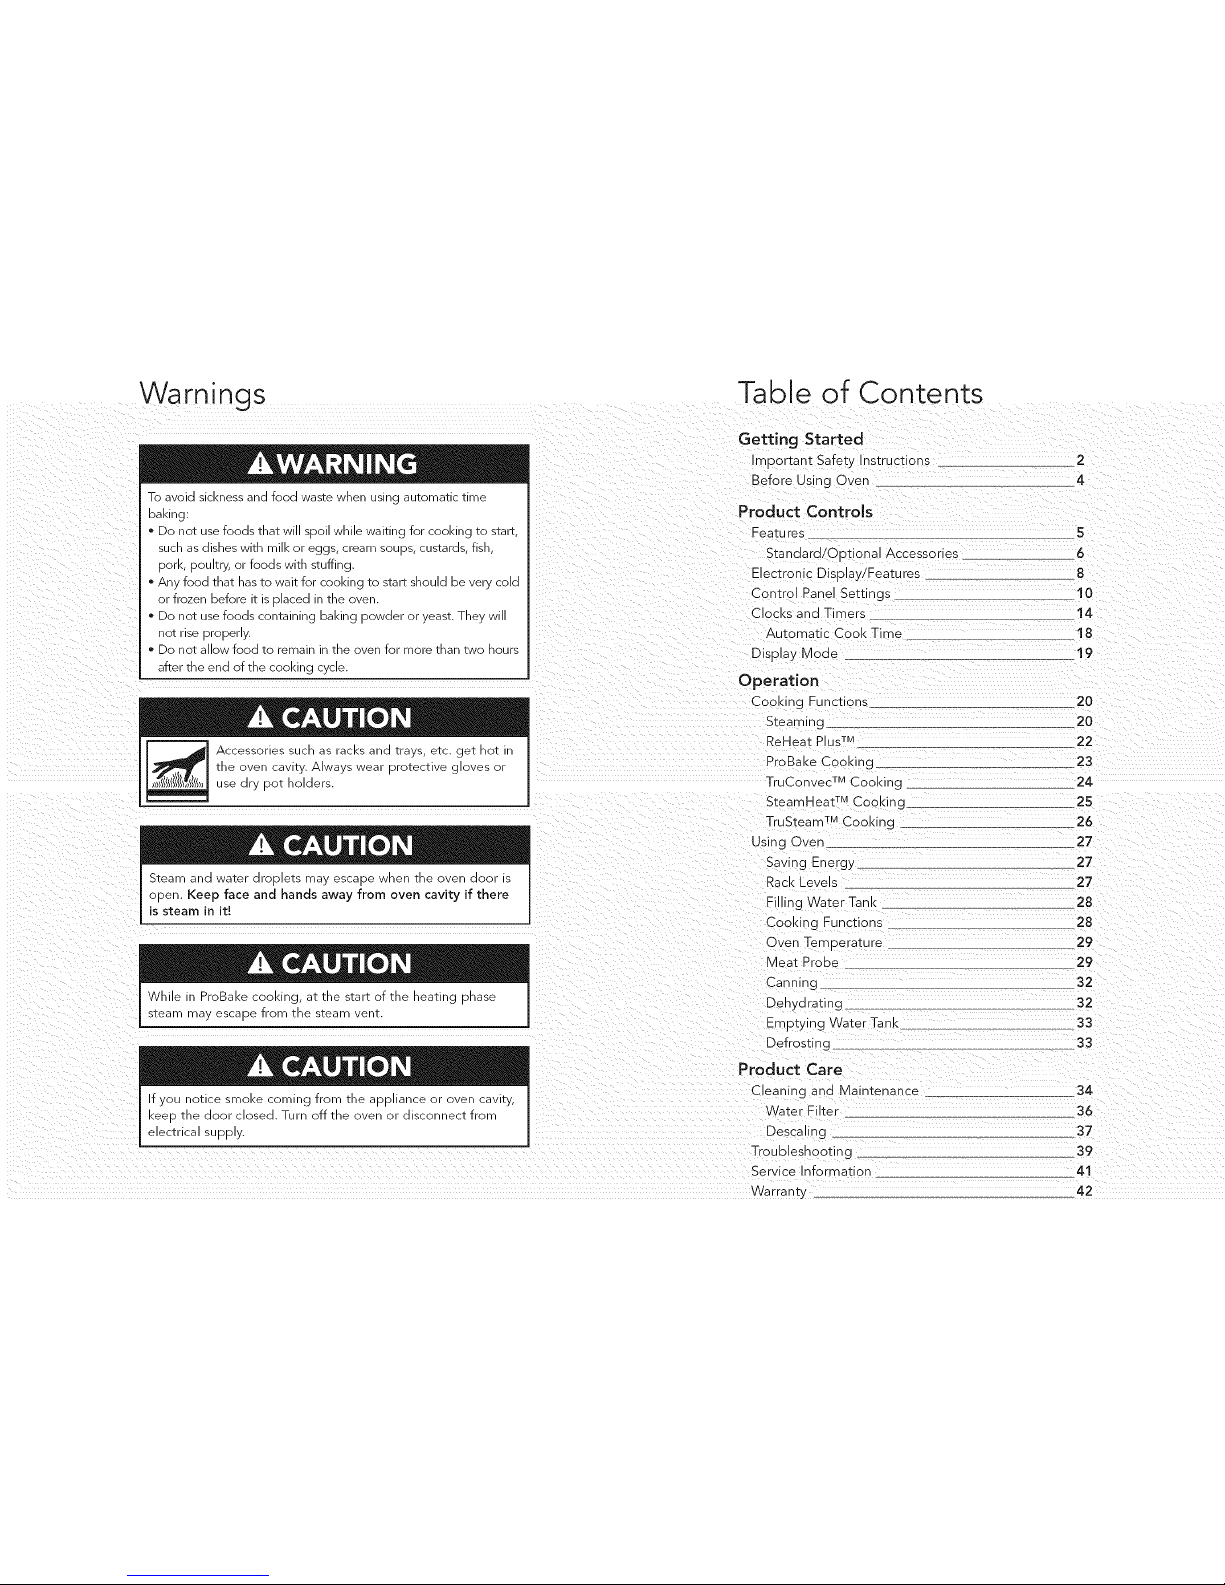
To avoid sickness and food waste wher using automatic time
baking:
- Do not use foods that will spoil while waiting for cooking TOSTarT,
sucn as dishes with mill< or eggs cream SOUdS,custards, fisi"
Don< OOUlTrV,or foods with stuffing.
- Any foocl that nas to wait for cooking to STarTsnoutd De ve , cord
)r frozen before it is olaced in the oven
- Do not use foods containing baking oowder or veast. Thev \4
not rise properly,
- Do not allow food tc rematn in Tne )ven for more than Two nours
after the encl of the cooking cy :re.
Accessories sucn as acl<s an(:] travs, eTC. get nOT ;-
The oven :aviT Always wear protective gloves or
use ]ry DOT nolders.
Steam and water droolers may escaoe Nnen Tne over door is
open. Keep face and Hands away from oven cavity if there
is steam in it!
While ;_ ProBal<e cooking aTthe start of the heating onase
;team _]av escape from the _eam venT
Getting Started
mDortant Safety nstructions 2
Before Using Oven 4
Product Controls
Features 5
Standard/Ootiona _Accessories &
Electronic Display/Featu res
Control Panel Settings
Clocks a qd Timers
Automatic Cool( Time
DisDlay Mode
Operation
Cookinc Functions
Steaming
Reheat Plus TM
DroBake Cooking
TruConvec TM Cooking
SteamHeat TM Cooking
TruSteam TM Cooking
Using Ove-
Saving Energ_
Rack LeVelS
Fiing Water Tank
Cool<in 9 Functions
Oven Temoerature
Meat Probe
8
10
14
18
19
20
20
22
23
24
25
26
27
27
27
28
28
29
29
Canning 32
Deh} drating 32
Emptyinc Water Tank 33
Defrostin 9 33
Product Care
Cleaning ana Maintenance 34
Water Filter 36
Descaling 37
Troubleshooting 39
Service Inforrr atior 41
Warranty 42
Important Safety Instructions
Important Safety Instructions
Read all instructions before using the steam oven.
use this oven on') indoors a -d for its intended use as
(described in this manual. Never use your oven for warming
or heating the room. This is base(] on safety considerations.
Your unit snoul(a De installed by a a Jalified technic;an. The
oven mus_ be insta te(a an(a etectrica y grpun(ae(a according
lEOidea co(des.
The o en snout(a or.; be instatted and operated in a roorr
Nith a temperature petween 41 °F :5°C an(] 95°F (35 cC). In
tne event of frost, there is a (]anger ma_ rest(auat water left
in the pumps can freeze, causing (damage.
Before using tne newt_ qstalled over. fo tow me sqceosmat
snoul(a De taken before operating the oven for me z:"st time.
Do no_ aEempt to repair or replace any part of this over
Jr ess soecifically recommenae(a ;- this manual. All se "vicing
snoul(a pe referred to a (a Jalified technician. Warranty service
must De oerformed by an authorized aerv,ce agency.
o Children shc JiO not be left alone in the kitchen while the
over. is in Jse.
o Do not _se the oven if it is visibly (aamage(a an(a/or _nere ts
risible smoke corr;_g from the oven. Keen odor nosed an(a
---ediate, disconnect from e ectrical supply.
Always sosition oven racks n desired Iccation whi e oven is
cool. If rack must pe move(] while oven is not. (no - _ te_ so_
no (aer contact not heating element in oven.
o use care wnen o(aenmg and touching oven (moor. Le_ hot air
or stearr escaoe before removing or replacing food. Do not
toucn glass window On (moor. Hot air or stearr can cause
ourns to nan(as, face. an(a/or eyes. Do not sit or res_ on _ne
oven (moor.
o Keeo oven ven_s c qops_ructed. The oven ven_ is Iocate(a at
the front of the over` and vents ir[o me room. In ProBake
cooldng steam may escape from tne s_eam ven_.
Do not ctean (door g asKet, t is essential for a good tight
seal. Care shoL _ De !:aKen not ]:o rUb, (damage, or move tne
gasket.
Allow sufficient time for the c yen to cool before cleaning.
us_ a Clcll]-iu soTt cIo[n [o remove al]_ residJal water in _n_
poEom of the oven cavity. Do not use steam c eaners or
spray [ne inside or outside of the oven with water.
4o commercial oven cteaner or ove niner srotective coating
sucn as alumirdm foil snoul(a De use(a _ or aroun(a any dart
of the oven. Improper oven liners may result in a risk of
e ectric shock or fire. Keep oven free from grease buildup.
Packaginc materiaJ can De (dangerous. Danger of suffocatio!!
Dispose of packaging --ateria according to ocat rec Jlations.
use on y ary dot holders. Moist or damo ootnotaers on not
surfaces may result in purns from steam. Do not et oomotaer
toucn sg #ace areas. Do no_ use towel or OUIK) CIOqCn.
Keep area ctean and free from combustible materials,
gasoline, and other flammable lie Jids. Never use your oven
as a s_orage soace. Combustible items (paper, slastic, etc.)
may _gnite an(a metallic iterT s may become no_ an(a cause
burns. Do not sour spirits over kot foods. Do no_ leave over
Jnsu(aervised when drying herps, prea(as musnrooms e_c: fire
nazar(a.
• DO NOT TOUCH HEATING ELEMENTS OR INTERIOR
S_RFACES OF THE OVEN. Heating elements may pe no_
even _nougn _ne) are dark in color, nteriorsurfaces of an
oven oecome no_ enougn _o cause burns. Durir g an(] after
_se, (no no_ _oucn or let clothing or o_her flammab e
materials contact heating etemen_s or interior surfaces of
oven until they nave na(a sufficient time to cool. Other
surfaces of the oven may Decome no_ enougn _o cause
ourns, sucn as _ne oven ven_ opening _ne surface near the
ven_ opening aria _ne oven aoor _vinaow
• Keeo this use ann care manua for future -eference. If you
set _ne oven or oass it on 1:o a third sar_y, make sure _ne use
an(a care manuat accompany _ne installation ins_ruc_ ons.
, Do ro_ nea_ unopened food containers: buildup of pressure SAVE THESE INSTRUCTIONS!
may cause the container to exDto(ae an(a resuE - qjury.
2 3
Before Using Oven
Features
The fol owing steps MUST oe _aKen before any function can
De used. When your oven is first connectea to tne oower in
_ournome, the time display wi show<'2:30>. Before you
use tne oven:
1. Turn <nOD IO set desired time.
The disD ay stops fashing after s 3proximately 1 B seconas
and the time is se_.
2. Clean tne oven ana tne accessories. If neeaed, adjust tne
Jser settin9s to _ne wa_er naruness (see page 11).
3. Fill the Nater _aql< UP _o _ne "MAX" line with cool. fresh
drinkinc water and slide into 3osit on
4. Press the "Function" DuEon three times.
o <ProBake> and <Over [emoerature> appear in the text
disDla}.
" P-o Bake indicator gnts uo.
• Oven Terns indicator flashes.
o The ]:emoerature disolay flashes 410°F (210 °C._
S. Adj Jst !:ne oven temperature !:o 360°F (180°C) By turning ///_////IIHIIIIII\I\\\\\\_,,/I/_,_
13 _/_ l//_.\j_'---- 15
1. Electronic dis9 a}
2. Oven ve-t
3. Lig q_
4. Convection far
.5, Door sea
6. Oven aoor
7, Temperature sensor
8. Steam inlet
<nob. Press the (nod IO confirm.
6. After 30 minutes Dress _ne "Off" gu_on.
The oven turns off.
7. Remove any water on me ooEom of the oven witl* a soft.
ary ClOWn.
11
9. Socket for meat Probe
10, Rack Positions
11. Water tank
12. Meat ,)roDe
13, Ove _ racks (two incluaea
14, Muir -DUrDOSe cooking _ray
15. Steamer tray
16. Water filter (three includeo
4 5

Standard/Optional Accessories Standard/Optional Accessories
Nhen cooldng ana baking foods _naKe sure to place the food or
me proper accessory. Eacn oven is eaUlDDed with _wo wire racks
one s_eamer tray, ana one mt ItJ-DurDose COOK:-g tray
o Tl_e stainless stee ano
oDtiona porcelain multi-
DUrDose COOKin 9 _rays serve
as bakin 9 t'ays for breaos.
biscuits, etc. ano as drip
_ra) s for use with the wire
rack or steamer ira)
/
The wire rack snoula 3e
Jsed for cake and baking
oans. as Well as meat
frozen DIZZa etc
Standard
VSSR
1 3/4 quart (1.7 liter) VCSSM
3 1/2 quart (3.3 liter) VCST
16.9 fluid ounces VCSDC
(500 ml)
The stainless stee s_eamer
tray s useo for steaming
fresh or frozen foous.
Optional
o The stainless steel multi-purpose tray with oouring slot is used
Nner Dourin 9 extracteo juices and dripping s from fruits and
berries.
*NOTE: Using metal knives or curnng wheels on tne multi-ouroose
cooking rra} or steamer [ra. will damage the surface.
6 7
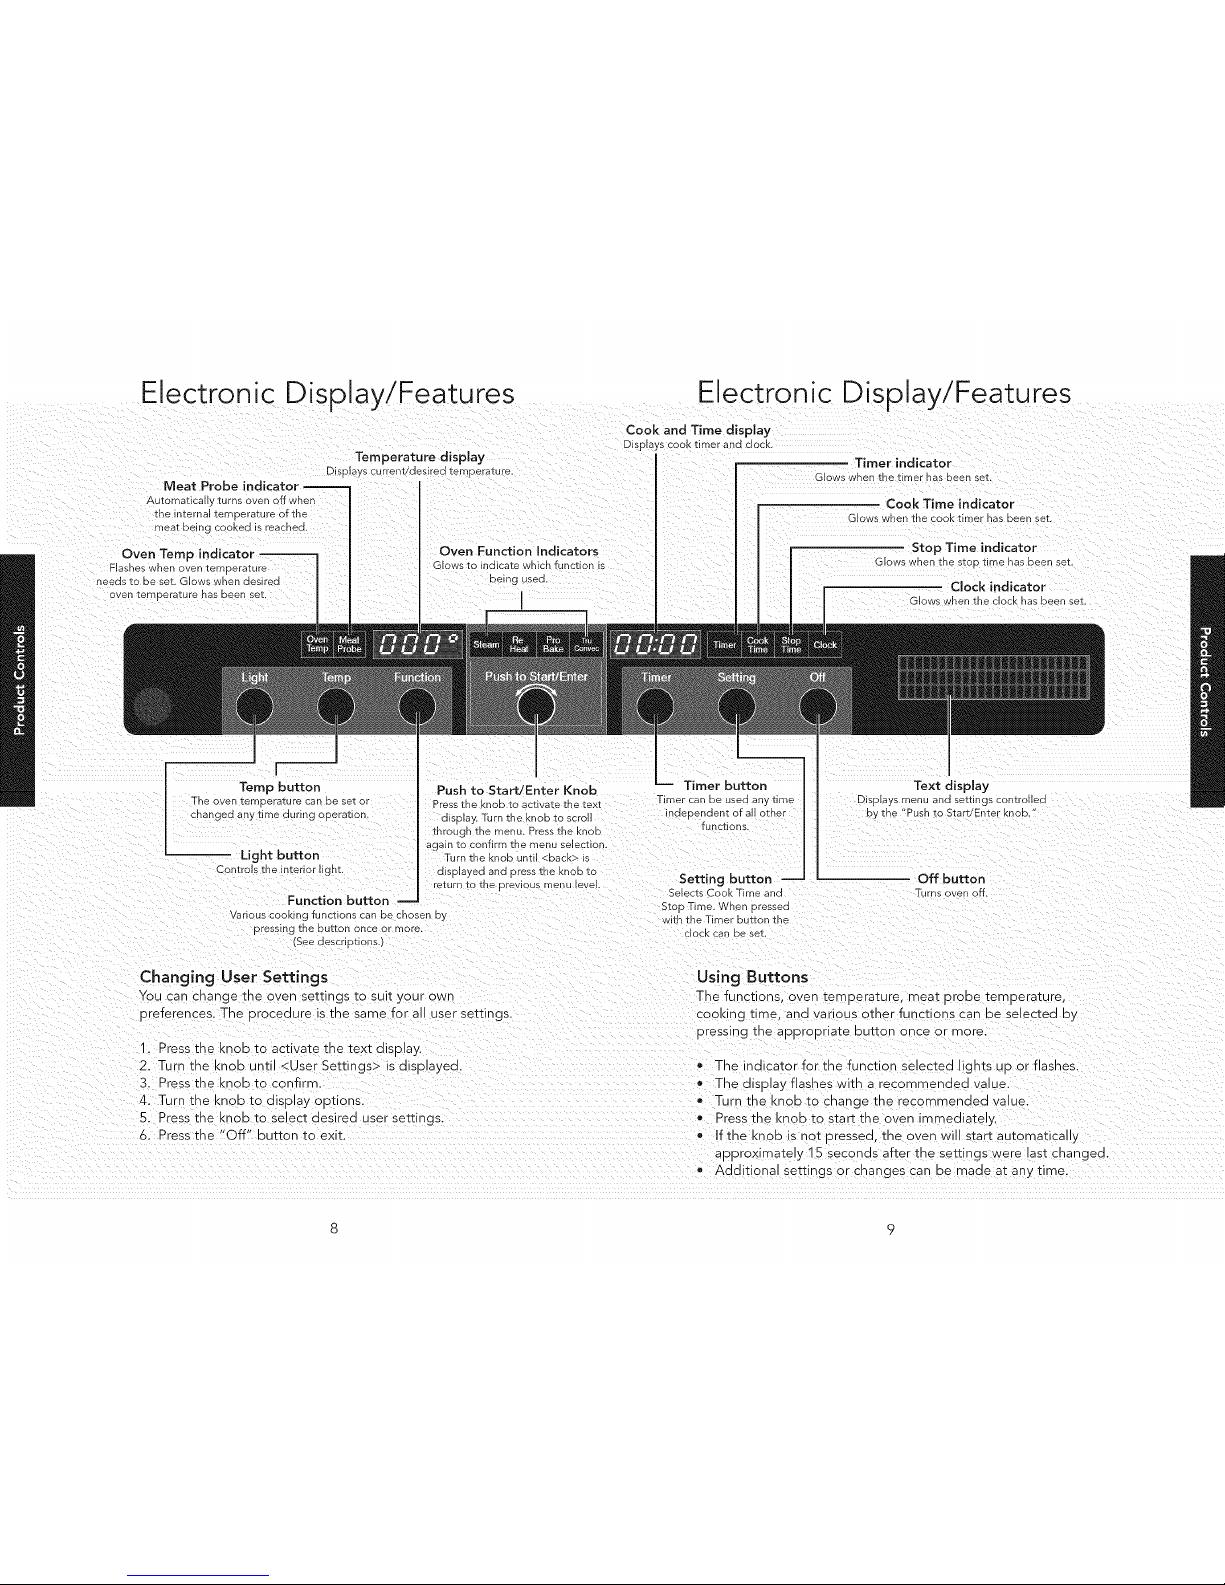
Electronic Display/Features Electronic Display/Features
Meat Probe im
Automatica , turns oven of' wner
trle interne iel_- 9eraib "e of the
rNeat Deln _ COOKeC S reacnea,
Oven Temp
Clashes when oven Iemoerature
needs to be set, GIo/ 5 wrlen aeslrea
oven te Derature nan DeeR seI.
Temperature display
Displays curremstdeslreo temperature,
Oven Function Indicators
31owsto indicate whic function is
being useo.
I
Cook and Time display
Displays COOKt_merana CLOCK.
Timer indicator
Glows when the t qer nas been set.
Cook Time indicator
Glows when the cook timer nas been set.
Stop Time indicator
GLOWS wnen ine SIOD tlr_]e haS been set.
Clock indicator
JIOWS wnen ire CLOCK has been set
[
Temp button
The oven tel_]Derature ca[] De set or
:nanged any time during operauon
Controls the qterlor IlgnI
Function button --
Push to Start/Enter Knob
Press tile knob IO acIIvaT9 IRe Iext
display. Turn Ine Knob Io scrol
mrougn the menu, Press the Knob
_gain to conTirm IRe menu selection
Turn the Knob unti <.bacK> IS
olsplayeo aria oress ; e KnOD IO
re-curn to me previous _lenl eve
Various cookino functions can be chaser Dy
Dressing [ne button once or more,
See aescrlDtlOflS.
Timer button
--met ca[] De useG any tlrQe
naeDerlaent OT a otrler
functions.
Text display
Displays menu ana se_ungs con_rouea
D_ the "Push tc Start/Enter knob,
Setting button -- Off button
Selects Cook Tit e ana Turnsoven off.
5too Time. Wher oressea
_,[h the Timer button the
CLOCK CSn De seI.
Changing User Settings Using Buttons
You car cnange me oven settings to suit your own The functions, oven _en-oerature, meax Drone temoerature,
oreferences. The 9rocedure is the same for all user settings, cooking time. ana various omer functions can De se ectea Dy
Dressing the aDDrooriate button once or more.
1. Press the (nod Io activate the text dis9la}
2. Turn me Knob until <User Settings> is displayea.
3. Press the <nod Io confirm.
4. Turn me Knob _o display options.
5. Press the knob to select aesired user settings.
6. Press the "Off" button to exit.
- The indicator for the functior selec_ea lights c O or flasnes.
The display flashes with a -ecommenaea value.
Turn tne Knob _o cnange me recc'nmenaea _alue.
Press Ine I(ROD IO siarlc Ine over immediate y.
° If the knob is no_ aressea, me aven will start automatically
approximately 15 seconds after the seeings were las_ cnangeo.
° Additiona settinc, s or cnanges can 3e mane a_ any time.
8 9
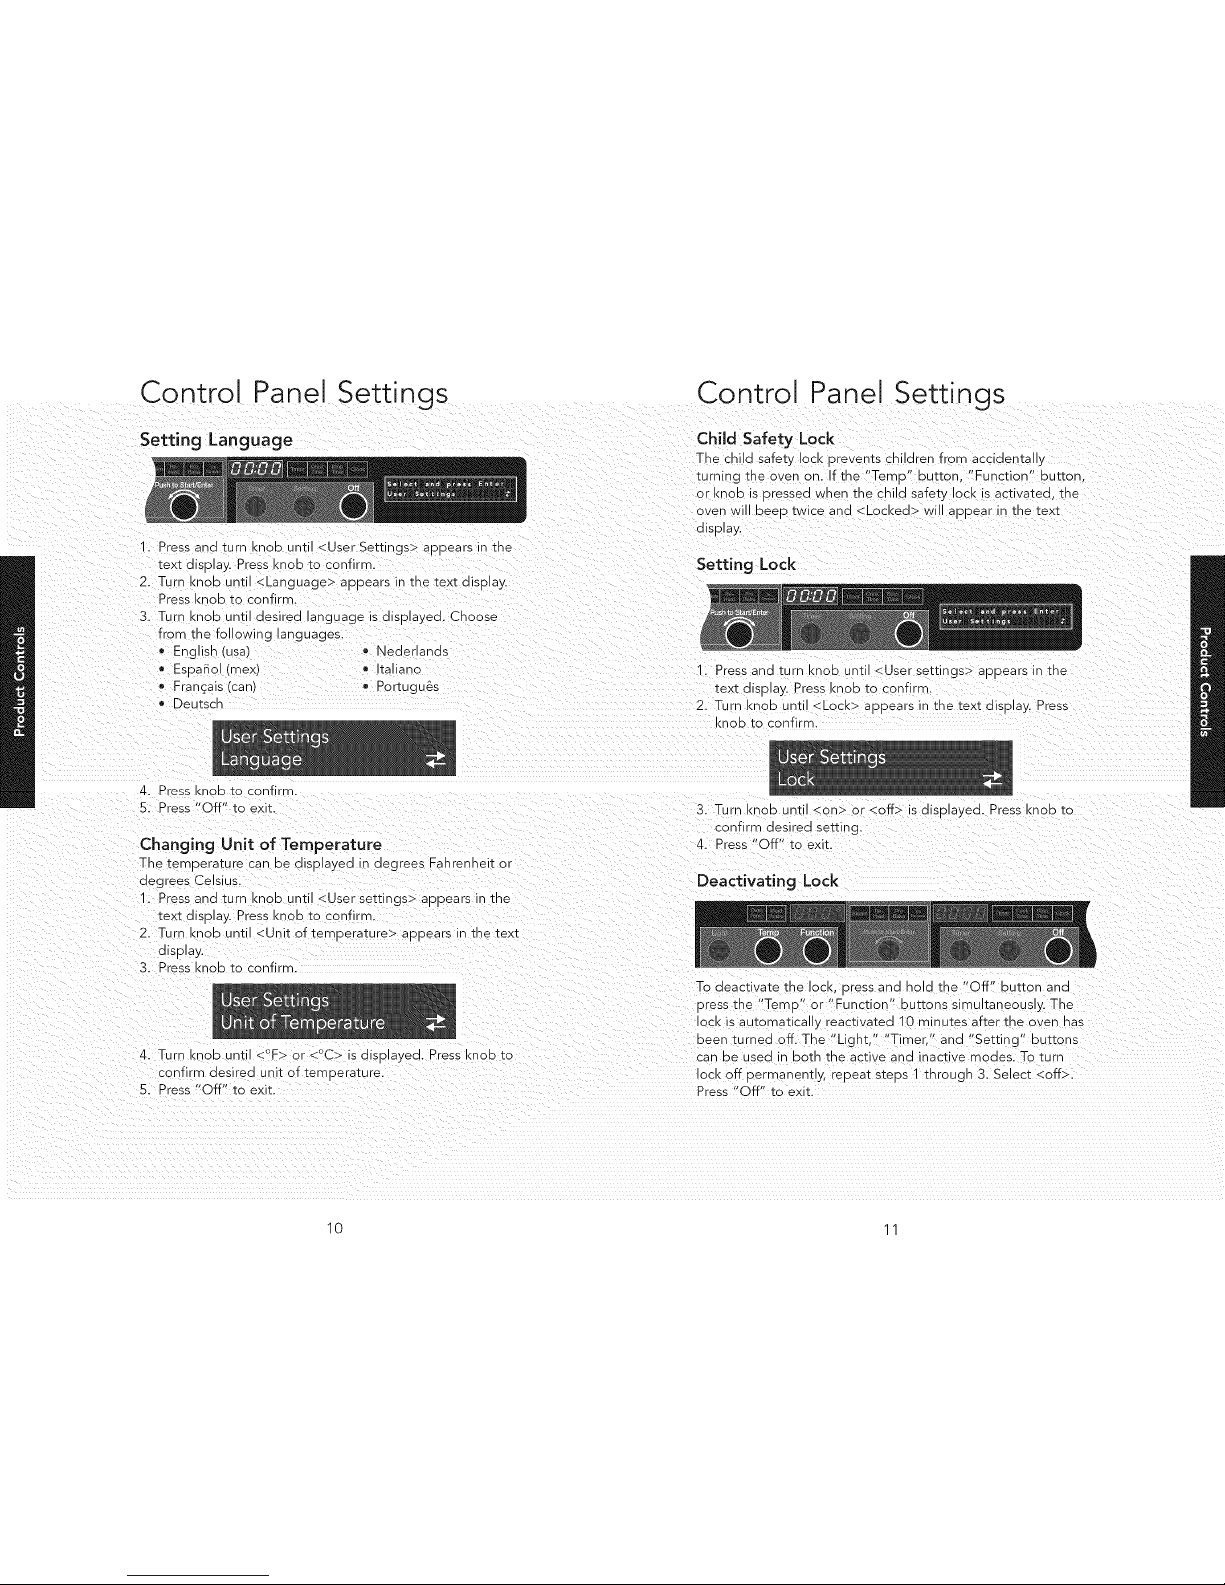
Control Panel
Setting Language
Settings
1. Press _qa turn <nod unti <User Settings> appears in the
text disptay. Press knoD to confirm.
2. Turn knob until <Language> a3Dears ntne text disD ay.
Press knob to confirm.
3. Turn Knob until desired anguage is disDlayed. Choose
;-ore the following languages.
o English (usa1 * Nederlands
• Es_aflol mex _ taiano
Franqais (can) • Portugu&s
3eutscb
Control Panel Settings
Child Safety Lock
The child safety OCK Drevents chilaren from accidenta W
turning tne oven on. If the "Temo" button. "Function" DuEon
or knob is Dressed when the child safer} OCK is activated, tne
oven _ ill beeD twice and <LOCKed > will aDDear q tne text
display.
Setting Lock
Press and wrn Knoc unti <User settings> appears in the
text display. Press knoD to confirm.
2 --_rn KnOD unti <LOCi<> agDea's in the text displa_ Press
<nOD to confirr_
4. 3ress knob to confirm
5. Press "Off" to exit.
Changing Unit of Temperature
The temDerature can be disDlayed in aegrees Fahrenheit or
aegrees Celsius.
1. Press anu :urn <noD unti <User settings> aDDears in tne
text display. Press Knob to confirm
2. Turn knob unti <Unit of temoerature> aDDears in the text
disDtay.
3. Press Knob to confirm
4. Turn Krob until <)F> or <°C> is disolayed. Press knob to
confirm desired unit of temoerature.
5. Press "Off" to exit.
3. Turn knob until <on_ or <off> is dis9layec_. Press knob to
confir- desired setting.
4. Press "Off" to exit.
Deactivating Lock
To deactivate the lOCK. Dress ana nolo the "Off bUtton ano
oress tne "TemD' or "Function" buttons simultaneously. The
ock is automatically reactivated 10 minutes after the oven nas
Deen turned off. The "Light," "Time_" and "Setting' buttons
:an De usea ;- both the active and inactive modes. To turf
acK off Dermanentty, repeat SIeDS 1 throug- 3. Select <off>.
Press "Off" to exit.
10 11
 Loading...