

Page 1
ViewSonic
Q7
LCD Display
®
- User Guide
- Guide de l'utilisateur
- Guía del usuario
- 使用手冊
Model No. : VS11147
Page 2

ENGLISH
Contents
Compliance Information..............................................................................1
Important Safety Instructions ......................................................................2
Copyright Information.................................................................................3
Product Registration...................................................................................3
Getting Started
Monitor Characteristics...............................................................................4
Package includes .......................................................................................4
Precautions ................................................................................................4
Quick Installation........................................................................................5
Using the LCD Display
Operation....................................................................................................6
OSD Menu..................................................................................................7
Other Information
Specifications .............................................................................................9
FAQ (Frequently Asked Question)............................................................ 11
Troubleshooting........................................................................................12
Customer Support ....................................................................................13
Cleaning the LCD Display ........................................................................14
Limited Warranty ......................................................................................15
ViewSonic Q7
Page 3
Compliance Information
For U.S.A.
This equipment has been tested and found to comply with the limits for a Class B digital
device, pursuant to part 15 of the FCC Rules. These limits are designed to provide reasonable
protection against harmful interference in a residential installation. This equipment generates,
uses, and can radiate radio frequency energy, and if not installed and used in accordance with
the instructions, may cause harmful interference to radio communications. However, there is
no guarantee that interference will not occur in a particular installation. If this equipment does
cause harmful interference to radio or television reception, which can be determined by turning
the equipment off and on, the user is encouraged to try to correct the interference by one or
more of the following measures:
• Reorient or relocate the receiving antenna.
• Increase the separation between the equipment and receiver.
• Connect the equipment into an outlet on a circuit different from that to which the receiver is
connected.
• Consult the dealer or an experienced radio/TV technician for help.
FCC Warning
ENGLISH
To assure continued FCC compliance, the user must use grounded power supply cord and the
cables which are included with the equipment or specified. Also, any unauthorized changes or
modifications not expressly approved by the party responsible for compliance could void the
user's authority to operate this device.
For Canada
This Class B digital apparatus complies with Canadian ICES-003.
Cet appareil numérique de la classe B est conforme à la norme NMB-003 du Canada.
For European Countries
CE Conformity
The device complies with the requirements of the EEC directive 89/336/EEC as
amended by 92/31/EEC and 93/68/EEC Art.5 with regard to “Electromagnetic
compatibility,” and 73/23/EEC as amended by 93/68/EEC Art.13 with regard to
“Safety.”
User Information for all Countries
Notice: Use the cables which are included with the unit or specified.
ViewSonic Q7 1
Page 4
ENGLISH
Important Safety Instructions
1. Read these instructions completely before using the equipment.
2. Keep these instructions in a safe place.
3. Heed all warnings.
4. Follow all instructions.
5. Do not use this equipment near water. Warning: T o reduce the risk of fire or electric shock,
do not expose this apparatus to rain or moisture.
6. Clean with a soft, dry cloth. If further cleaning is required, see “Cleaning the Display” in
this guide for further instructions.
7. Do not block any ventilation openings. Install the equipment in accordance with the
manufacturer’s instructions.
8. Do not install near any heat sources such as radiators, heat registers, stoves, or other
devices (including amplifiers) that produce heat.
9. Do not attempt to circumvent the safety provisions of the polarized or grounding-type
plug. A polarized plug has two blades with one wider than the other. A grounding type
plug has two blades and a third grounding prong. The wide blade and the third prong are
provided for your safety. If the plug does not fit into your outlet, consult an electrician for
replacement of the outlet.
10. Protect the power cord from being tread upon or pinched, particularly at the plug, and the
point where if emerges from the equipment. Be sure that the power outlet is located near
the equipment so that it is easily accessible.
11. Only use attachments/accessories specified by the manufacturer.
12. Use only with the cart, stand, tripod, bracket, or table specified by the
manufacturer, or sold with the equipment. When a cart is used, use caution
when moving the cart/equipment combination to avoid injury from tipping
over.
13. Unplug this equipment when it will be unused for long periods of time.
14. Refer all servicing to qualified service personnel. Service is required when the unit has
been damaged in any way, such as: if the power-supply cord or plug is damaged, if liquid
is spilled onto or objects fall into the unit, if the unit is exposed to rain or moisture, or if
the unit does not operate normally or has been dropped.
ViewSonic Q7 2
Page 5

Copyright Information
Copyright © ViewSonic® Corporation, 2006. All rights reserved.
Macintosh and Power Macintosh are registered trademarks of Apple Computer, Inc.
Microsoft, Windows, Windows NT, and the Windows logo are registered trademarks of
Microsoft Corporation in the United States and other countries.
ViewSonic, the three birds logo, OnView, ViewMatch, and ViewMeter are registered
trademarks of ViewSonic Corporation.
VESA is a registered trademark of the Video Electronics Standards Association. DPMS and
DDC are trademarks of VESA.
ENERGY STAR® is a registered trademark of the U.S. Environmental Protection Agency (EPA).
As an ENERGY STAR® partner, ViewSonic Corporation has determined that this product meets
the ENERGY STAR® guidelines for energy efficiency.
Disclaimer: ViewSonic Corporation shall not be liable for technical or editorial errors or
omissions contained herein; nor for incidental or consequential damages resulting from
furnishing this material, or the performance or use of this product.
In the interest of continuing product improvement, ViewSonic Corporation reserves the right
to change product specifications without notice. Information in this document may change
without notice.
No part of this document may be copied, reproduced, or transmitted by any means, for any
purpose without prior written permission from ViewSonic Corporation.
ENGLISH
Product Registration
To meet your future needs, and to receive any additional product information as it becomes
available, please register your product on the Internet at: www.viewsonic.com. The V iewSonic
Wizard CD-ROM also provides an opportunity for you to print the registration form, which
you may mail or fax to ViewSonic.
For Your Records
Product Name:
Model Number:
Document Number:
Serial Number:
Purchase Date:
Product disposal at end of product life
The lamp in this product contains mercury . Please dispose of in accordanc e with local, state or
federal laws.
ViewSonic is concerned about the preservation of our environment. Please dispose of this
product properly at the end of its useful life. For TCO'03 recycling information, please refer to
our website:
1. USA: www.viewsonic.com/pdf/RecyclePlus.pdf
2. Europe: www.viewsoniceurope.com
3. Taiwan: recycle.epa.gov.tw
Q7
ViewSonic 17" LCD Display
VS11147
Q7b-3_UG_ENG Rev. 1B 10-18-07
_______________________________
_______________________________
ViewSonic Q7 3
Page 6
ENGLISH
Introduction
General Specification s
This high-quality 17
d
features multi-frequency intelligent scanning in the range of 30 to 80 KHz.
Caution: In order to maintain this m
s
manual before use.
Monitor Characteristics
z 17” viewable-area screen
z 1280 x 1024 resolution, 300cd/m
2
, 500:1 (s ub j e c t to pa n el specification)
z Wide viewing angle (subject to panel specification)
z Color tempera tur e s e ttings: coo l, n ativ e , warm, user-defined
z Low power consumption
z Automatic power switching: AC 100~240V, 50~60Hz.
z
k
adjust, lang u age, color, rec all, exit, volume
z
l
Chinese and Simplified Chinese.
Package inclu des:
z 17 ” LCD monitor
z Base
z P ower co rd
z Instruction m anual
z Audio cable
z VGA cable
Caution: Please kee
g
or moving the monitor.
Precautions
z
y
wipe the LCD screen s urface.
z This
s
are perm itted to assem b le o r d isa sse m ble the de vic e o r ac c e s s inte r na l c ompone nts.
Getting Started
” mon itor is bas ed on a liq uid crysta l displa y (LCD ) with ex ceptio nal re solution a n
User ima ge adjustmen ts: brightness, con trast, horizontal/ve rtical position, p hase adjust, cloc
Choice of eight languages: English, German, French, Spanish, Italian, Russian, Traditiona
p the original packing materials including cartons for possible future use in shippin
Please turn off po wer befor e cleaning this monitor. Use a soft clo th with clea n water a nd lightl
monitor operates at a high voltage and is potentially hazardous. Only q ualified technician
ViewSonic Q7 4
onitor in optimal working condition, please carefully read thi
Page 7

Quick Installation
Terminal Connection
NO. Terminal Function
c
AC-In AC power input 100~240V, 50/60HZ
d
VGA-In To PC VGA
e
Audio-In Audio input
Pre-installation Check
your main system (computer) is powered off before attaching any connectors.
ENGLISH
Please check the label on the nameplate on the back cover first. Input voltage between
100V and 240V should be used with this monitor. Also please make sure this monitor and
ViewSonic Q7 5
Page 8

ENGLISH
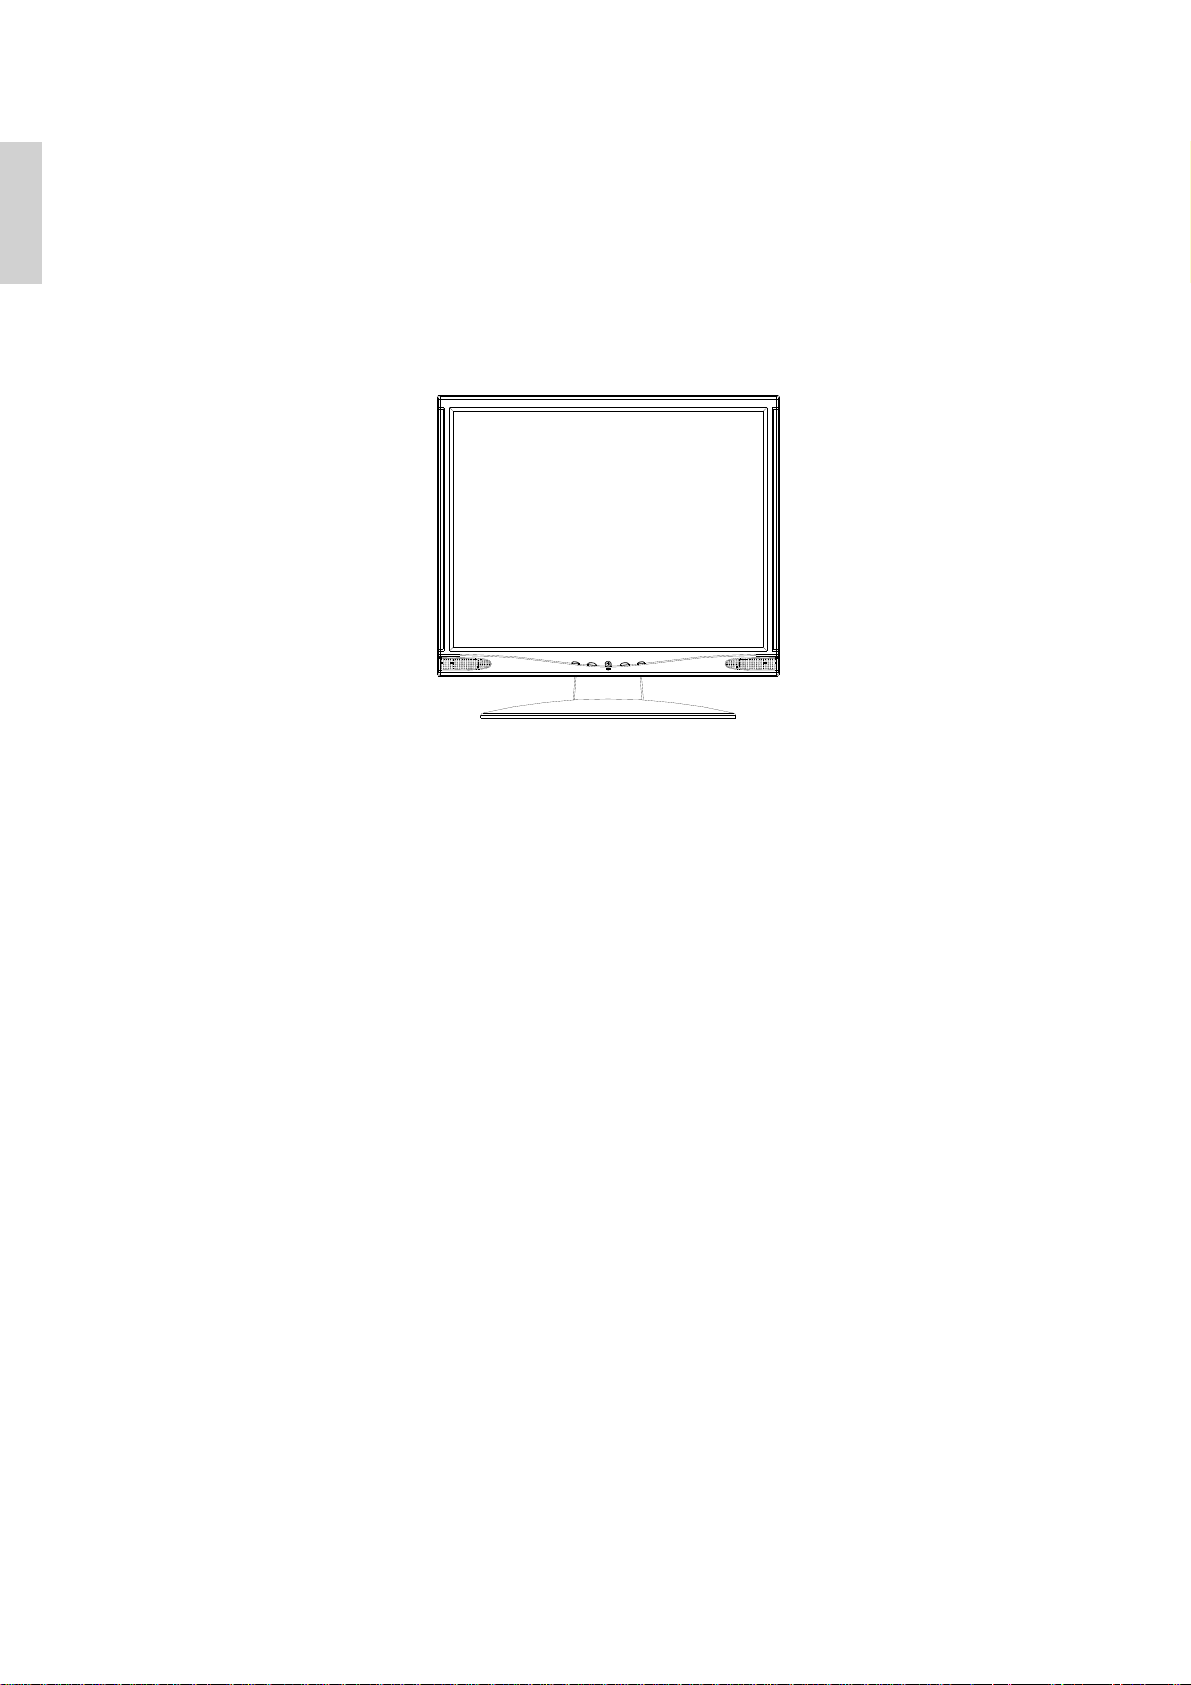
Functional Description of C o ntrols
a. User Control Panel
b. Description of Key Functions
Symbol Function
c
1. Show the mute O SD .
2. Decrease a function’s (
) value.
3. Move to the next function (
) left
d
1. Show the volume OSD menu
2. Increase a function’s (
) value.
3. Move to the next function (
) right
e
Power indicator
f
Turn the power on or off
g
1. Show the main OSD menu
2. Select the next OSD icon down
h
1. Auto-adjust
2. Select the next OSD icon up
Adjust Sc reen (auto-save)
1. Press the button to displa y the AUTO adjust OSD me nu.
2. Press the
button to display the main OSD menu.
3. Select the desired function menu, by pressing the
or button.
4. Push the +or - button, to increase or decrease the value and change the setting.
5. Adjust the value or return to the main OSD me n u by pushing the E XIT icon.
6. The OSD menu will close automatically after 8 seconds of inactivity.
Adjust Volume
Press the + o r - button to adjust volume without accessing the OSD menu.
Using the LCD Display
Operation
ViewSonic Q7 6
Page 9

OSD Menu
Main OSD Menu
OSD Sub-menu
RGBNOINPUTSIGNAL
1.
l
cable ma y b e affected .
2. If the m onitor is in “sleep” mode to save pow er, please mo ve the mouse or pre ss an
y
key to “wake” it and return to working m ode.
3.
y
configured.
4.
e
with the m o n ito r.
SIGNALOVERRANGE
y
d
vertical frequency in the range of 55~75Hz. Please make sure your input si
n
these ranges.
Function Icon
Select func tio n na me
Function’s v alue
Current mode resolution
Current mode Frequency
ENGLISH
If this warning appears, please ch eck the conn ector. If it is bent or d amaged, the si gna
Please check relevant diagrams, and make sure the monitor has been properl
Please check the signal cable. If the type is incorrect, please use the cable that cam
This warning indicates that the input signal frequency does not match those supported b
this mon itor. For this model, ho rizontal freq uenc y mu st be in the range of 30 ~ 80 KHz an
gnal is withi
ViewSonic Q7 7
Page 10

ENGLISH
OSD Icon Overview
Icon Function Description
Brightness Adjusts brightness
Contrast Adjusts the ratio of white to black
H. Position Adjusts horizontal position
V. Position Adjusts vertical position
Phase Adjusts horizontal flicker
Clock Adjusts vertical noise and correct horizontal size
Language Selects the display language
Color R Adjusts red gain
Color G Adjusts green gain
Color B Adjusts blue gain
Color Temperature Sets the screen to use cool Native. warm, or a user-defined value
Recall Reset user changed and restores factory setting
Exit Exits the main OSD menu
Volume Adjusts brightness
ViewSonic Q7 8
Page 11

Other Information
Technical Data
Size 17”
Input Signal Analog RGB 0.7Vp-p /75 ohm, TTL Sync
Scan Frequency H: 30~80 KHzV: 55~75 Hz
640x350,720x400,640x480,800x600, 832x624, 1024x768,
1152x864,1152x870,1280x960, 1280x1024
RGB Mode OSD BRIGHTNESS, CONTRAST, HORIZONTAL POSITION, VERTICAL
POSITION, PHASE ADJUST, CLOCK ADJUST, LANGUAGE,
VOLUME, COLOR TEMPERATURE, RECALL, EXIT
Color Temperature: USER, Native, Cool, Warm.
Language: English, French, German, Italian, Spanish, Russian, Chinese-T,
Chinese-S
Audio 1W*2 THD: 3% Input0.7 Vrms
Power Adapter Input AC 100~240V, 50~60 Hz Current: 1.2A
Power Consumption 40 W (max) / Standby under 1W
Operation Envi ronment
Temperature: 0~40℃
Humidity: Less than 80%
Altitude: To 10,000 feet
Plug & Play DDC2B
Dimensions (L x W x H) 375 x 160 x 372mm
Weight (w/ Stand) 4.2 kg
Terminal D-Sub 15 VGA, AC power jack, audio jack
Control Button on front frame Power, Auto-Adjust, Menu, Up (+), Down (-)
Specifications
ENGLISH
*** The above specifications may differ depending on the actual LCD panel utilized and are subje ct to change
without prior notice
ViewSonic Q7 9
Page 12

ENGLISH
Energy-saving Modes
When this product is operated, it complies with relevant power-saving measures stipulated by the
Energy Star and VESA (Video Electronics Standards Association) standards. When the monitor is left
unused, it can also automatically elimi nate unnecessary power consumptio n. If the user intends to use this
feature, the monitor must be connected to a computer with a power management system that complies with
VESA standards. There are three energy-saving modes that users may choose, as listed below (at this time,
the computer must also be configured for these modes to take effect):
z Waiting Mode
The monitor enters the Waiting mode after the line signal is cut off. At this time, power
consumption is less t han 1W, the screen will turn dark, and the power indicator turns orange. If
there is any input from the keyboard or mouse, the monitor will re-enter the working mode
immediately.
z Pause Mode
The monitor enters the Pause mode after the field signal is cut off. At this time, power consumption
is less than 1W, the screen will turn dark, and the power indicator turns orange. If there is any input
from the keyboard or mouse, the monitor will re-enter the working mode immediately.
z Close Mode
The monitor enters the Close mode after both the line signal and
power consumption is less than 1W, the screen will turn dark, and the power indicator is off. In case
there is any input from the keyboard or mouse, the monitor will re-enter the working mode
immediately.
z The user can view the status of the power-saving modes through the LED on front pa nel.
Signal Power
Mode
Line Signal Field Signal Video Signal Power Indicator
Power
Consumption
Normal Y Y Y Green <40W
Close N N N OFF <1W
NOTE: It is better to remove the power cord from the electrical socket when the monitor is not in use for
an extended period of time.
Timer Mode
VGA VESA MAC
640x350 70 Hz
720x400 70 Hz
640x480 60/75 Hz 67 Hz
800x600 56 / 60 / 72 / 75 Hz
832x624 75 Hz
1024x768 60 / 70 / 75 Hz 75 Hz
1152x864 75 Hz
1152x870 75 Hz
1280x960 60 Hz
1280x1024 60 / 75 Hz 75 Hz
field signal are cut off. At this time,
ViewSonic Q7 10
Page 13

FAQ (Frequently Asked Question)
Question: What should I do if there is no picture?
z Make sure the cable is connected to the port on your PC ’s display card.
z Make sure the computer and screen are both turned on.
z Make sure the pins on the connector head of the cable are not bent or broken.
Question: What should I do if orange LED lights are on but there is no picture?
z Make sure the cable is connected to the port on your PC ’s display card.
z Check if the computer is in sleep mode or not.
Question: What should I do if green LED lights are on but there is no picture?
z Check if the output frequency of computer is outside the monitor’s range. Refer
n
timi ng mod e .
z
D
menus.
Question: What should I do if RGB NO INPUT SIGNAL is displayed on the screen?
z Make sure the si gnal cable is connected to the port on your PC’s display card.
z Check that your computer is operating normally.
Question: What should I do if SIGNAL OVER RANGE is displayed on the screen?
z Check you
d
make sure resolution is less than 1280 x 1024. Refer
g
mode for further information.
Question: What should I do if the screen image is not clear?
z Confirm that the computer signal output
O
ADJUST and Recall items in the OSD menu.
z Check the PHASE & Clock items.
z Set the screen image to 1280 x 1024 @ 75Hz.
Question: What should I do if the screen image size is incorrect?
z Check the Recall & AUTO ADJUST items of the OSD menu.
z Adjust horizontal and vertical position using the OSD menu.
z
e
refer to relevant diagrams or manual and updated information as well).
Check and adjust BRIGHTNESS, CONTRAST, BACKGROUND BRIGHTNESS using the OS
ENGLISH
to the material above o
r PC’s display card specification, set vertical frequency to 55 ~ 75 Hz, an
to the material above on timin
is normal, and then check the AUT
Make sure that your display card is compatible with the LCD specifications. (Pleas
ViewSonic Q7 11
Page 14

ENGLISH
Troubleshooting
No power
• Make sure power button (or switch) is ON.
• Make sure A/C power cord is securely connected to the LCD display.
• Plug another electrical device (like a radio) into the power outlet to verify that the outlet is
supplying proper voltage.
Power is ON but no screen image
• Make sure the video cable supplied with the LCD display is tightly secured to the video
output port on the back of the computer. If the other end of the video cable is not attached
permanently to the LCD display, tightly secure it to the LCD display.
• Adjust brightness and contrast.
• If you are using an Macintosh older than G3, you need a Macintosh adapter.
Wrong or abnormal colors
• If any colors (red, green, or blue) are missing, check the video cable to make sure it is
securely connected. Loose or broken pins in the cable connector could cause an improper
connection.
• Connect the LCD display to another computer.
• If you have an older graphics card, contact ViewSonic® for a non-DDC adapter.
Control buttons do not work
• Press only one button at a time.
ViewSonic Q7 12
Page 15

Customer Support
For technical support or product service, see the table below or contact your reseller.
NOTE: You will need the product serial number.
ENGLISH
Country/Region Website
United States www.viewsonic.com/support
Canada www.viewsonic.com/support T= (886) 463 477 5 service.ca@viewsonic.com
United Kingdom www.viewsoniceurope.com/uk T= 02 07 949 0307
Europe, Middle East,
Baltic countries, and
North Africa
Australia and New
Zealand
Singapore, Southeast
Asia, and India
South Africa and other
countries
Hong Kong www.hk.viewsonic.com/support/ T= +852 3102 2900 service@hk.viewsonic.com
Macau www.hk.viewsonic.com/support/ T= +853 700 303 service@hk.viewson ic.com
Korean www.viewsonic.com T= 080 2659 080 service@kr.viewsonic.com
www.viewsoniceurope.com (Contact your reseller)
www.viewsonic.com.au/support/
www.viewsonic.com.sg/support/
www.viewsonic.com
T = Telephone
F = FAX
T= (800) 688 6688
F= (909) 468 1202
AUS= 1800 880 818
NZ= 0800 008 822
T= (65) 6273 4018
F= (65) 6273 1566
T= +886 (2) 2246 3456
F= +886 (2) 2249 1751
Email
service.us@viewsonic.com
service@au.viewsonic.com
service@sg.viewsonic.com
service@sd.viewsonic.com
ViewSonic Q7 13
Page 16

ENGLISH
Cleaning the LCD Display
• MAKE SURE THE LCD DISPLAY IS TURNED OFF.
• NEVER SPRAY OR POUR ANY LIQUID DIRECTLY ONTO THE SCREEN OR CASE.
To clean the screen:
1. Wipe the screen with a clean, soft, lint-free cloth. This removes dust and other particles.
2. If the screen still not clean, apply a small amount of non-ammonia, non-alcohol based glass
cleaner onto a clean, soft, lint-free cloth, and wipe the screen.
To clean the case:
1. Use a soft, dry cloth.
2. If the case still not clean, apply a small amount of a non-ammonia, non-alcohol based, mild
non-abrasive detergent onto a clean, soft, lint-free cloth, then wipe the surface.
Disclaimer
• ViewSonic® does not recommend the use of any ammonia or alcohol-based cleaners on the
LCD display screen or case. Some chemical cleaners have been reported to damage the
screen and/or case of the LCD display.
• ViewSonic will not be liable for damage resulting from use of any ammonia or alcoholbased cleaners.
ViewSonic Q7 14
Page 17

Limited Warranty
VIEWSONIC® LCD DISPLAY
What the warranty covers:
ViewSonic warrants its products to be free from defects in material and workmanship, under
normal use, during the warranty period. If a product proves to be defective in material or
workmanship during the warranty period, ViewSonic will, at its sole option, repair or replace
the product with a like product. Replacement product or parts may include remanufactured or
refurbished parts or components.
How long the warranty is effective:
V iewSonic LCD displays are warranted for 1 year for all parts including the light source and 1
year for all labor from the date of the first consumer purchase.
Who the warranty protects:
This warranty is valid only for the first consumer purchaser .
What the warranty does not cover:
1. Any product on which the serial number has been defaced, modified or removed.
2. Damage, deterioration or malfunction resulting from:
a. Accident, misuse, neglect, fire, water, lightning, or other acts of nature, unauthorized
product modification, or failure to follow instructions supplied with the product.
b. Any damage of the product due to shipment.
c. Removal or installation of the product.
d. Causes external to the product, such as electrical power fluctuations or failure.
ENGLISH
e. Use of supplies or parts not meeting ViewSonic’s specifications.
f. Normal wear and tear.
g. Any other cause which does not relate to a product defect.
3. Any product exhibiting a condition commonly known as "image burn-in" which results
when a static image is displayed on the product for an extended period of time.
4. Removal, installation, one way transportation, insurance, and set-up service charges.
How to get service:
1. For information about receiving service under warranty, contact ViewSonic Customer Sup-
port (Please refer to Customer Support page). You will need to provide your product's serial
number.
2. To obtain warranty service, you will be required to provide (a) the original dated sales slip,
(b) your name, (c) your address, (d) a description of the problem, and (e) the serial number
of the product.
3. Take or ship the product freight prepaid in the original container to an authorized
ViewSonic service center or ViewSonic.
4. For additional information or the name of the nearest ViewSonic service center, contact
ViewSonic.
Limitation of implied warranties:
There are no warranties, express or implied, which extend beyond the description contained
herein including the implied warranty of merchantability and fitness for a particular purpose.
4.3: ViewSonic LCD Warranty Page 1 of 2 LCD_LW02 Rev. 1b 06-11-07
ViewSonic Q7 15
Page 18

ENGLISH
Exclusion of damages:
ViewSonic's liability is limited to the cost of repair or replacement of the product. ViewSonic
shall not be liable for:
1. Damage to other property caused by any defects in the product, damages based upon inconvenience, loss of use of the product, loss of time, loss of profits, loss of business opportunity, loss of goodwill, interference with business relationships, or other commercial loss,
even if advised of the possibility of such damages.
2. Any other damages, whether incidental, consequential or otherwise.
3. Any claim against the customer by any other party.
4. Repair or attempted repair by anyone not authorized by ViewSonic.
Effect of state law:
This warranty gives you specific legal rights, and you may also have other rights which vary
from state to state. Some states do not allow limitations on implied warranties and/or do not
allow the exclusion of incidental or consequential damages, so the above limitations and
exclusions may not apply to you.
Sales outside the U.S.A. and Canada:
For warranty information and service on ViewSonic products sold outside of the U.S.A. and
Canada, contact ViewSonic or your local ViewSonic dealer.
The warranty period for this product in mainland China (Hong Kong, Macao and Taiwan
Excluded) is subject to the terms and conditions of the Maintenance Guarantee Card.
For users in Europe and Russia, full details of warranty provided can be found in
www.viewsoniceurope.com under Support/Warranty Information.
4.3: ViewSonic LCD Warranty Page 2 of 2 LCD_LW02 Rev. 1b 06-11-07
ViewSonic Q7 16
Page 19

 Loading...