

Page 1
GB
1
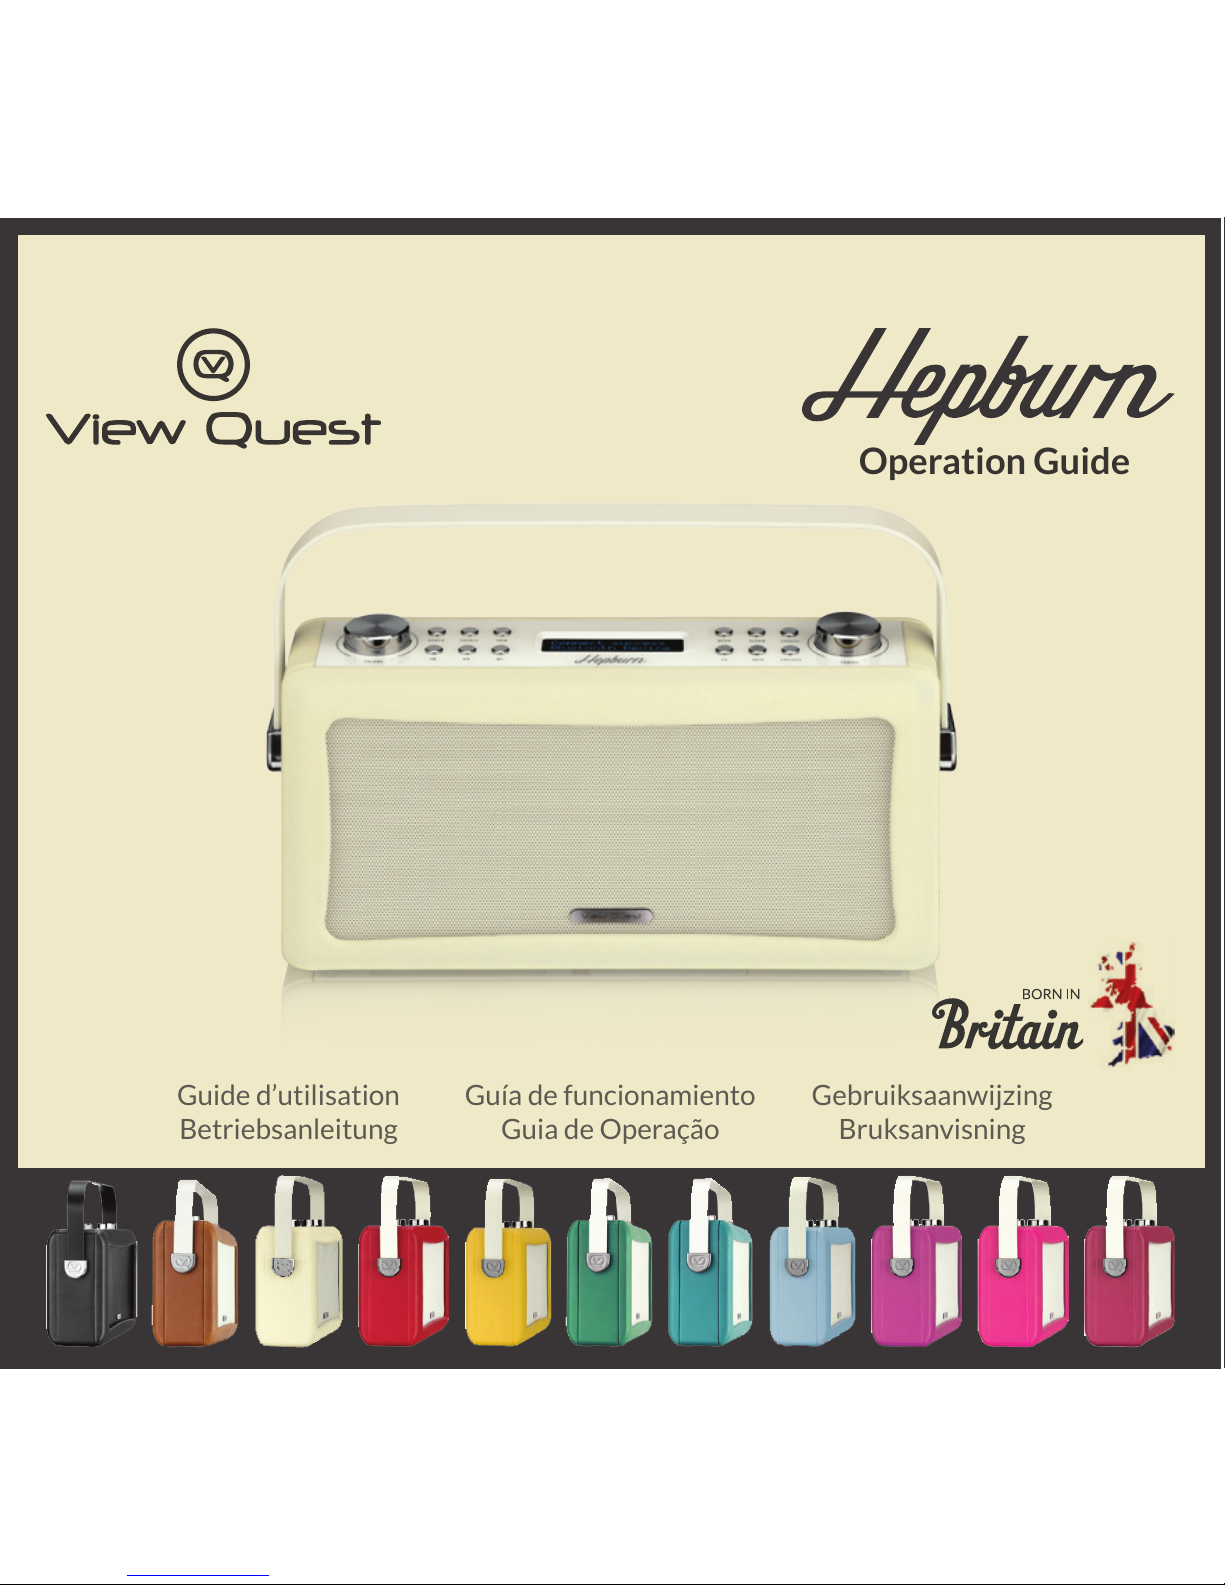
Hepburn Operation Guide
Operation Guide
Guide d’utilisation
Betriebsanleitung
Guía de funcionamiento
Guia de Operação
Gebruiksaanwijzing
Bruksanvisning
Page 2

GB GB
Hepburn Operation Guide
3
Hepburn Operation Guide
2
Welcome To View Quest
View Quest is a unique British brand inspired by the fusion of Sound and Style.
At View Quest we believe that colour and design is an important part of who we are, so why
should the technology we buy only be Black or Silver and lacking individuality of design?
Our award winning acoustic development programme ensures all our products feature the latest
technology and unbeaten sound quality. Couple this with our passion for the creative world of: the arts,
fashion & interior design and this means our products don’t just sound great, they look great too.
So thank you for joining the View Quest Revolution with our award
winning technology that’s designed to match your style.
We encourage you to fall in love with View Quest and your new Hepburn.
Jonathan Merricks Daniel Copley
CEO & Creative Director Product Designer
Page 3
GB GB
Hepburn Operation Guide
5
Hepburn Operation Guide
4
Classic design, modern functionality
DAB / DAB+ / FM Radio Reception
Bluetooth & NFC Connectivity
Optional Rechargable Battery Pack & Carry Case
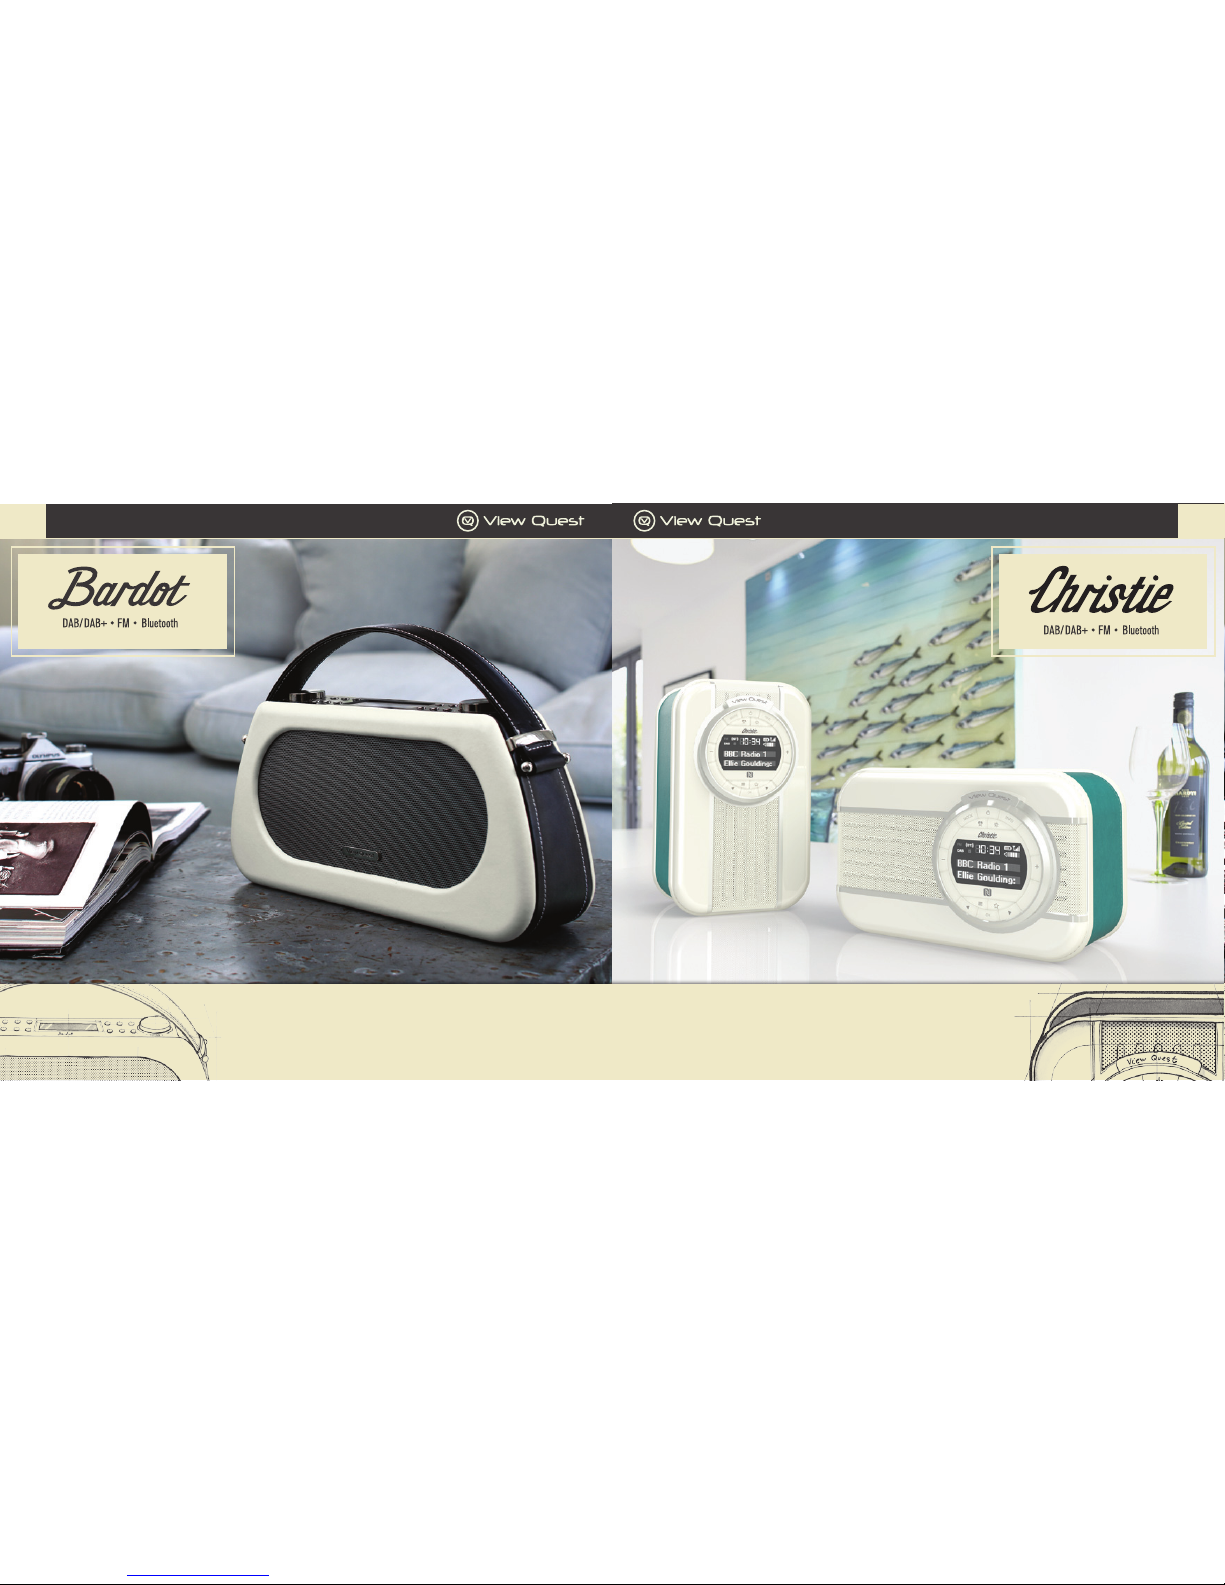
An Iconic design which embodies our Sound & Style mission
DAB / DAB+ / FM Radio Reception
Bluetooth Connectivity
Award winning British Speaker Technology
Page 4
GB GB
Hepburn Operation Guide
7
Hepburn Operation Guide
6
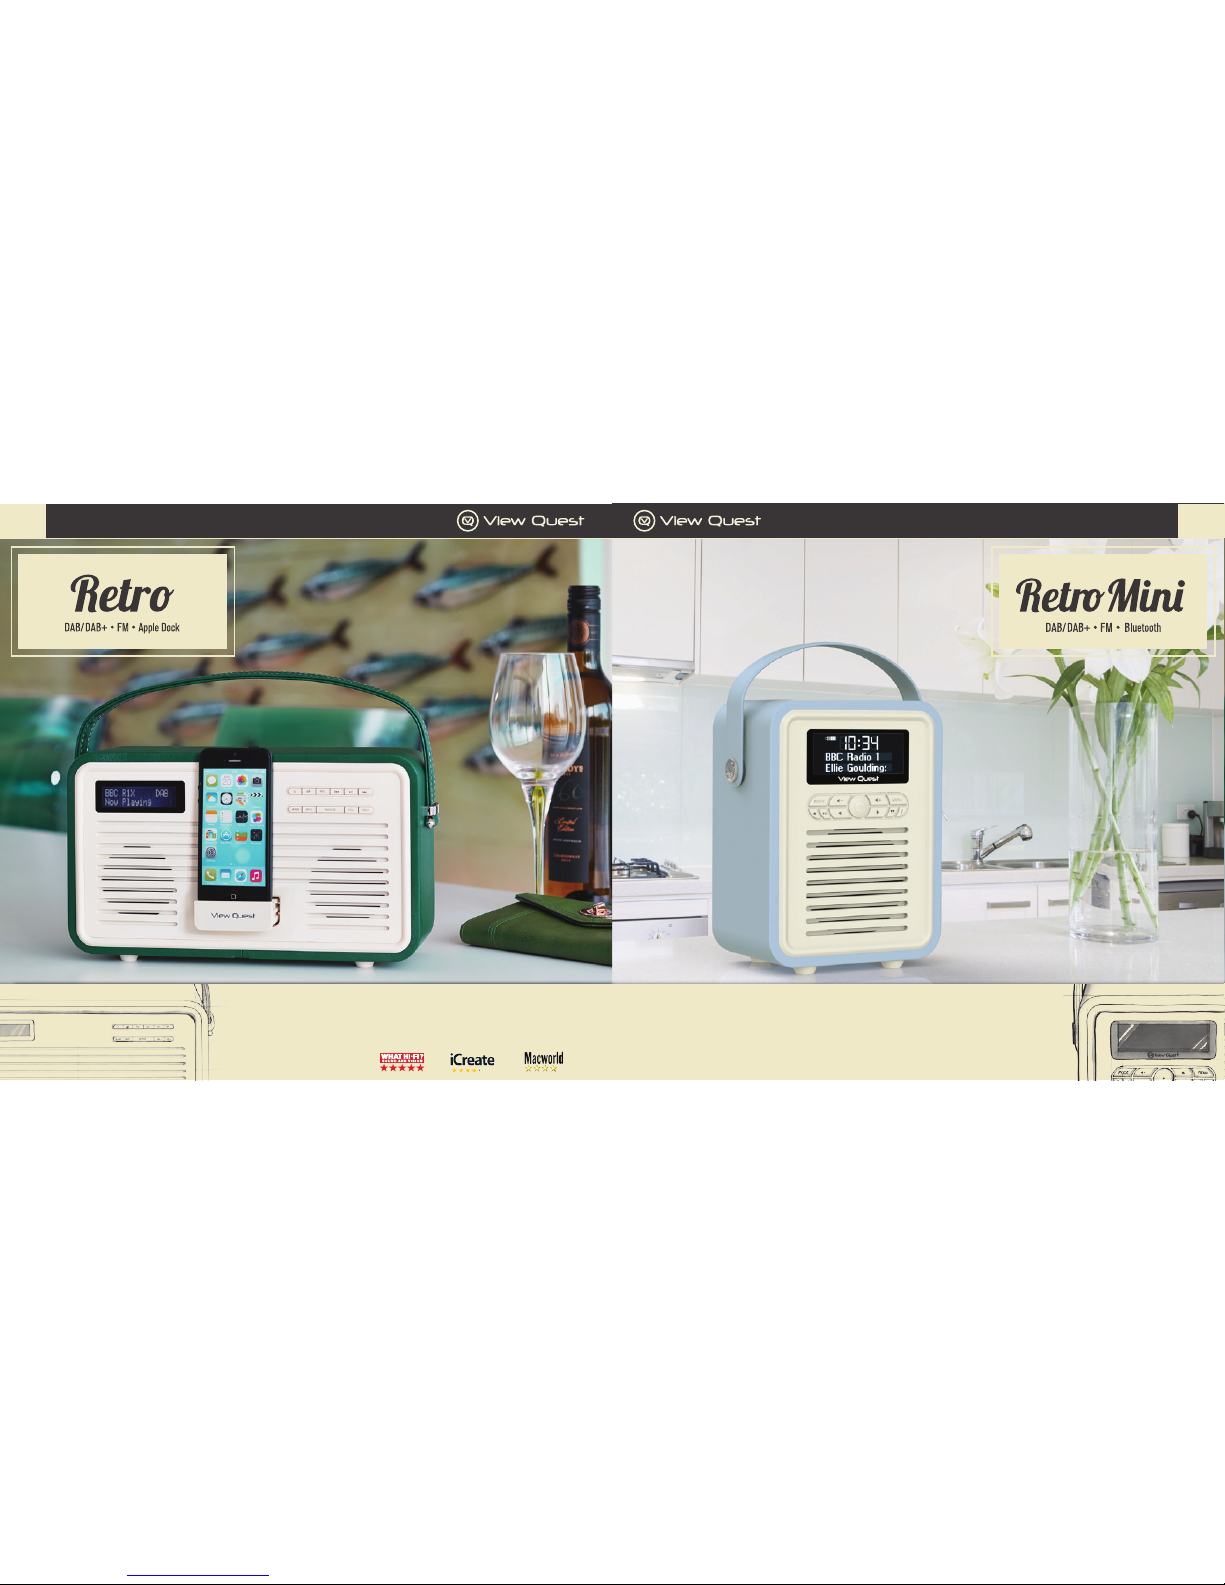
Our classic, with retro style and modern function
DAB / DAB+ / FM Radio Reception
Apple docking for 30-pin or Lightning connector devices
Our classic style made fabulously miniature in a range of colours and designs
DAB / DAB+ / FM Radio Reception
Bluetooth Connectivity
Page 5
GB GB
Hepburn Operation Guide
9
Hepburn Operation Guide
8
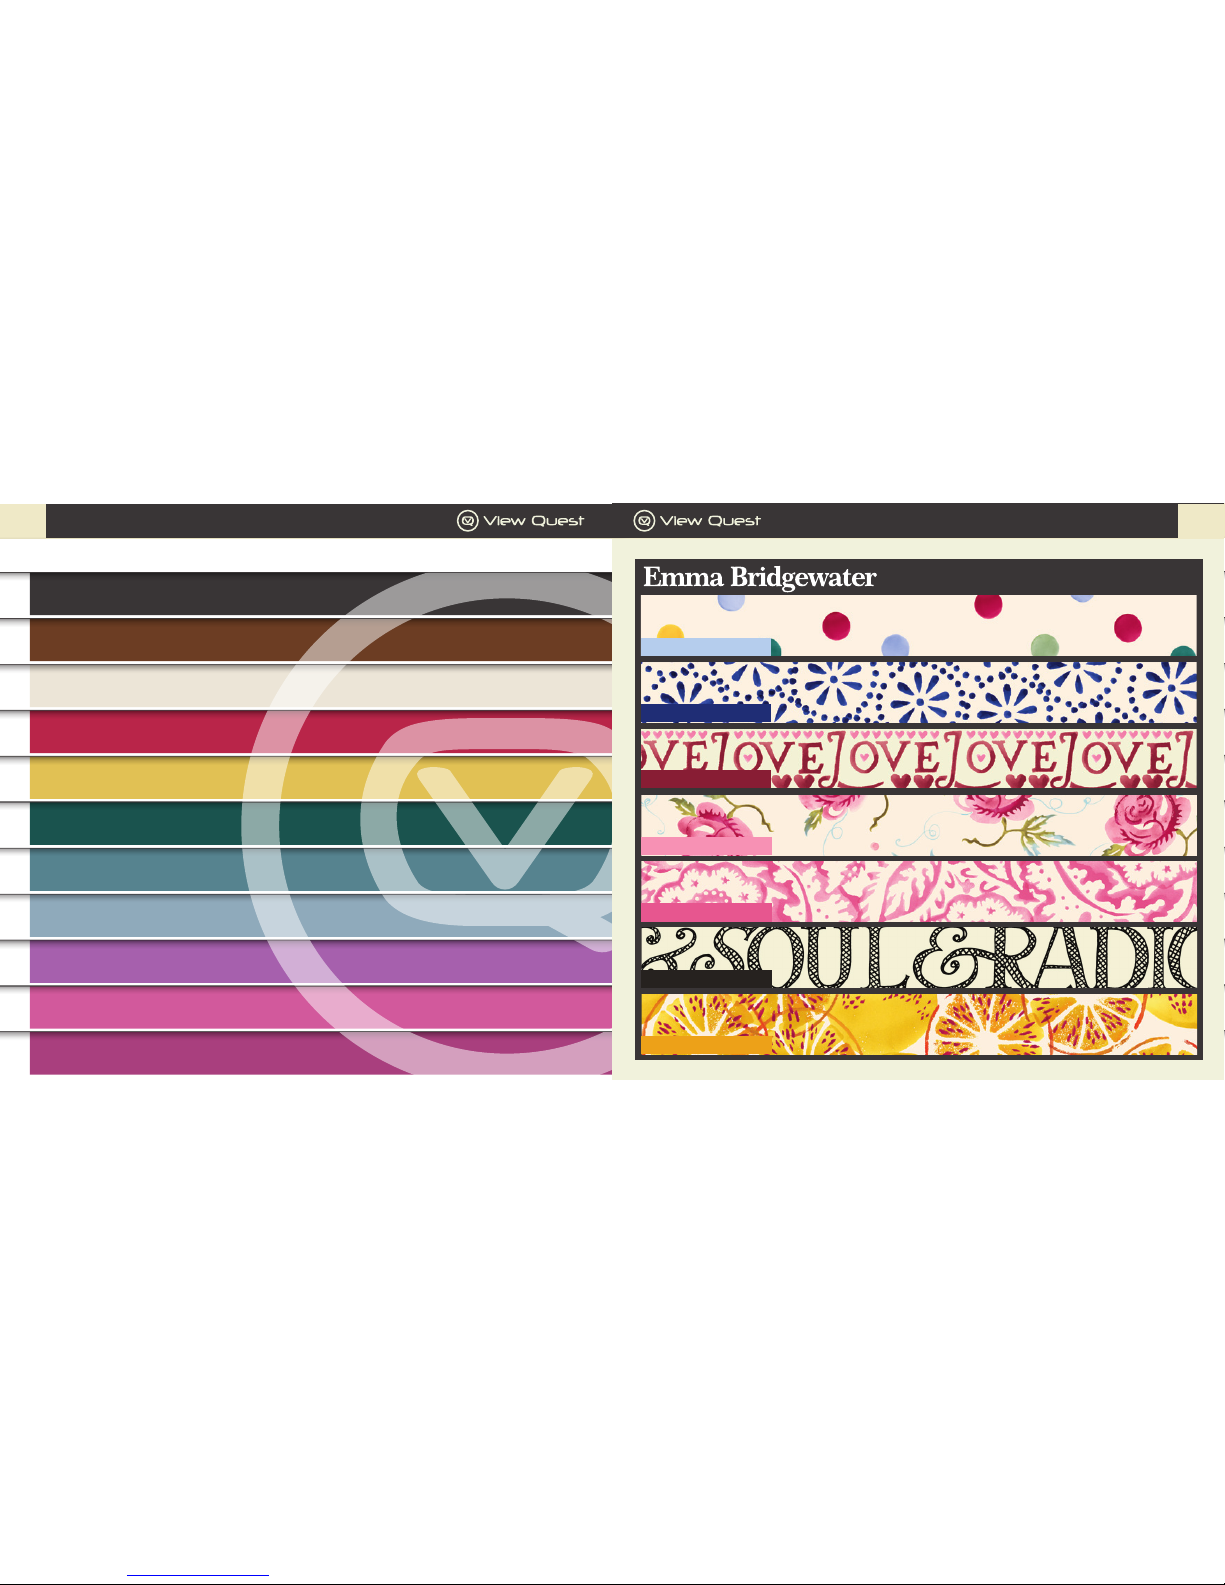
The View Quest Colour Range
CREAM
BLACK
BROWN
RED
MUSTARD
EMERALD
BLUE
RADIANT ORCHID
PURPLE
HOT PINK
TEAL
POLKA DOT
PINK WALLPAPER
ROSE & BEE
MARMALADE
BLUE DAISY
BLACK TOAST
SAMPLER
Pattern Range 2014/15
Page 6

GB GB
Hepburn Operation Guide
11
Hepburn Operation Guide
10
Contents
Welcome to View Quest ....................................................................................................................................................................3
If You Love Hepburn... You’ll Love... ...............................................................................................................................................4
The Benets of Digital Radio ........................................................................................................................................................ 12
Your VQ Hepburn - Born in Britain ............................................................................................................................................13
Finding Your Way Round Your Hepburn ..................................................................................................................................14
Introducing your Hepburn Bluetooth Speaker, DAB/DAB+ and FM Radio ............................................................... 17
Hepburn: compatible, stylish, hassle-free .......................................................................................................... 17
What can my Hepburn do apart from look fab? ............................................................................................... 18
Getting Started ................................................................................................................................................................................... 20
Positioning your Hepburn .........................................................................................................................................20
Adjusting the Aerial ..................................................................................................................................................... 20
Turning the Unit On and Off ....................................................................................................................................20
Volume Control .............................................................................................................................................................20
Using DAB Mode .......................................................................................................................................................... 20
Setting Dynamic Range Control (DRC) ............................................................................................................... 22
Using FM Mode ............................................................................................................................................................. 23
Setting Station Presets for DAB and FM ............................................................................................................ 24
Using Smart Device Mode with Bluetooth Devices ....................................................................................... 25
Using Auxiliary Input Mode ..................................................................................................................................... 26
Remotely Controlling your Hepburn with an Android or iOS device ...................................................... 26
General Settings ........................................................................................................................................................... 34
Important Safety & Environmental Information ................................................................................................................... 37
Specication ........................................................................................................................................................................................ 39
Support .............................................................................................................................................................................................. 40
DESIGNED FOR INDIVIDUAL TASTE AND STYLE
Page 7
GB GB
Hepburn Operation Guide
13
Hepburn Operation Guide
12
The Benets of Digital Radio
When you upgrade to digital radio you get more choice than ever before – with your existing favourite
stations just waiting to be experienced in digital quality but also a plethora of new digital-only stations
featuring all kinds of; music, chat and programming you’ll love.
Digital radio is not just about choice, it’s about quality – with digital broadcasts you’ll hear everything in
crystal clear clarity.
If you have any concerns about the digital coverage in your area – you can check your signal on the UK Digital
Radio website, it’s completely free and totally impartial – www.ukdigitalradio.com
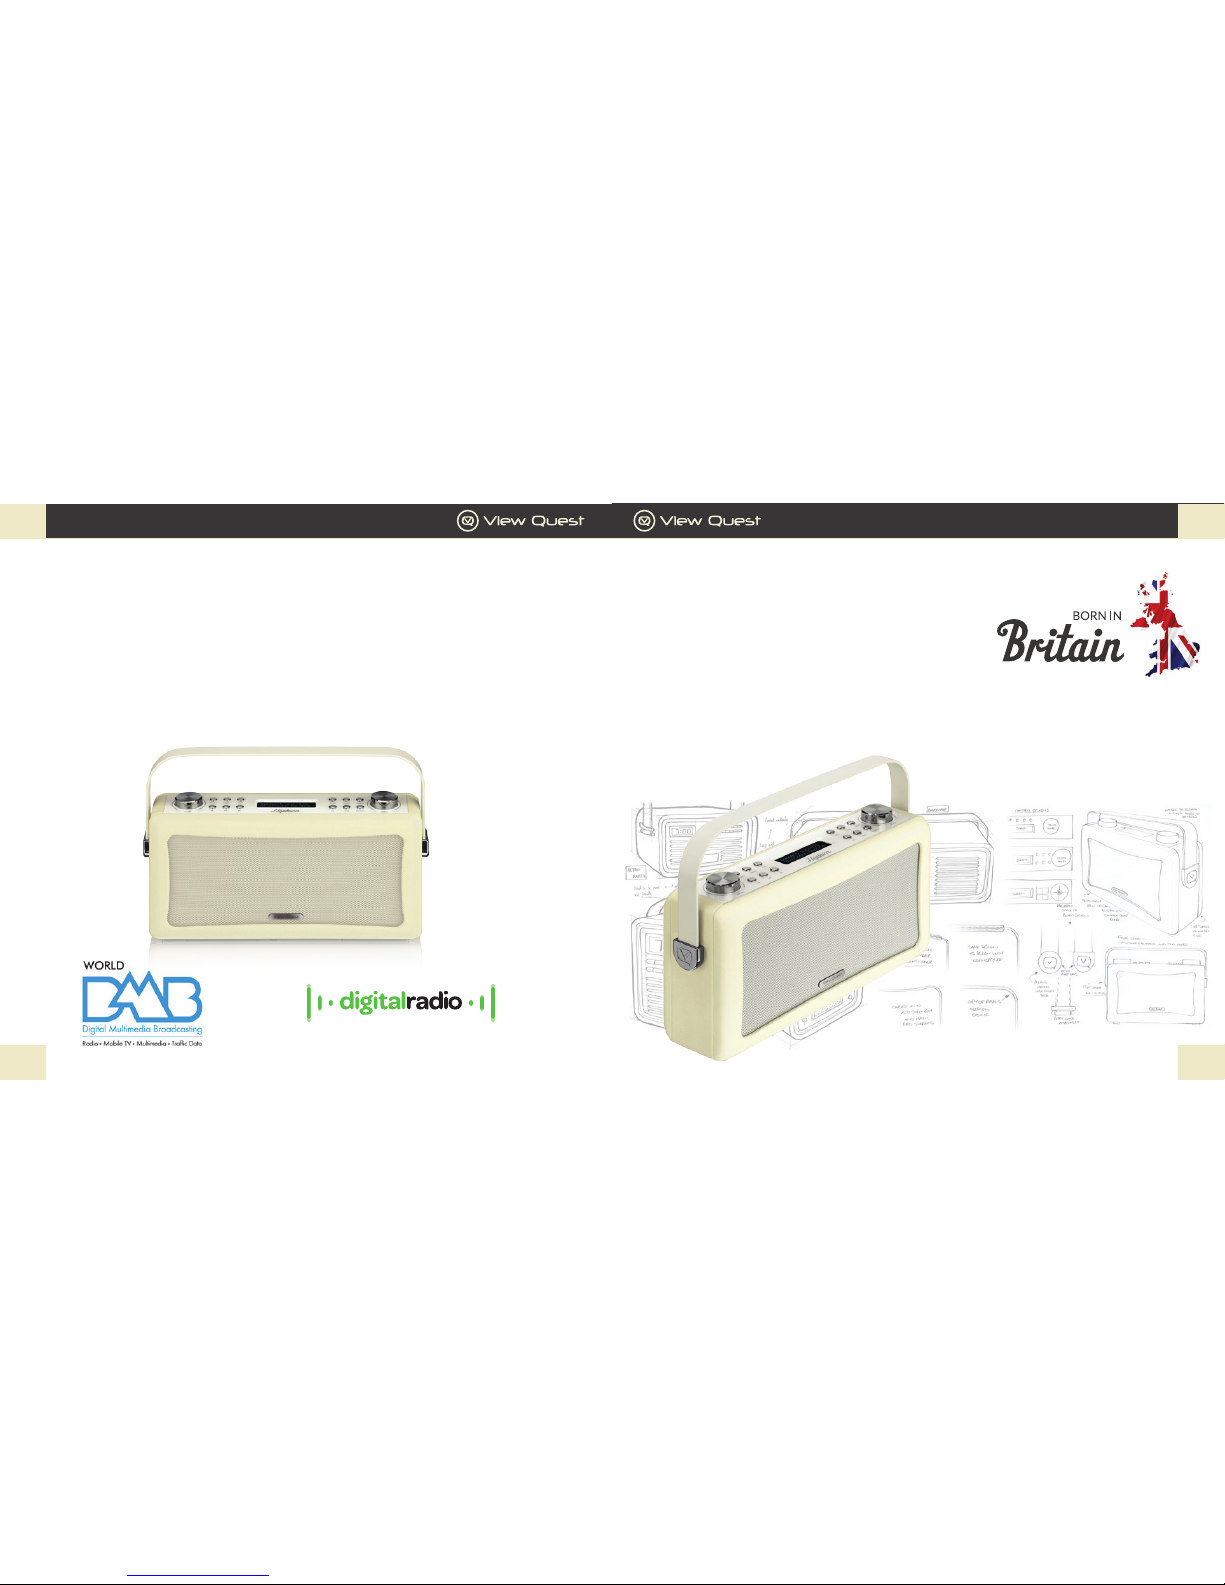
Your VQ Hepburn - Born In Britain
You can be proud of your Hepburn and rely on its quality as it’s
designed and engineered in Britain featuring British acoustic
development.
At View Quest we’re proud to be British and we’re proud to take
our inspiration from quintessential British areas of excellence
- Design, Fashion, Music and The Arts.
It’s our aim to take these inspirations and create our own unique sense of Sound & Style – but also to share
these inuences with you to inspire your own sense of style.
Page 8

GB GB
Hepburn Operation Guide
15
Hepburn Operation Guide
14
Back View
1. Aerial
2. USB port for charging devices
Outputs 5V volts for charging personal devices such as your phone or MP3 player.
3. AUX-IN for other devices
4. DC-IN power cable input
Finding Your Way Around Your Hepburn
Top View
2
3
4
9
10
11
1
15
5
6
7
12
13
14
8
1. - VOLUME + knob Turn to adjust volume level.
2. POWER button Press to switch between standby and
active modes.
3. SOURCE button Press to switch between DAB, FM,
Smart Device and Auxiliary Input modes.
4. PAIR button Press to select Bluetooth device for
pairing in Smart Device mode.
5. SKIP button Press to skip to next track in Smart Device
mode. Press and hold to fast forwards current track in
Smart Device mode. Continues through next tracks if
held.
6. PLAY/PAUSE button Press to switch between pause/
play of current track in Smart Device mode.
7. BACKWARD button In Smart Device mode, press to
return to start of current track if more than 2.5 seconds
in, otherwise skip to previous track. Press and hold to
rewind current track in Smart Device mode. Continues
through previous tracks if held.
8. LCD display
9. SNOOZE button Press to change the backlight
level. When alarm is sounding, press to activate
Snooze feature.
10. ALARM button Press to turn Alarms on or off.
11. MENU button Press to display menu options
relevant to current mode.
12. EQ button Press to select or design Equaliser.
13. INFO button Press to view station information.
14. PRESETS button Press and hold to save preset
stations; Press to recall a saved preset station.
15. –TUNING+ knob Turn to tune and press to
conrm.
2
3
1
4
Page 9

GB GB
Hepburn Operation Guide
17
Hepburn Operation Guide
16
4
Introducing your Hepburn Bluetooth Speaker, DAB/DAB+ and FM Radio
Hepburn: compatible, stylish, hassle-free
We’ve designed your Hepburn to make compatibility
problems a thing of the past.
Compatible with your devices – old and new.
Hepburn’s Bluetooth lets you wirelessly connect the
latest smart phones, tablets, MP3 players and other
Bluetooth-enabled devices. Other audio devices
without Bluetooth like turntables, computers or
older phones can plug in to the 3.5mm jack.
Compatible with radio stations all over the world.
Enjoy the ever increasing selection of digital broadcasts
with Hepburn’s DAB/DAB+ receiver as well as your old
favourites with the FM tuner. Never lose track of any of
your favourite stations with 30 station presets. For useful information about DAB in the UK, websites
such as www.ukdigitalradio.com feature handy postcode nders that will tell you which DAB channels are
available in your area.
Compatible with your Android or iPhone.
The View Quest app lets you to sit back, relax and take control of the music with your smartphone or tablet,
whichever Hepburn function you’re using.
Ready to deliver your ideal sound.
As well as providing eight preset equaliser proles, Hepburn lets you design one of your own to exactly
match your current desires.
Right for you.
Exciting colours and design complement your personal taste and style.
Battery Use
Your Hepburn can be powered by 4 x Type ‘D’ batteries.
Be sure to insert batteries of the correct type and ensure correct polarity (+/-).
Battery Removal
x2
Slide battery cover to the left and
then lift out.
Pull ribbon to remove battery then
replace the ribbon inside.
Tilt product to the left, as shown,
until another battery slides over the
ribbon. Repeat Step 2.
4
Tilt product to the right, as shown,
until another battery slides over the
ribbon. Repeat Step 2. Do this twice
as there are two batteries.
3
21
+ -
Page 10

GB GB
Hepburn Operation Guide
19
Hepburn Operation Guide
18
TECHNICAL SPECIFICATIONS
What can my Hepburn do apart from look fab?
Here’s a brief run-down of your Hepburn’s capabilities. Everything is explained fully later in this guide.
Bluetooth speaker
Lets you play audio from a Bluetooth source like a phone or mp3 player, and lets you control the playback
from your Hepburn. The tracks on your phone will never have sounded so good.
DAB/DAB+ receiver
Digital Audio Broadcasting (DAB) is the next big thing in radio. Clarity, station choice and ease of tuning are
often cited as benets. There are two versions, DAB and DAB+. Your Hepburn works with either.
FM Radio
DAB isn’t everywhere, so there’s an FM radio in your Hepburn so that you can still listen to radio wherever
DAB is not available.
Auxiliary connection
Lets you plug in and listen to an external audio source that doesn’t do Bluetooth, so your older devices aren’t
left out.
Control from your smartphone or tablet
No more missing remote controls! The View Quest App, available free for Android and iPhone devices, lets
you sit back, relax and control every aspect of your Hepburn.
Phone Charger
When plugged in to the mains your Hepburn can charge a suitable phone or music player using its built-in
USB connector. Convenient, and saves a power socket.
Dual Alarms
Wake up to your favourite radio station – or the buzzer.
Countdown Timer
A cooking timer with a range of up to 99 minutes makes your Hepburn even more useful in the kitchen.
Page 11

GB GB
Hepburn Operation Guide
21
Hepburn Operation Guide
20
2. Once the scanning is complete the DAB/DAB+ stations will be displayed in alphanumeric order. The rst
station in the list will be selected.
Note: if no DAB/DAB+ signal is found in your area, it may be necessary to relocate your radio to a
stronger signal area. Websites such as www.ukdigitalradio.com in the UK feature handy postcode
nders that will tell you what DAB channels you can expect to receive.
Selecting another DAB/DAB+ Station
While a program is playing, turn the –TUNING + knob to cycle through available stations, and then press
the –TUNING + knob to conrm the station you want to play.
Updating the Stations List
Press the MENU button, turn the –TUNING+ knob to select Full scan, and then press the –TUNING + knob
to conrm. Scan will commence.
Displaying Signal Strength
While playing a DAB/DAB+ program, repeatedly press the INFO button until the display shows a signal bar
indicating the strength of the current station.
Manual Tuning
1. Press the MENU button, turn the –TUNING+ knob to select Manual tune, and then press the
–TUNING+ knob to conrm. The display will show the channel number and frequency.
2. Turn the –TUNING+ knob to step through the channels and then press the –TUNING+ knob to select the
current channel.
Note: If there is a multiplex corresponding to this channel and frequency, then after a few
seconds the display will show a tuning meter with the signal strength and the multiplex.
Getting Started
Carefully remove your Hepburn from its box. You may wish to store the packaging for future use.
Inside the box you will nd:
- Your Hepburn
- Power Adapter with plugs for UK and mainland Europe
- User Manual
Positioning your Hepburn
Place your Hepburn on a at / stable surface, with reference to the safety information section in this
manual.
Adjusting the Aerial
The aerial should be extended to ensure you receive the best signal possible in both DAB and FM radio
modes. Later on it may be necessary to alter the position of your Hepburn and its aerial to achieve the best
reception.
Turning the Unit On and Off
1. Connect the plug at the end of power adapter cable to the DC in jack on the back of your Hepburn. Insert
the power adapter into the mains socket.
2. Turn the mains power on and then press the POWER button to turn on the unit.
Pressing the POWER button again switches your Hepburn to standby mode. To switch the unit off
completely, unplug the power adapter from the mains socket.
Volume Control
Adjust the radio volume by turning the – VOLUME + knob.
Using DAB Mode
Note: When you turn on the radio it will automatically search and store all the available
stations. You should conduct an additional Full Scan to ensure all stations are picked up and
stored. It is also recommended every few months to run a new scan to pick up any new DAB/
DAB+ stations that may have begun broadcasting after purchasing your Hepburn.
1. Repeatedly press the SOURCE button until DAB is shown on the display. For the rst time your Hepburn
will carry out a full scan and store a list of stations in memory.
Page 12

GB GB
Hepburn Operation Guide
23
Hepburn Operation Guide
22
Using FM Mode
Selecting FM Mode
1. Press the SOURCE button repeatedly until FM is displayed.
2. On rst use the display will show 87.50MHz, the start of the FM frequency range. Otherwise, the last
listened-to FM station will be selected.
Scanning for FM Stations
1. To manually scan FM stations, while frequency is displayed, turn the –TUNING+ knob clockwise/
anticlockwise to increase/decrease frequency by 0.05MHz per step.
2. To automatically scan, turn the –TUNING+ knob clockwise or anticlockwise and then press the –TUNING+
knob.
Your Hepburn will scan forwards or backwards until it reaches the next available station. To scan forwards,
turn the –TUNING+ knob clockwise before pressing it. To scan backwards turn the –TUNING+ knob
anticlockwise before pressing it.
Setting Scan Preferences
By default, FM scans stop at any available station. This may result in tuning to a weak station, resulting in
poor sound quality. Your Hepburn helps you avoid weak stations.
1. To change the scan settings to stop only at stations with good signal strength, press the MENU button,
turn the –TUNING+ knob to select Scan Setting, and then press the –TUNING+ knob to conrm.
2. Turn the –TUNING+ knob to select ‘Strong stations only’, and press the –TUNING+ knob to conrm your
selection.
Forcing mono for weak stations
By default, all stereo stations are reproduced in stereo. For weak stations, this may result in poor sound
quality. Your Hepburn can offset this effect by playing weak stations in mono.
1. To play weak stations in mono, press the MENU button, turn the –TUNING+ knob to select Audio setting,
and then press the –TUNING+ knob to conrm.
2. Turn the –TUNING+ knob to select ‘Forced mono’ and press the –TUNING+ knob to conrm.
3. To exit manual tune, press the –TUNING+ knob again.
Setting Dynamic Range Control (DRC)
You can set the compression level of stations to eliminate the differences in dynamic range or sound level
between radio stations. If loud stations are too loud while quiet stations are too quiet, DRC may help.
Note: DRC off indicates no compression
DRC low indicates little compression
DRC high indicates maximum compression
1. Press the MENU button, turn the –TUNING+ knob to select DRC, and press the –TUNING+ knob to conrm.
2. Turn the –TUNING+ knob to select ‘DRC high’, ‘DRC low’ or ‘DRC off’, and then press the –TUNING+ knob to
conrm your setting.
Changing Station Display Order
You may want to display your stations in a different order. Your options are:
Alphanumeric: Display all stations in alphanumeric order.
Ensemble: List currently broadcasting active stations before inactive ones.
Valid: Remove inactive stations from the station list.
1. Press the MENU button, turn the –TUNING+ knob to select Station order, and then press the –TUNING+
knob to conrm.
2. Turn the –TUNING+ knob to select ‘Alphanumeric’, ‘Ensemble’ or ‘Valid’, and then press the –TUNING+ knob
to conrm your selection.
Pruning Your Station List
This feature enables your radio to remove inactive stations from the station list.
1. Press the MENU button, turn the –TUNING+ knob to select Prune, and then press the –TUNING+ knob to
conrm.
2. Turn the –TUNING+ knob to ‘Yes’, and then press the –TUNING+ knob to conrm.
Viewing Station Information
To view currently playing station information, press the INFO button repeatedly to cycle through DLS
(Dynamic Label Segment), Signal Strength, Program Type, Ensemble, Program Frequency, Signal Quality,
Bitrate, Codec and Time and Date.
Page 13

GB GB
Hepburn Operation Guide
25
Hepburn Operation Guide
24
Using Smart Device Mode with Bluetooth Devices
Your Hepburn lets you play and control Bluetooth devices. To let this happen the devices have to be paired.
Pairing your Hepburn with a Bluetooth device
1. Press the SOURCE button repeatedly to select Smart Device mode.
2. After two seconds the display will show “Waiting BT Connection”.
3. Activate your Bluetooth device and select the search mode.
4. “Hepburn” will appear on your Bluetooth device.
5. Select “Hepburn” and enter “0000” for the password if necessary.
6. “BT Connected” and your device name will show on the display when connection is successful.
Connecting to an already paired Bluetooth device
1. Press the PAIR button. If there are any devices paired with your Hepburn, the rst one will show on the
display.
2. Turn the –TUNING+ knob to cycle through the list of paired devices, then press the –TUNING+ knob to
select the displayed device.
3. The display will show “Waiting BT Connection”. Select “Hepburn” on your Bluetooth device.
4. “BT Connected” and the device name will show on the display when connection is successful.
Controlling your Bluetooth device with your Hepburn
Skip back, Play/Pause and Skip forward buttons can control a Bluetooth device connected to your Hepburn.
Switch to 1:
Smart Device
Viewing Station Information
A variety of station information is transmitted by broadcasters, and your Hepburn offers a convenient way
for you to view it.
To view currently playing station information, press the INFO button repeatedly to cycle through Radio
Text, Program Type, PS, Audio Info and Time and Date.
Setting Station Presets for DAB and FM
Storing Preset Stations
You can store up to both 30 DAB and FM stations as preset stations. This lets you access your favourite
stations quickly and easily.
1. While your favourite station is playing, press and hold the PRESETS button until the display shows:
If you have stored prests, their details will be displayed instead of ‘EMPTY.’
2. Turn the -TUNING+ knob to cycle through preset numbers 1-30. Find an empty preset, or one you wish
to replace.
3. Press the -TUNING+ knob and your station will be stored as that preset number.
Recalling a Preset Station
1 Press the SOURCE button to select the mode you wish to play: FM or DAB.
2. Press the PRESETS button to show the saved preset stations.
3. Turn the -TUNING+ knob to nd the preset station you want to play, then press the -TUNING+ knob to
conrm.
Page 14

GB GB
Hepburn Operation Guide
27
Hepburn Operation Guide
26
Installing the View Quest App
1. Go to the appropriate store for your device; App Store for Apple, Play Store for Android. The simplest
way to nd the View Quest App is to use the search bar at the top of the screen to nd “viewquest” (with
no quote marks). The App is called “View Quest”, it’s free to install and use and its icon looks like this:
2. Install the App by pressing the INSTALL button.
Setting up the connection with your Hepburn
1. After you have installed the View Quest App, the next step is to establish a Bluetooth connection
between your remote and your Hepburn. Please follow the section “Pairing your Hepburn with a
Bluetooth device” on page 25.
2. Having paired successfully, Tap the icon on your remote to start the app.
3. The App splash screen will display briey, then the Radio List screen, which will display your Hepburn as
an Unknown Bluetooth device. Click on the Hepburn entry, and the app will connect with your Hepburn.
You are now in control of your Hepburn.
[Optional] Quickly setting up the app display for your remote
The View Quest App automatically optimises its display for the type of device it is running on; it uses a
different layout on a phone (portrait) to a tablet (landscape) . So if you are, for example, using a tablet
in portrait mode, your display may not be optimal. To change this:
1. Tap your device’s menu key (see your device user manual for assistance nding this).
2. Tap the Settings button for settings.
3. Tap the button next to UI type and select Smartphone or Tablet.
4. The display will adapt to the new setting.
[Note] The View Quest App does not rotate in normal use.
[Note] Selecting Tablet UI type on a small device may truncate some information.
Using Auxiliary Input Mode
Auxiliary Input allows for a quick and easy connection to an MP3 player or other external audio
source. You need an audio cable with a 3.5mm jack (not supplied) to connect to your Hepburn.
1. Before connecting to the mains socket, connect your external audio
device to the AUX IN socket on the rear of your Hepburn.
2. Connect the power adapter to the mains socket, press the POWER button to switch your Hepburn on.
3. Press the SOURCE button repeatedly until Auxiliary Input appears on the display.
In this mode, you control your audio device through its own controls. Volume levels on both the audio
device and your Hepburn may need to be adjusted for optimal volume and clarity.
Remotely Controlling your Hepburn with an Android or iOS device
You can turn your smartphone or tablet into a remote control for your Hepburn with the free View Quest
App.
What you can do with the View Quest App
• Sources: switch between Bluetooth, Dab/DAB+, FM and Auxiliary
• DAB/DAB+, FM: adjust volume, channels and presets, display RadioVIS information
• Bluetooth: change tracks and adjust volume
• AUX-IN: adjust the volume
You can also manage equaliser presets and tell your Hepburn to standby or wake up, and all of this without
leaving your chair.
What tablet or smartphone do you need for a remote?
For Apple devices, the App is compatible with all iPhones, iPads and iPod Touch devices running iOS 3.1.3 or
later (also iPad and iPad 2 devices in iPhone compatibility mode). For Android devices, Android 2.2 or later
is supported.
Your device needs Bluetooth and you need to be able to install apps from the appropriate app store.
Note: We’ll refer to your Apple or Android device as your “Remote” from now on.
Page 15

GB GB
Hepburn Operation Guide
29
Hepburn Operation Guide
28
• Standby – puts your Hepburn in standby mode, and opens the Settings panel ready for you to
enable power to your Hepburn again
• Exit – quits the View Quest App
Getting Started – your Main Menu: Mode
In smartphone mode : tapping Mode brings up the Mode List fullscreen.
In tablet mode : the Mode List is always visible in the Mode panel.
Enjoying DAB/DAB+ with the View Quest App
mode: to select DAB/DAB+ tap Mode then tap DAB.
mode: to select DAB/DAB+ just tap DAB in the Mode Window.
In mode the View Quest App will display the Now Playing panel. You can select it again by tapping the
Now Playing button at the bottom of the display.
In mode all the panels are visible, the Now Playing panel is on the right.
The Now Playing panel in DAB/DAB+ mode
The Now Playing panel displays the last used radio station. If no station has ever been selected the DAB/
DAB+ browse screen is shown.
[Note] If RadioVIS is enabled and available for the current station, images available over the internet are
presented, synchronised with the DAB broadcast.
Now Playing options for DAB:
Mute or unmute
Controlling your Hepburn with your phone or tablet remote
Finding your way around the View Quest App
Main Panels
Your View Quest App has 4 major information panels. They are: Browse, Preset, Mode, Now Playing
In smartphone mode these panels are accessed one at a time using control buttons at the bottom of the
display. In tablet mode they appear onscreen at the same time in separate windows. This makes the
best of available space, whatever the size of your device.
The roles of these panels when listening to different sources will be explained in ‘Getting Started’.
Menu Items
In both and mode tapping your device menu while the View Quest App is running reveals icons for
common functions. They are:
• EQ Settings – lets you select pre-dened equalisation settings or congure one of your own.
• Settings – opens a panel where you can change common settings:
Radio – Scans for and lists available radios. Choose your Hepburn from this list.
Auto-lock – Disable or enable auto-lock of your phone or tablet.
Power – Power off (standby) or power on your Hepburn.
RadioVIS – Disable or enable the display of images and text messages sent by some radio
stations to accompany their programmes. RadioVIS is transmitted over the internet, so
requires a WiFi or 3g connection.
UI type – selects smartphone or tablet user interface.
About – displays App version information.
Exit – quits the View Quest App.
Page 16

GB GB
Hepburn Operation Guide
31
Hepburn Operation Guide
30
The Now Playing panel in FM mode
The radio tunes to the last frequency selected and plays any audio present. If no frequency has previously been
selected the lowest FM frequency is presented.
[note] If RadioVIS is enabled and available for the current station, images available over the internet are presented,
synchronised with the FM broadcast.
Now Playing options for FM:
Mute or unmute
Volume Slider Set output volume
Manually tune down/up in 0.05MHz intervals
Scan down/up to next station
The Browse panel in FM mode
In [] mode tap the Browse button [icon] at the bottom of the display.
In = mode all the panels are visible, the Browse panel is at the bottom left.
The Browse panel for FM displays an analogue tuning knob – rotate it with your nger to tune the FM radio.
The Preset panel in FM mode
In [] mode tap the Preset button [icon] at the bottom of the display.
In = mode all the panels are visible, the Preset panel is at the top middle.
Volume Slider Set output volume
Jump to next or previous station in alphabetical order
The Browse panel in DAB/DAB+ mode
In mode tap the Browse button at the bottom of the display.
In mode all the panels are visible, the Browse panel is at the bottom left.
The Browse panel displays the DAB broadcast radio stations discovered by your Hepburn. Scroll and tap
on a station to select it. (For details of scanning for DAB radio stations, see “DAB Mode” on page 11 of this
manual.)
[Note] When browsing through stations, any station no longer detected is listed with a question mark in
front of its name.
The Preset panel in DAB/DAB+ mode
In mode tap the Preset button [icon] at the bottom of the display.
In mode all the panels are visible, the Preset panel is at the top middle.
To select one of your preset stations, scroll the list if necessary and tap the station.
To add the currently playing station to your presets tap Add Preset at the top left of the Preset panel.
This will display a green Select button next to every preset. Tap the green Select button next to
the preset you wish to hold the current station.
Enjoying FM radio with the View Quest App
mode: to select FM tap Mode then tap FM.
mode: to select FM just tap FM in the Mode panel.
In mode the View Quest App will display the Now Playing panel. You can select it again by tapping the
Now Playing button at the bottom of the display.
In mode all the panels are visible, the Now Playing panel is on the right.
Page 17

GB GB
Hepburn Operation Guide
33
Hepburn Operation Guide
32
The Browse and Preset panels in Smart Device mode
The Browse and Preset panels have no function in Smart Device Mode; use the device’s audio player to
navigate albums and playlists instead.
Enjoying an auxiliary device with the View Quest App
[] mode: to select AUX In tap Mode [icon] then tap AUX-In.
= mode: to select AUX In just tap AUX-In in the Mode panel.
In [] mode the View Quest App will display the Now Playing panel. You can select it again by tapping the
Now Playing button at the bottom of the display.
In = mode all the panels are visible, the Now Playing panel is on the right.
The Now Playing panel in AUX in mode
The Now Playing panel displays a Jack plug symbol and volume control.
Now Playing options for AUX in:
Mute or unmute
Volume Slider Set output volume
[note] The volume control on the input device, if present, may need to be adjusted in conjunction with the
app volume control for optimal volume and clarity. You control playback from the input device too.
Other Panels in AUX In mode
Apart from Mode to change source, no other panels have any function in AUX In mode.
To select one of your preset frequencies, scroll the list if necessary and tap the frequency you wish to tune to.
To add the currently playing station to your presets tap Add Preset [ic on] at the top left of the Preset panel. This
will display a green Select button next to every preset. Tap the green Select button next to the preset
you wish to hold the current frequency.
Enjoying your Bluetooth device with the View Quest App
[note] The View Quest App in Smart Device mode works in conjunction with the audio player on the tablet or
smartphone you are using as a remote. The App cannot control another Bluetooth device.
[] mode: to select Smart Device tap Mode [icon] then tap Smart Device.
= mode: to select Smart Device just tap Smart Device in the Mode panel.
In [] mode the ViewQuest App will display the Now Playing panel. You can select it again by tapping the Now
Playing button at the bottom of the display.
In = mode all the panels are visible, the Now Playing panel is on the right.
The Now Playing panel in Smart Device mode
The Now Playing panel does not display any audio information in Smart Device mode. Use the audio player in your
remote to select albums or playlists.
Now Playing options for Smart Device:
Mute or unmute
Volume Slider Set output volume
Toggles between play and pause for the current track
Go to start of current – play previous/play next track
Page 18

GB GB
Hepburn Operation Guide
35
Hepburn Operation Guide
34
General Settings
Equaliser
Your Hepburn has seven equalisation settings to suit different sound types, and you can also congure one
of your own to exactly match your requirements. Each of the equalisation settings will change the tone of
your Hepburn when selected. To choose an equalisation setting:
1. Press the EQ button to select ‘Equaliser’.
2. Turn the - TUNING + knob and then press it to select Normal, Classic, Jazz, Pop, Rock, Speech, Bass or My
EQ.
3. To set up your own Equaliser prole, select ‘My EQ’, and then set the level of Treble, Bass and Loudness
using the - TUNING + knob.
Count Down Timer (Cooking Timer)
The timer can be set at one minute intervals up to 99 minutes in the future.
1. Press the MENU button, and then turn the - TUNING + knob to select
System menu. Press the - TUNING + knob to conrm.
2. Turn the - TUNING + knob to select Count Down Timer menu,
and then press the - TUNING + knob to conrm.
3. Turn the - TUNING + knob until the desired time appears in the
display, then press the - TUNING + knob to conrm.
4. To view the remaining time, follow steps 1-2 to select Count Down Timer menu again.
5. When the time is elapsed, the buzzer will sound, at an increasing volume. Any other
sound playing on your Hepburn will be muted while the buzzer is sounding.
6. Press the - TUNING + knob to stop the buzzer. Otherwise the
buzzer will turn off automatically after 30 minutes.
7. To cancel an already set Count Down timer, follow steps 1-3 to set the time to 00:00 minutes.
Time and Date
Your Hepburn can set its time and date from DAB, or you can set it manually. You can also select your date
and time formats.
1. Press MENU, turn the - TUNING + knob to display Time then press the - TUNING + knob to select.
Further turning of the - TUNING + knob will cycle through the options below:
Set Time/date: Manually set-up both Time and Date
Auto update: ‘Update from DAB’ or ‘No update’
Set 12/24 hour format: ‘Set 24 hour’ or ‘Set 12 hour’
Set date format: ‘DD-MM-YYYY’ or ‘MM-DD-YYYY’
2. Use the - TUNING + knob to nd and select the options you prefer.
To set time manually:
1. Select “Set Time/Date”
2. Turn the - TUNING + knob to select correct hours, press the - TUNING + knob to conrm.**
3. Turn the - TUNING + knob to select correct minutes, press the - TUNING + knob to conrm.
4. Turn the - TUNING + knob to select correct day, press the - TUNING + knob to conrm.*
5. Turn the - TUNING + knob to select correct month, press the - TUNING + knob to conrm.*
6. Turn the - TUNING + knob to select correct year, press the - TUNING + knob to conrm.
**The value of this item is affected by your hour format setting
*The order of these items are affected by your date format setting.
Alarms
Your Hepburn provides highly exible dual alarms. Before setting your alarms, please set the time and date
as detailed in the previous section. Then:
1. Press the ALARM button repeatedly to select ‘Alarm 1 Setup’ or ‘Alarm 2 Setup’ and press the - TUNING
+ knob to conrm. This will start the Alarm Wizard.
2. The Alarm Wizard will step you through the alarm options. Turn the - TUNING + knob to select options,
and then press the - TUNING + knob to conrm the settings and move to the next option.
(To cancel alarm setup, press ALARM button again.)
Options are as follows:
Alarm states: On or Off
Alarm time: 00:00 (manually set up the time )
Alarm duration time: 15/30/45/60/90 mins
Alarm source: DAB, FM or buzzer (If you select DAB or FM, you can choose your last listened to
station, or Preset 1, if set)
Alarm active day: Daily, Once, Weekends or Weekdays
Alarm volume: Turn the - TUNING + knob to adjust the alarm volume
3. When the display shows ‘Alarm Saved’, the alarm setting is set.
4. To temporarily switch off alarm, press the SNOOZE button when the alarm is sounding. Press the
SNOOZE button repeatedly to set Snooze period time of 5, 10, 15 or 30 minutes in turn. The selected
snooze time will show as “Snooze mm : ss” on the display.
Note: Different Snooze periods are available depending on alarm duration.
5. To turn off the Alarm, press the POWER or ALARM buttons when the alarm is sounding.
Page 19

GB GB
Hepburn Operation Guide
37
Hepburn Operation Guide
36
6. To cancel Alarm, refer to steps1-3 to set Alarm states to ‘Off’.
Backlight Level
To change the backlight level of standby mode and power on mode, press SNOOZE repeatedly while alarm
is not sounding. Or using the menu:
1. Press the MENU button and then turn the - TUNING + knob to select System menu. Press the - TUNING
+ knob to conrm.
2. Turn the - TUNING + knob to select Backlight menu and press the - TUNING + knob to conrm.
3. Turn the - TUNING + knob to select backlight level, and press the - TUNING + knob to conrm the
setting.
Power On - High
Medium
Low
Standby - High
Medium
Low
Language
1. Press the MENU button, and then turn the - TUNING + knob to select System menu. Press the - TUNING
+ knob to conrm.
2. Turn the - TUNING + knob to select Language menu and press the - TUNING + knob to conrm.
3. Turn the - TUNING + knob to select language and press the - TUNING + knob to conrm.
Factory Reset
Factory reset resets all user settings to default values, so time/date, alarm settings, presets and Bluetooth
settings are lost.
1. Press the MENU button, turn the - TUNING + knob if necessary to select System menu and press
the - TUNING + knob to conrm. Then turn the - TUNING + knob to select Factory Reset. Press the TUNING + knob to conrm.
2. Turn the - TUNING + knob to ‘Yes’, and then press the - TUNING + knob to conrm. Display will show
“Restarting” and your Hepburn will reset to Factory settings.
Software Version
Note: The helpdesk may ask you for the software version of your product.
1. Press the MENU button, and then turn the - TUNING + knob to select SW Version. Press the - TUNING +
knob to conrm. Display will show “SW Version” and below it your Hepburn’s software version, scrolling
as necessary.
Important Safety Information – please read
Please read this guide before using your unit – it contains guidance and recommendations that can help
ensure long-lasting, trouble-free, safe operation. Please keep this guide for future reference.
Be careful. Avoid:
• Liquids: don’t expose your unit to drips or splashes, and don’t put liquid containers like vases on it or near it.
• Humidity or moisture: humid or moist places like bathrooms and steam rooms need specially-designed
equipment.
• Heat: don’t expose your unit to direct sunlight or heat from radiators or other heat sources. Audio/video
devices can generate a lot of heat; don’t put your unit on top of such devices. Don’t use naked ames
anywhere near your unit either.
• Dust and restricted airow: make sure your unit is in free-owing air to avoid overheating.
• Vibration: constant vibration can cause damage.
• Extreme climates: this unit is designed for operation in moderate climates.
IMPORTANT:
• DO NOT listen at high volume: High volumes can permanently damage hearing.
• DO NOT use equipment, especially headphones, when it could distract you from the requirements of
trafc or other safety.
• DO NOT Use equipment that is not working normally or you suspect may be faulty or damaged.
• DO NOT leave equipment switched on when it is unattended unless it is specically stated that it is
designed for unattended operation. Switch off using the switch on the equipment and make sure that your
family knows how to do this. Special arrangements may need to be made for inrm or handicapped people.
Always:
• Operate all controls as instructed in the manual.
• Ensure that all electrical connections (including the mains plug, extension leads and inter-connections
between the pieces of equipment) are properly made and in accordance with the manufacturer’s
instructions. Switch off and withdraw the mains plug before making or changing connections.
Page 20

GB GB
Hepburn Operation Guide
39
Hepburn Operation Guide
38
CAUTION: TO REDUCE THE RISK OF ELECTRIC SHOCK DO NOT REMOVE COVER (OR BACK), NO
USER SERVICEABLE PARTS INSIDE, REFER SERVICING TO QUALIFIED SERVICE PERSONNEL.
DANGEROUS VOLTAGE Dangerous Voltages, that may be of sufcient magnitude to constitute
a risk of electric shock to persons is present within this product’s enclosure.
ATTENTION The owner’s manual contains important operating and maintenance instructions,
for your safety, it is necessary to refer to the manual.
WARNING: TO PREVENT FIRE OR SHOCK HAZARD, DO NOT EXPOSE
THIS APPLIANCE TO DRIPPING OR SPLASHING.
Note: This unit will become warm when used for a long period of time. This
is normal and does not indicate a problem with the unit.
Battery safety guidelines
- Be sure to insert batteries of the correct type and ensure correct polarity (+/-).
- To insert batteries, remove the battery compartment cover and insert batteries observing polarity.
- Ensure the cover is secure and remove batteries in a safe manner
without the use of metallic or other conductive objects
- Batteries should not be replaced by children
- Never dispose of batteries in re as they may explode
- Batteries should not be exposed to excessive heat such as sunshine, re or naked ame.
- Only use batteries of the same type
- Do not mix old and new batteries and do not mix alkaline and rechargeable batteries
- Do not attempt to charge non-rechargeable batteries
- If the radio is not going to be used for a long period of time, remove the batteries from the battery compartment
- Always remove spent batteries from the battery compartment and
dispose of them responsibly to protect the environment
Note: For battery operation, please switch off the mains adaptor and remove the mains power plug from the back of the
radio.’
Specication
Description: Bluetooth Speaker with DAB/DAB+ and FM digital radio
Frequency Ranges: FM: 87.5-108MHz
DAB/DAB+: 174.928 – 239.200MHz
Power Supply: AC Power Input: 100-240VAC, 50-60Hz
Audio Output: 80Hz- 20KHz frequency range
Power Consumption: 10W rms
Dimensions: 285mm x 75mm x 155mm
This symbol on the product or in the instructions means that your electrical and electronic equipment should be
disposed at the end of its life separately from your household waste. There are separate collection systems for
recycling in the EU.
For more information, please contact the local authority or your retailer where you purchased the product.
View Quest hereby declares that the Hepburn radio is in compliance with the essential requirements and other
relevant provisions of Directive 1999/5/EC.
For further details, please contact :
View Quest
9-10 Mill Lane
Alton
Hampshire
GU 34 2QG
support@viewquest.co.uk
www.viewquest.co.uk
Page 21

GB GB
Hepburn Operation Guide
41
Hepburn Operation Guide
40
Support
We’re sure you’re going to have a long and happy relationship with your new Hepburn. How can we be so sure,
well, we’ve designed, engineered and loved this product from the pages of a concept book through to the gorgeous
product you have in your hands. We’re very proud of our products and the care and attention we give them, this is
reected in our fantastically low returns rate.
However, if you do have a problem then we’re always happy to help:
+44 (0)1792 704 452
Support@viewquest.co.uk
If You Love Your Hepburn Let The
World Know
We take great pride in all our products and we hope you
love your Hepburn, if you do we’d love to hear about it.
So why not share your experience and your own sense
of sound & style with us via social media or reviews with
our retailers.
#SoundStyle
Page 22

GB
Hepburn Operation Guide
42
www.viewquest.co.uk +44 (0)1792 704 452 Support@viewquest.co.uk
Facebook – /ViewQuest
Instagram – @ViewQuest
Twitter – @View_Quest
Pinterest – /ViewQuest
www.viewquest.co.uk +44 (0)1792 704 452 Support@viewquest.co.uk
www.viewquest.co.uk +44 (0)1792 704 452 Support@viewquest.co.uk
/ViewQuest
@View_Quest
@ViewQuest
/ViewQuest
SHOW US YOUR
#SoundStyle
 Loading...