

Page 1
LE3 QUICK START GUIDE
The LE3 is an easy to operate wearable video camera designed specically
for professionals that need to video document their actions.
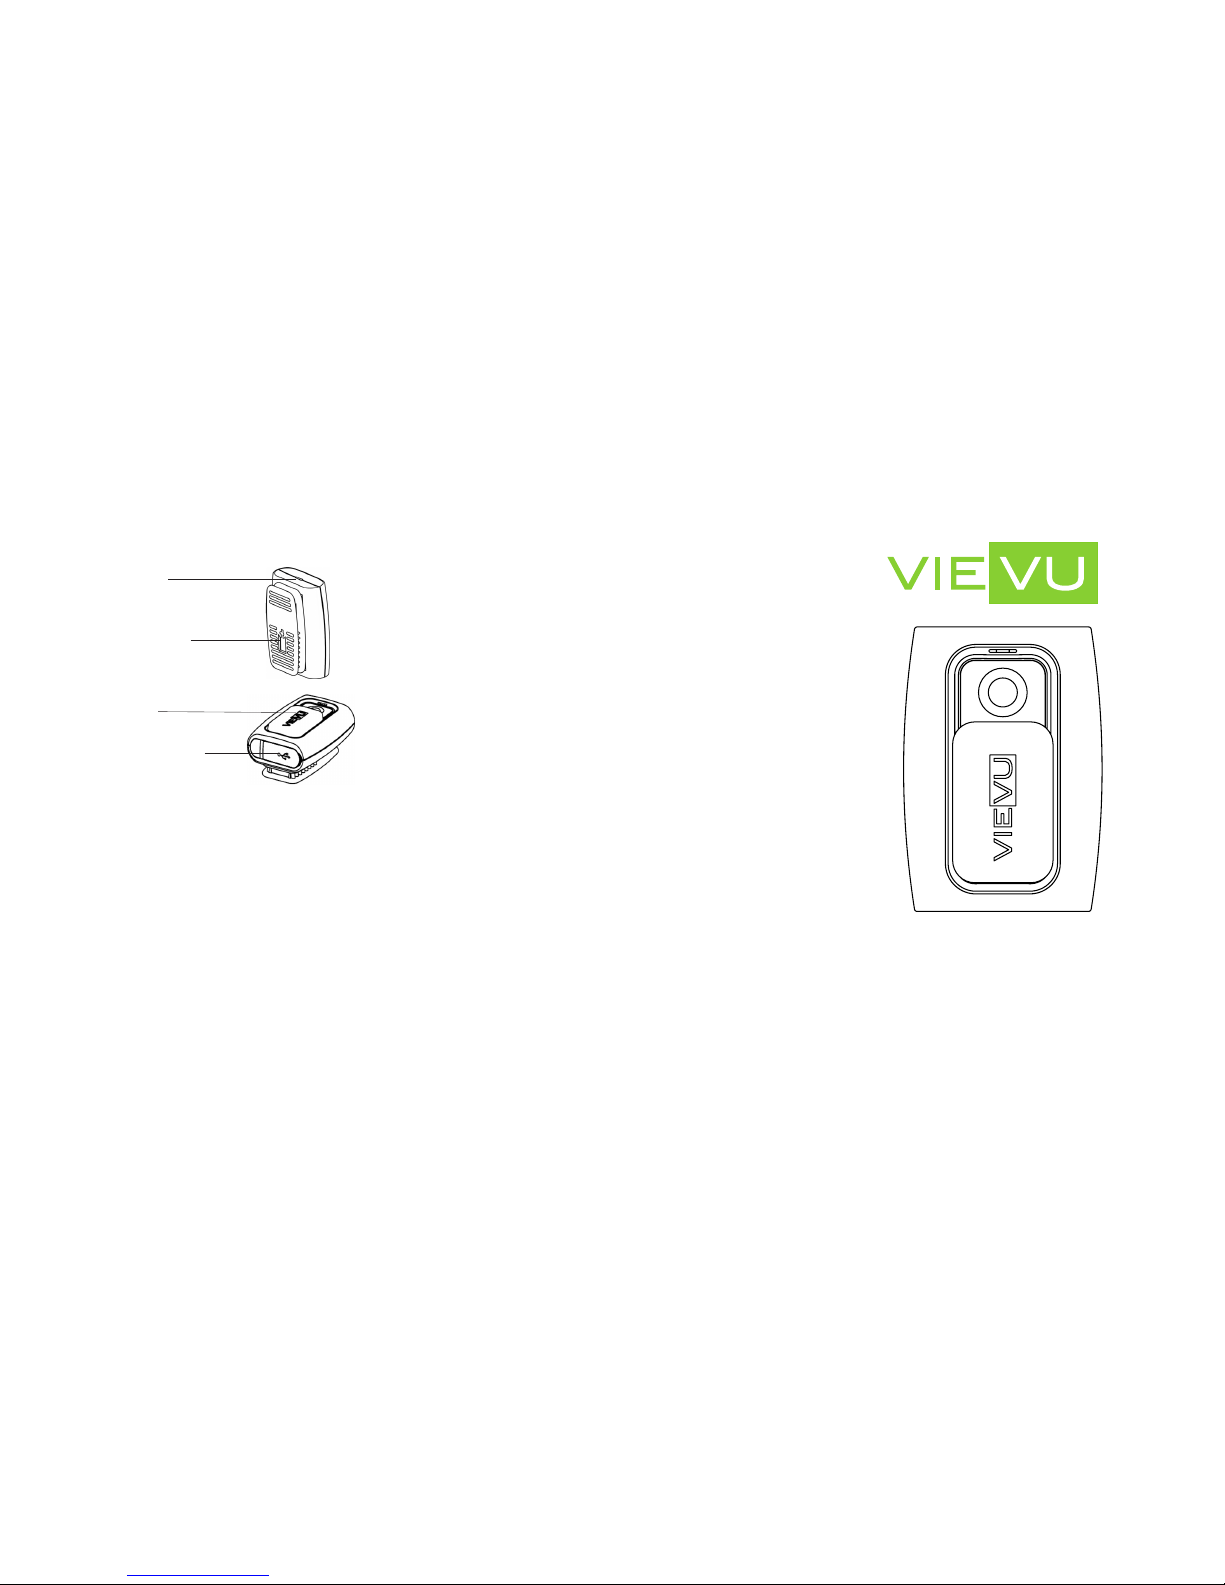
LED Status Light
Clip Retaining Screw
On/Off Switch
USB Port & Reset Switch
Detailed Specications
Video Resolution 1280 x 720 (HD) or 848 x 480 (WVGA)
Recording Speed 30 Frames Per Second
Recording Format MPEG-4, H.264, AVI container
Lens of Field View 68 degrees
Recording Life Up to 5 hours *
Storage Capacity 16 GB (non-removable)
Video Storage 12 hours *
Standby Time 72 hours *
Weight (no clip) 2.8 oz
Dimensions (no clip) 3” x 2.1” x .85”
*Environmental conditions may increase or decrease specications
LE3 WEARABLE VIDEO CAMERA
VIEVU
®
105 W. John Street
Seattle WA 98119
888.285.4548
www.vievu.com
®
The VERIPATROL™ software is a secure video le management system that
simplies the download, storage and retrieval of video les recorded with
the LE3 camera. The use of the VERIPATROL™ software is required.
Installation instructions, user guides and other documentation can be
found online at www.vievu.com/support.
DATE / TIME STAMP
All cameras are set to GMT (greenwich Mean Time) during manufacture.
The date/time stamp can be set to local time using the VERIPATROL™
software.
RESET BUTTON
If the camera fails to function correctly, it may need to be reset. The reset
button is under a small round hole next to the USB port on the bottom of
the camera. Gently insert the end of a paperclip into the hole and hold
down the button for 1 second. Videos on the camera will not be deleted
during a reset.
TECH SUPPORT
If you need any assistance in installing the VERIPATROL™ software or have
questions about operating the camera, you can contact our Technical
Support team at 888-285-4548 or by emailing [email protected].
LE3 Rev1
VERIPATROL™ SOFTWARE
Page 2
1. CHARGE THE BATTERY
Before use, the camera must be fully charged. Maximum charge time is
approximately 3 hours.
1. Connect the charging USB cable to a 110v wall outlet.
2. Connect the small USB end to the bottom of the camera. A red LED light
is visible while charging. The LED light will turn off when fully charged.
2. INSTALL VERIPATROL™ SOFTWARE
VERIPATROL™ is a secure video le management system that simplies the
download, storage and retrieval of video les. The use of VERIPATROL™ is
required.
1. Download the installation les from: www.vievu.com/support.
2. Install VERIPATROL™ software on the computer.
3. Contact VIEVU® at 888-285-4548 or visit www.vievu.com/veripatrol to
obtain the Login ID and Password.
3. ASSIGN CAMERA IN VERIPATROL™ SOFTWARE
All cameras must be assigned to VERIPATROL™ before use. Failure to assign
the camera will prevent downloading videos. Contact VIEVU® at 888-2854548 if you need assistance.
1. Using the supplied download cable, connect all 3 ends of the cable.
Both large USB ends must be connected to the computer.
2. Turn the camera on.
3. Login to the VERIPATROL™ Admin software.
4. Click on the ‘Cameras’ button at the top of the window.
5. Click the ‘Assign Camera’ button at the bottom of the window.
6. Follow the prompt through the assigning process.
Repeat the steps for all remaining cameras.
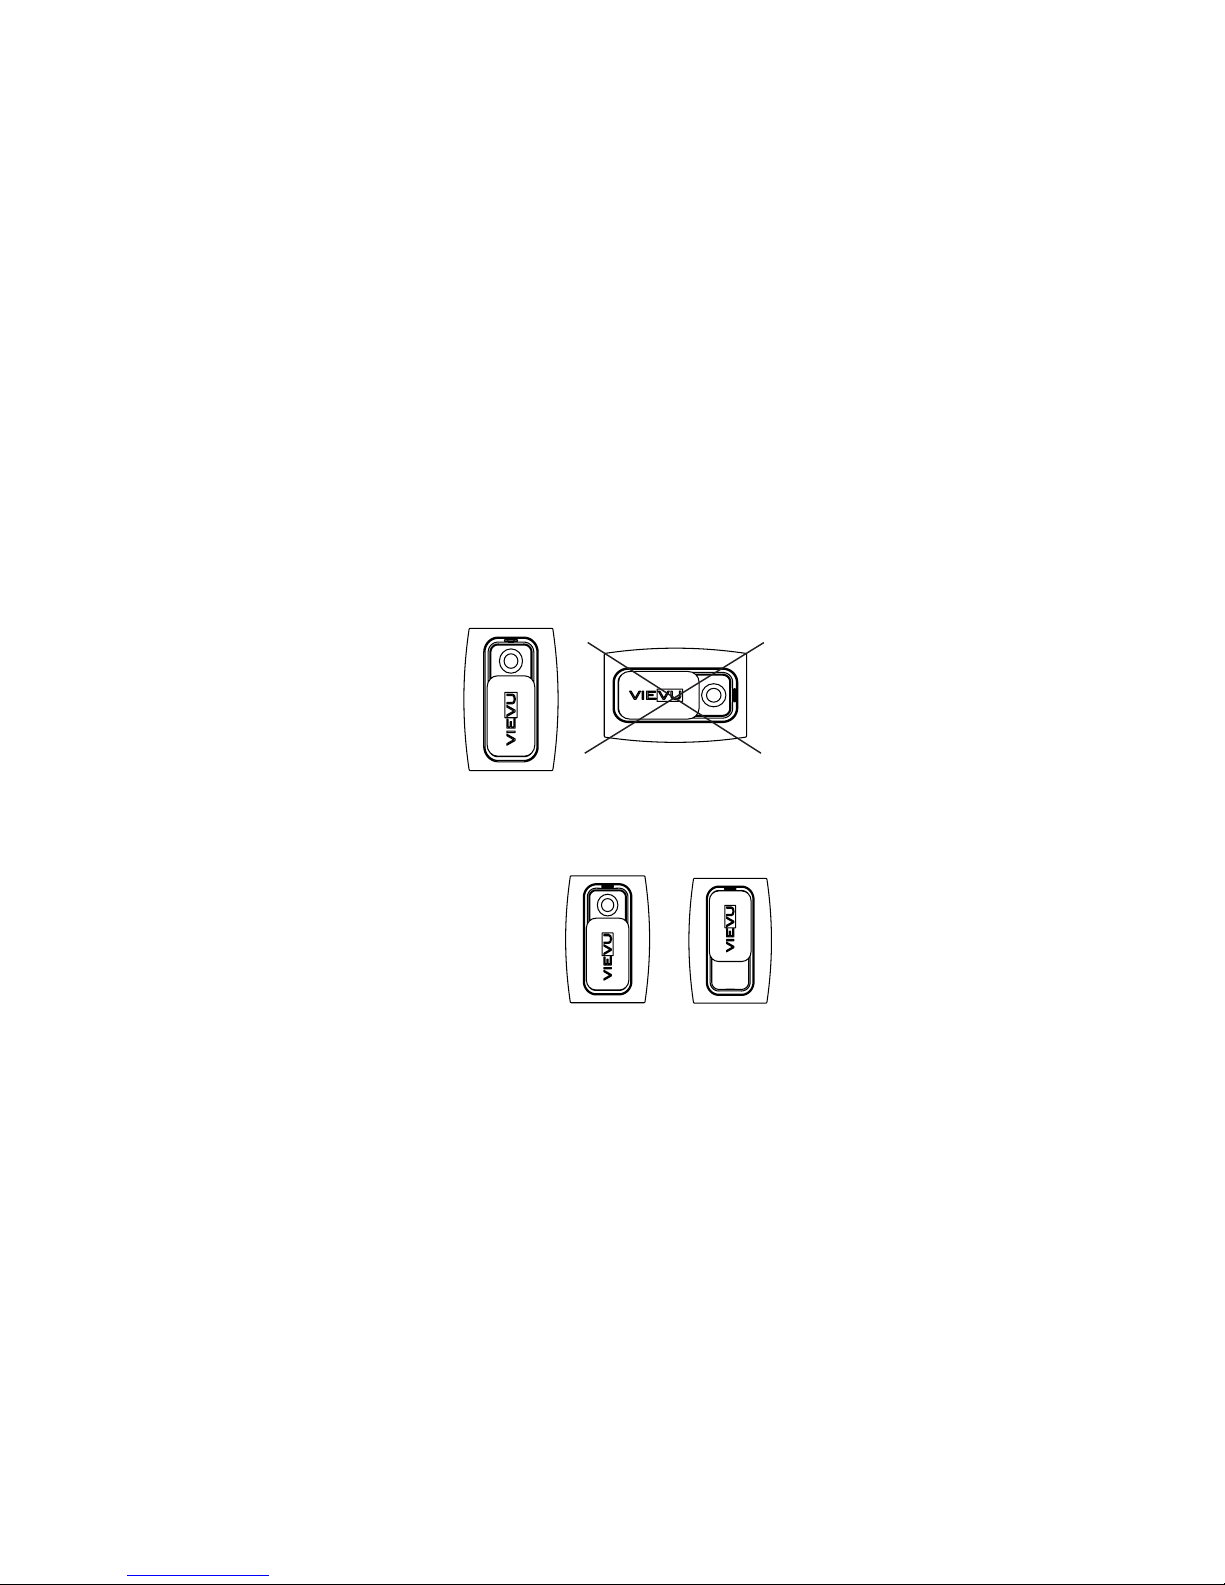
The camera must be worn in the vertical orientation. The clip retaining
screw must be loosened to rotate the clip. Failure to loosen the screw will
cause damage. The ideal position to attach the camera is level with the
sternum but it will vary depending on user.
1. Using a Phillips screwdriver, loosen the clip retaining screw.
2. Rotate the clip.
3. Tighten the clip retaining screw.
4. WEARING THE CAMERA
6. DOWNLOADING VIDEO
1. Using the supplied download cable, connect all 3 ends of the cable.
Both large USB ends must be connected to the computer.
2. Turn the camera on.
3. Login to the VERIPATROL™ Client software and click on the ‘Download
Videos from Camera’ button at the bottom.
LED LIGHT
Recording
Blinking Green Light: Camera is recording video and audio.
Blinking Red Light: Camera is low on battery power or memory is almost
full. Camera is recording video and audio.
Solid Red Light: Camera is not recording. Battery is out of power or
memory is full.
Connected to Download Cable
Solid Red Light: Battery is charging. Lens cover is closed.
Solid Amber Light: Camera is ready to communicate with computer for
video download or assigning. Lens cover is open.
Solid Green Light: Camera is ready to communicate with computer
for video download or assigning. Lens cover is open.
Battery is fully charged.
Connected to Charging Cable
Solid Red Light: Battery is charging. Lens cover is closed.
No Light: Battery is fully charged. Lens cover is closed.
5. RECORDING VIDEO
Start recording
1. Slide lens cover down.
2. LED light will blink while recording.
Stop recording
1. Slide lens cover up.
2. LED light will turn off.
ON
OFF
Page 3

Product Warranty. Company warrants to purchaser that the Products
purchased here under shall be free from defects in materials and
workmanship and shall conform in all material respect to the specications
for a period of ninety (90) days from the date of delivery thereof, provided
the Product in question has been stored and used in accordance with
ordinary industry practices and conditions. The use of non-Company
branded or approved accessories or replacement parts may result in
damage not covered by warranty. Company does not warrant that
the operation of the products will be uninterrupted or error free.
Remedies. In the event that a Product does not comply with
the product warranty set out above and such non-conforming
Product is returned to Company within the warranty period by
Purchaser freight prepaid, Company will repair or replace such
non-conforming Product at no additional charge to Purchaser; the
repaired or replaced Product will be returned to Purchaser, freight prepaid.
Disclaimer of Warranties. The foregoing express warranties are limited to
company and are not transferable and are in lieu of any other warranty by
Company with respect to Products furnished hereunder. Company grants
no other warranty, either express or implied, including without limitation,
warranties or merchantability or tness for a particular purpose.
Limitation of Liability. Company shall in no event be liable for any indirect,
incidental, special or consequential damages arising out of or relating
to the sale or use of its products, whether or not Company has advance
notice of the possibility of such damages. If company breaches any
provision of this agreement, purchaser’s sole and exclusive maximum
liability, whether based in contract, tort or otherwise, shall not in any
event exceed the contract price for the particular products.
Video Recovery Disclaimer: Purchaser is responsible for maintaining all
evidence and videos taken with Company products. Purchaser
should download all videos from Company products before returning
to Company for repair or replacement. Purchaser shall indemnify
Company for any evidence or videos that cannot be recovered from
products.
LIMITED WARRANTY
Page 4

This device complies with Part 15 of the FCC Rules. Operation is subject
to the following two conditions:
1. This device may not cause harmful interference.
2. This device must accept any interference received, including
interference that may cause undesired operation.
Note: This equipment has been tested and found to comply with the
limits for a Class B digital device, pursuant to Part 15 of the FCC Rules.
These limits are designed to provide reasonable protection against
harmful interference in a residential installation. This equipment
generates, uses and can radiate radio frequency energy and, if not
installed and used in accordance with the instructions, may cause
harmful interference to radio communications. However, there
is no guarantee that interference will not occur in a particular
installation. If this equipment does cause harmful interference
to radio or television reception, which can be determined by
turning the equipment off and on, the user is encouraged to try to
correct the interference by one or more of the following measures:
• Reorient or relocate the receiving antenna.
• Increase the separation between the equipment and receiver.
• Connect the equipment into an outlet on a circuit different from
that to which the receiver is connected.
• Consult the dealer or an experienced radio/television technician
for help.
The Federal Communications Commission warns that changes or
modications of the unit not expressly approved by the party responsible
for compliance could void the user’s authority to operate the equipment.
FCC CLASS B NOTICE
 Loading...