

Page 1

WC flush plate forPrevista
Visign for Style 20
Instructions for Use
for concealed cisterns 3H, concealed cisterns 3L, concealed cis‐
terns 3F, concealed cisterns 3S
Model Year built:
Modell: 8610.1 from 09/2018
en_INT
Page 2

WC flush plate forPrevista Visign for Style 20 2 from 17
Page 3

Table of contents
1 About these instructions for use 4
Table of contents
1.1
1.2
1.3
Target groups 4
Labelling of notes 4
About this translated version 5
2 Product information 6
2.1
2.2
2.2.1
2.3
2.3.1
2.3.2
Standards and regulations 6
Intended use 6
Areas of use 6
Product description 7
Overview 7
Technical data 7
3 Handling 8
3.1
3.1.1
3.2
3.2.1
3.2.2
3.3
3.3.1
3.4
3.5
3.5.1
3.6
Assembly information 8
Required material and tools 8
Assembly 8
Prepare cistern 8
Mounting the flush plate 9
Commissioning 15
Setting the flush volume 15
Errors, faults and remedy 16
Care and maintenance 17
Care tips 17
Disposal 17
WC flush plate forPrevista Visign for Style 20 3 from 17
Page 4
About these instructions for use
1 About these instructions for use
Trade mark rights exist for this document; for further information, go to
viega.com/legal.
1.1 Target groups
The information in this instruction manual is directed at the following
groups of people:
n Heating and sanitary professionals and trained personnel
n Consumers
Individuals without the abovementioned training or qualification are not
permitted to mount, install and, if required, maintain this product. This
restriction does not extend to possible operating instructions.
1.2
The installation of Viega products must take place in accordance with
the general rules of engineering and the Viega instructions for use.
Labelling of notes
Warning and advisory texts are set aside from the remainder of the text
and are labelled with the relevant pictographs.
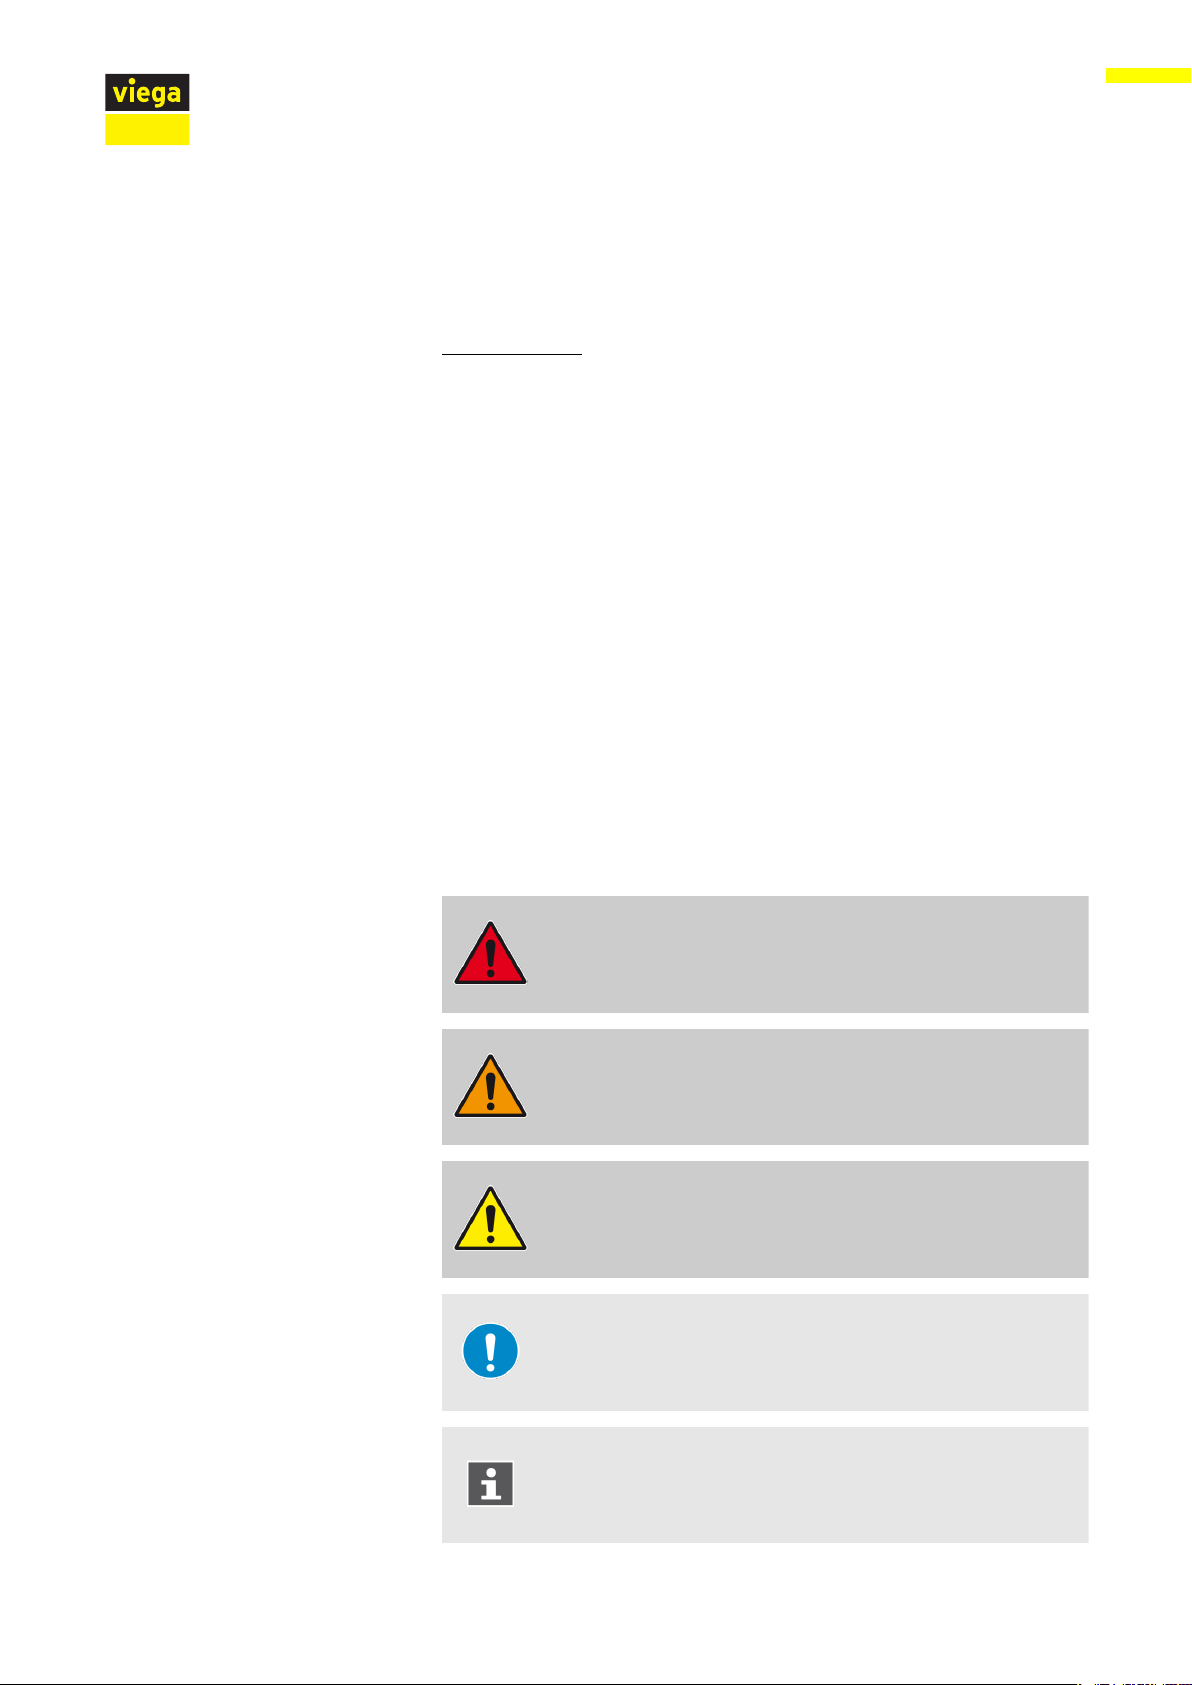
DANGER!
This symbol warns of possible life-threatening injury.
WARNING!
This symbol warns of possible serious injury.
CAUTION!
This symbol warns of possible injury.
NOTICE!
This symbol warns of possible damage to property.
This symbol gives additional information and hints.
WC flush plate forPrevista Visign for Style 20 4 from 17
Page 5

1.3 About this translated version
This instruction for use contains important information about the choice
of product or system, assembly and commissioning as well as intended
use and, if required, maintenance measures. The information about the
products, their properties and application technology are based on the
current standards in Europe (e. g. EN) and/or in Germany
(e. g. DIN/DVGW).
Some passages in the text may refer to technical codes in Europe/
Germany. These should serve as recommendations in the absence of
corresponding national regulations. The relevant national laws, stand‐
ards, regulations, directives and other technical provisions take priority
over the German/European directives specified in this manual: The
information herein is not binding for other countries and regions; as said
above, they should be understood as a recommendation.
About these instructions for use
WC flush plate forPrevista Visign for Style 20 5 from 17
Page 6

2 Product information
2.1 Standards and regulations
The following standards and regulations apply to Germany / Europe and
are provided as a support feature.
Regulations from section: Technical data
Scope / Notice Regulations applicable in Ger‐
Flush flow DIN 3265
Noise class DIN 4109
Product information
many
2.2 Intended use
2.2.1 Areas of use
Suitable cisterns
The flush plate is intended for the actuation of flushes on Viega con‐
cealed cisterns.
Installation is only possible in the following Viega concealed cisterns:
n Concealed cistern 3H
n 3L concealed cistern
n Concealed cistern 3F
n Concealed cistern 3S
WC flush plate forPrevista Visign for Style 20 6 from 17
Page 7

2.3 Product description
1
2
34
2.3.1 Overview
Product information
2.3.2 Technical data
Flush volume
Fig. 1: Scope of delivery
1 Installation frame
2 flush plate
3 actuating rods
4 retaining bolt
The flush volumes for the flush actuation are:
n Small flush volume: approx. 2–4 litres
n Large flush volume: approx. 3.5–7.5 litres
For the setting of the flush see Ä Chapter 3.3.1 „Setting the flush
volume“ on page 15.
WC flush plate forPrevista Visign for Style 20 7 from 17
Page 8

3 Handling
3.1 Assembly information
3.1.1 Required material and tools
Tool
The following tools are required for mounting:
n cutting knife
3.2 Assembly
3.2.1 Prepare cistern
Requirements:
Handling
n The cistern is fitted into the pre-wall.
n The pre-wall is tiled.
Cut into the sticky tape of the shaft cover.
Remove the shaft cover.
WC flush plate forPrevista Visign for Style 20 8 from 17
Page 9

3.2.2 Mounting the flush plate
4x
Handling
Cut into the corners of the revision shaft.
Fold the sides of the revision shaft outwards up to the tile level and
snap them off.
Turn the cover plate lock 90° in counter-clockwise direction.
Remove the cover plate.
WC flush plate forPrevista Visign for Style 20 9 from 17
Page 10

Close the corner valve.
Loosen the flexible hose at the filling valve.
Handling
INFO! For setting the flush volume, see
Ä
Chapter 3.3.1 „Setting
the flush volume“ on page 15.
Open the corner valve for a few seconds to flush the pipe.
Close the corner valve.
WC flush plate forPrevista Visign for Style 20 10 from 17
Page 11

Connect the flexible hose to the filling valve.
Re-open the corner valve.
INFO! Check the filling valve for leak tightness.
Handling
Insert the cover plate into the cistern.
Turn the cover plate lock by 90° in a clockwise direction.
WC flush plate forPrevista Visign for Style 20 11 from 17
Page 12

Put on the installation frame.
Insert the retaining bolts.
Handling
Turn the retaining bolts by 90° in a clockwise direction.
Align the installation frame.
To fix the retaining bolts, turn safety rings in a clockwise direction.
WC flush plate forPrevista Visign for Style 20 12 from 17
Page 13

INFO! For installation from the front into the concealed cisterns
A C
-
A B C
A C
-
A B C
3H, 3L, 3S.
Determine the distance for the actuating rods.
n A: 30–50 mm
n B: 10–30 mm
n C: 10 mm
If necessary, cut the actuating rods to length.
Handling
INFO! For installation into concealed cistern 3F.
Determine the distance for the actuating rods.
n A: 50–60 mm
n B: 30–50 mm
n C: 10–30 mm
If necessary, cut the actuating rods to length.
WC flush plate forPrevista Visign for Style 20 13 from 17
Page 14

A B
+
A B
90°
90°
Handling
INFO! For installation from above into the concealed cisterns 3L,
3S.
Determine the distance for the actuating rods.
n A: 20–40 mm
n B: 10–20 mm
If necessary, cut the actuating rods to length.
Insert the actuating rods as far as they will go.
Align the actuating rods.
Rotate the actuating rods 90° in clockwise direction.
WC flush plate forPrevista Visign for Style 20 14 from 17
Page 15

3.3 Commissioning
3.3.1 Setting the flush volume
Mount the flush plate.
The flush plate is mounted.
ð
Handling
Fold the tabs forward.
Lift the drain valve.
WC flush plate forPrevista Visign for Style 20 15 from 17
Page 16

Remove the drain valve through the revision opening.
-
-
Set the large flush volume at the drain valve.
Handling
Set the small flush volume at the drain valve.
3.4
Errors, faults and remedy
Error Cause Remedy
The WC does not flush. The cistern is not yet completely
full.
There is no water in the cistern.
Wait until the cistern is sufficiently
full.
Open the corner valve.
The corner valve is closed.
The WC flush runs through. The seal at the filling valve is dirty
or damaged.
Check the seal, replace if neces‐
sary.
The seal at the drain valve is dirty
or damaged.
WC flush plate forPrevista Visign for Style 20 16 from 17
Check the seal, replace if neces‐
sary.
Page 17

3.5 Care and maintenance
3.5.1 Care tips
Use normal soap or a mild cleaning agent for regular care and preven‐
tion of lime scale on the flush plate. Under no circumstances should
scouring agent or scratching objects be used.
Strong stains can be removed using typical household cleaner. Rinse
the detergent thoroughly with clear water after the prescribed exposure
time. There should be no residue on the components.
3.6 Disposal
Separate the product and packaging materials (e. g. paper, metal,
plastic or non-ferrous metals) and dispose of in accordance with valid
national legal requirements.
Handling
WC flush plate forPrevista Visign for Style 20 17 from 17
 Loading...