

Viega Domoplex 6929, Domoplex 6928, Domoplex 6929.1, Domoplex 6928.21 Instructions For Use Manual
Page 1
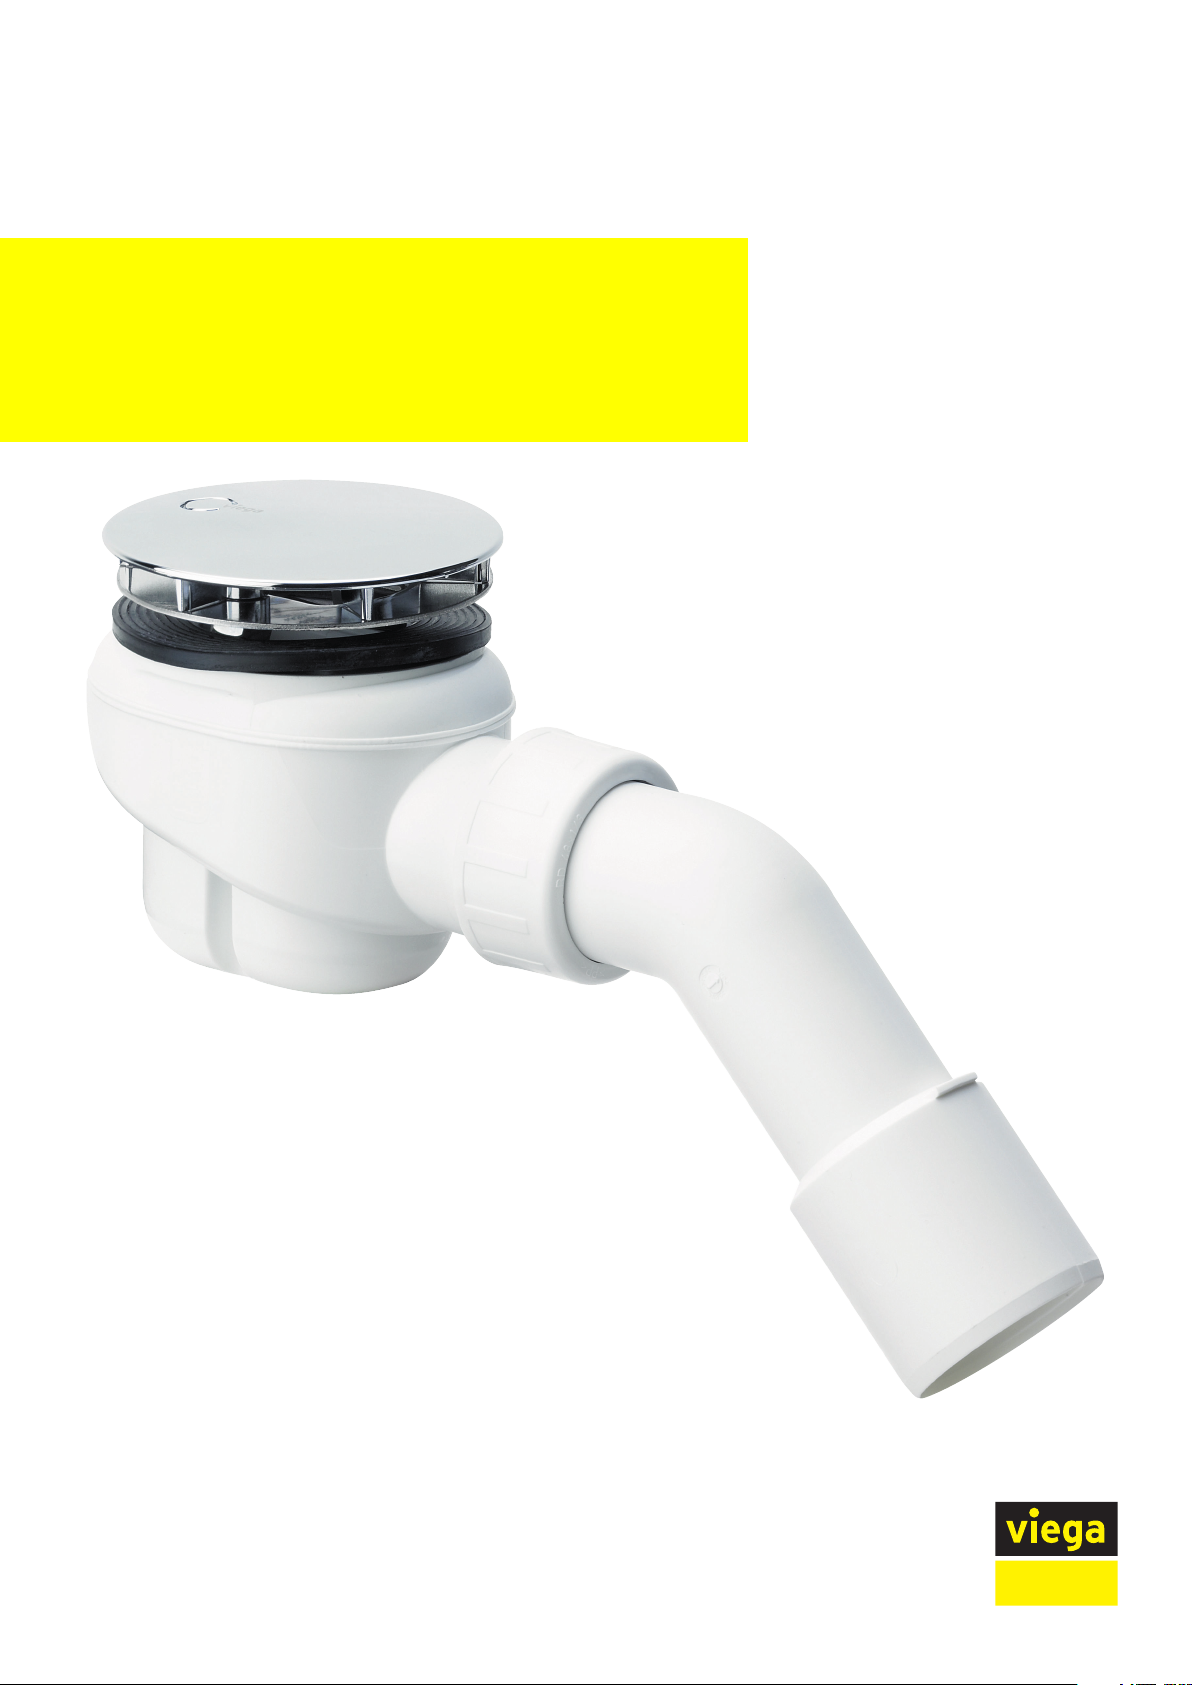
Domoplex drain equipment
Instructions for Use
Model Year built:
6929 from 06/2015
en_INT
Page 2

Domoplex drain equipment 2 from 15
Page 3

Table of contents
1 About these instructions for use 4
Table of contents
1.1
1.2
1.3
Target groups 4
Labelling of notes 4
About this translated version 5
2 Product information 6
2.1
2.1.1
2.2
2.2.1
2.2.2
Intended use 6
Areas of use 6
Product description 7
Overview 7
Technical data 7
3 Handling 9
3.1
3.1.1
3.1.2
3.2
3.2.1
3.2.2
3.2.3
3.3
3.4
3.5
Assembly information 9
Mounting conditions 9
Installation dimensions 9
Assembly 9
Mounting the drain 9
Connecting the wastewater system 11
Leakage test 12
Maintenance 12
Cleaning the drain 12
Disposal 15
Domoplex drain equipment 3 from 15
Page 4

About these instructions for use
1 About these instructions for use
Trade mark rights exist for this document, further information can be
found at
1.1 Target groups
The information in this instruction manual is directed at the following
groups of people:
n heating and sanitary professionals and trained personnel
n operators
n consumers
It is not permitted for individuals without the abovementioned training or
qualification to mount, install and, if required, service this product. This
restriction does not extend to possible operating instructions.
viega.com/legal
.
1.2 Labelling of notes
The installation of Viega products must take place in accordance with
the general approved rules of engineering and the Viega instructions for
use.
Warning and advisory texts are set aside from the remainder of the text
and are labelled with the relevant pictographs.
DANGER!
This symbol warns against possible life-threatening injury.
WARNING!
This symbol warns against possible serious injury.
CAUTION!
This symbol warns against possible injury.
NOTICE!
This symbol warns against possible damage to property.
Domoplex drain equipment 4 from 15
Page 5

1.3 About this translated version
This instruction for use contains important information about the choice
of product or system, assembly and commissioning as well as intended
use and, if required, maintenance measures. The information about the
products, their properties and application technology are based on the
current standards in Europe (e. g. EN) and/or in Germany
(e. g. DIN/DVGW).
Some passages in the text may refer to technical codes in Europe/
Germany. These should serve as recommendations in the absence of
corresponding national regulations. The pertinent national laws, standards, regulations and guidelines, as well as other technical guidelines,
have priority over German/European guidelines in this manual: The
information is not binding for other countries and territories and should,
as mentioned, be considered as support.
About these instructions for use
Notes give you additional helpful tips.
Domoplex drain equipment 5 from 15
Page 6

2 Product information
2.1 Intended use
2.1.1 Areas of use
NOTICE!
Risk of damage due to unsuitable liquids.
To avoid damaging the drain, only introduce the following
liquids:
– Liquids with a pH-value higher than 4
– typical household water with a maximum temperature of
95 °C
Product information
The Domoplex shower drain is a drain with odour trap for shower trays
with 65 mm drain holes.
Detailed information regarding all shower tray models and the corresponding Viega drains can be found in the catalogue or on the Internet.
Domoplex drain equipment 6 from 15
Page 7

2.2 Product description
1
2
3
4
5
6
7 98
2.2.1 Overview
Product information
Fig. 1: Components
1 - cover plate
2 - immersion pipe
3 - fixing flange with screws
4 - seal
5 - odour trap
6 - sealing ring
7 - sliding ring
8 - union nut
9 - drain elbow
2.2.2 Technical data
Drainage capacity at an accumulation height of
120 mm
Diameter drain hole 65 mm
DN (nominal diameter) drain support 40 / 50 mm
Height 80 mm
Dimensions and installation depth
Water head seal 50 mm
0.73 l/s
Ä Chapter 3.1.2 „Installation dimensions“ on page 9
Domoplex drain equipment 7 from 15
Page 8

3 Handling
90
Ø
85
Ø
3.1 Assembly information
3.1.1 Mounting conditions
The following requirements exist for the mounting of the drain:
n The shower tray is installed.
n The drainage line is installed all the way to the shower tray.
n The underside of the shower tray is accessible.
n The drainage capacity is sufficient at an accumulation height of
3.1.2 Installation dimensions
Handling
120 mm.
3.2 Assembly
3.2.1 Mounting the drain
Insert seal
Fig. 2: Dimensional drawing
Proceed as follows to mount the drain:
Place the seal on the sealing surface of the drain and push into the
holding groove.
Domoplex drain equipment 8 from 15
Page 9

Secure drain
Handling
Position the drain unit with seal under the shower tray.
Push the upper part of the seal through the drain hole.
Place fixing flange and insert the screws by hand.
NOTICE! Only use a screwdriver, not a cordless screwdriver.
Tighten screws evenly.
Insert immersion pipe into the odour trap.
Domoplex drain equipment 9 from 15
Page 10

Press the cover plate onto the two fixing points.
DN 40
DN 50
3.2.2 Connecting the wastewater system
Proceed as follows to connect the drain to the waste water system:
Handling
Requirement:
n The drain unit is installed onto the shower tray.
If the waste water pipe only has a diameter of 40 mm, cut off drain
elbow.
Push the union nut, sliding ring and seal onto the drain pipe.
Screw the union nut onto the drain unit.
Domoplex drain equipment 10 from 15
Page 11

3.2.3 Leakage test
Handling
Align the odour trap in such a way that the drain elbow can be connected to the waste water pipe.
Push waste water pipe onto the drain elbow.
The leakage test is only carried out as a visual inspection.
3.3 Maintenance
Check drain fitting for visible leaks.
NOTICE!
Risk of damage due to unsuitable cleaning agent.
The following cleaning agents can damage chrome-plated
surfaces and therefore may not be used:
– scouring agent
– abrasive sponges
– lime, plaster or cement dissolver
– solvents or other acidic cleaning agents
Normal soap or a mild cleaning agent can be used for regular care and
prevention of lime scale on the rotatable rosette and valve cone. Under
no circumstances should scouring agent or scratching objects be used.
Strong stains, even around the drain unit and the siphon, can be
removed using typical household cleaner. It should be noted that the
cleaning agent should be rinsed off after the prescribed soaking time.
There should be no residue on the components.
3.4
Domoplex drain equipment 11 from 15
Cleaning the drain
NOTICE!
Be careful not to damage the odour trap when cleaning the
drain system.
Page 12

Remove cover plate.
Remove the immersion pipe upwards.
Handling
For free access to the drain pipe:
Grip the closing plug on the lug with pliers and pull off.
Clean the drain carefully to avoid damaging the fitting.
Domoplex drain equipment 12 from 15
Page 13

Handling
Insert closing plug flush with the surface.
Make sure to position the closing plug properly. The lug must be
positioned vertically.
Insert immersion pipe.
Mount cover plate.
Domoplex drain equipment 13 from 15
Page 14

3.5 Disposal
Handling
Separate the product and packaging materials (e. g. paper, metal,
plastic or non-ferrous metals) and dispose of in accordance with valid
national legal requirements.
Domoplex drain equipment 14 from 15
 Loading...